Getting Started With Lightroom Classic: Quick Tips & Tricks

Lightroom! You’ve heard of it, but maybe you haven’t quite gotten around to downloading it yet. Or maybe you have, but you’re not quite sure what to do with it.
If you feel like you’re on the sidelines when it comes to Lightroom Classic, you’re not alone. Post processing is very much a love it or hate it type of activity. While some photography purists insist on leaving their images as-is, straight from the camera, others have fallen head over heels in love with the idea of tweaking their images to perfection in post!
No matter where you fall on the post-processing enthusiasm spectrum, if you’d like to get started with this piece of software, then this article’s for you! In it, we’ll uncover some tips for getting started, as well as a few simple tutorials for adjusting your images.
Let’s start.
First things first, if you haven’t done so already, head over to Adobe to get your copy of Lightroom. There is a trial version to be had, if you’d like, where you have 30 days to see how it works for you. After that, there’s an option to commit to a purchase – with a rolling subscription and payment of $9.99 per month (which also includes Photoshop CC and the cloud-based Lightroom CC app).
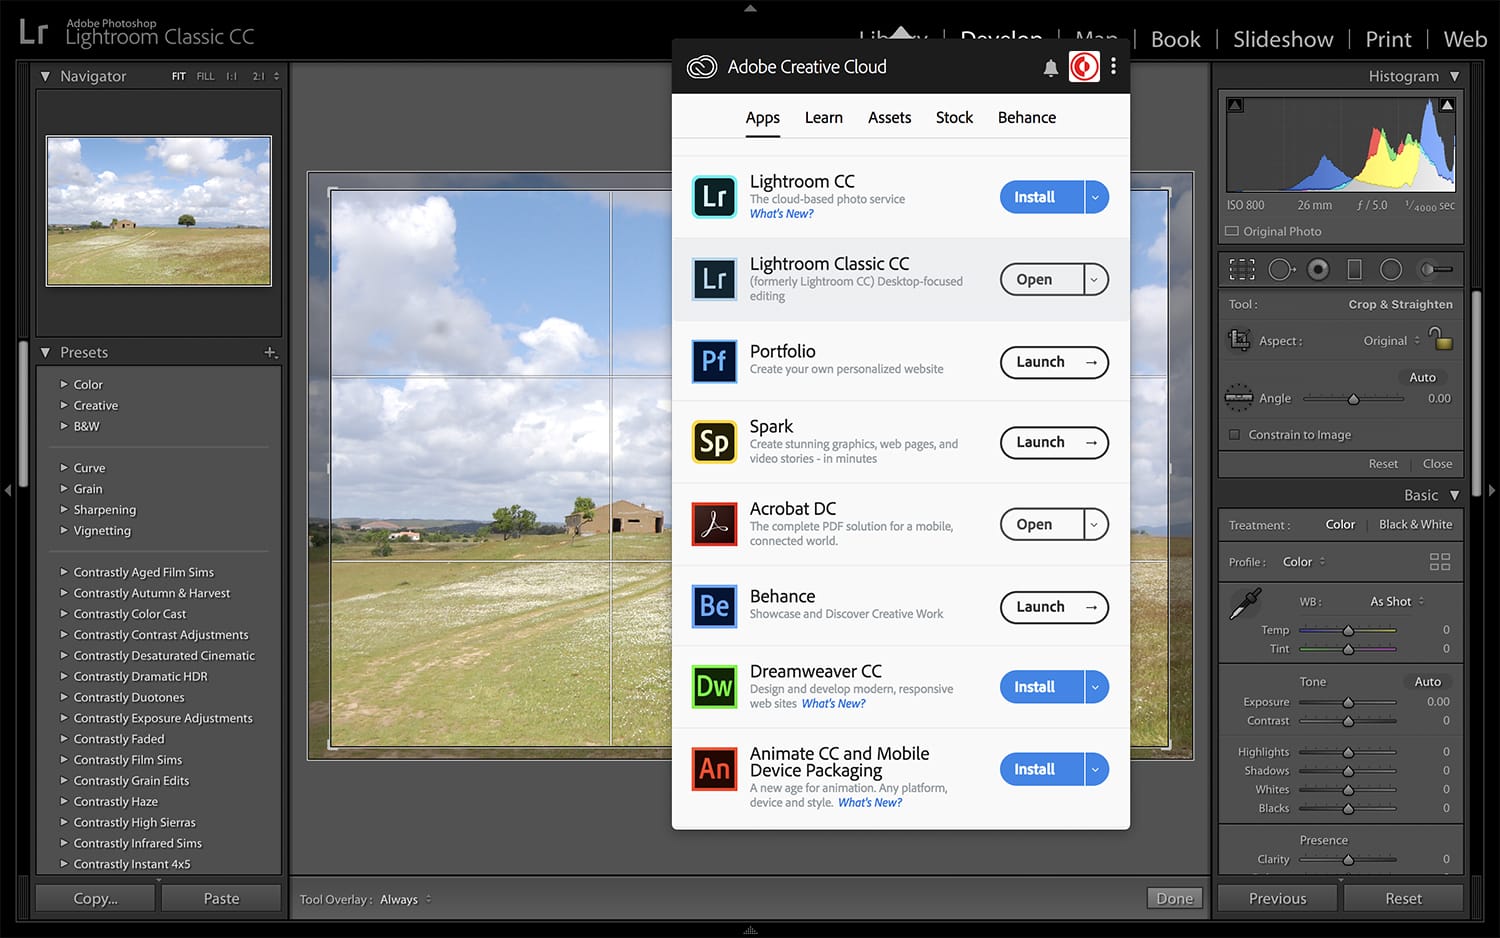
Once you’ve got your copy of Lightroom running away in the background on your computer – it’s time to start putting it to good use. You can access Lightroom via your start menu on Windows, or via the top menu bar on Mac – just look for the Creative Cloud icon.
Click that, and it’ll bring up your Adobe Creative Cloud programs that you’re subscribed to. You can then click on your Lightroom subscription, and it’ll bring up your program. (I have the desktop version, but you may prefer the cloud-based version if you have particularly fast internet!)
While there are plenty of ways to use Lightroom, and all roads lead to Rome, so to speak, I’ve found that the simplest way to access my photos is to create a file on the desktop, copy and paste the images that I’m planning to edit into it, and then head to Lightroom itself. Open up Lightroom, then click File > Import Photos and Video. You’ll them be prompted to select a source. Click on Desktop, and you should see them. Click the file, and the images will then pop up onto your screen. Make sure they’re all selected, then go to the bottom of the page and hit the Import button.
Then, simply double click on the photo that you’d like to edit. No hassle!
Now, let’s get started with a few simple tricks that you can use to adjust and enhance your images.
Cropping
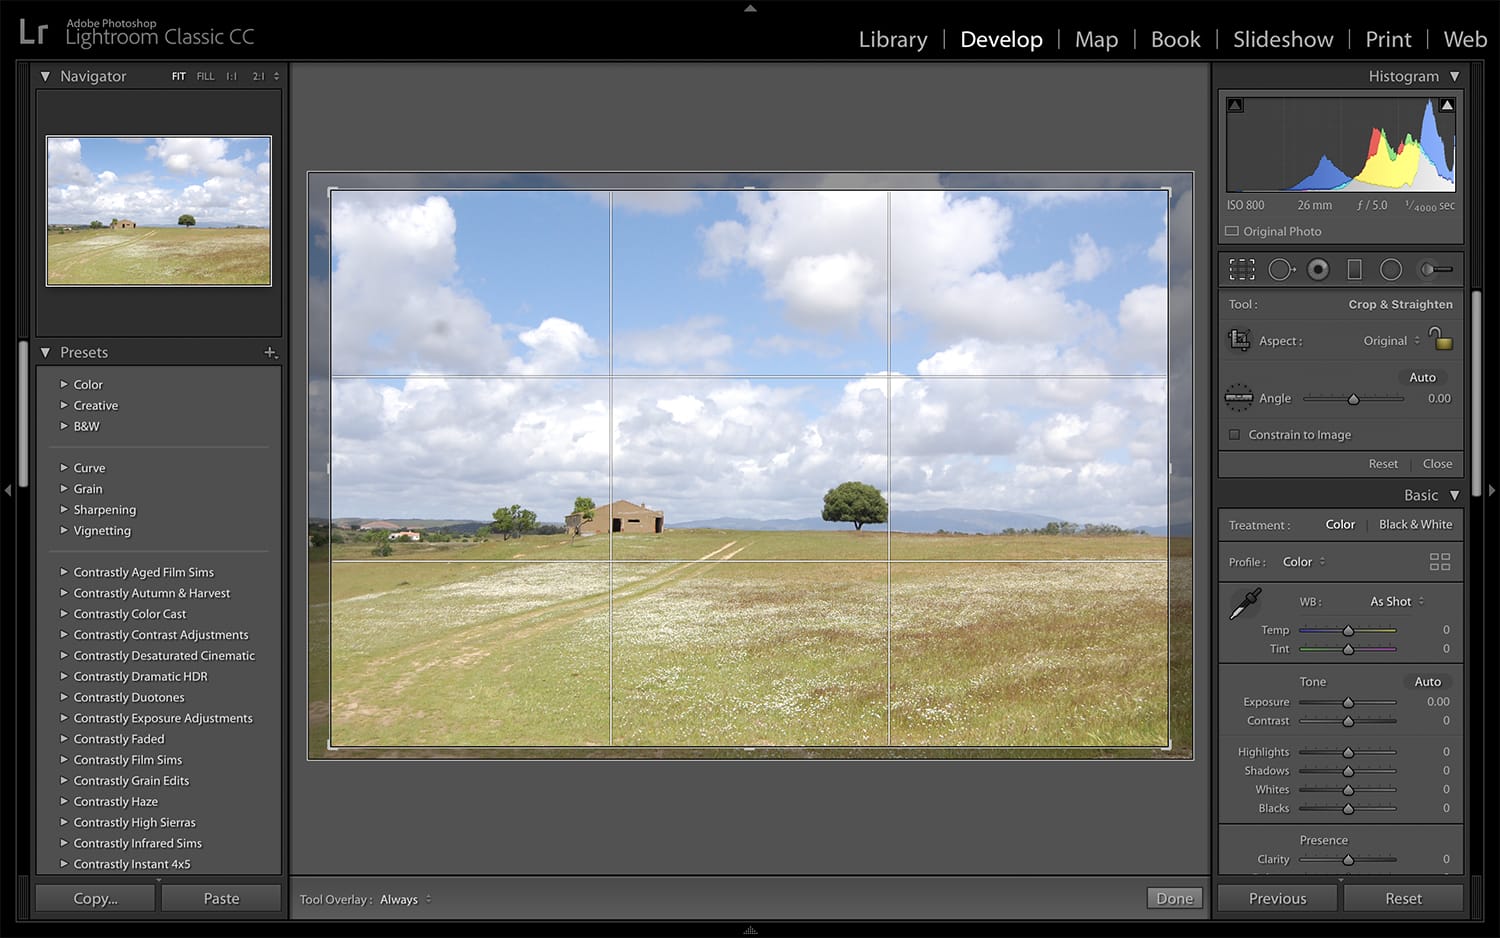
First up, cropping. To find the crop tool, click the Develop tab, located in the menu at the top of your workspace.
Then select the Crop Overlay button on the right-hand side of your workspace. You should find it just below the histogram. Alternatively, you could simply type “R” on your keyboard – a shortcut that will bring up the crop tool for you.
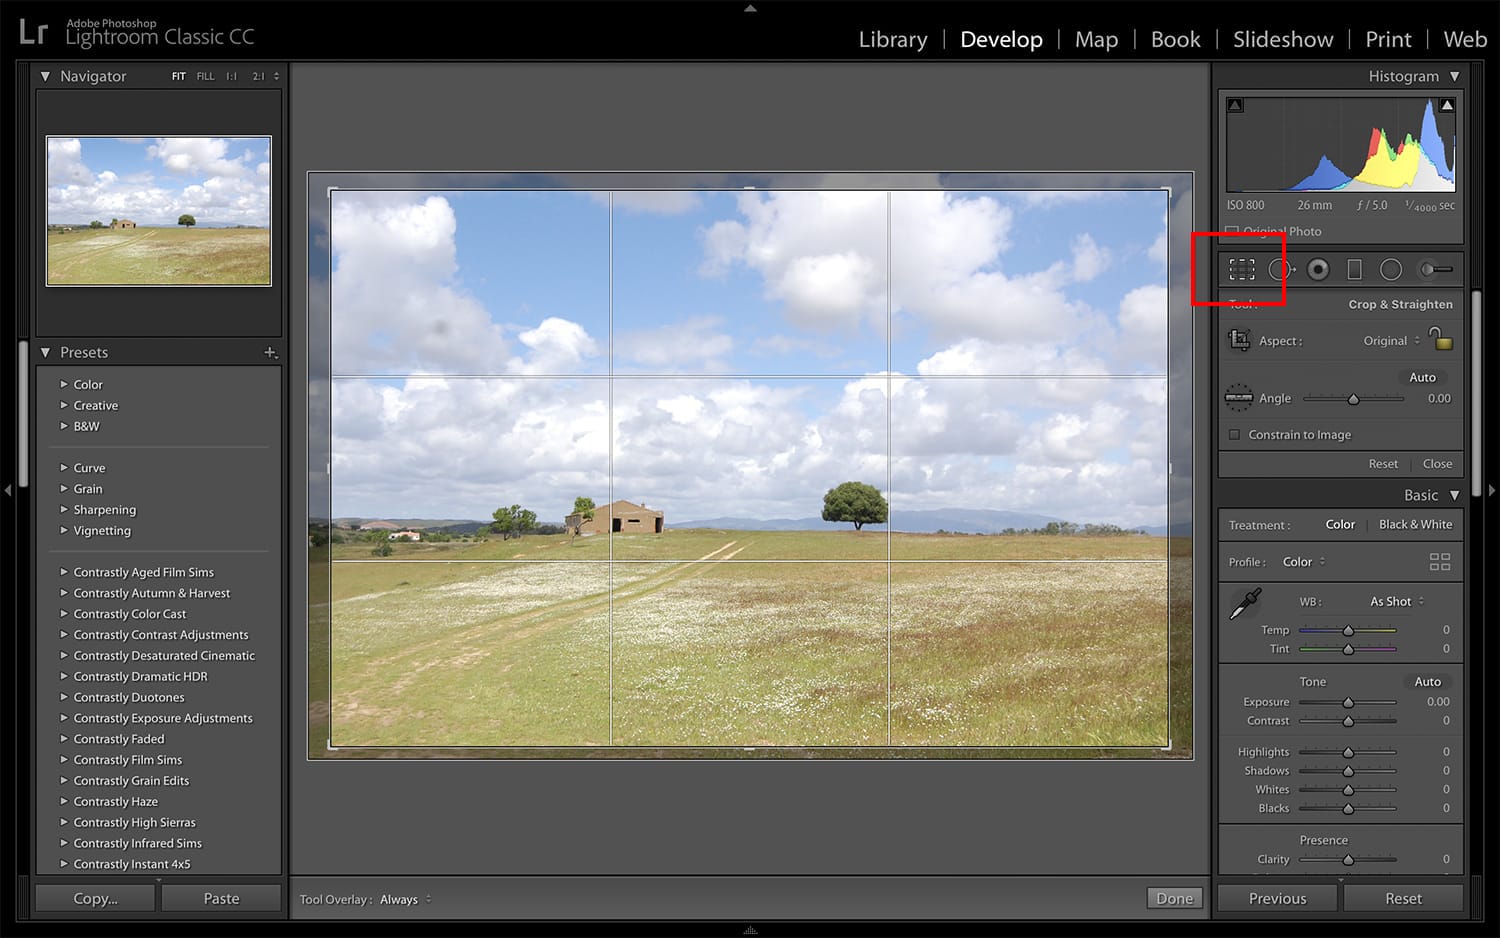
The Crop Overlay button
Make sure the Aspect button is set to Original if you’d like the image’s proportions to remain the same. Then simply click the image, and – holding your button down, draw the grid over it. Then move the image until you’re happy with where it’s positioned.
Now, click Done and you’re done!
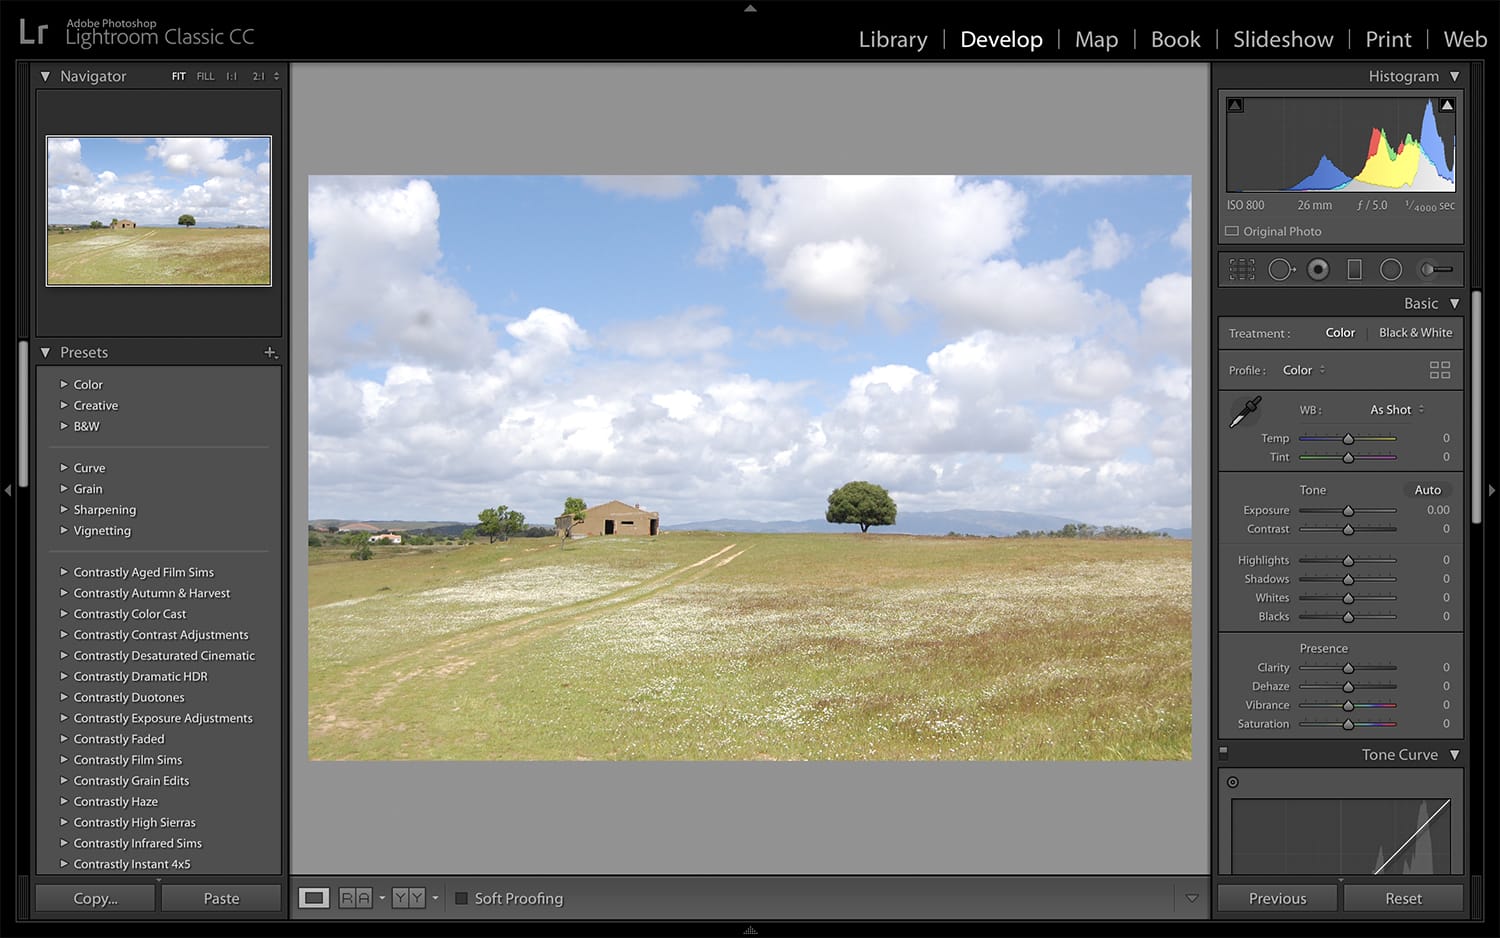
I cropped this image so that it’s just a bit tighter.
Disappearing Menu: If you find that your tools keep disappearing while you work, simply click the little arrow button located on the right-hand side of your workspace! Then right click the area, and select “manual” to keep the menu from disappearing on you!
Exposure
Next up, adjusting the exposure. Sometimes you won’t get the exposure quite right in-camera. If this happens to you, don’t worry! You can always adjust it in Lightroom.
There are a number of ways that you can do this, but one of the fastest is to use Lightroom’s Quick Develop option. Simply open your image. Then go to the Library tab at the top of the workspace, and then navigate to the Quick Develop section on the right-hand side of the program.
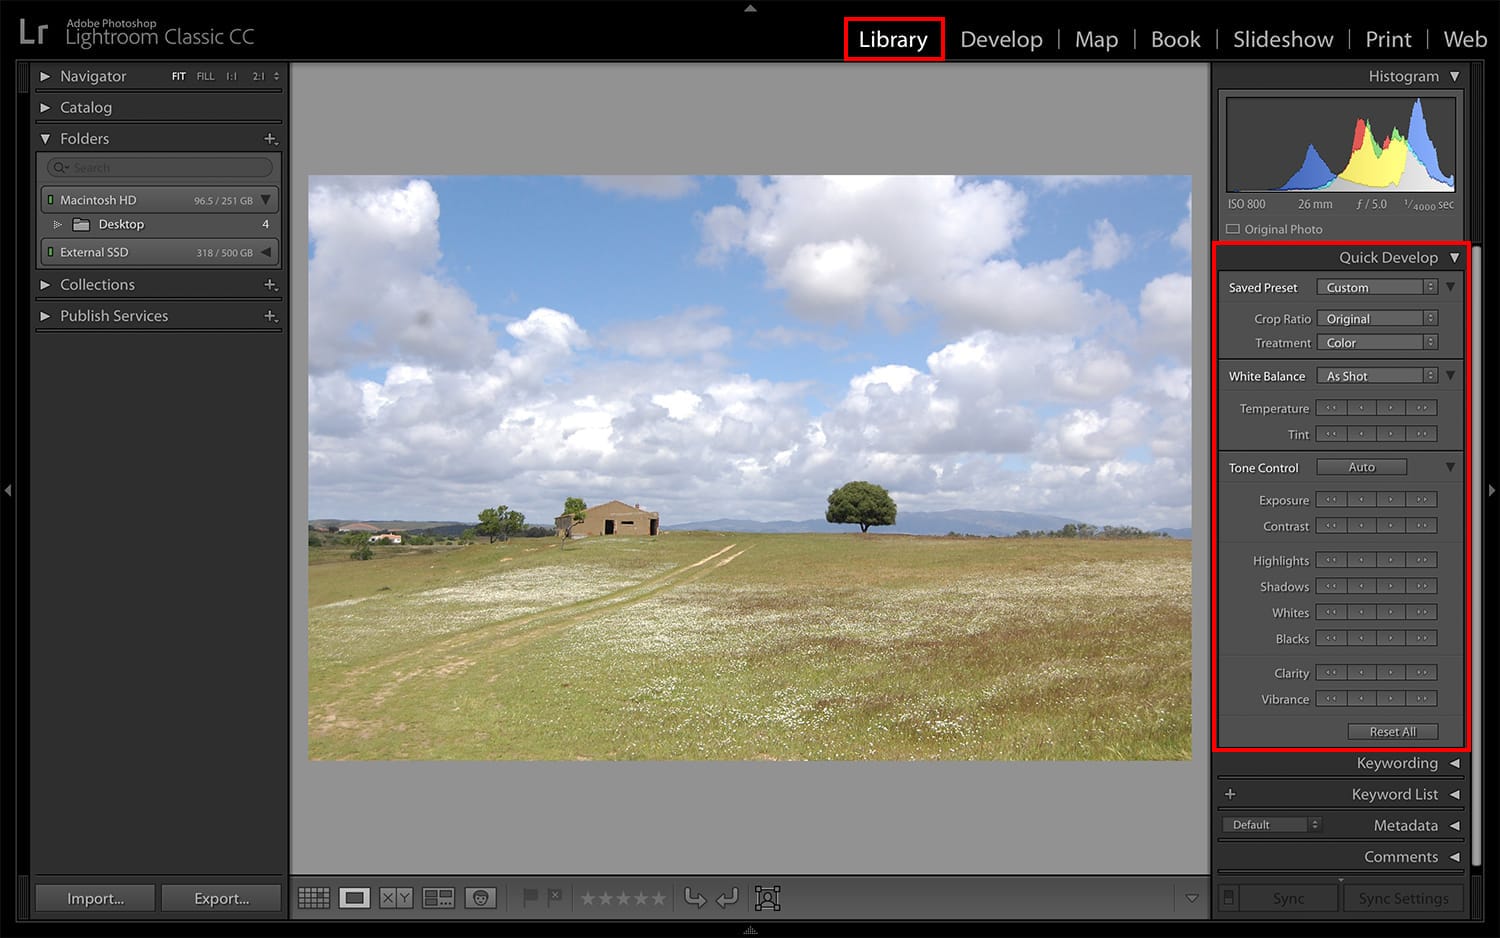
The Quick Develop section
Then navigate down to White Balance in the Quick Develop section. Click the drop-down menu, and hit Custom. Then simply up the exposure by +1 or down by -1. If it’s a subtle change that you’re after, there’s an option to increase or decrease it by only 1/3 a stop.
That’s what I did in this image. Dropping the exposure down 1/3 a stop was enough to draw out some of the detail that was lost in the highlights in the clouds.
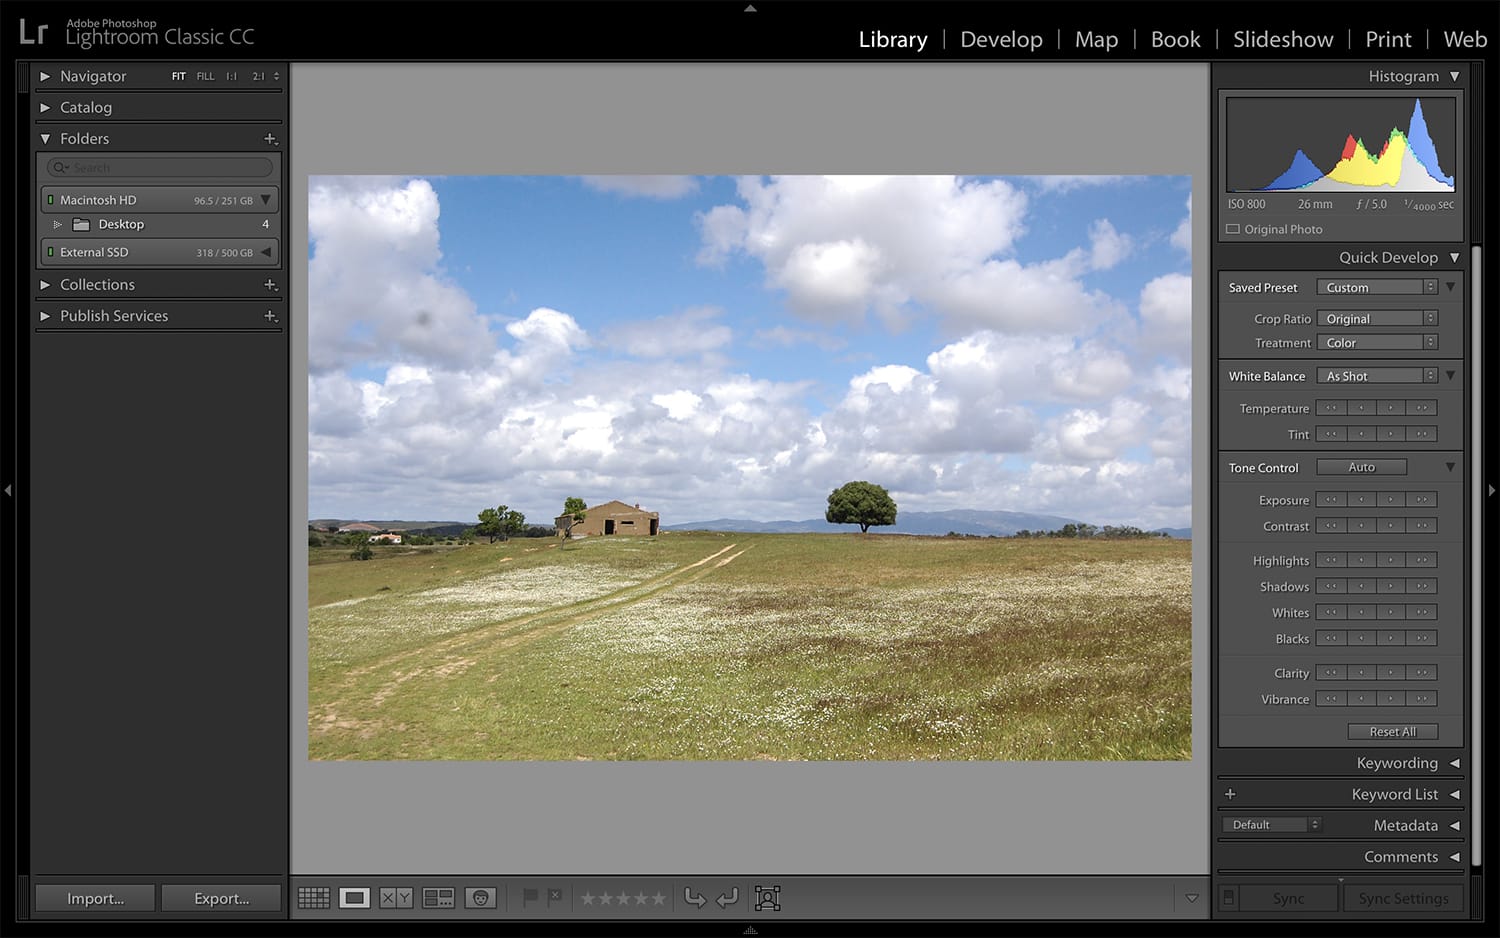
While we’re under the Quick Develop section, there’s also a section called Tone Control. In this section, you can tweak the highlights, shadows, whites, blacks, clarity, and vibrance of the image – all with just a click or two. Just for fun, I increased the vibrance and clarity of the image. You can see the subtle effect above.
Vignette
Finally, let’s look at adding a vignette to our image. Head to the Develop tab (it should be familiar by now!) and navigate to the Effects section on the right-hand side of the workspace – down below the histogram.
From there, you should see what’s called “Post-Crop Vignetting” in the workspace. You’ll see some different sliders that you can adjust to influence the vignette effect on your image.
Feel free to play around with them all, but it’s the “amount” slider that you’ll want to primarily concern yourself with.

Post-Crop Vignetting
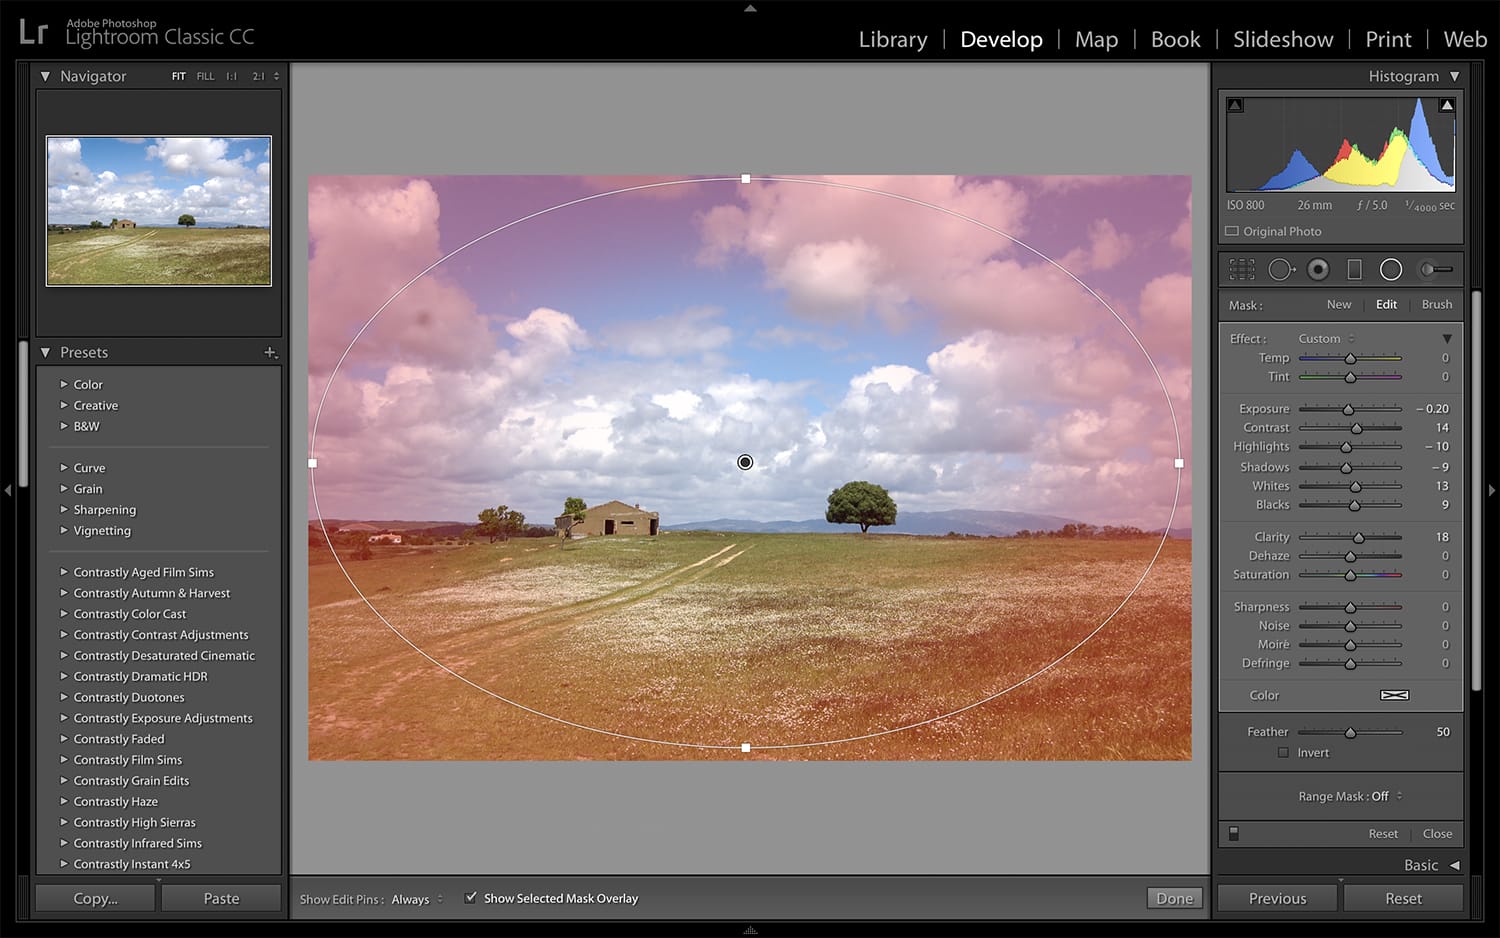
I’ve overdone the vignette effect as an example of what you can do, but ideally, you’ll usually want to go more subtle with vignettes.
Another fun way to add a vignette, and an option that’ll give you more flexibility is to use the Radial Filter tool. This allows you to place the vignette wherever you’d like on the image, and makes it easier to create a more subtle effect as well.
So there you have it! Some fun and simple tricks that you can use when editing your images in Lightroom. When you’re done, be sure to export your final image – right click it to export, or go to File > Export to save your work.
There’s a lot that you can do with this program, but mastering the basics will help you to get the hang of using it; while giving you some useful tools to work with.
Have fun making these simple adjustments and don’t forget to share your results with us via Facebook or Twitter.
For even more tips, check out the next page:
About the Author: Christina Harman
 Christina is a part time blogger and full time photography enthusiast living in Southeast Alaska. She enjoys travel photography and has taken pictures in countries such as Mexico, England, France, and China. She likes sunny days, new lenses and drinking good coffee. You can visit her at Tangled Thoughts.