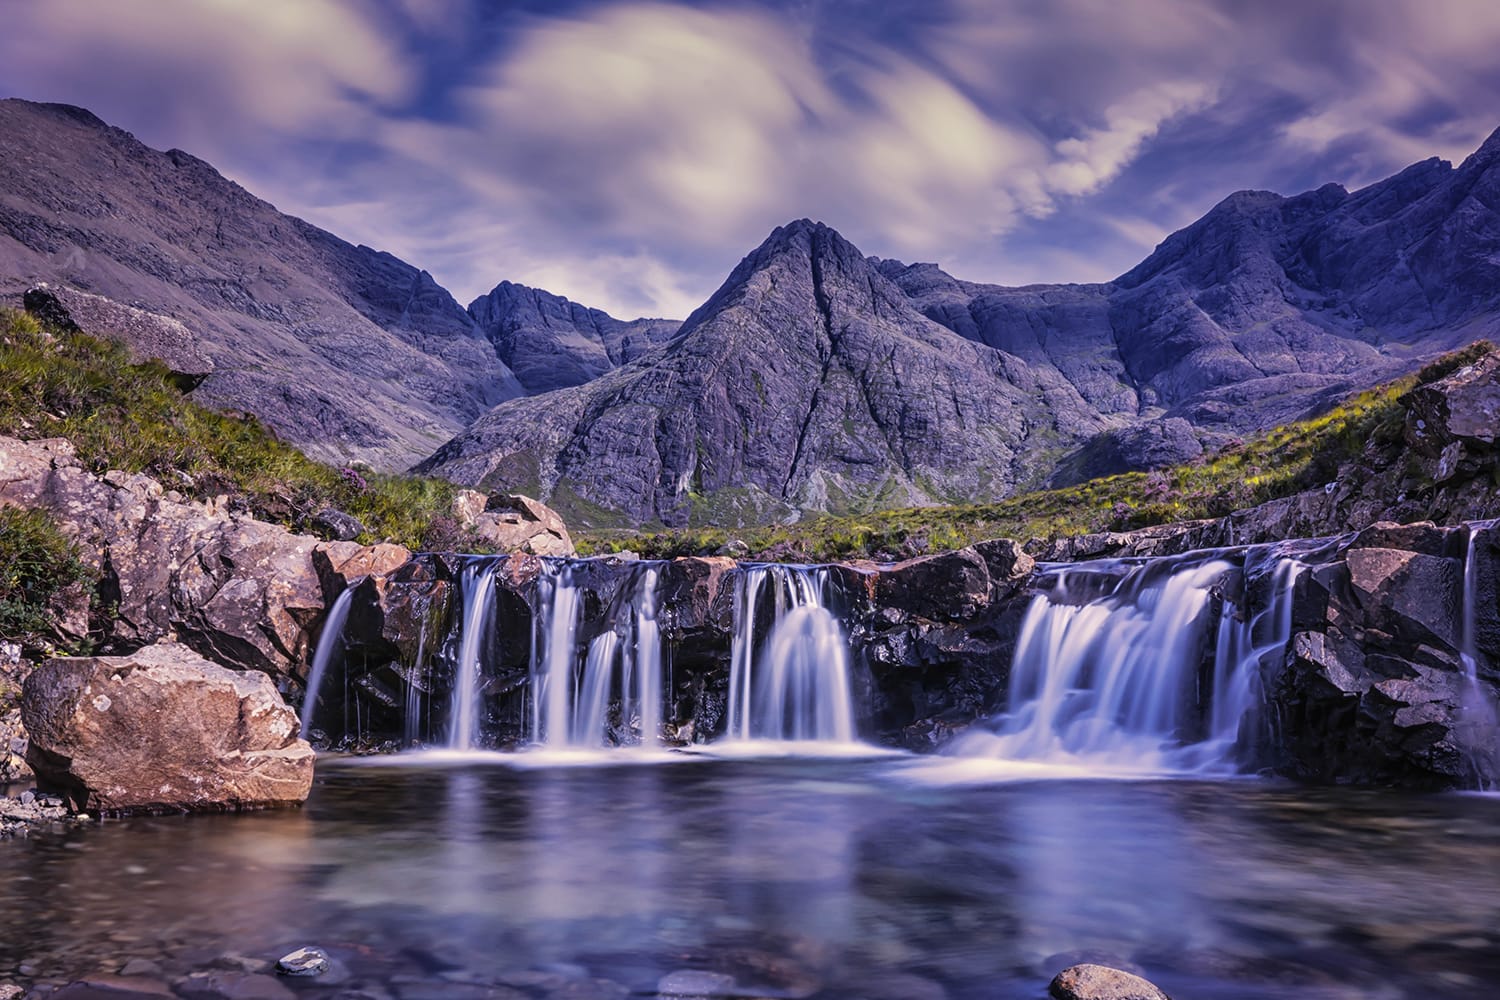
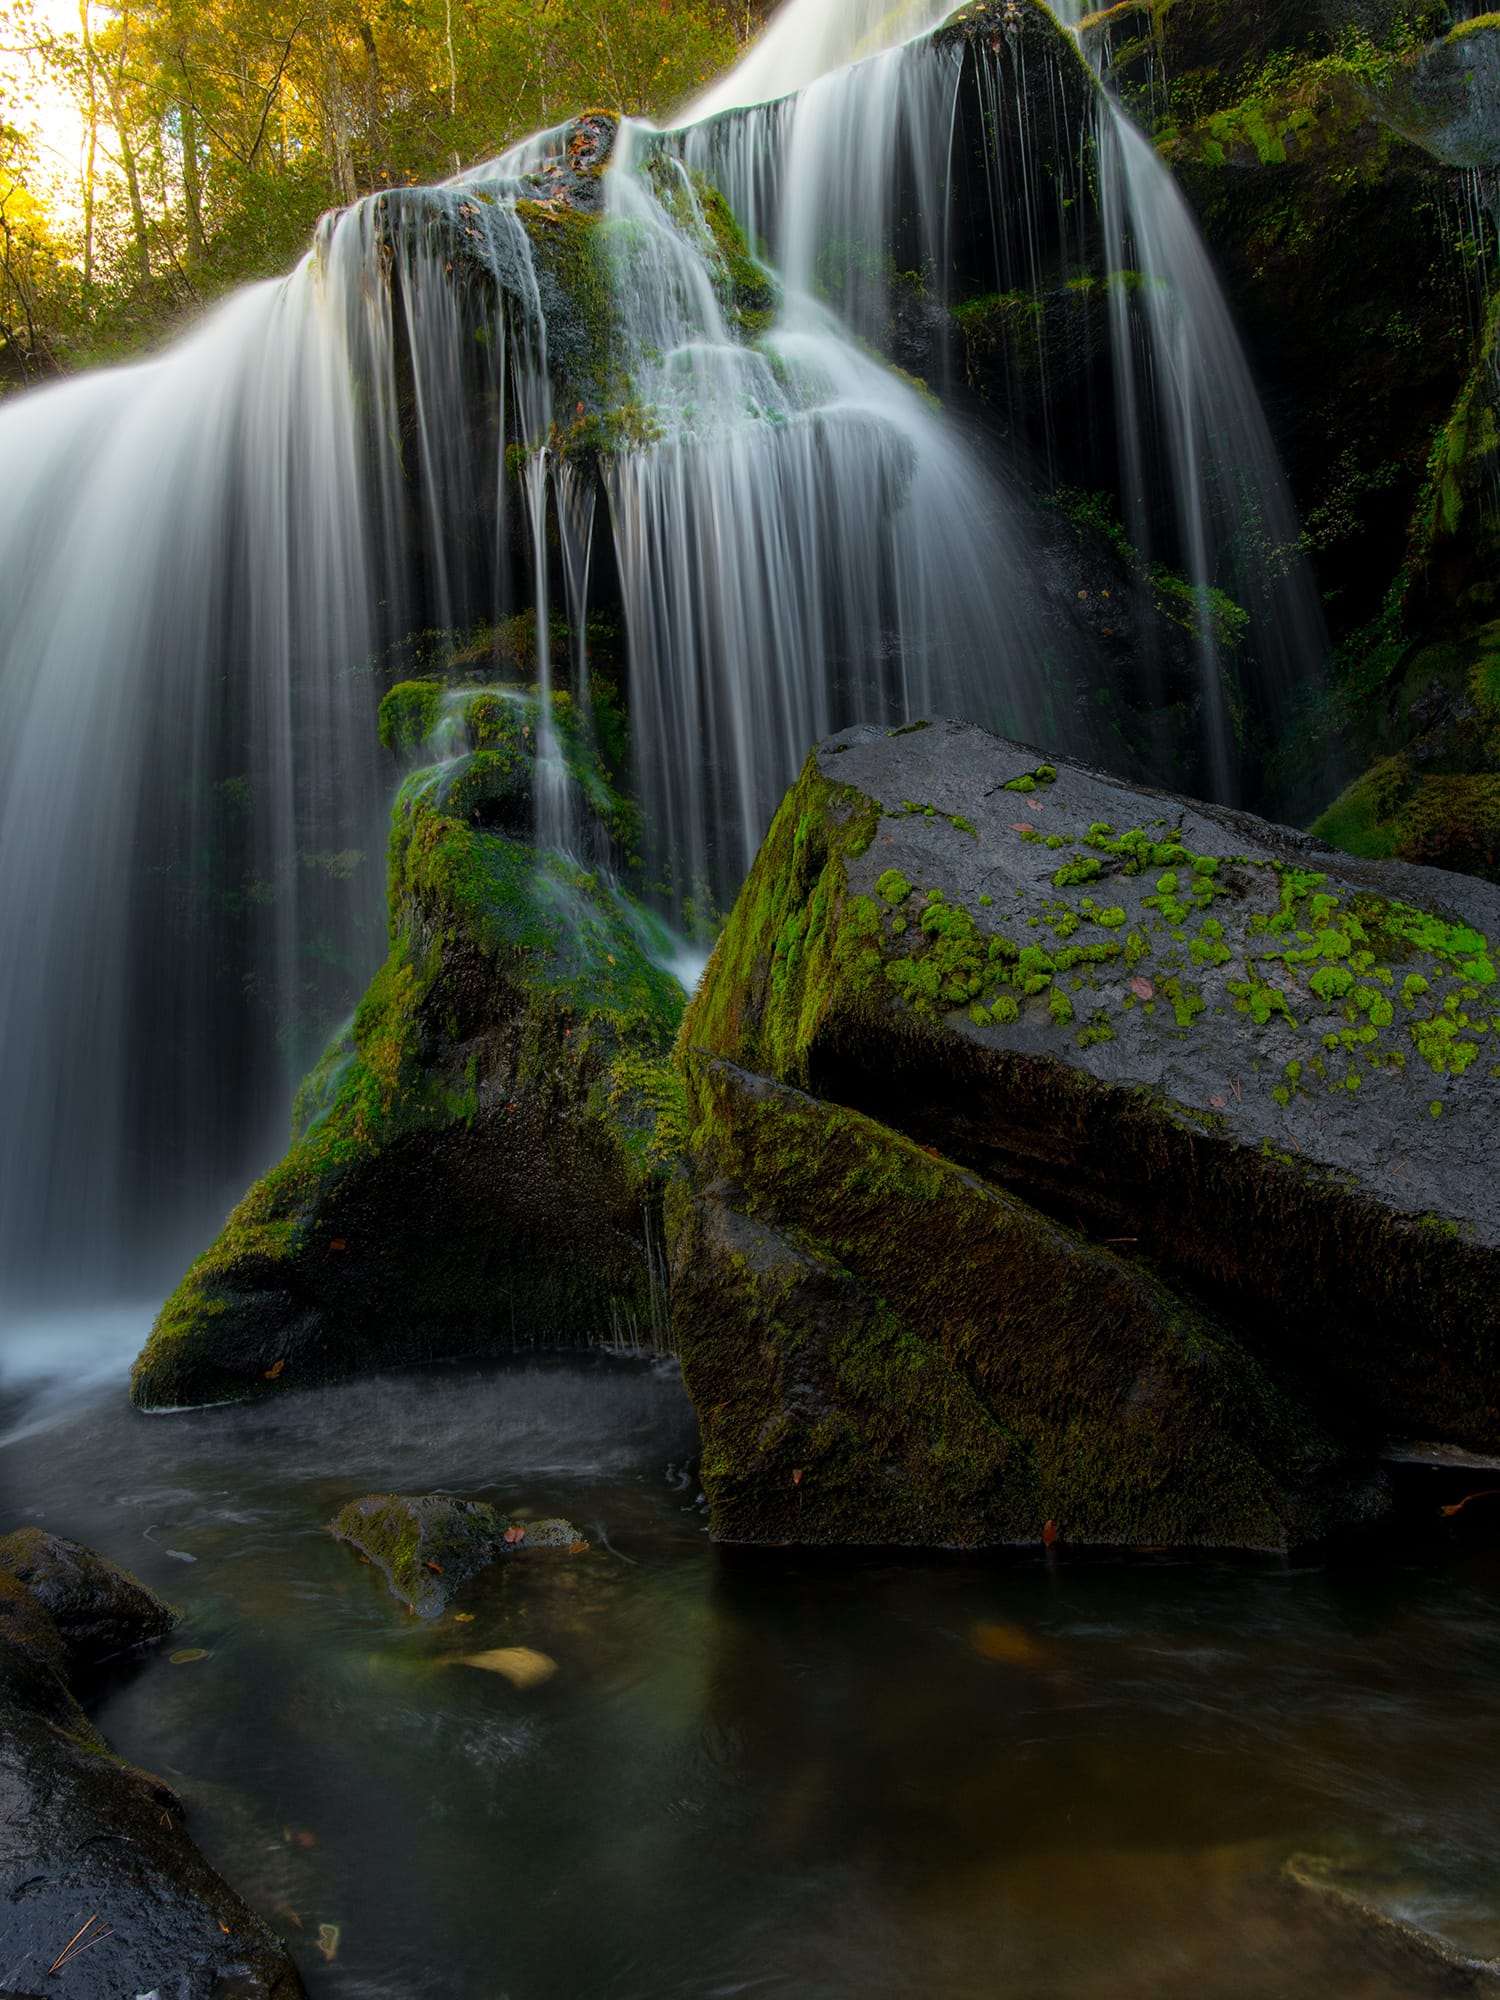
Have you ever wondered how to shoot those beautiful waterfall photos that seem to make their way onto every postcard, inspirational poster, and travel brochure? You know the ones – the images where the flow of water is soft and silky smooth, inviting you to come and feel it for yourself.
These dreamy shots may seem so professional that they’re unobtainable to beginner photographers. What’s the key, then? Long exposure. Really, that’s it! Promised.
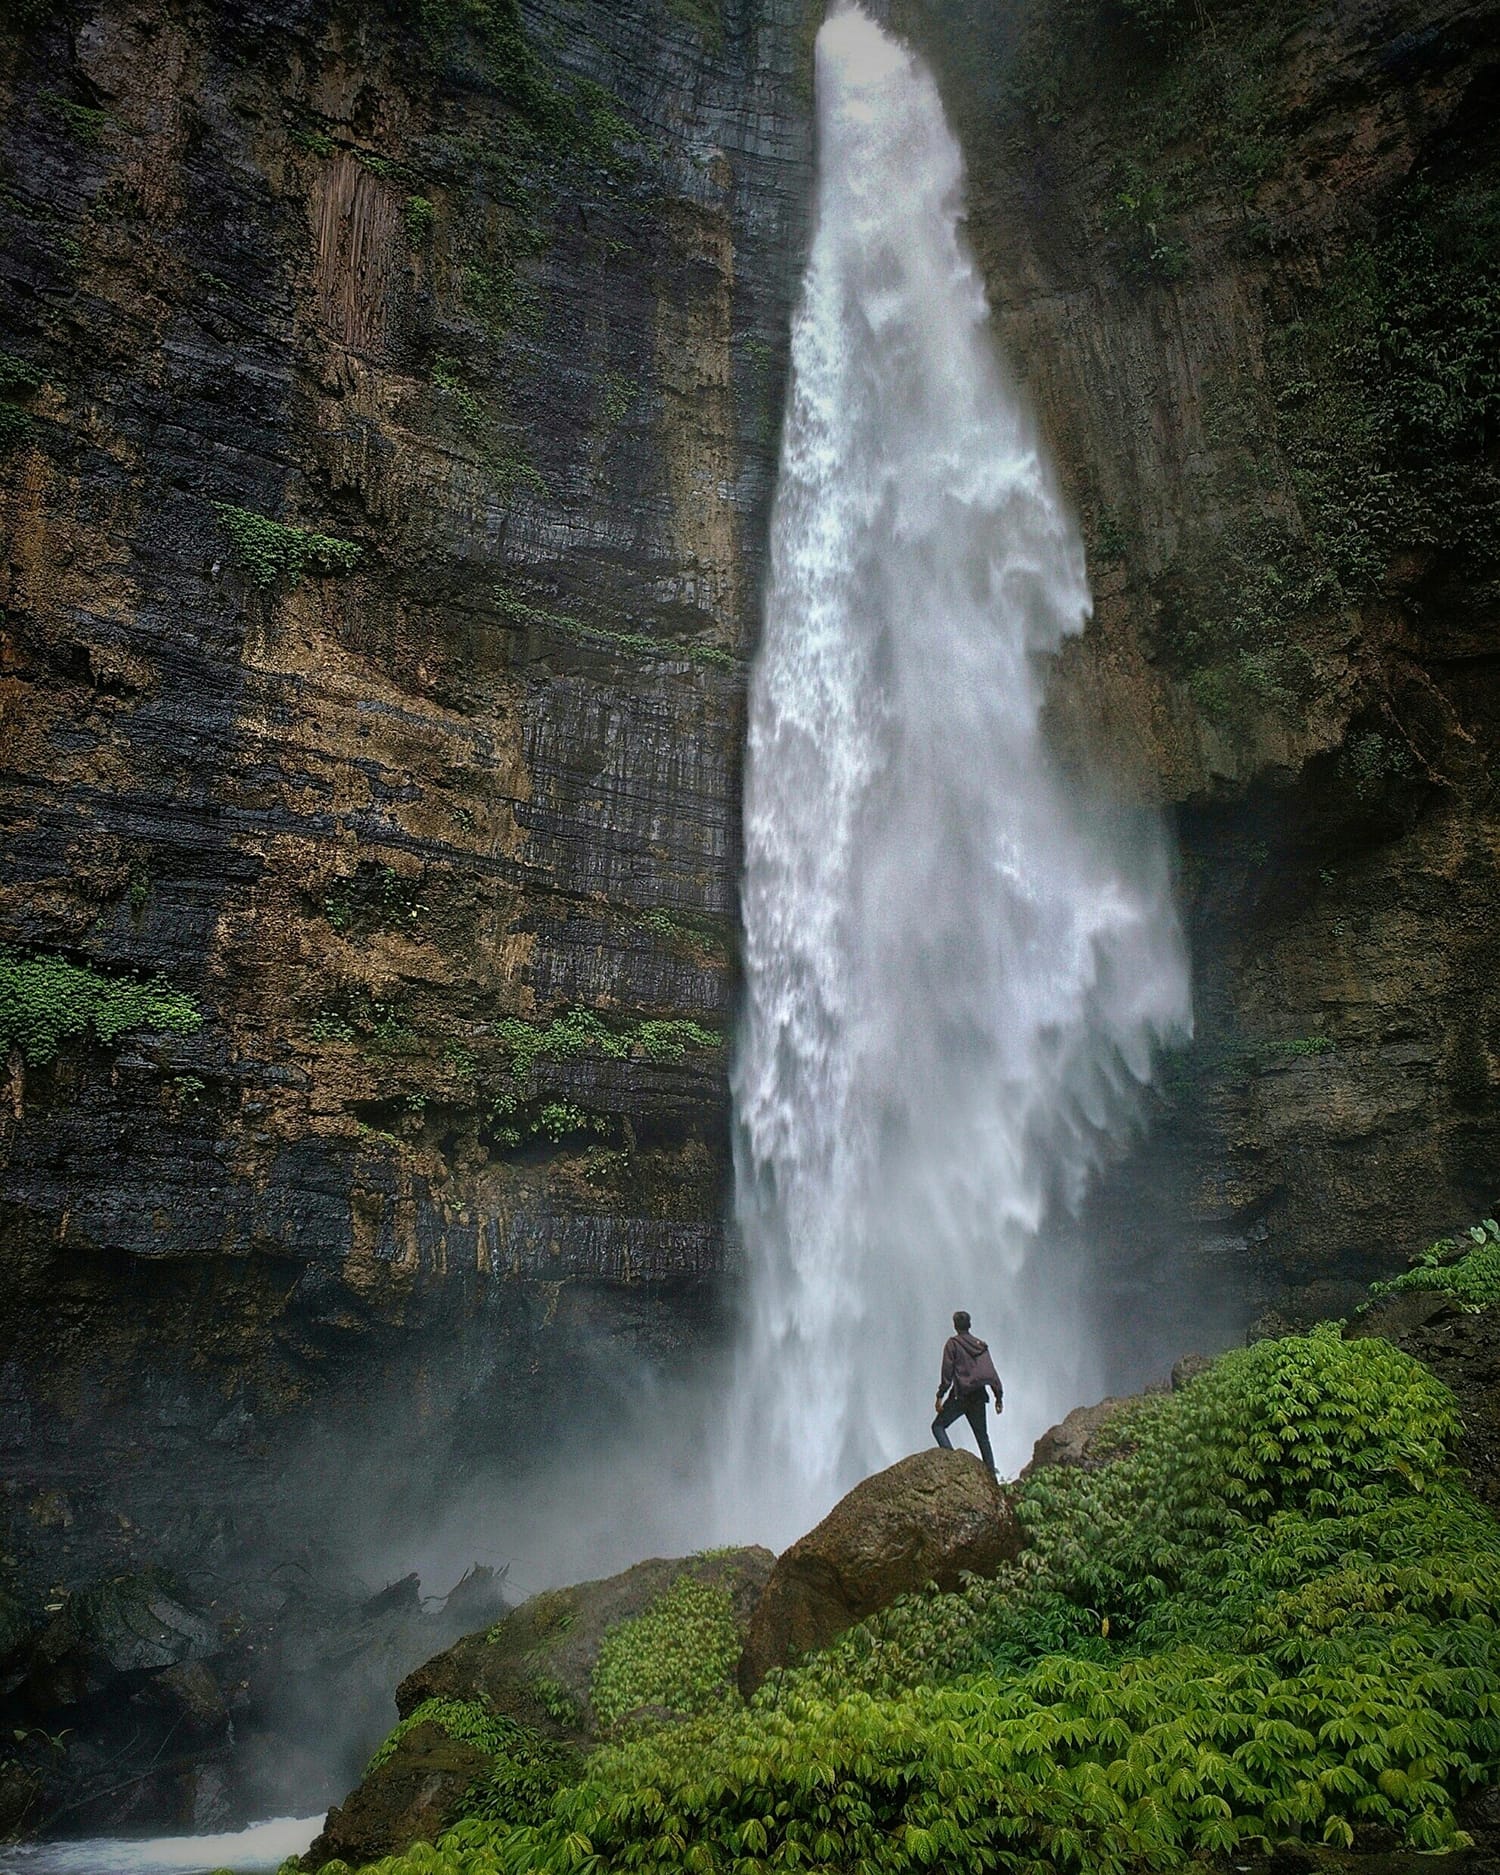
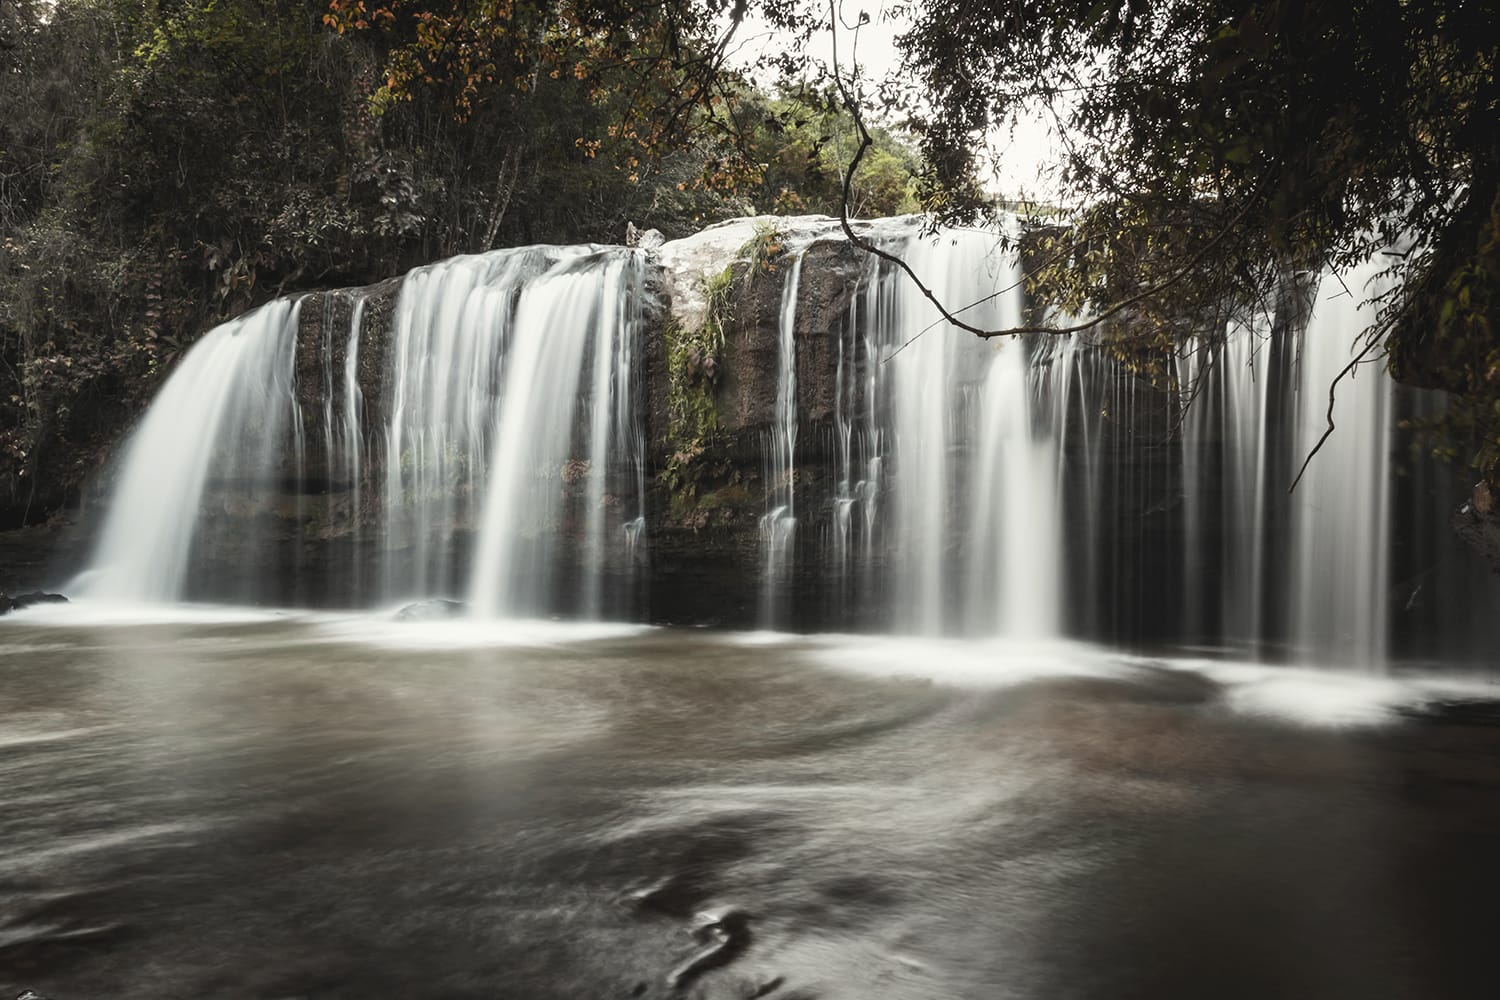
That’s part of what makes photographing waterfalls so great. As subjects, waterfalls offer majestic material for adventurous shots, and they’re perfect for all levels of photographers because they move while not moving (the flow of water provides action and intrigue to a photo, but the waterfall itself is static). What’s not to love about an unmoving subject that still photographs like an action shot?
So, let’s dive right in. We know that long exposures are critical to achieving these gorgeously smooth waterfall photos, but we’ll talk details, too.
1. Travel with the right equipment
We’ve said it once [1], and we’ll say it again – gear isn’t everything. However, when it comes to shooting waterfalls, there’s some equipment you can’t live without.
Whatever you do, for example, don’t leave your tripod [2] at home! The long exposure times you’ll need to achieve that soft, silky smooth effect make a tripod an absolute necessity. Also, now is the time to bring the best tripod you’ve got – you’ll likely be shooting on some soft, uneven, or otherwise challenging surfaces.
Also, bring along a neutral density filter [3], or ND filter. For reasons we’ll discuss later, less light must reach the camera’s sensor – a neutral density filter will do just that, but it won’t affect the colors in the scene.
Instead of an ND filter, you might also choose to utilize a polarizing filter [4], which can help reduce glare in your image. This comes down to personal preference and the actual shot.
2. Get the timing just right
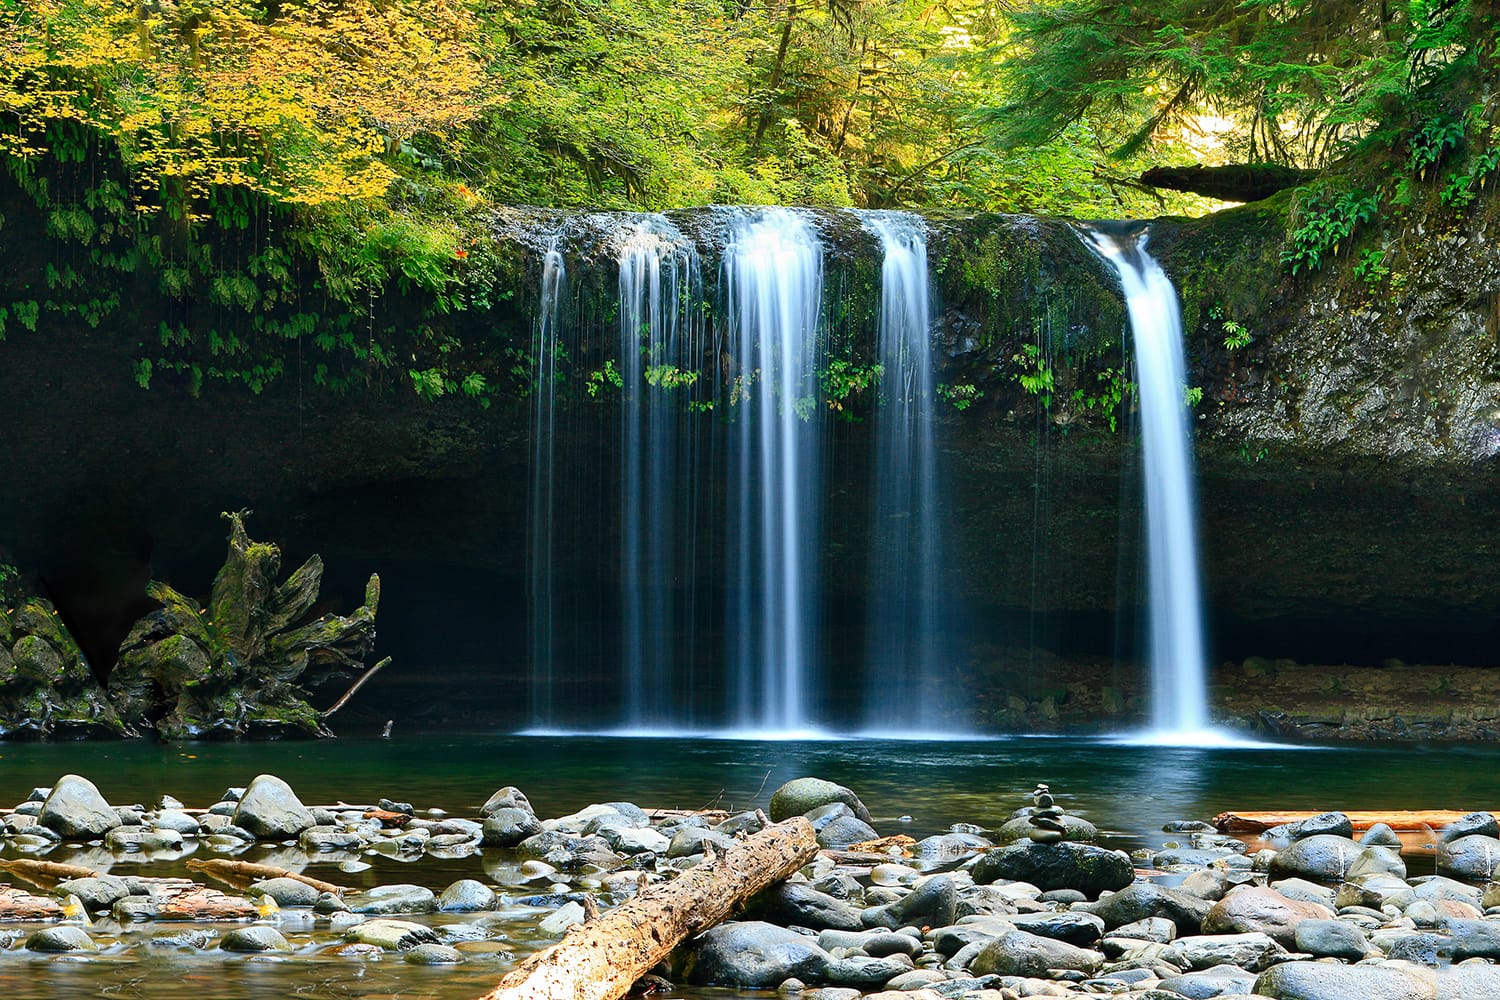
Waterfalls may be great subjects, but they are still part of nature. This means you’ll have to be particularly conscientious about when you make the trek for your waterfall photoshoots. Keep weather conditions [5] in mind—ask yourself if you want your photos of soft water to be surrounded by lush green or misty grays. Take a test hike to the location, if possible, to learn more about the lighting and conditions you’ll be facing on the day of your shoot.
Many photographers will argue that the early morning is the best time to shoot waterfalls. Lighting will be optimal at this time, reducing the chance of lens flares in your photos. Sunset can work well, too, but if the waterfall you’re shooting is a popular one, you’ll be more likely to encounter swimmers and other hikers who might hinder your ideal vision.
As for the time of year to plan your soft water shots, go for Spring when in doubt. Finally, shooting waterfalls on a cloudy day is always a plus.
3. Keep the light low
When reading the tip above, maybe you thought, “Why in the world would I want to shoot on a cloudy day?” It’s true – that notion might go against some of what you’ve been taught (i.e. you need more light to hit your sensor, etc.).
In this case, however, less light reaching the camera’s sensor means that you can achieve slower shutter speeds [6] and longer exposure times for the ultimate smoothing effect. This is why soft water photographers often prefer to shoot on cloudy days, use ND filters, and use polarizing filters. All of these factors effectively reduce the light reaching the camera’s sensor to lengthen the exposure time.
Just be sure to shoot in RAW [7] so that, in the event you overexpose your shot, you have a chance to fix it in post-production.
4. Find the perfect shutter speed
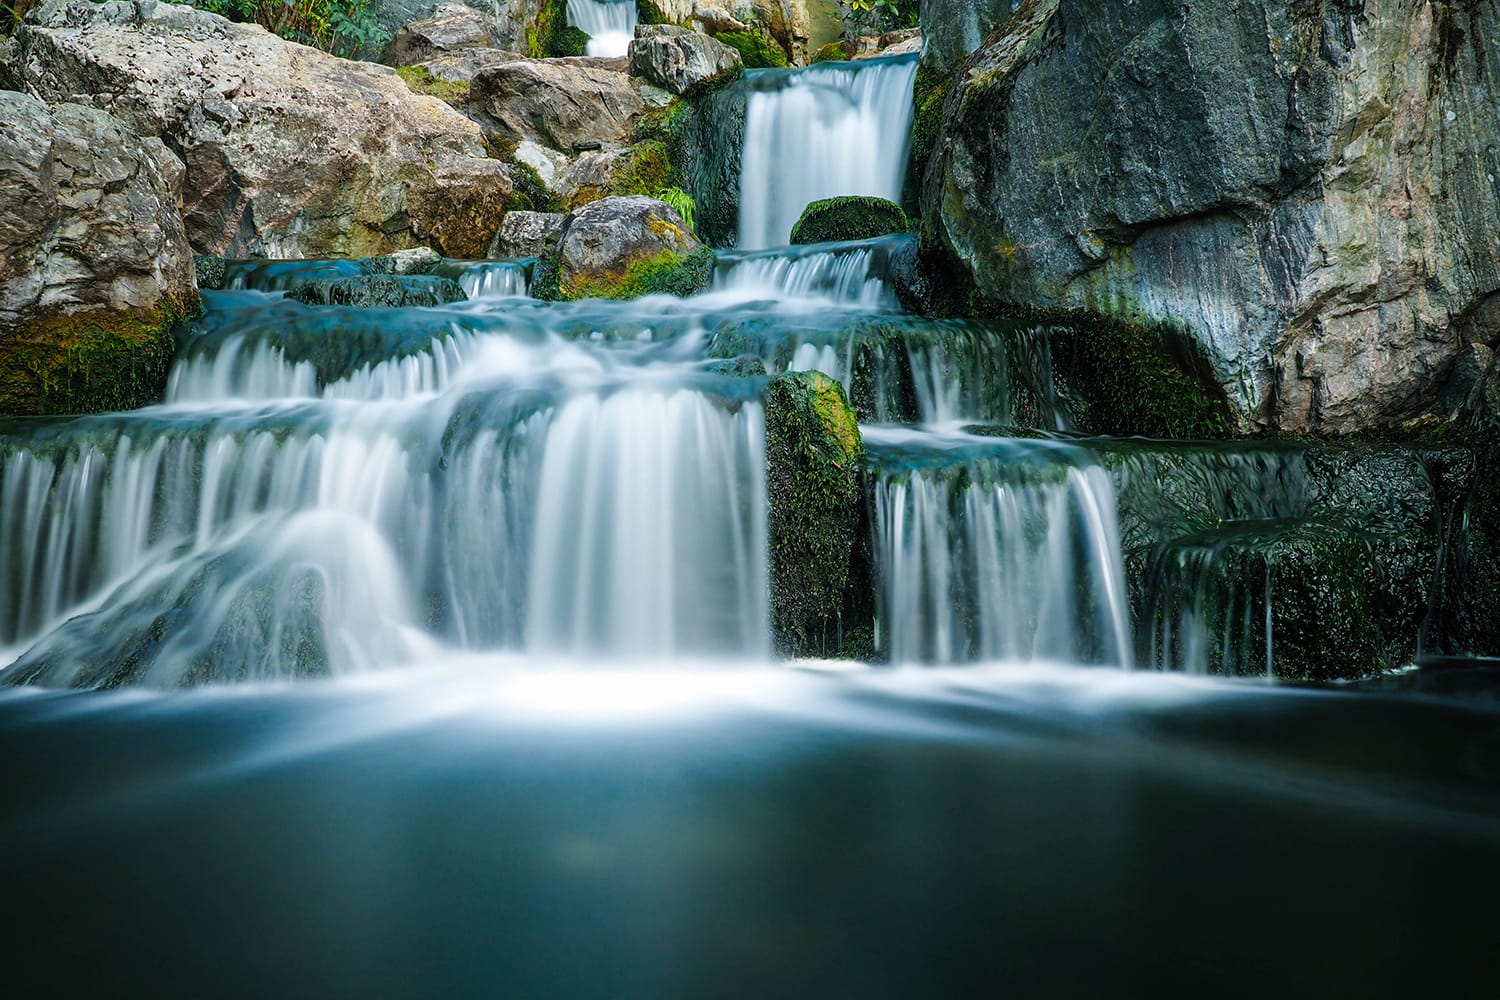
It’s all in the long exposures. This means that slow shutter speeds will be your best friend during these shoots, so this step is particularly important. This will take some experimentation as you decide which shutter speed yields the exact results you’re looking for, so be patient.
Start by putting your camera in manual mode so that you have full control over the shutter speed, aperture, and ISO [8]. Using a smaller aperture and a low ISO will help you to achieve slower shutter speeds while maximizing dynamic range, focus, and depth of field.
Try starting with a shutter speed of two or three seconds, then adjust as necessary. You might find that your perfect speed is anywhere between one second and 30 seconds as you work to attain the ideal level of smooth blur for your cascading water flow.
5. Make a few adjustments in Photoshop
There’s no shame in making some corrections in Photoshop [9] or Lightroom [10]! When photographing waterfalls, it’s incredibly common to end up with some areas of “blown-out” highlights along the water’s path. These blindingly bright orbs of white can majorly distract from an otherwise beautiful shot, but there’s an easy fix!
You can of course see the highlights and shadows that have lost detail by looking at the Histogram [11] in the Develop module in Lightroom Classic [10].
In Photoshop, you can use the Burn tool to get rid of these large splotches of white and make the texture of the flowing water more uniform. With a low hardness setting (about 15%), the range set to “highlights,” and the exposure even lower (try 8%), you can draw over the blown-out areas within your waterfall and return some texture to the image.
Just be careful not to overuse this tool or cover the same area twice. If you notice that the Burn tool [12] is causing your water to appear too dark or gray, adjust the settings and give it another shot.
We hope these tips and tricks will inspire you to get out and try your hand at soft water photography, too. Shooting in nature means that you may not always get the results you want the first time.
Still, waterfall shots provide fantastic learning opportunities both for beginning photographers and for more experienced photographers who are looking for ways to practice and perfect their techniques.
Oh, and when you’re done, don’t forget to dip your toes in. It’s a pretty great reward for a job well done.