6 Easy Steps for Creating Awesome Smoke Bomb Photographs

Smoke bombs aren’t just for paintball and airsoft games anymore! These days, smoke bomb photography is one of the trendiest ways to add a whopping dose of creativity, a burst of color, and a glimpse of drama and intrigue to your photography portfolio.
While the concept behind smoke bomb photography is a simple one, nailing the shot you want isn’t always as straightforward.
Not to fear! That’s why we’re here to give you the low-down about smoke bomb photography in this handy tutorial.
1. Research and gather your materials
It won’t take long for you to discover that there are tons of smoke bombs out there. Different brands, shapes, colors, and all manner of claims and advertisements will overwhelm any photographer on the hunt for smoke bombs online, so don’t rush your research as you choose what will work best for you.
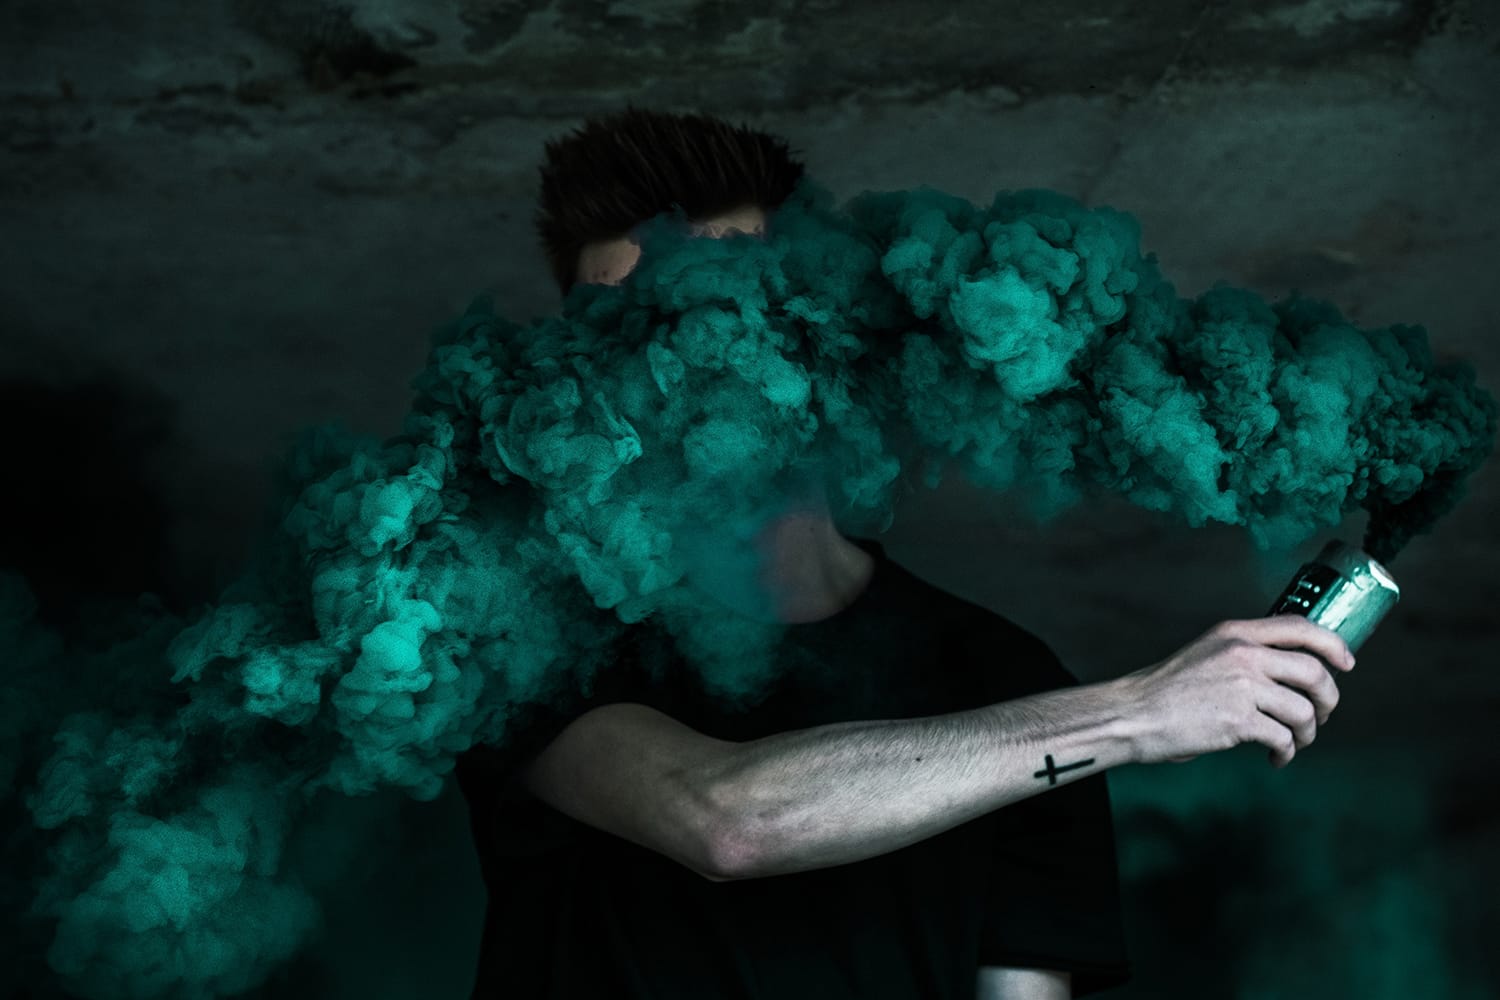
When you’re first starting out, look for smoke bombs (also often referred to as “smoke grenades“) that have a long burn time.
This means that the smoke from a single bomb will last longer than other bombs, giving you more time to get everything right and not find yourself frustrated with wasted smoke bombs.
2. Know what you want out of your photo shoot
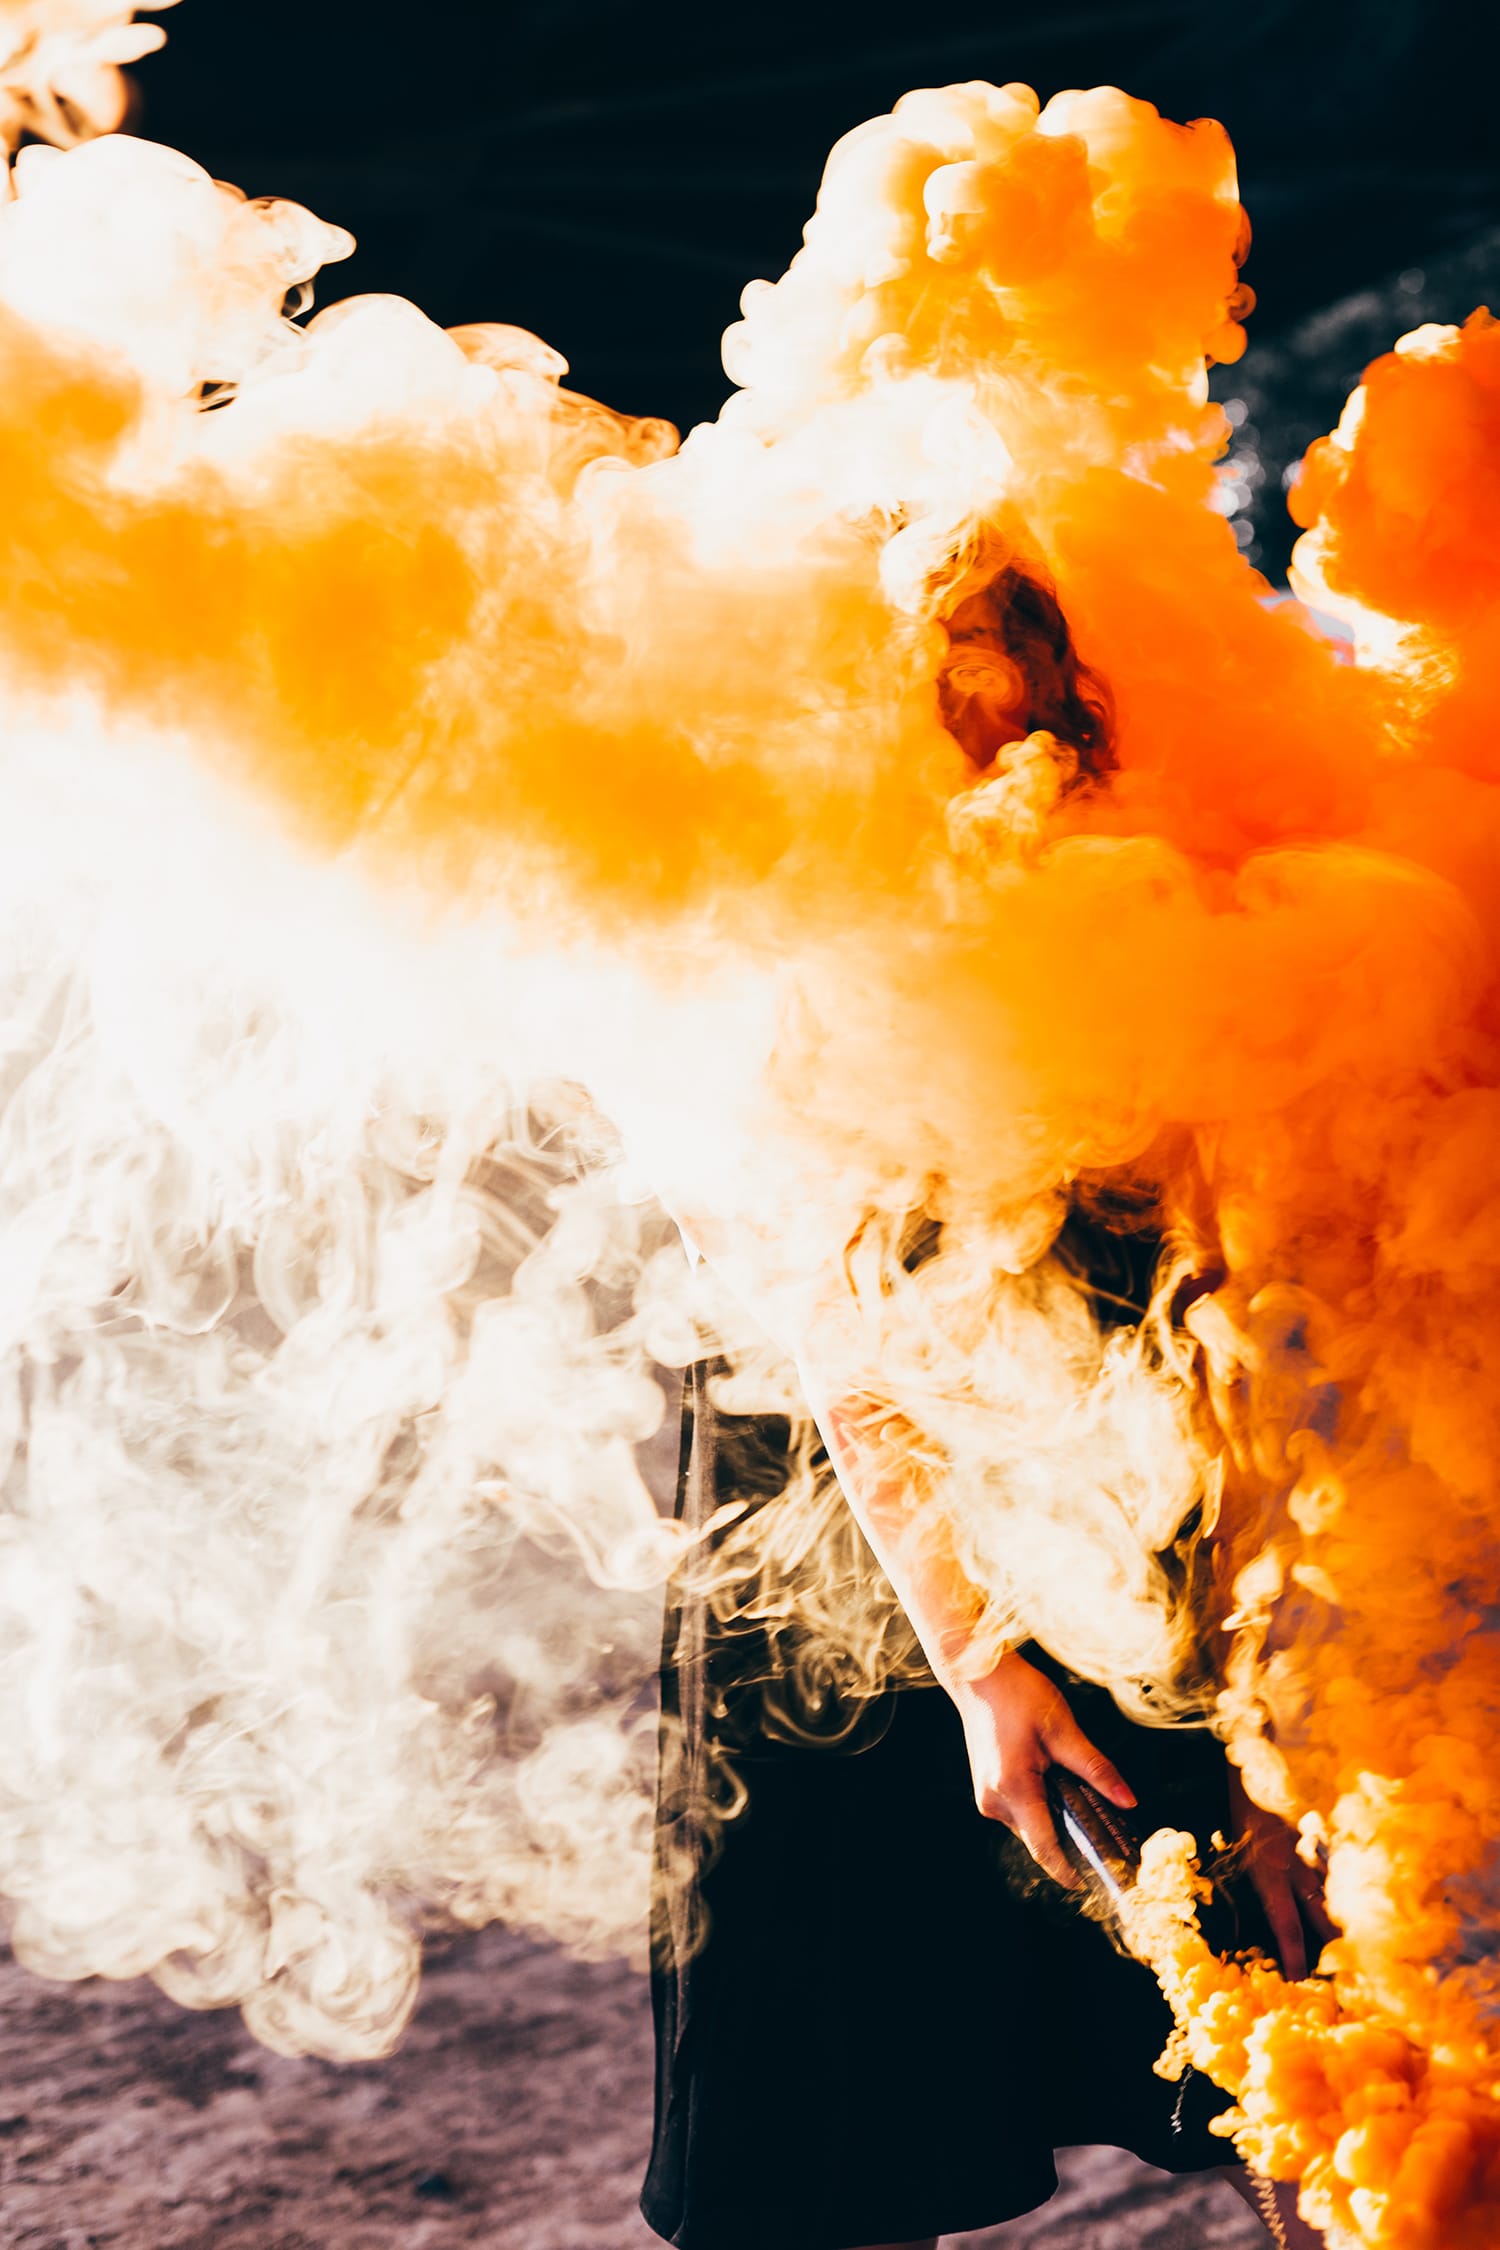
During your hunt for smoke bombs, you’ll find another characteristic of the many smoke bombs on the market that will make a massive difference in the overall result of your shot: the smoke density.
While some smoke bombs will release an incredibly dense, bold amount of smoke, other bombs will lend you a gentler, more whimsical, and misty effect.
Before you can choose which smoke bombs to purchase and bring along to your photoshoot, plan the aesthetics you hope to achieve.
It doesn’t hurt to think ahead and imagine a few compositional ideas, too!
You might even go the extra mile and save some planned poses on your memory card to use as additional references during the shoot.
3. Plan for safety first
More important than any other tip we can give you in this tutorial is a quick discussion of safety. Because smoke bombs are potentially hazardous, the most important aspect of smoke bomb photography you can research is how to keep yourself and your models safe when using smoke bombs as special effects.
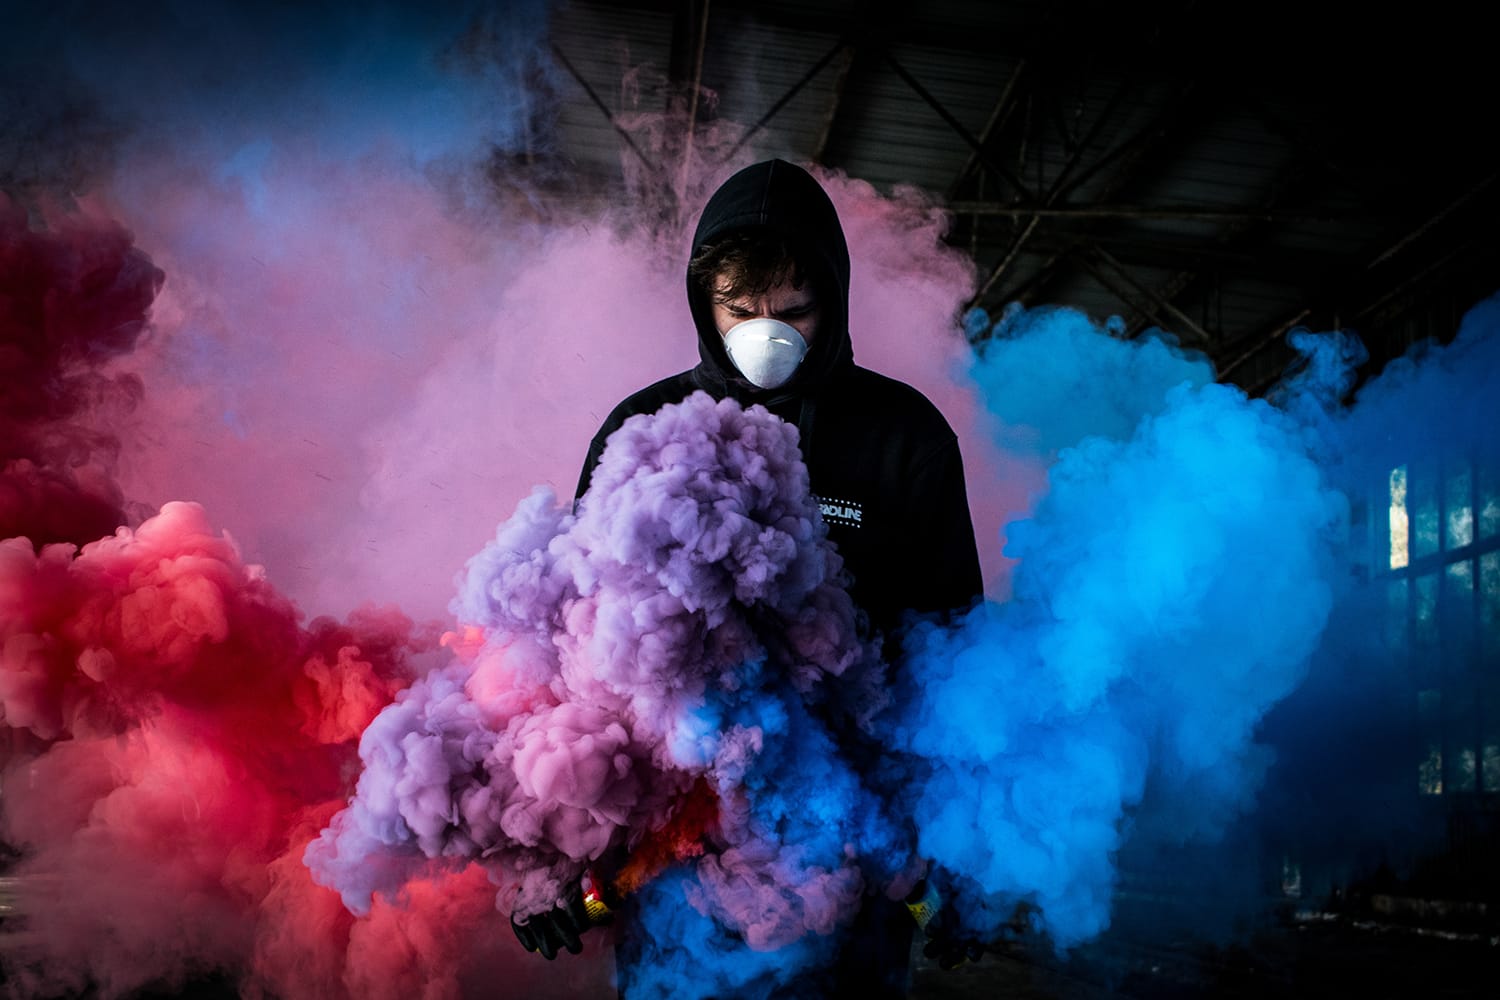
Always bring water to douse a smoke bomb in a pinch, and pour water over any used smoke bomb before disposing of it. Take extra precaution if anyone plans to hold the smoke bomb in their hands while it is lit – this can result in serious burns if not done with care.
Planning for safety also includes checking with the local authorities wherever you plan to shoot. Some locations (national parks or certain wedding venues, for instance), may not allow the use of smoke bombs on their premises—no, not even for the sake of art.
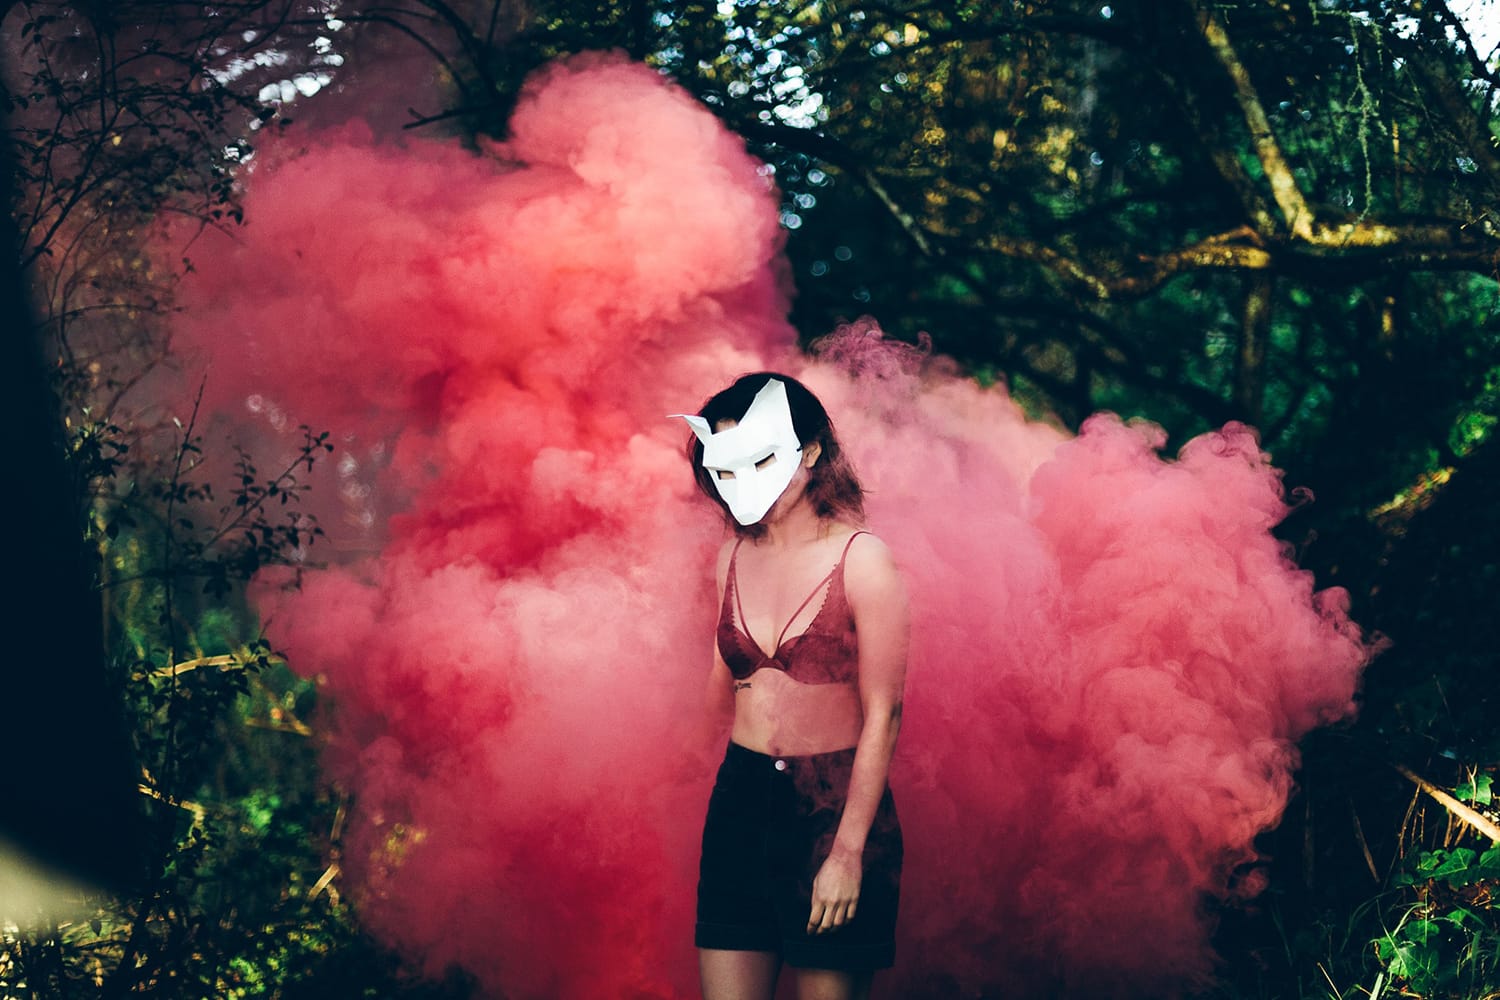
4. Choose your colors thoughtfully
Back to the fun part! Now that you hopefully have some compositional ideas in mind for your smoke bomb photography shoot, consider the color (or colors) you’ll want to use.
You can choose depending on the emotions you want to portray in your photo, pick a color scheme based around the hues that will be present in the background of your shot, or choose smoke bomb colors based on color theory.
Think, for instance, what would create the most contrast? Which tones would act as visually appealing, complementary colors to your backdrop?
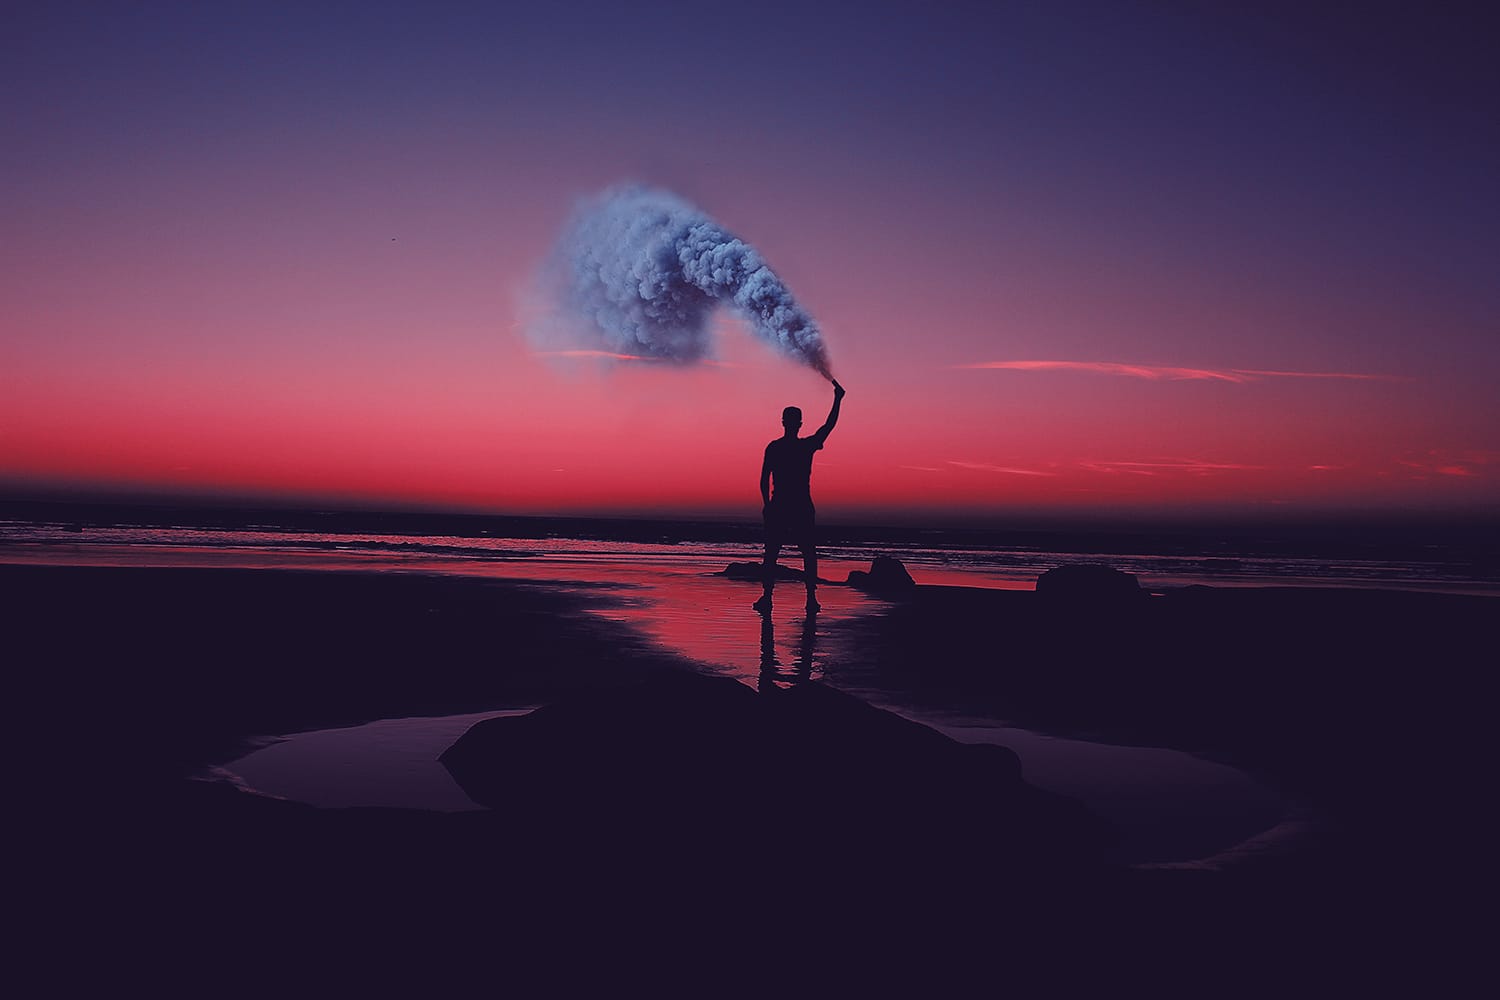
5. Check the weather
Many of our outdoor photography endeavours are frequently bested by the weather, but there’s another component of the outdoor elements you must consider when planning a photoshoot involving smoke bombs: the wind.
Typically, it is only rain or cloud cover we have to worry about and plan around when shooting outdoors, but the wind may be the greatest enemy of the smoke bomb photographer.
If you’re unable to complete your photoshoot on a calm day when the wind won’t distort your plumes of smoke or blow them away altogether, carefully choose a location where you’ll be the safest from pesky gusts. Behind a building is a good place to try when all else fails!
6. Have everything ready to go when you release the smoke
Even smoke bombs with the longest duration will still burn out quickly, so have everything set up exactly how you want it before releasing the smoke.
Once the smoke is billowing, the only thing you should have left to do is press the shutter. Even better, take some test shots without smoke prior to digging into your smoke bomb stash.
This will require plenty of communication with your model or with a helper if you have one. Aside from making sure that everyone involved in the shoot understands how to stay safe while working with or near smoke bombs, you’ll also want to direct the shots at the photoshoot’s leader effectively.
Thoroughly communicate the poses you want to incorporate, have a clear signal for when you want your model or a helper to release the smoke, and take your time beforehand to ensure that your camera settings are right where you want them.
Now, you may not find perfect success the first time you try smoke bomb photography, but that’s to be expected when pursuing something new!
As long as you follow these steps carefully, you’ll see some vast improvement right away. With some persistence, adjustment, and learning, your camera will be full of successful, smoky shots in no time at all.
About the Author: Jon C. Phillips
 Jon C. Phillips is a photographer, watch lover, product developer/designer, guitarist & musician, and all-around web nerd. He's the founder of Contrastly which he launched in late-2012. He also co-founded DailyPhotoTips and TheDailyPreset.