6 Great Tips for Getting Started With Traditional Film Photography
 by
Mark Condon
by
Mark Condon

If you’re thinking about getting started with traditional film photography, you should read some film photography tips.
Without analog photography, digital photography would not be available. The history of film photography is fascinating. The first flexible photographic roll film was sold by George Eastman, the founder of Kodak, in 1885.
The process of making a photograph on film is true science. It can be rewarding to experience processing your film pictures and see the print come to life.
In today’s world, where we all rush and have everyday tasks simplified, going back from digital to film photography requires slowing down. The semi-pro digital cameras and those in smartphones have little to do with the art of photography. With film, you have to go out there and experiment.
Film photography is especially rewarding when used for shooting outdoors, black and white film, or even just for fun!
When using an analog camera, the quality of the photo depends on the photographer. Once you grasp how to make great pictures with a film camera, you’ll be able to do wonders with a digital camera.
In this article, you’ll learn some basic film photography tips for beginners. It will help you avoid costly mistakes and start creating your own film photographs.
1. Don’t be afraid to make mistakes
The best way to learn is through trial and error. Learning to shoot film takes time, practice, and some knowledge. It’s an investment, and you have to be patient.
Your first film camera shouldn’t be too expensive. You can even start with a rental or borrow one from a family or friend.
When it comes to rolls of film, go for one of the cheaper ones at first so you can learn and test out different settings. Try using one roll from different stock in a few different locations to learn what you like most about each film stock and location.
Going from digital, you’re probably used to shooting as many shots as you like. With film, there are a limited number of shots on a roll. Transitioning from unlimited images to 16 or 36 images at a time can be a dramatic change. Start slowly, so you don’t get discouraged by the cost of the film and the film processing at the lab.
Manual focus on any camera requires some training, boldness, and a good eye. Go out on the streets and shoot still life, like buildings or sculptures.
Try photographing posing people. Once you think you’ve mastered those, have a go at shooting moving objects to challenge yourself.

Taking notes while shooting is a great idea to learn how particular camera settings worked once you see the film developed.
There are some great dedicated magazines and websites to resource and learn from out there, like Shutter Magazine, Shotkit, and DailyPhotoTips. Reach out to experienced film photographers and ask questions, too. Professional film labs have staff that is trained and specialize in film. They will be happy to give you some film photography tips.
2. Get a light meter
Light metering is the process of measuring the light of a scene before taking a picture. A device that is used for that measurement is a light meter.
A light meter works by detecting the amount of light striking either the sensor or the subject. Learning to read from the light meter will let you select the exposure triangle settings (aperture, shutter speed, ISO) and get optimal exposure for the shot.
Some film cameras have a built-in light meter, but many, especially older ones, don’t. If you have one of those, it’s best to either buy an external light meter or download a light meter app for your phone.
If you find yourself in a situation without a light meter, use the “Sunny 16” rule. For outdoors, on a nice sunny day, you can achieve good exposure by setting your aperture to f16 and your shutter speed to the inverse of your ISO (or the next closest to it). As an example, if you’re shooting with 100-speed film, your shutter speed should be either 1/100 or 1/125 of a second.
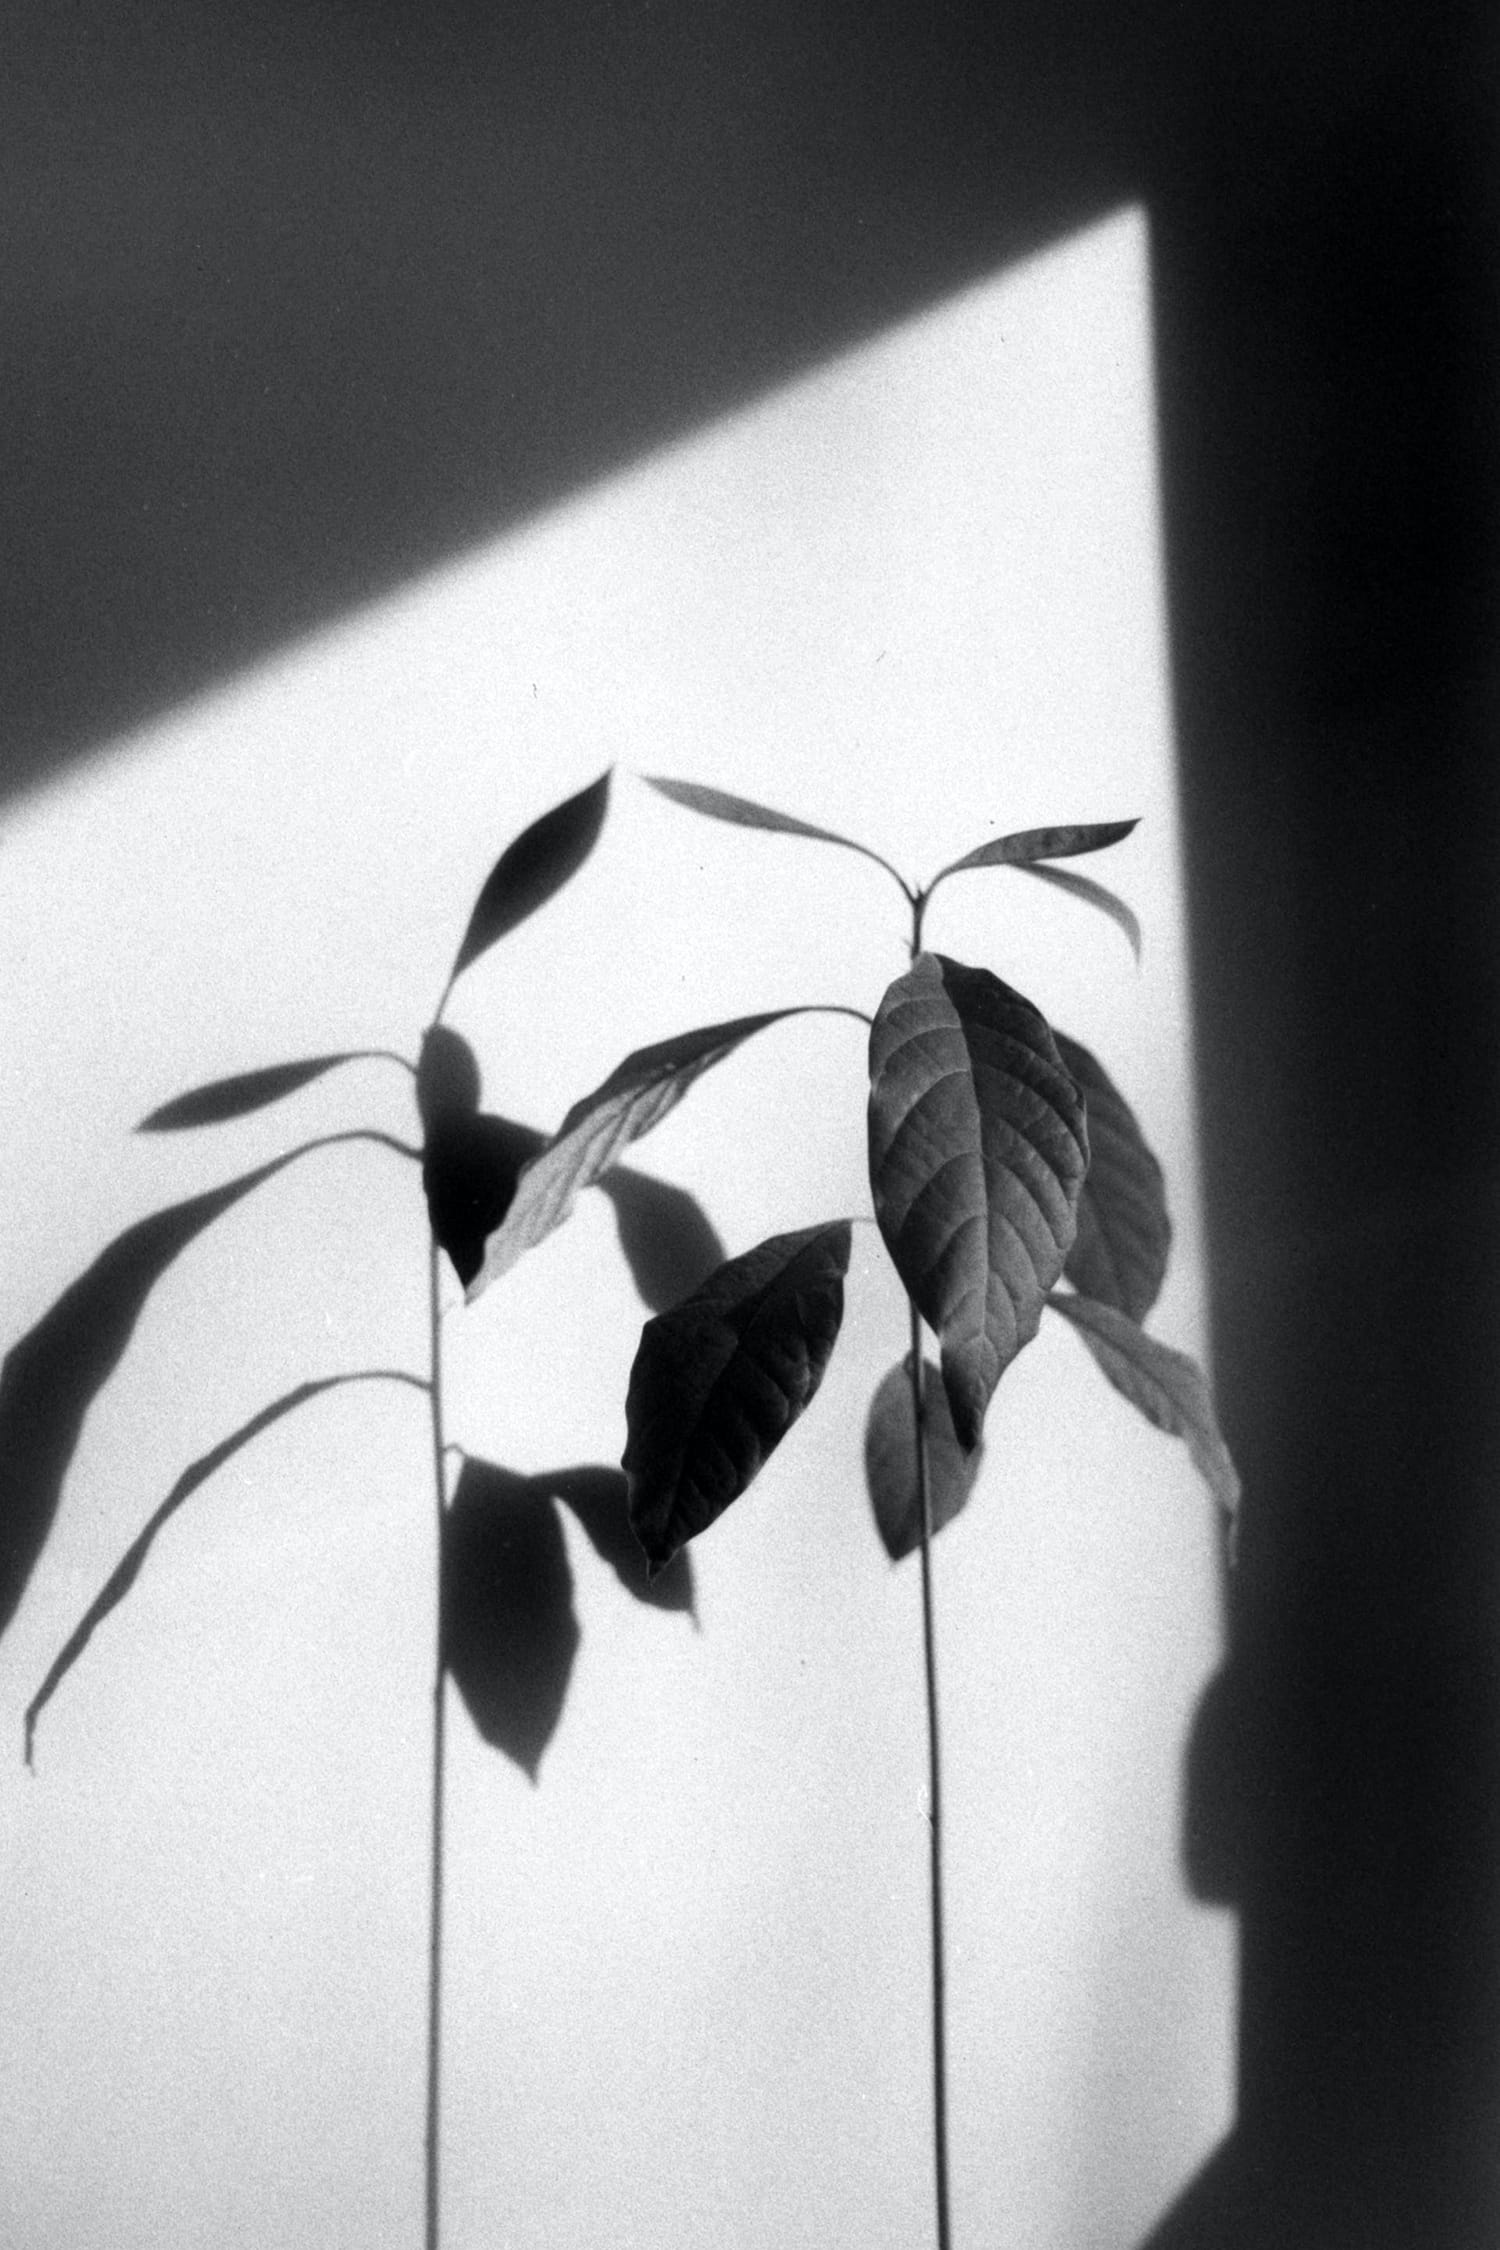
3. Work with monochrome film
If you want to learn how to work with light and shadow when shooting different shapes, you should try using a black and white film.
Black and white photography can seem more challenging. As we are used to seeing the world in color, it is hard to imagine how a certain view or object would look in monochrome.
In contrast to polychrome photography, monochrome film photography captures differing amounts of light but not the hue in an image. Monochrome photography takes one color and uses a range of tones of that color.
We can assume that all black and white photography is monochrome photography, but not all monochrome photography is black and white. Black and white colors are the extreme ends of the gray color spectrum. Other hues besides gray, such as sepia, cyan, blue, or brown, can also be used in monochrome photography.
While working with monochrome film, you will need to pay attention to the frame’s contrast, shapes, forms, textures, and composition.
Many photographers shoot with color film and make their images black and white at the post-production stage. However, working with monochrome from the beginning will help to develop your artistic vision.
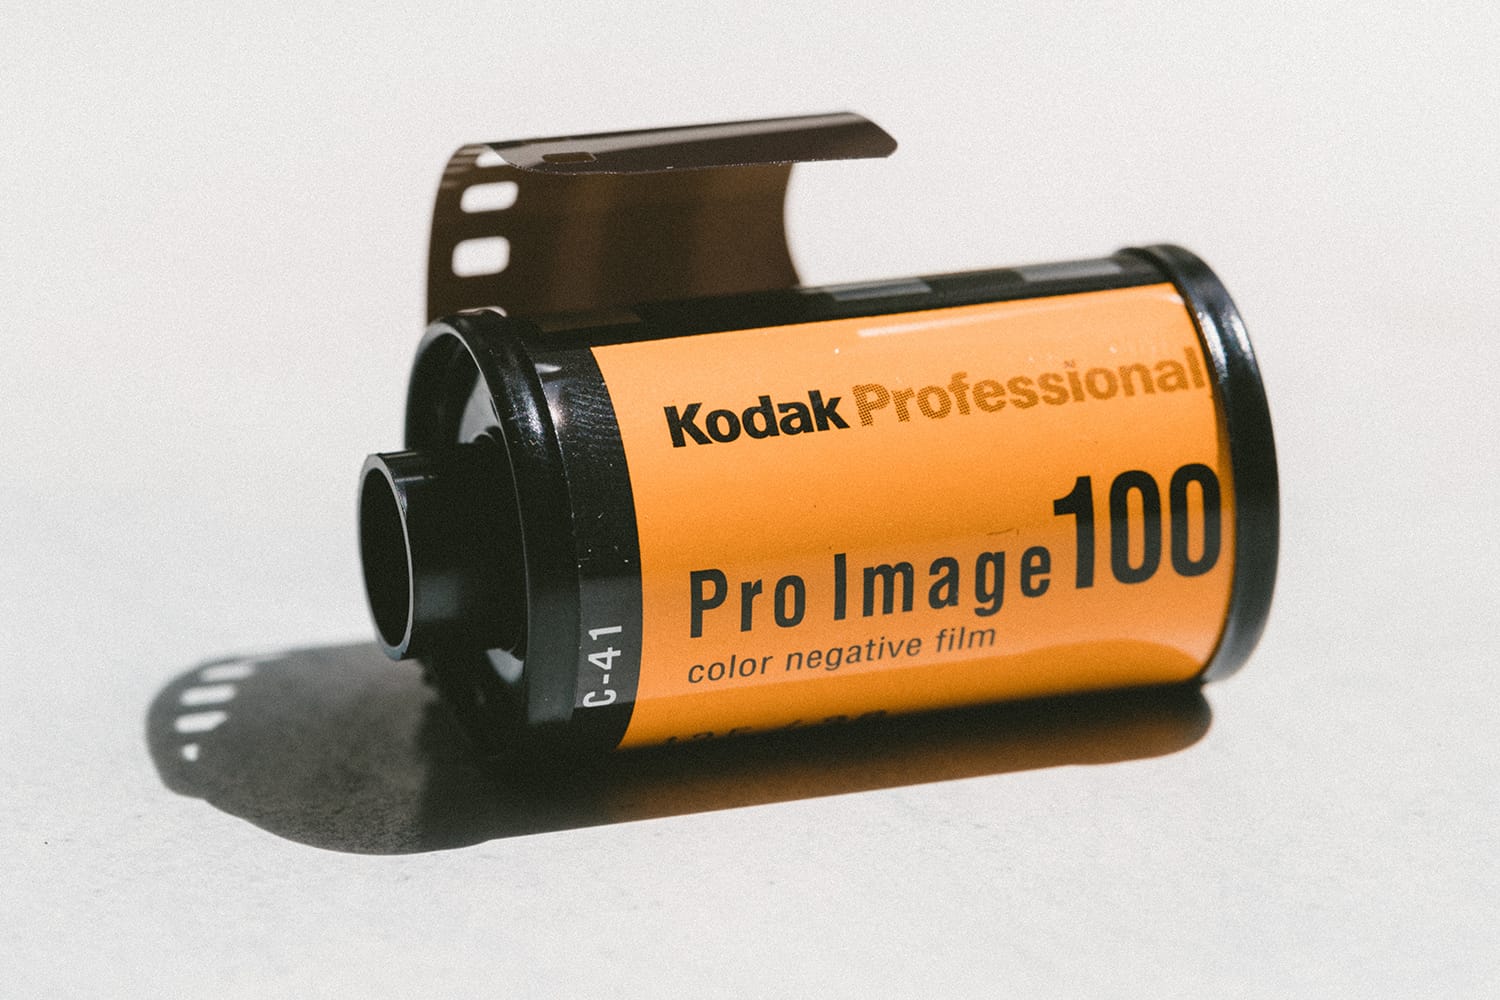
4. Start with 35mm
35mm (or 135) film is the most popular type of film. It works with most compact cameras. You can choose a good camera at an affordable price without the risk of having a problem buying or developing your film.
35mm film is considered small-format as it produces images that are just 36×24 mm in size. With 35mm film, you can take up to 36 pictures rather than just 16 when using a large-format roll.
Start by browsing for some classic, pre-owned cameras on Amazon or eBay. Any model with a program mode will be enough for a beginner. Brands that make 35mm cameras include Leica, Kodak, Nikon, Canon, Pentax, Fujifilm, and more.
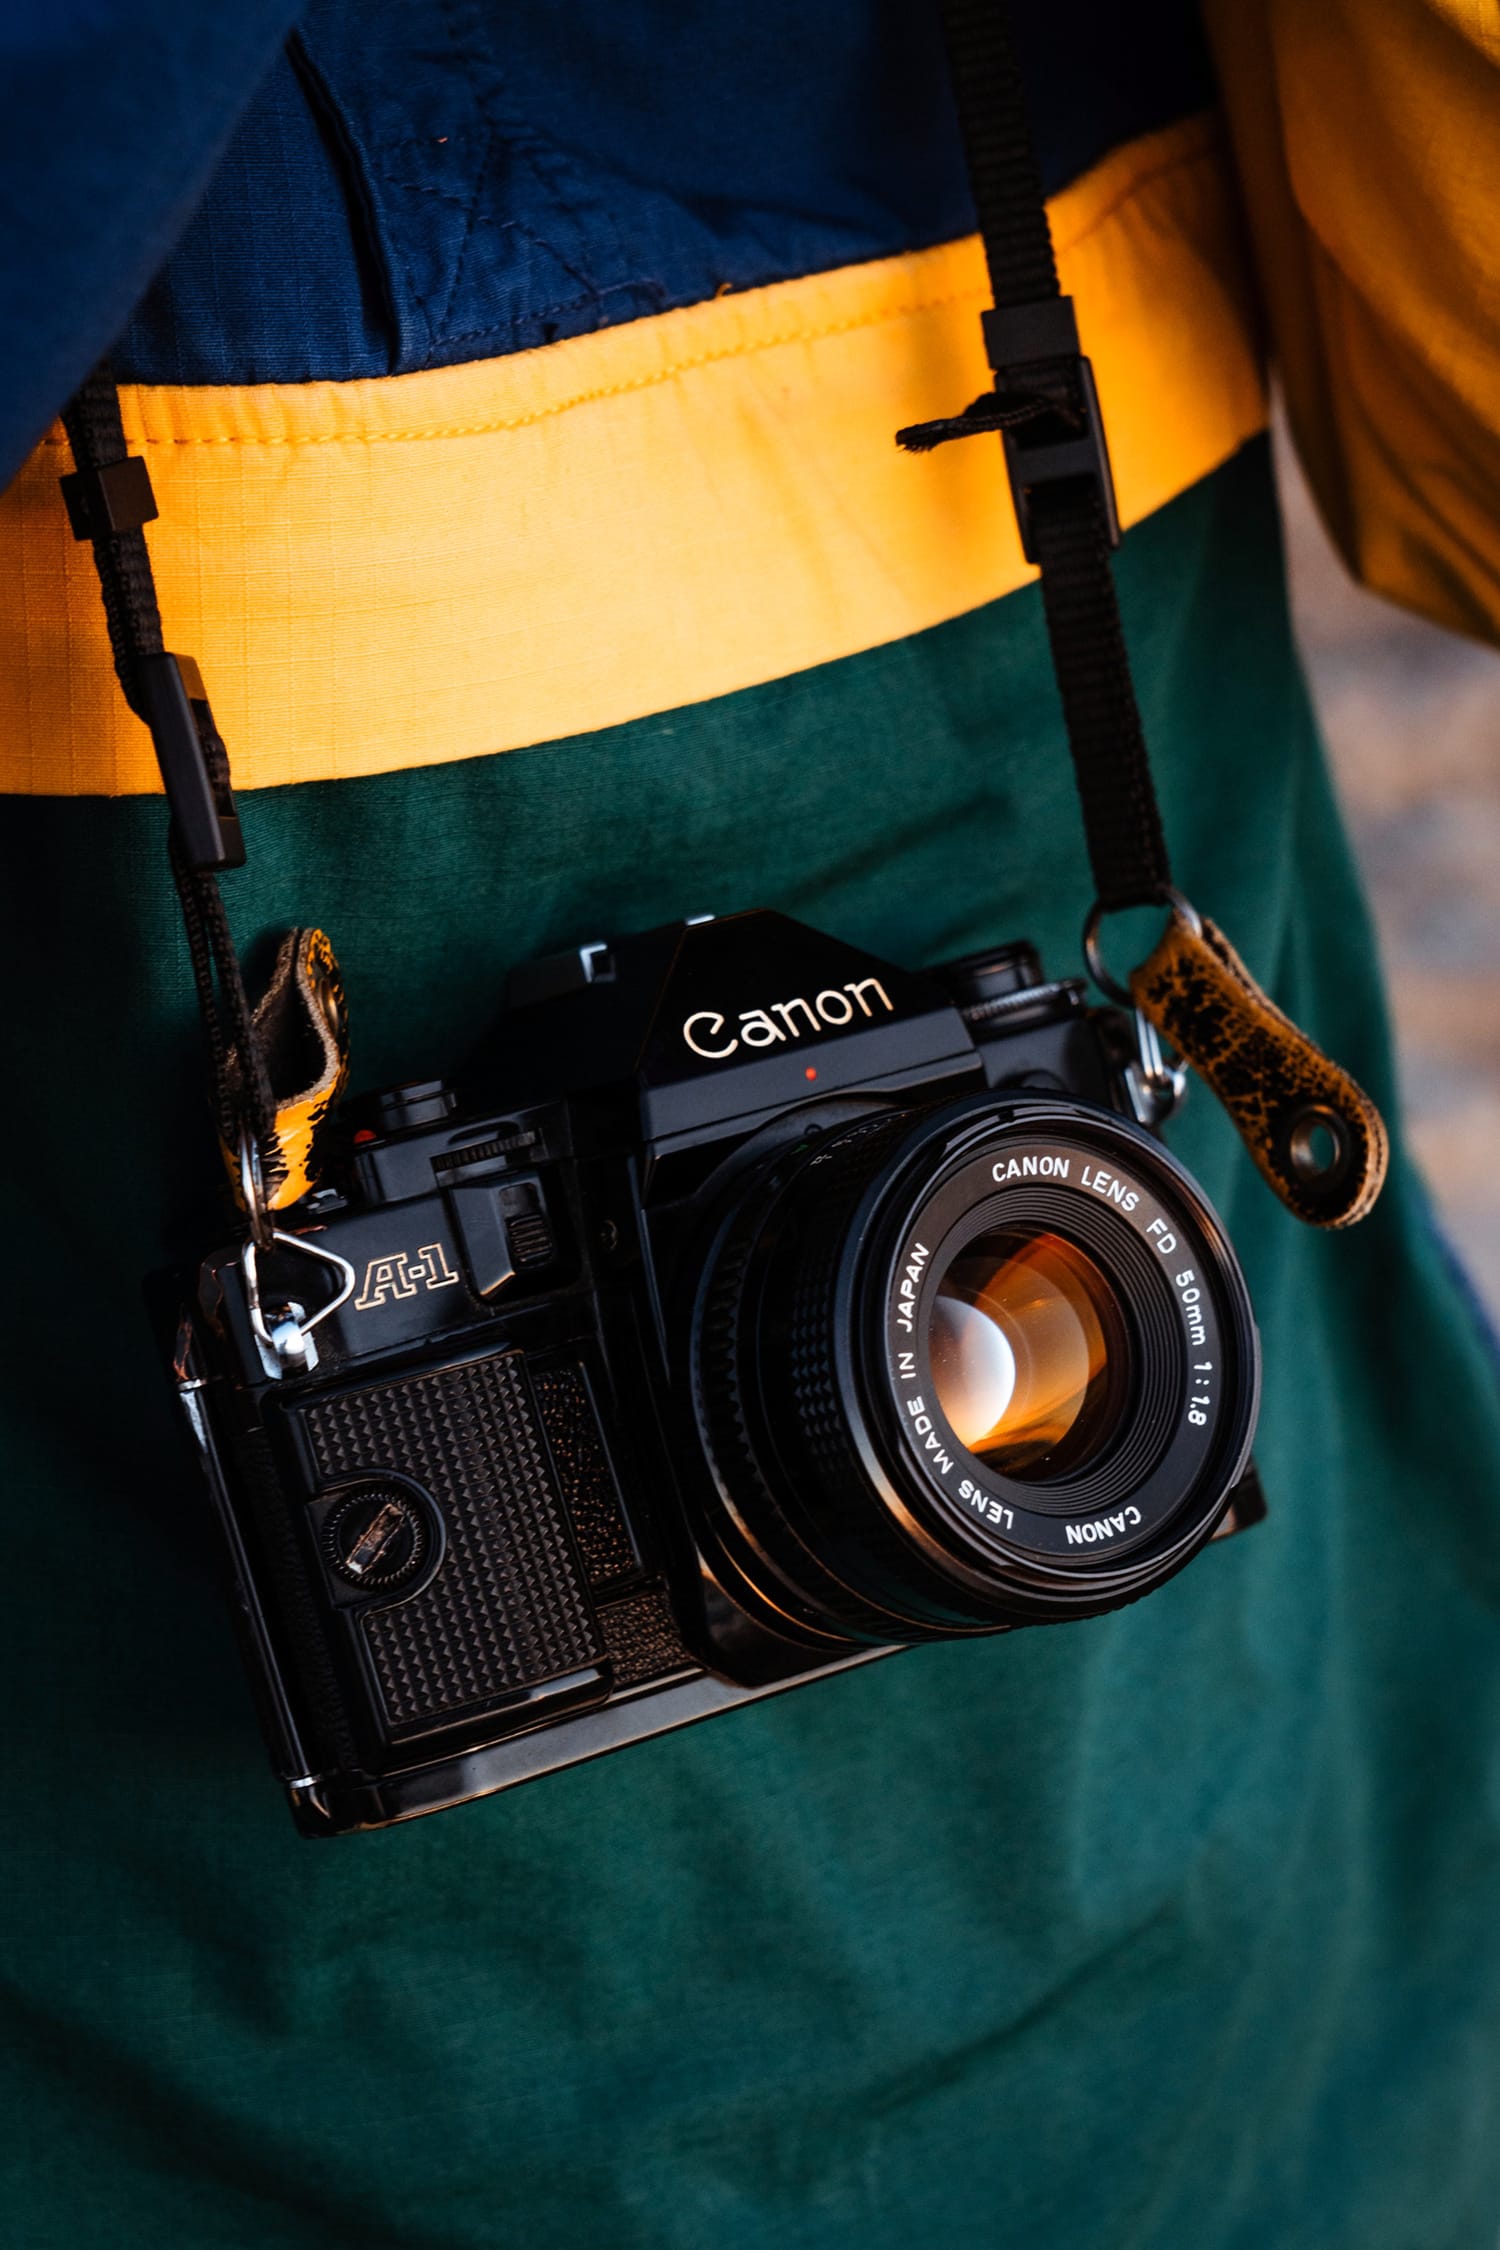
Canon A-1 is a great example of a good mechanical camera to get experience on. Not only is it very simple to use, but it’s also durable.
5. Master the exposure triangle rule
The exposure triangle rule is a basic rule of analog photography. Aperture, shutter speed, and ISO make up the three sides of the exposure triangle. The three factors work together to make a properly exposed picture. If one variable changes, at least one of the others must also change to keep the exposure right.
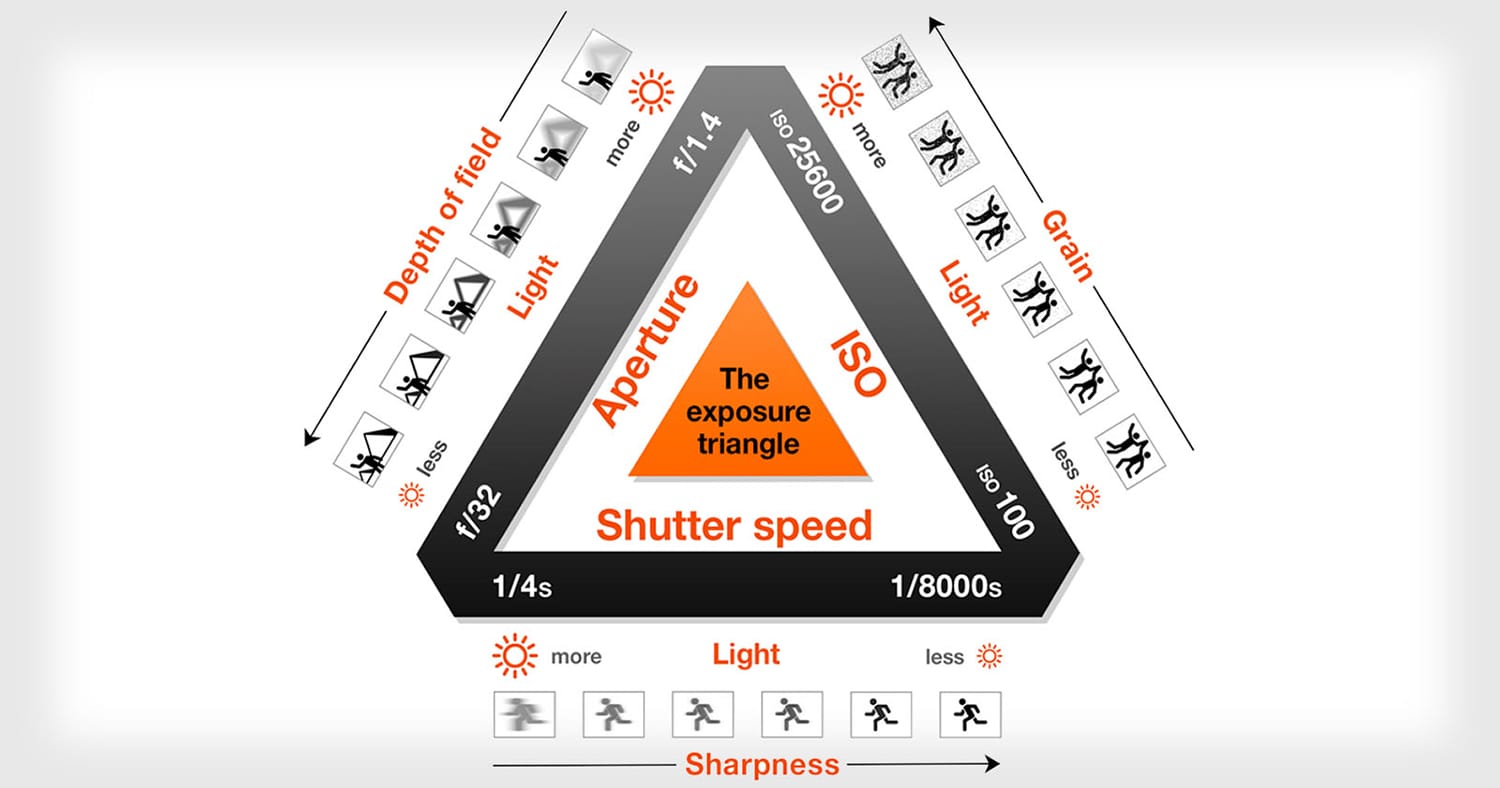
The first film cameras were all manual. The photographer had to manually set the ISO, aperture, and shutter speed. Knowing the relationship between the exposure triangle factors will help you put the rule into practice. Setting your exposure manually takes some patience, but it’s worth not relying on automatic settings.
To properly set up your analog camera, you need to value your light conditions and the light sensitivity of the film loaded in the camera. For example, if you’re after a lighter frame, you need a higher ISO, slower shutter speed, and wider aperture.
Generally, when you’re changing your camera setting that affects one side of the exposure triangle, use the two other settings to balance the exposure triangle. Once you can put the exposure triangle rule into practice, you can experiment.
6. Learn how to work the shadows
If you’re using a digital camera, you know how to use exposure for the highlights so you can edit your photo later. With a negative film, it’s not the case. Although a negative film is great at capturing the highlights, it can be hard to create shadows.
Follow the “Expose for the shadows, develop for the highlights” rule for black-and-white film. Make sure to provide enough exposure so the darkest subject in the scene can appear on the film. You can control any bright highlights at the development stage.
A negative that is underexposed will have little or no detail in the shadow areas. So-called “thin negatives” happen because of underexposure and/or underdevelopment. Thin negatives will produce disappointing grainy, flat prints.
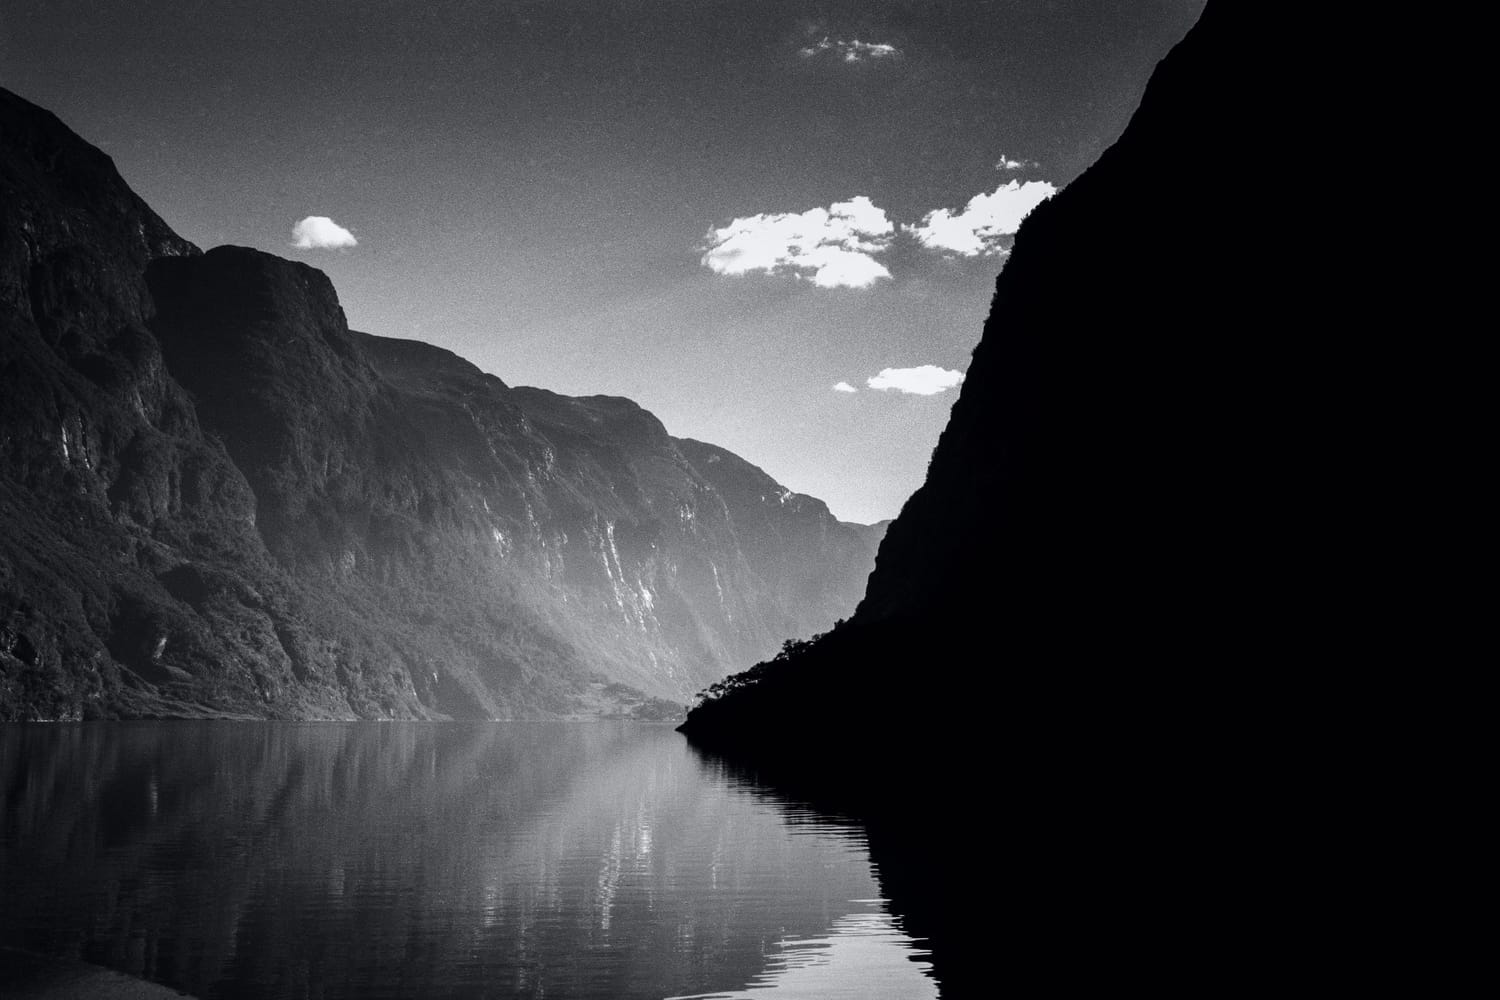
The author of the picture above took the shot on Kodak Tmax 100 film with a Canon A2E. The black and white film showed the true contrast of the cliffs and the sky.
In Closing
Film is about getting your hands dirty and understanding the chemistry. Once you’ve mastered the skill, film will look great straight out of your camera.
Film photography memorializes a moment from the past. As it gains enthusiasts and companies that supply the equipment, hopefully, it also represents the future.
The internet and social media are full of inspirational film photos. After learning these film photography tips, go out there, get some inspiration, and take those beautiful pictures for the world to see.
About the Author: Mark Condon
Mark Condon is the founder of Shotkit, the go-to website for anything related to photography. If Mark isn't busy shooting weddings, you'll find him writing reviews about the latest camera gear for the site himself.