7 Tips for Getting Started with Macro Photography
 by
Marc Andre
by
Marc Andre

If you’re looking for a new challenge that will help you to improve your skills and allow you to come away with some interesting and unique photos, macro photography could be the solution.
Technically speaking, macro photography involves at least 1:1 magnification (a one-inch object would be projected to be at least one inch on the camera’s sensor). However, the term “macro photography” is loosely used for closeup photography, using involving small objects or fine details.
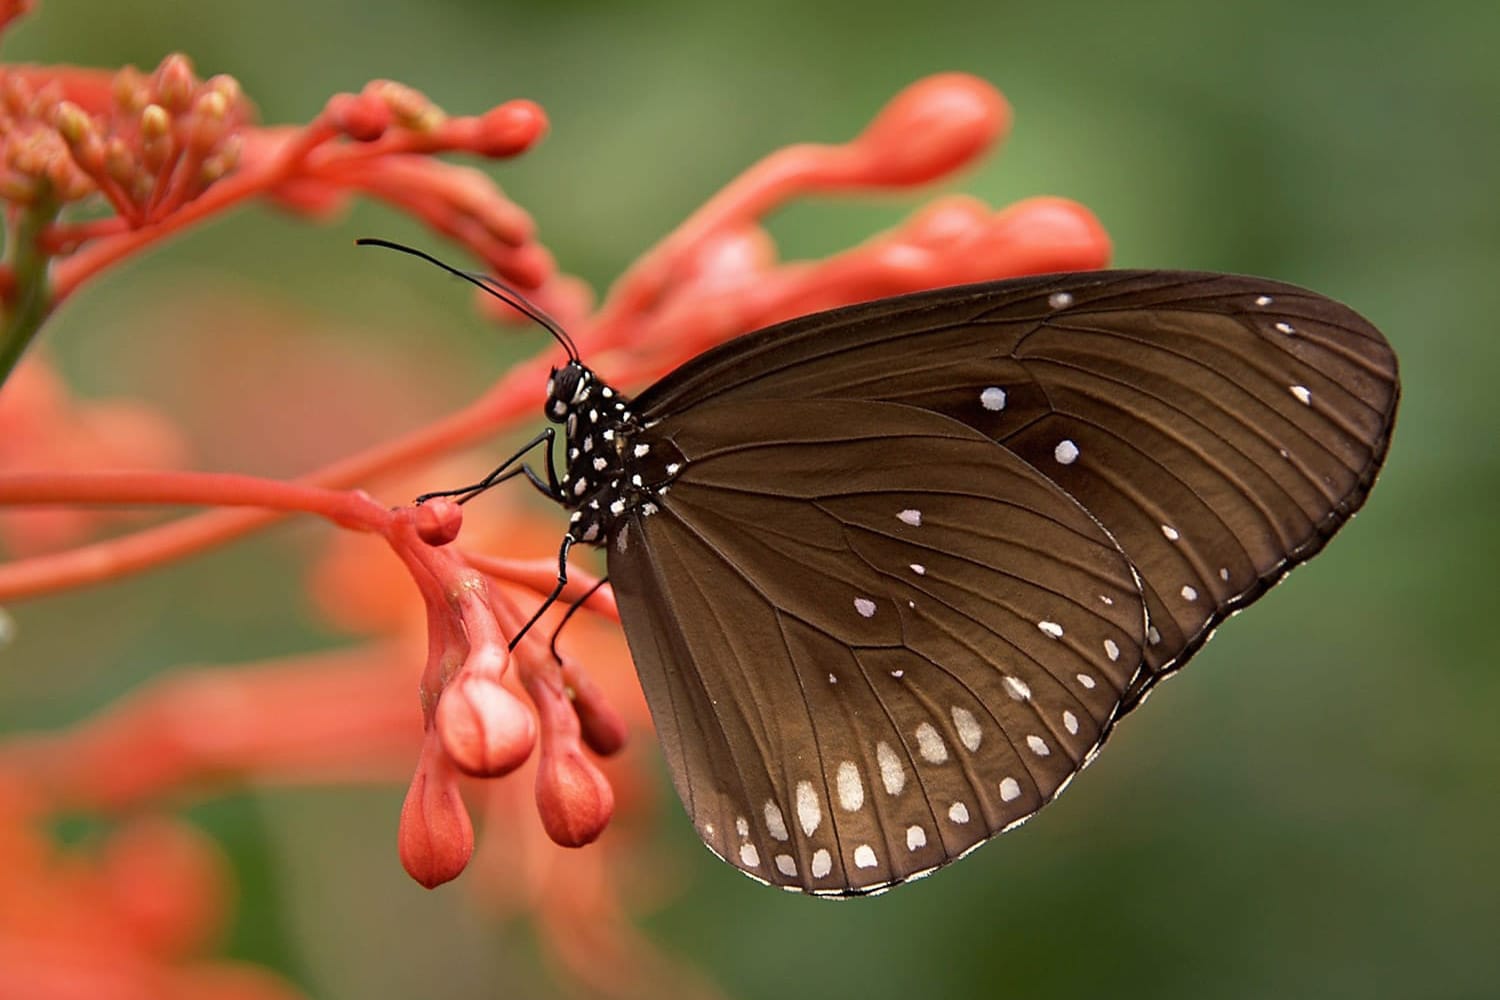
Things like insects, butterflies, flowers, and plants are common subjects for macro photography, but really, anything that looks interesting closeup could be a possible subject.
If you haven’t tried macro photography before, here are some tips that can help you to get started.
1. Use the Right Gear
Macro photography requires the use of some specific gear, so being properly equipped will go a long way towards getting the results that you’re looking for.
Lens
While many modern cameras have macro modes, to get true macro photos that are good quality, you will need a dedicated macro lens. You’ll find a variety of prime lenses usually in the 65mm to 200mm range available for Canon, Nikon, and Sony.
The focal length that you’ll want will be impacted by what you will be photographing. If you want to photograph insects or small animals, a longer focal length is better. Shorter focal lengths require you to get closer to your subject, and you’ll probably scare animals or insects if you get too close. But if you plan to photograph non-living objects, you won’t necessarily need a longer focal length.
Extension Tubes
Macro lenses can be pretty costly, and if you don’t want to spend that much money, extension tubes can be a much cheaper alternative. Extension tubes will go between the camera and lens and make the lens focus closer, allowing you to essentially convert a standard lens into a macro lens.
Extension tubes add a small amount of inconvenience and the quality may not be quite as good as using a good macro lens, but they can be a great option if you’re looking to get started with macro photography without breaking the bank.
Diopter
A diopter is another option for getting started in macro photography without purchasing a true macro lens. The diopter is a close up filter that screws on to the end of the lens and acts like a magnifying glass.
Just like extension tubes, the quality may not be quite as good as a dedicated macro lens, but the diopter is more than capable of serving as a good starting point.
Third Hand
A third hand is any type of device that can be used to hold objects in place for your macro photos. This won’t be relevant for all of your macro photos, but there may be times when you need an extra hand to hold a plant or some other object right where you want it. This could be something that you rig up with a little bit of creativity.
Flash and Diffuser
Natural light is preferred to a flash, but you may not have a lot of flexibility with some of your macro shots.
Photographing insects or small animals will require a fast shutter speed and you may need to use a small aperture (larger f-stop number) in order to get the right depth of field, so a flash may be necessary. When you do use a flash, a diffuser is recommended because it will soften the light a bit.
2. Choose Your Subject
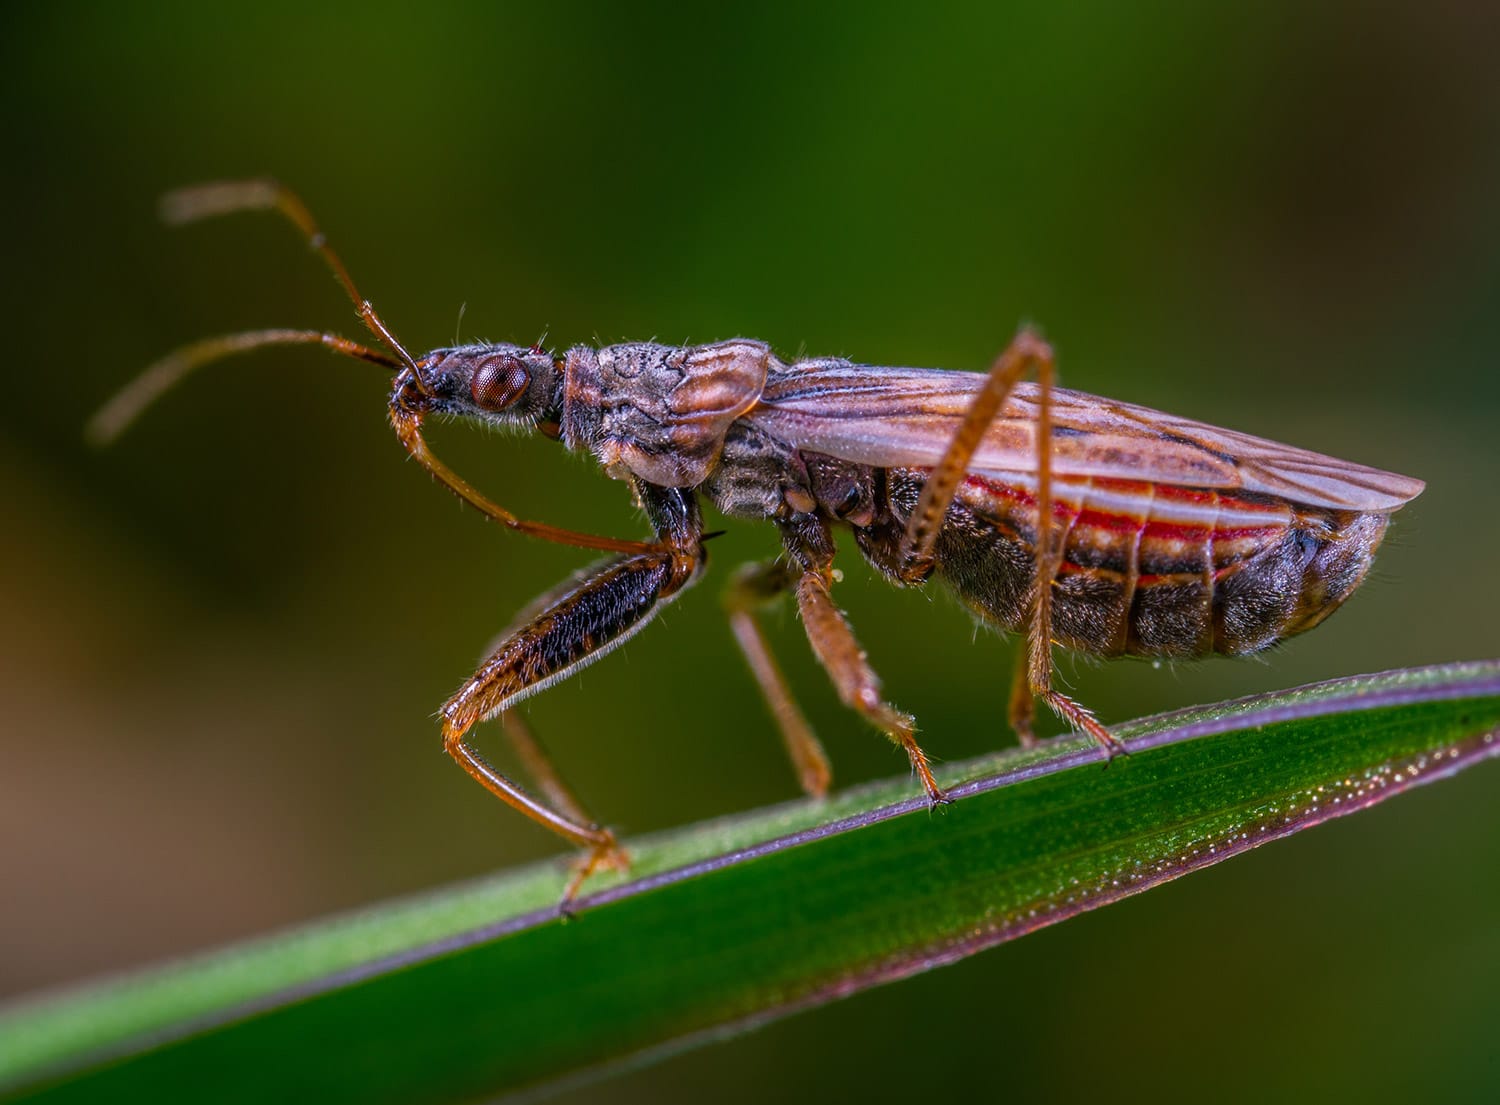
What will you be photographing? Photographing living things may take more effort because simply finding the insect or animal can be a challenge, and then you’ll have to work without scaring them away.
On the other hand, objects like flowers or other things that you can place wherever you want will be easier to start with.
3. Choose the Focal Point
The focal point will be critical for your macro photos. Changing the focal point just a very small distance can have a big impact on the result of your photograph. When you’re first getting started, experiment with different focal points so you can see how it will change the photograph.
4. Pay Attention to the Aperture
Aperture is an important setting for any photograph, but it’s even more important with macro photos. The aperture will impact the depth of field, which determines how much of the photo or the subject will be in focus.
This is a big issue with macro photos because it’s easy to make the mistake of blurring too much and working with very small depth of field. The flash and diffuser can be very helpful here by allowing you to use smaller apertures, which will give you a bigger depth of field.
5. Pay Attention to the Background
Don’t forget to pay attention to the objects that are behind your subject. The best macro photos will typically have simple backgrounds. Busy backgrounds will take away from the subject and distract the viewer.
6. Watch the Weather
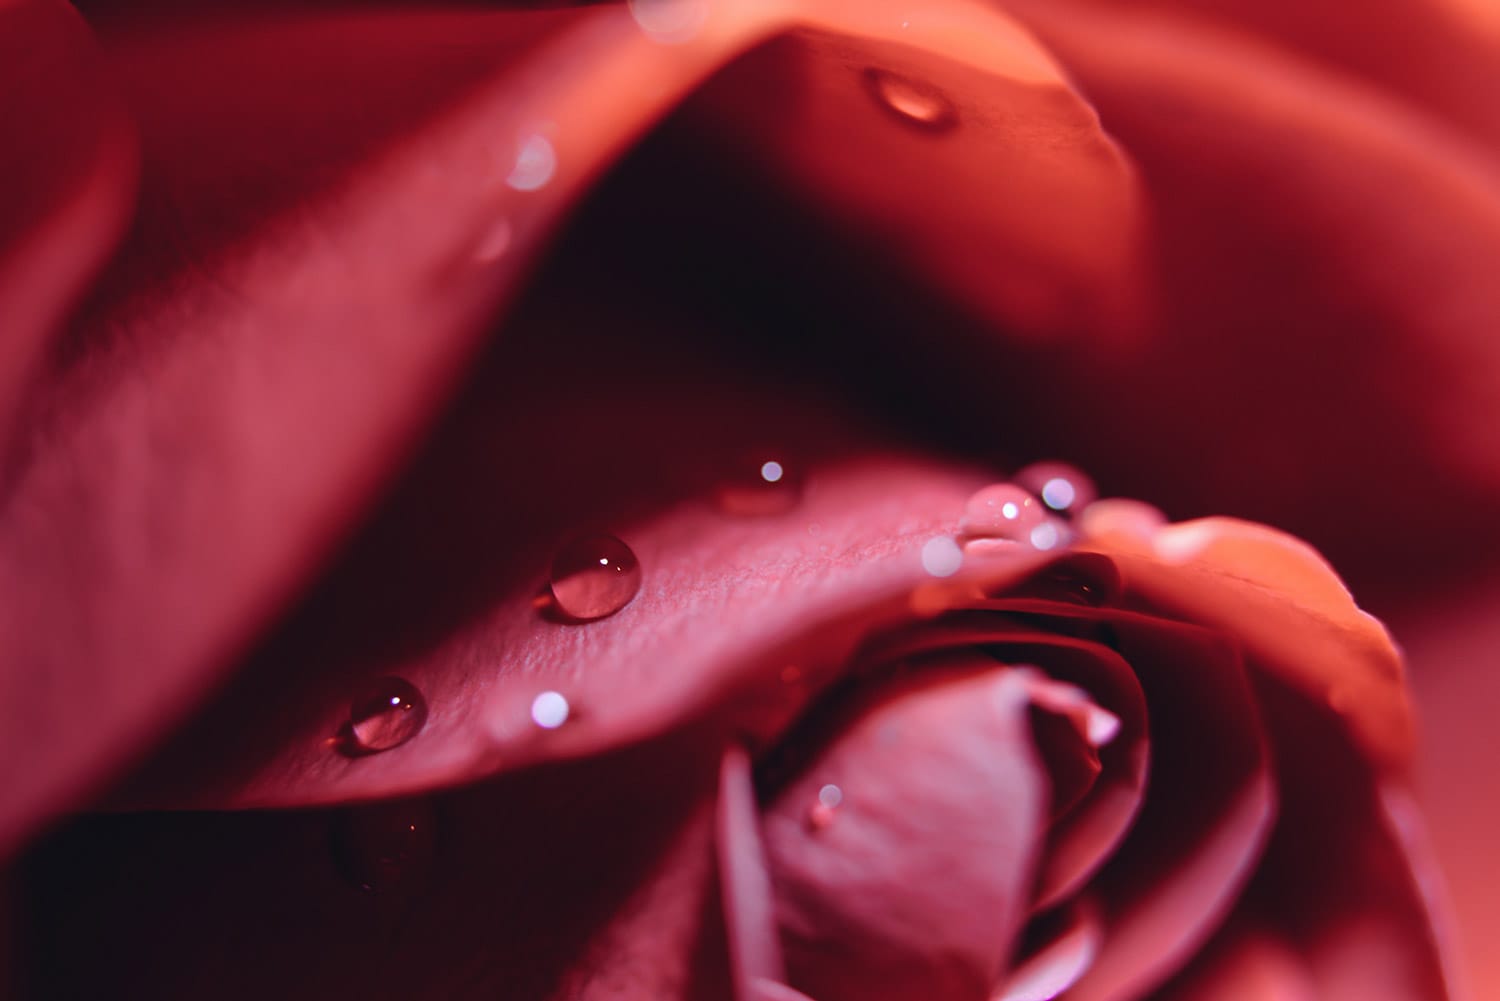
Weather can have a big impact on any type of outdoor photography, and macro photography is no different. If you’re photographing flowers, insects, or small animals, you may want to get out after a light rain or early in the morning when there is still some dew on the subjects that you’ll be photographing.
The drops of water can add a lot to the photos. Overcast days are also ideal because of the soft lighting that you’ll be working with.
7. Inspect Your Images on the LCD Screen
After you take a photo, check it on the LCD screen. Zoom in to 100% and check details like sharpness. With depth of field being so sensitive when you’re taking macro photos, it’s hard to gauge the quality of a photo without zooming in.
Have Patience!
Most importantly, when you’re getting started with macro photography, you need to have patience. It’s a bit different than other types of photography and you’ll need to give yourself a chance to learn and adjust as you go.
You’re sure to have situations where your photos are too blurry or backgrounds are too busy, but that’s just part of the learning process. Have patience and don’t expect to get things exactly right the first time.
About the Author: Marc Andre
Marc is an avid photographer and the founder of Loaded Landscapes, a blog completely dedicated to landscape and nature photography.