8 Great Tips and Tricks for Taking Awesome Puddle Photos
Are you interested in trying out puddle photography or puddle reflection photography? There is beauty in the reflections created by puddles.
Puddle photos are captivating because they’re like mirrors; they make you see the world differently. These photos also attract a lot of attention and can even be conversation starters because they produce painting-like effects.
However, taking good puddle photos is not as simple as clicking the camera the minute you see a puddle – or puddles. There are some things you need to consider. So if you’re thinking of trying out puddle photography, it would do you a lot of good to keep in mind several important tips.
1. Choose the right one
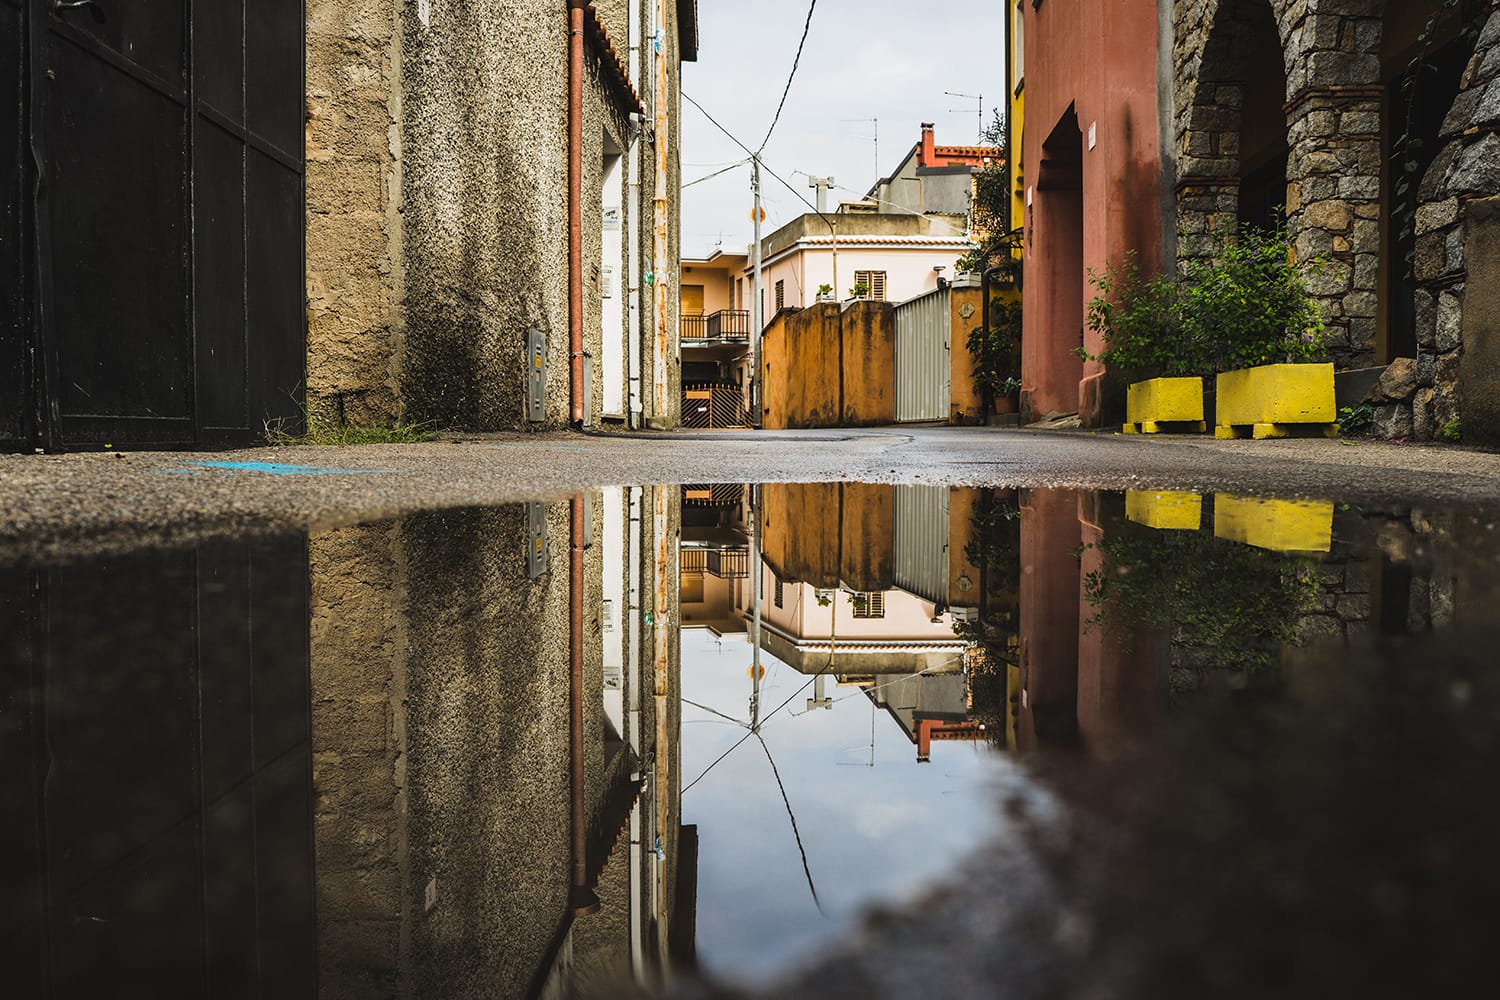
The first thing you need to remember is that any reflection in the puddle that catches your attention can make for a good photo. But since there are different types of puddles, it is essential to choose the right ones.
There are puddles that are smooth and still, and there are those that have ripples. Some puddles are small while others are big. What you should pay attention to, however, are the reflections you see in them. What is (or are) the reflection/s in the water? Do you see trees and houses or people and buildings? Maybe the water has a reflection of colorful flowers? Puddles with beautiful reflections are sure winners.
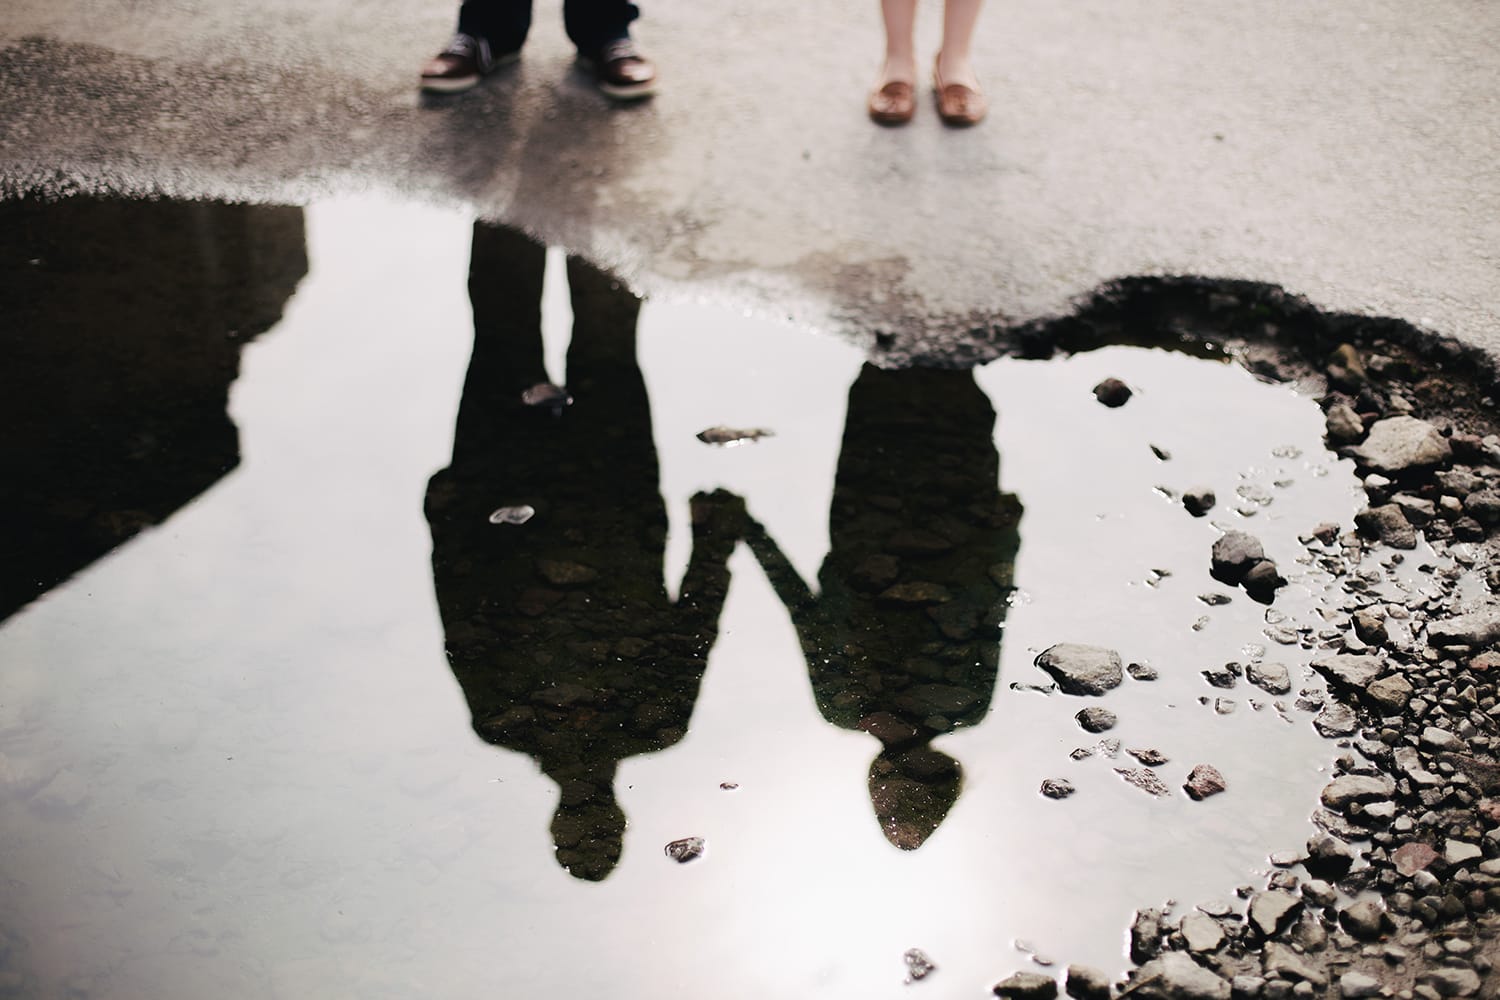
Lines and architectural details are also good for adding symmetry to puddles.
Additionally, a good puddle is also one that has no unnecessary objects in them. So stay away from puddles that are littered with twigs, cigarette butts, plastics, among others. Although there may be times when any of these distractions can add some context to your photo, they’re really just objects that add clutter to the image you’re trying to create.
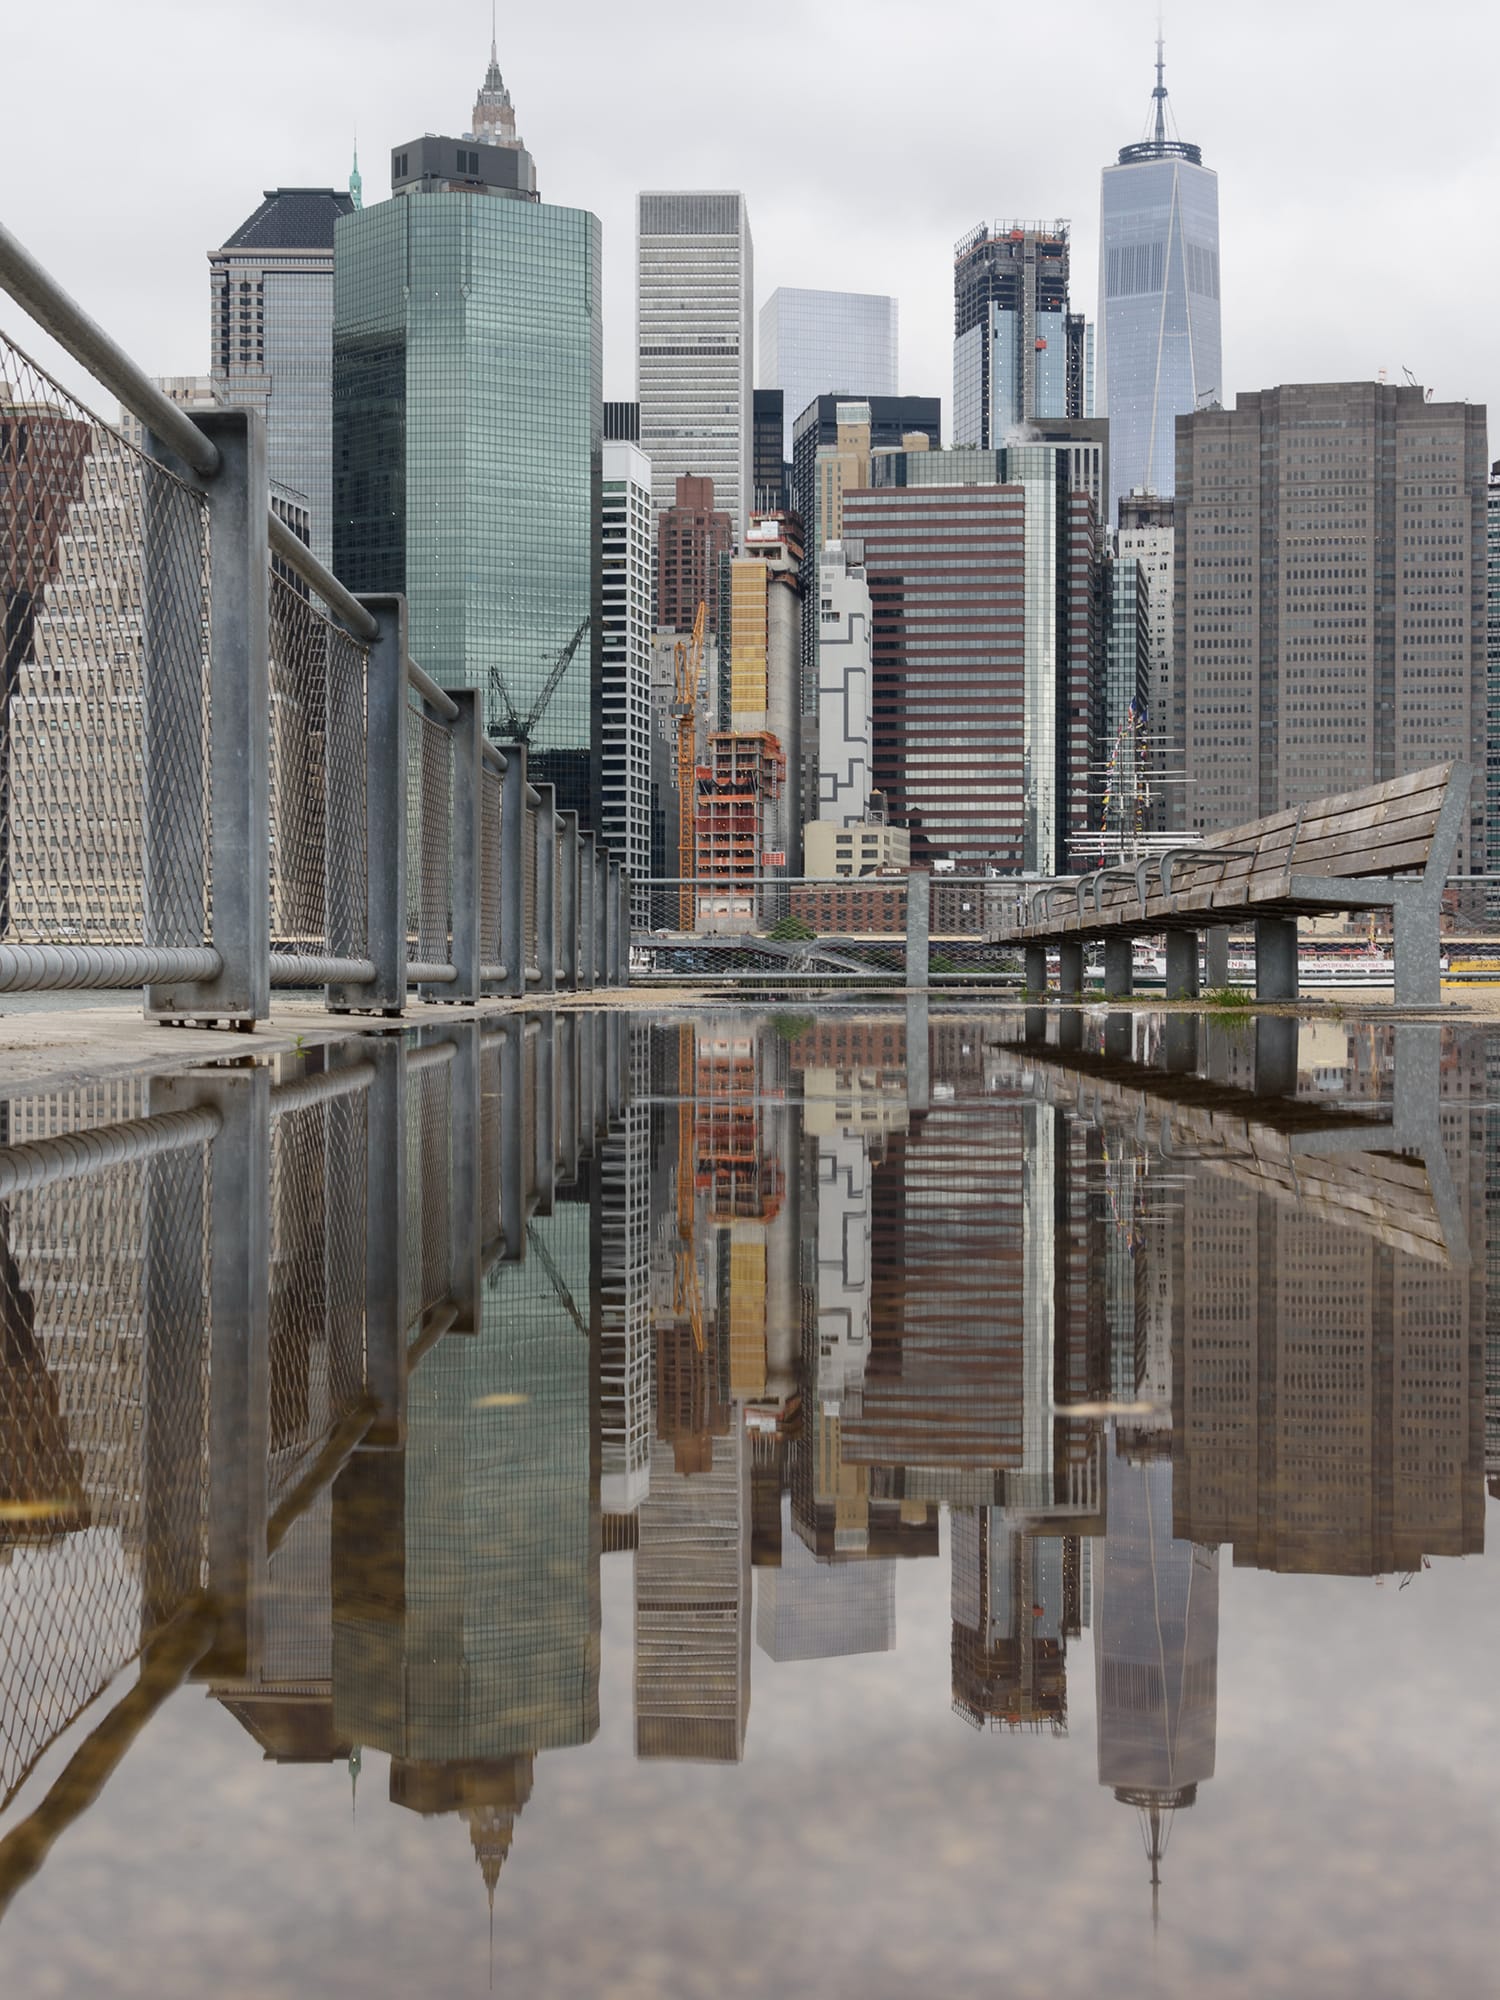
If a puddle has a lot of leaves in it, the reflection that you’re after may not come out well on your photo. The most captivating thing about puddles is the glass-like reflections they make, so there shouldn’t be obstructions to them.
To avoid puddles with dirt, leaves, and other unwanted elements, go for those that are located in areas where it’s not too windy or where the weather is calm – so the water is smooth and still. Good examples would be an underground tunnel and a roofed parking garage.
It is also not ideal to shoot in crowded areas for obvious reasons; but this is not a hard rule. A calm street or alley can offer great opportunities even when in the middle of the city.
2. Try different angles
If you want to create a perception that the puddle is bigger than its actual size – or if you want a cool and dramatic effect – shoot from a low angle. Experiment with your position so you can choose which one is perfect for you. Maybe you’d like to show the skyline? Or maybe you’d like to include reflections of people?
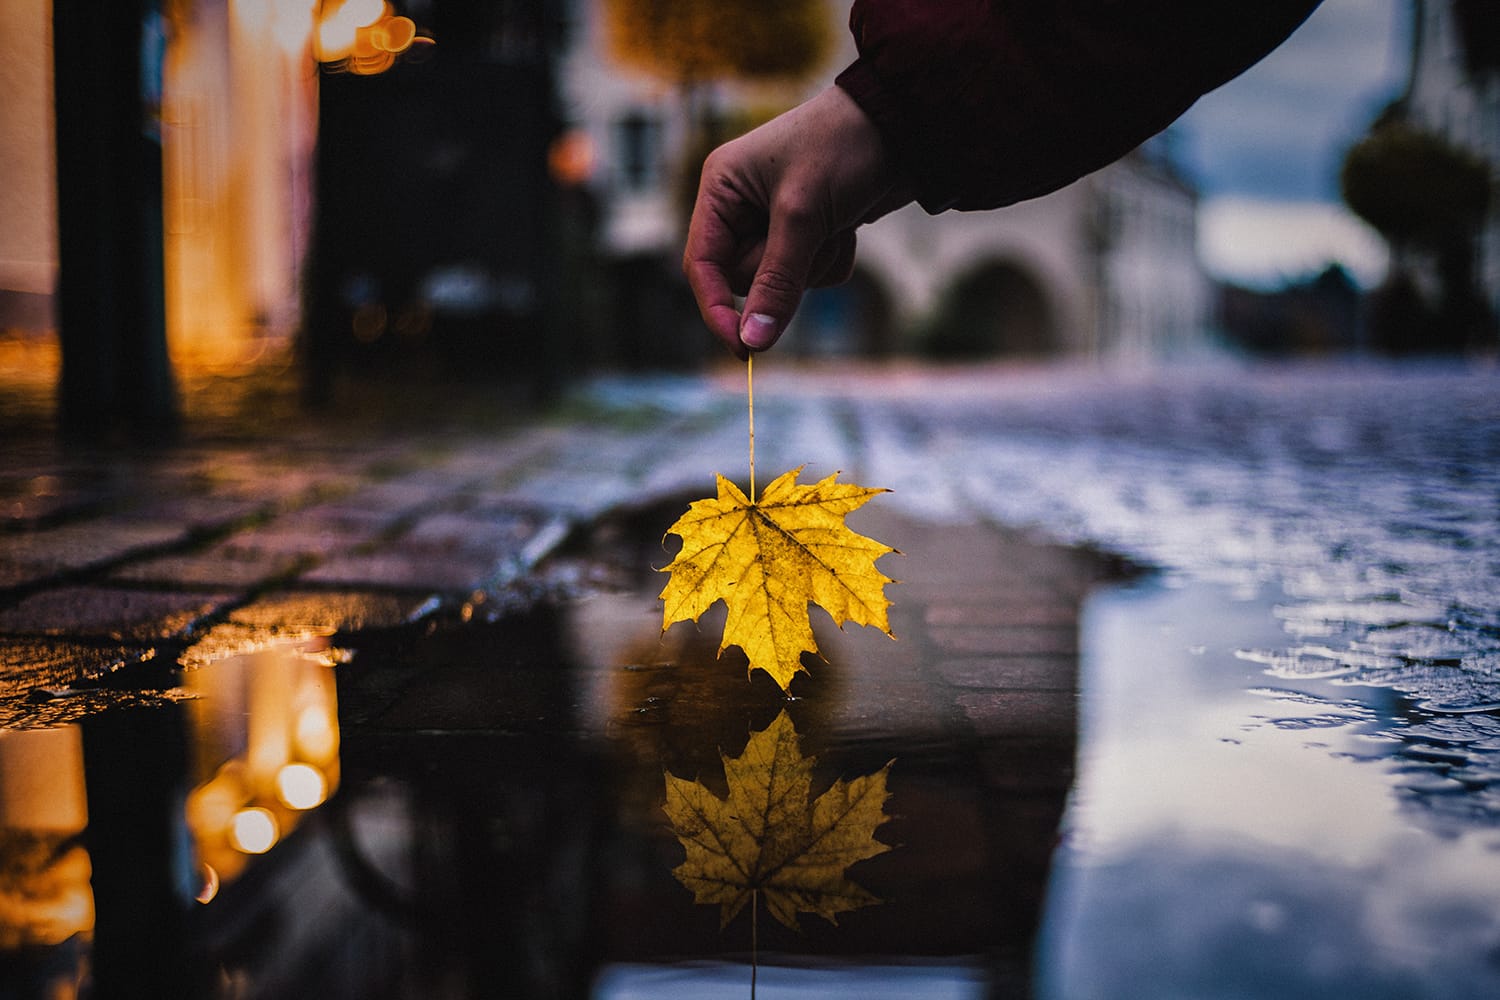
If you position your camera as close to the surface of the puddle as you possible, you’ll find it easy to create the expansive image you want.
The best puddle size – one that creates a magical effect – is one that’s at least a foot long. It should be a bit wide, too. Also, try the ones that are on the ground or on the roads over those that are formed on a bank or curb.
3. Taking care of your gear
Since you need to go as low and as close to the puddle as possible, you should take extra care not only of yourself but also of your camera. Make sure that you and your camera do not get wet. There are accessories though that you can use as protection for your gear (i.e. waterproof bags or containers, and even plain plastic bags).
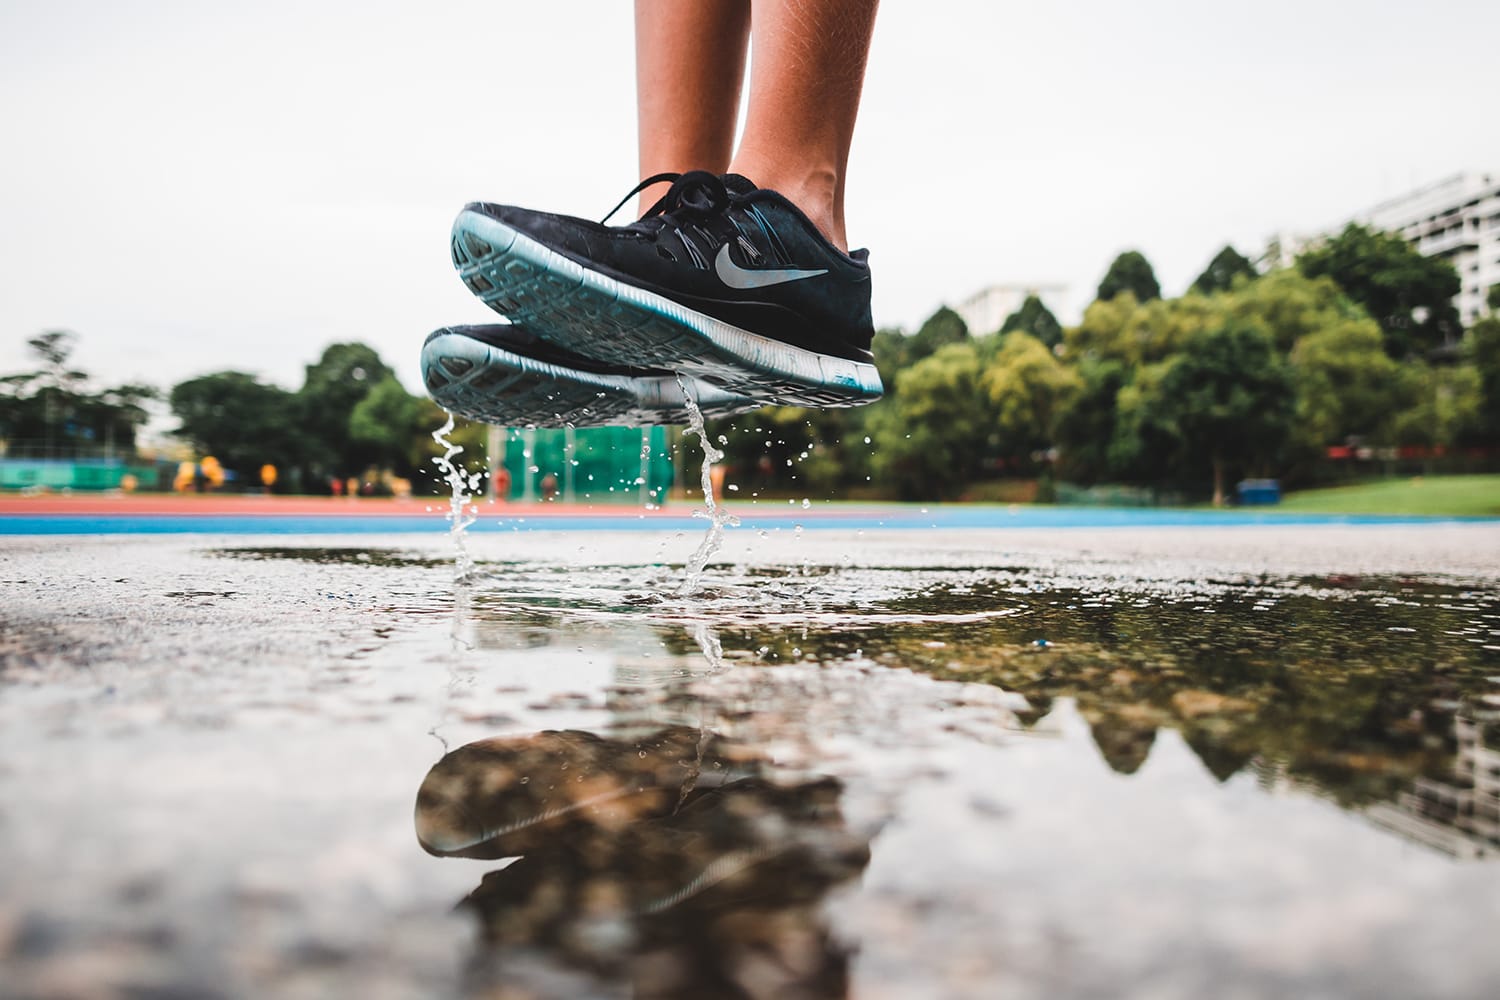
If you bring an umbrella (go for the clear plastic ones) and a raincoat, you can play with the puddle to create some drama to your photo. For example, you can jump on the puddle so the water will create a splash. To make sure you capture the splash well, you’ll need a relatively fast shutter speed – minimum of 1/300 second. The faster, the better.
4. Knowing when to shoot is also important
As always, golden hour is a great time to take puddle photos. Just imagine how beautiful and mesmerizing your photos will be if you shoot when the sky is in its absolute best! The clouds dance in different patterns while a rainbow of colors paints the sky.
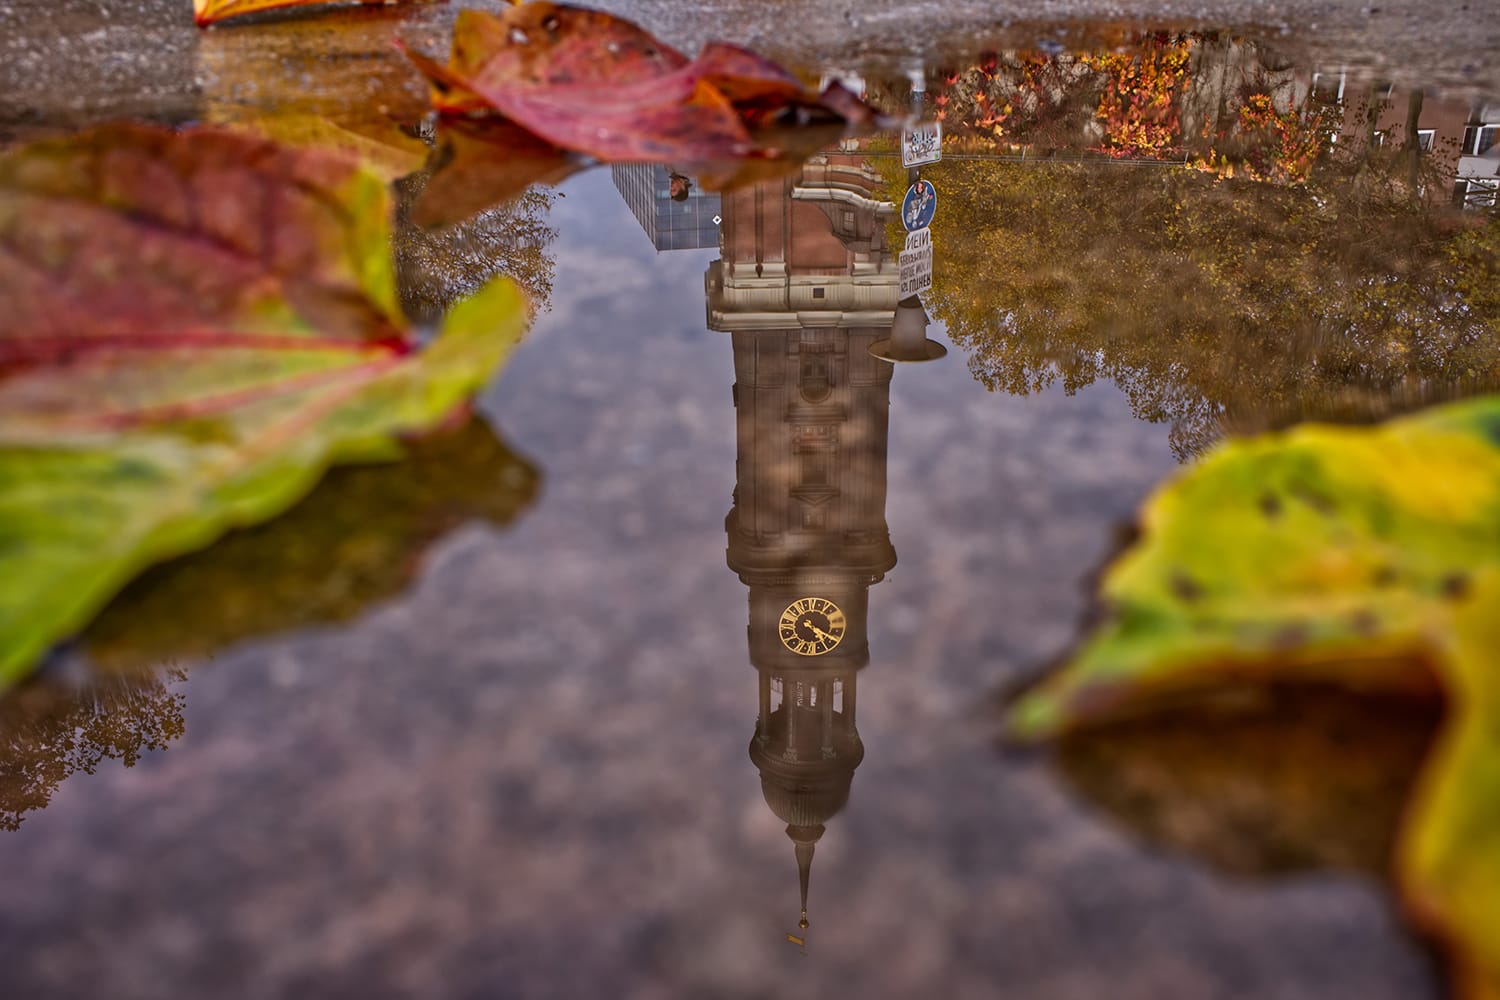
To make sure you’ll catch the golden hour – early in the morning as the sun is about to rise or late in the afternoon as the sun is about to set – be sure to monitor the weather in the area where you’re shooting. It always pays to be prepared.
5. Try shooting after sunset or after dark
You know, when the city lights are dazzling and dancing. To capture the colorful city lights in the puddle, prepare to shoot with long shutter speeds. Try 1 second and adjust from there. It is also important to adjust your ISO if you want to get your ideal exposure.
If you do not have a tripod, look for something flat and solid, such as a bench, where you can place your camera to keep it from shaking. The steadier your camera, the better.
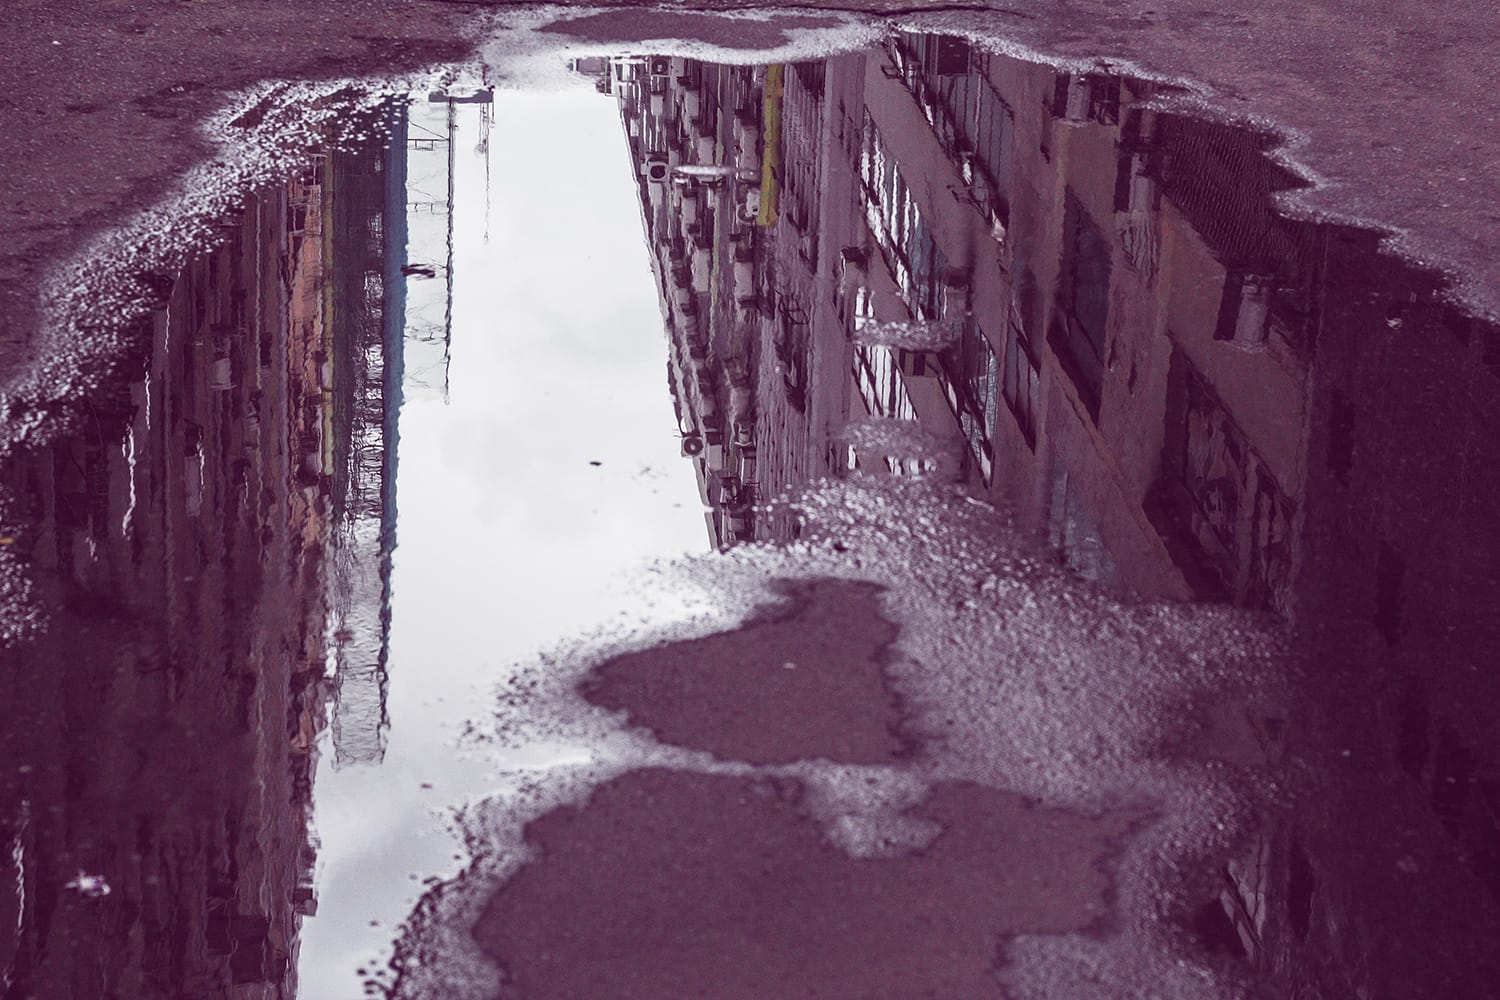
6. Adjust your focus
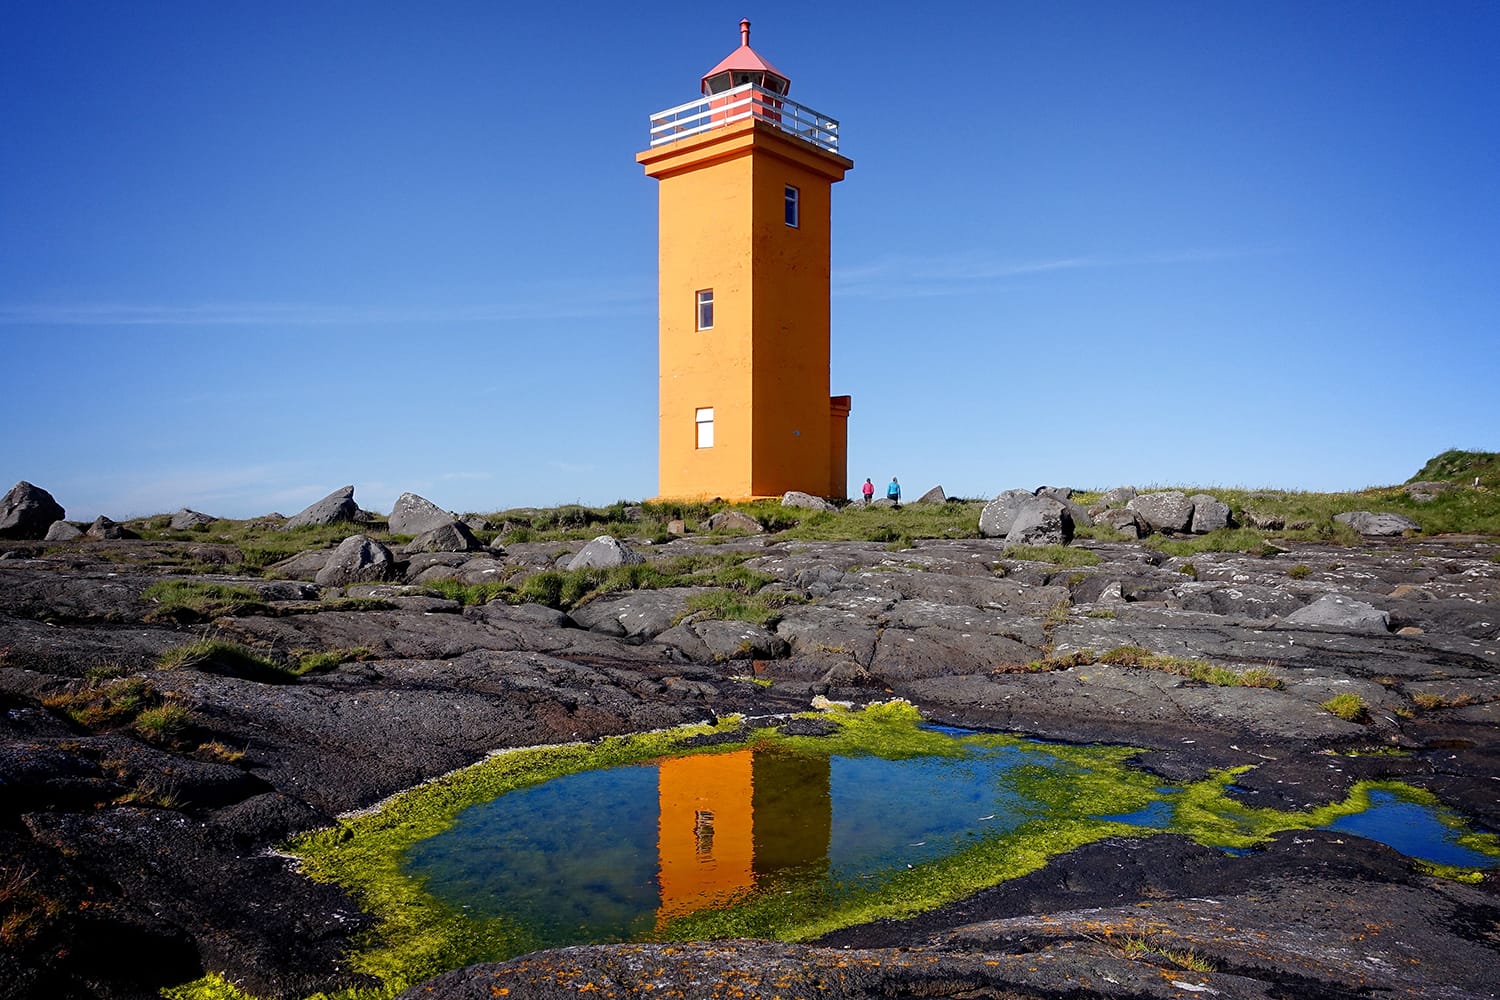
If you’re having a difficult time focusing on the reflection – this can happen with shallow puddles – adjust your camera and make it focus on the actual subject (not on its reflection) first. Then slowly bring your camera back to the puddle and lock its focus.
7. Use post-processing
Don’t hesitate to use post processing programs or apps. Use Lightroom or Photoshop to work on the sharpness, color, white balance, and tones of your photo.
There may also be times when you will need to crop your images.
8. Find time to practice
Finally, do not forget to find time to practice. The more you practice, the more familiar and comfortable you will become with the techniques of puddle photography. And, of course, you’ll get the chance to experiment with your shots. This will help you establish a particular branding or signature for your puddle photos.
Practice also means joining groups, contests, seminars, and workshops.
Puddle photography may not be as mainstream as other forms of photography, but it’s worth your time, effort, and creativity because it helps you create beautiful photos that tells many stories.
