8 Things to Keep In Mind When Setting up Your Brand New Camera
If you’ve made the move up from a compact style camera to a DSLR or mirrorless one, the sheer amount of ‘stuff’ on the camera can seem a bit daunting!
But there are some simple steps you can follow to get your new camera set up for optimum shooting, and help make the camera simpler to use. And, even if you’re a seasoned pro, a little reminder never hurt anyone, right? Read on for some great tips & tricks…
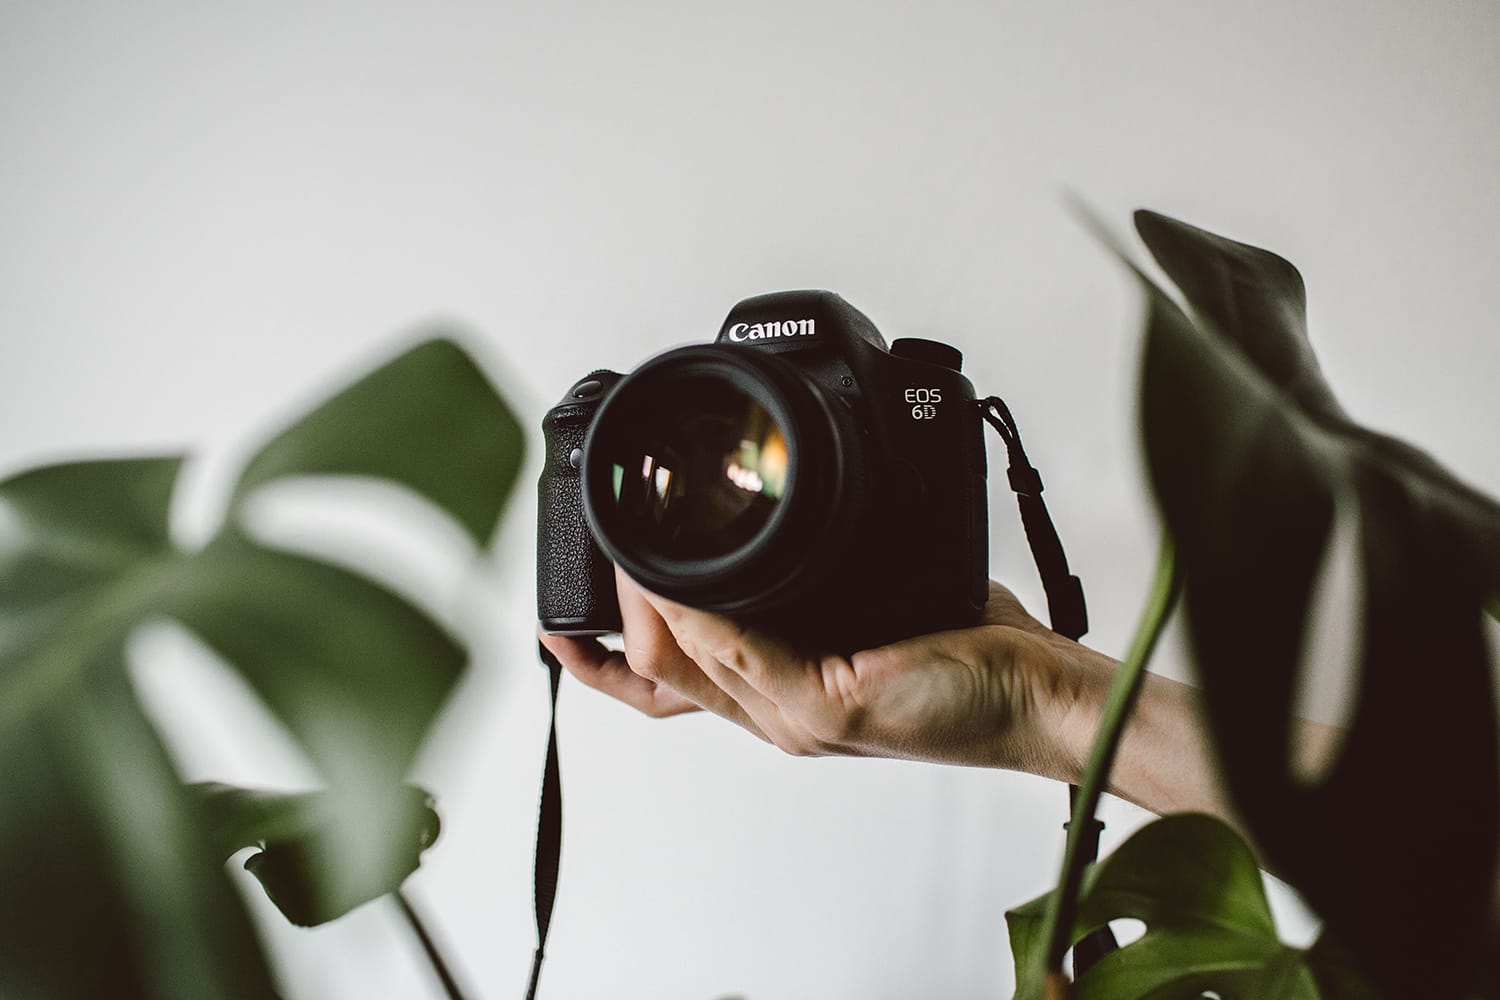
1. Make sure your battery is fully charged
Most cameras come with the batteries partially charged but, to guarantee best performance over their lifetime, make sure the battery is fully charged before you start. It’s also a good idea to let the battery run right down before you recharge it, as this helps extend its life as well.
2. Format your memory card
Make sure any existing images on the memory card are backed up to your computer before you start and then format your card in your new camera. You’ll usually find the format setting by going into the menu system.
Formatting the card helps to improve its performance and also makes sure that images are completely deleted and the card is entirely clean.
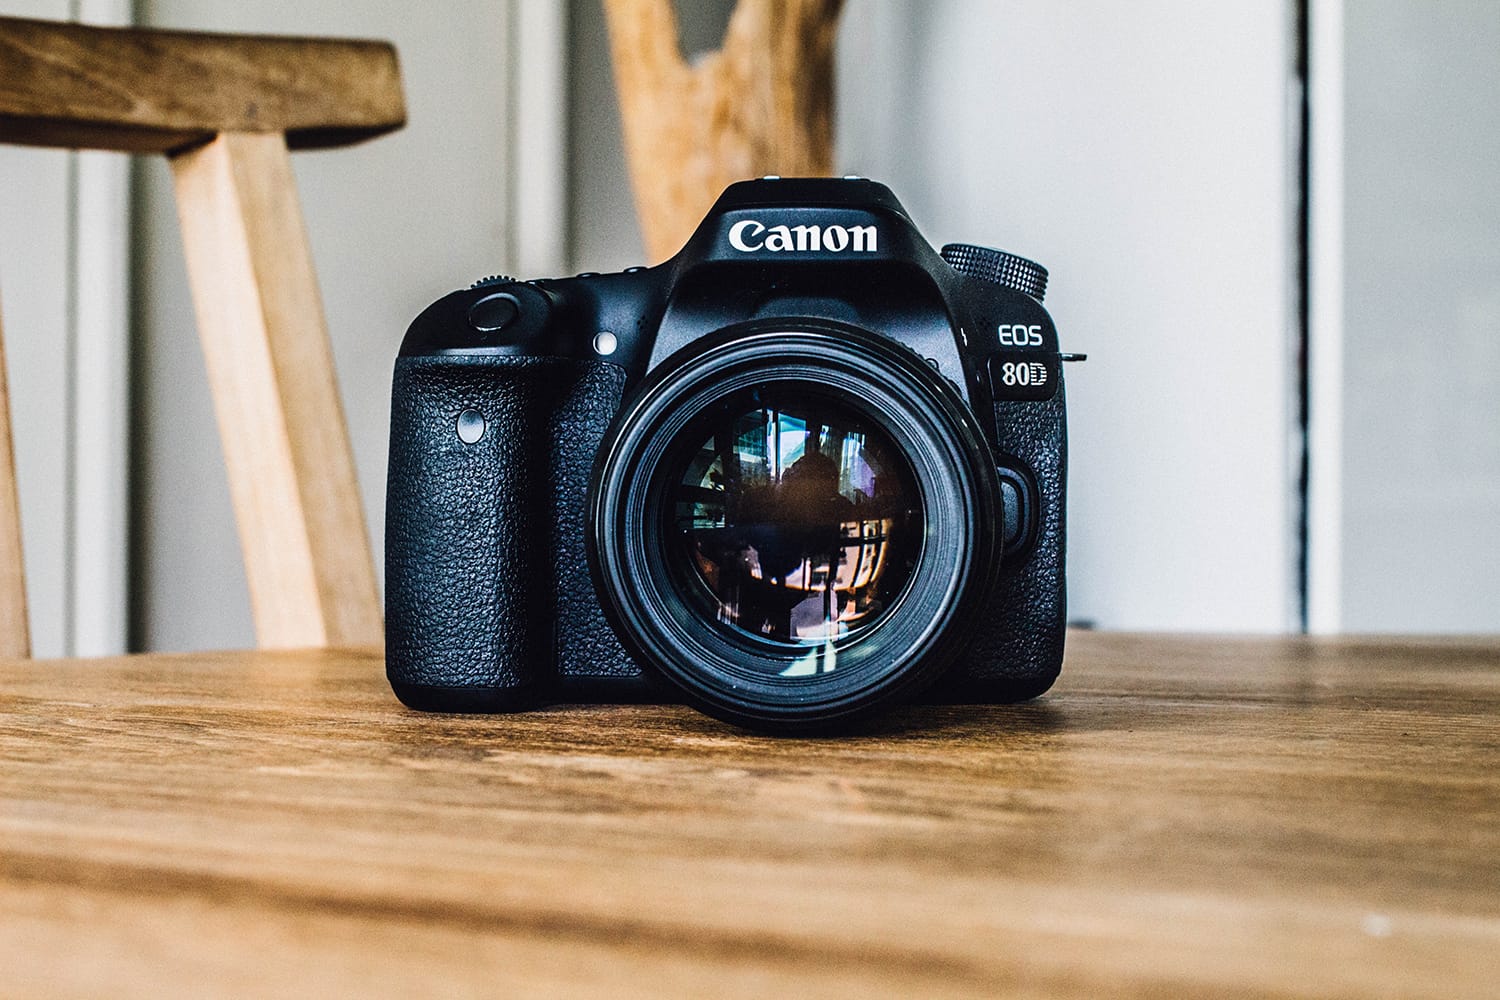
3. Image quality and size
For maximum image quality, you’ll want to be shooting in RAW and processing your images. But sometimes, JPEGs might be a better option. So, you’ll need to set your JPEG files up as well.
Set them to the highest quality available (sometimes labelled as Extra Fine) and choose the Large file size. JPEGs are also a good place to start when you’re learning how to use a new camera, as you don’t have the added pressure of processing any files afterwards.
4. Metering
Your camera’s metering system is its way of accessing the right exposure settings for your image. There are various metering modes available, but I recommend starting with Evaluative metering (also known as Matrix or Multi-zone / segment metering mode).
This mode takes readings from all over your scene and averages it out to the best settings. Once you’re more familiar with your camera, you can experiment with the other metering modes.
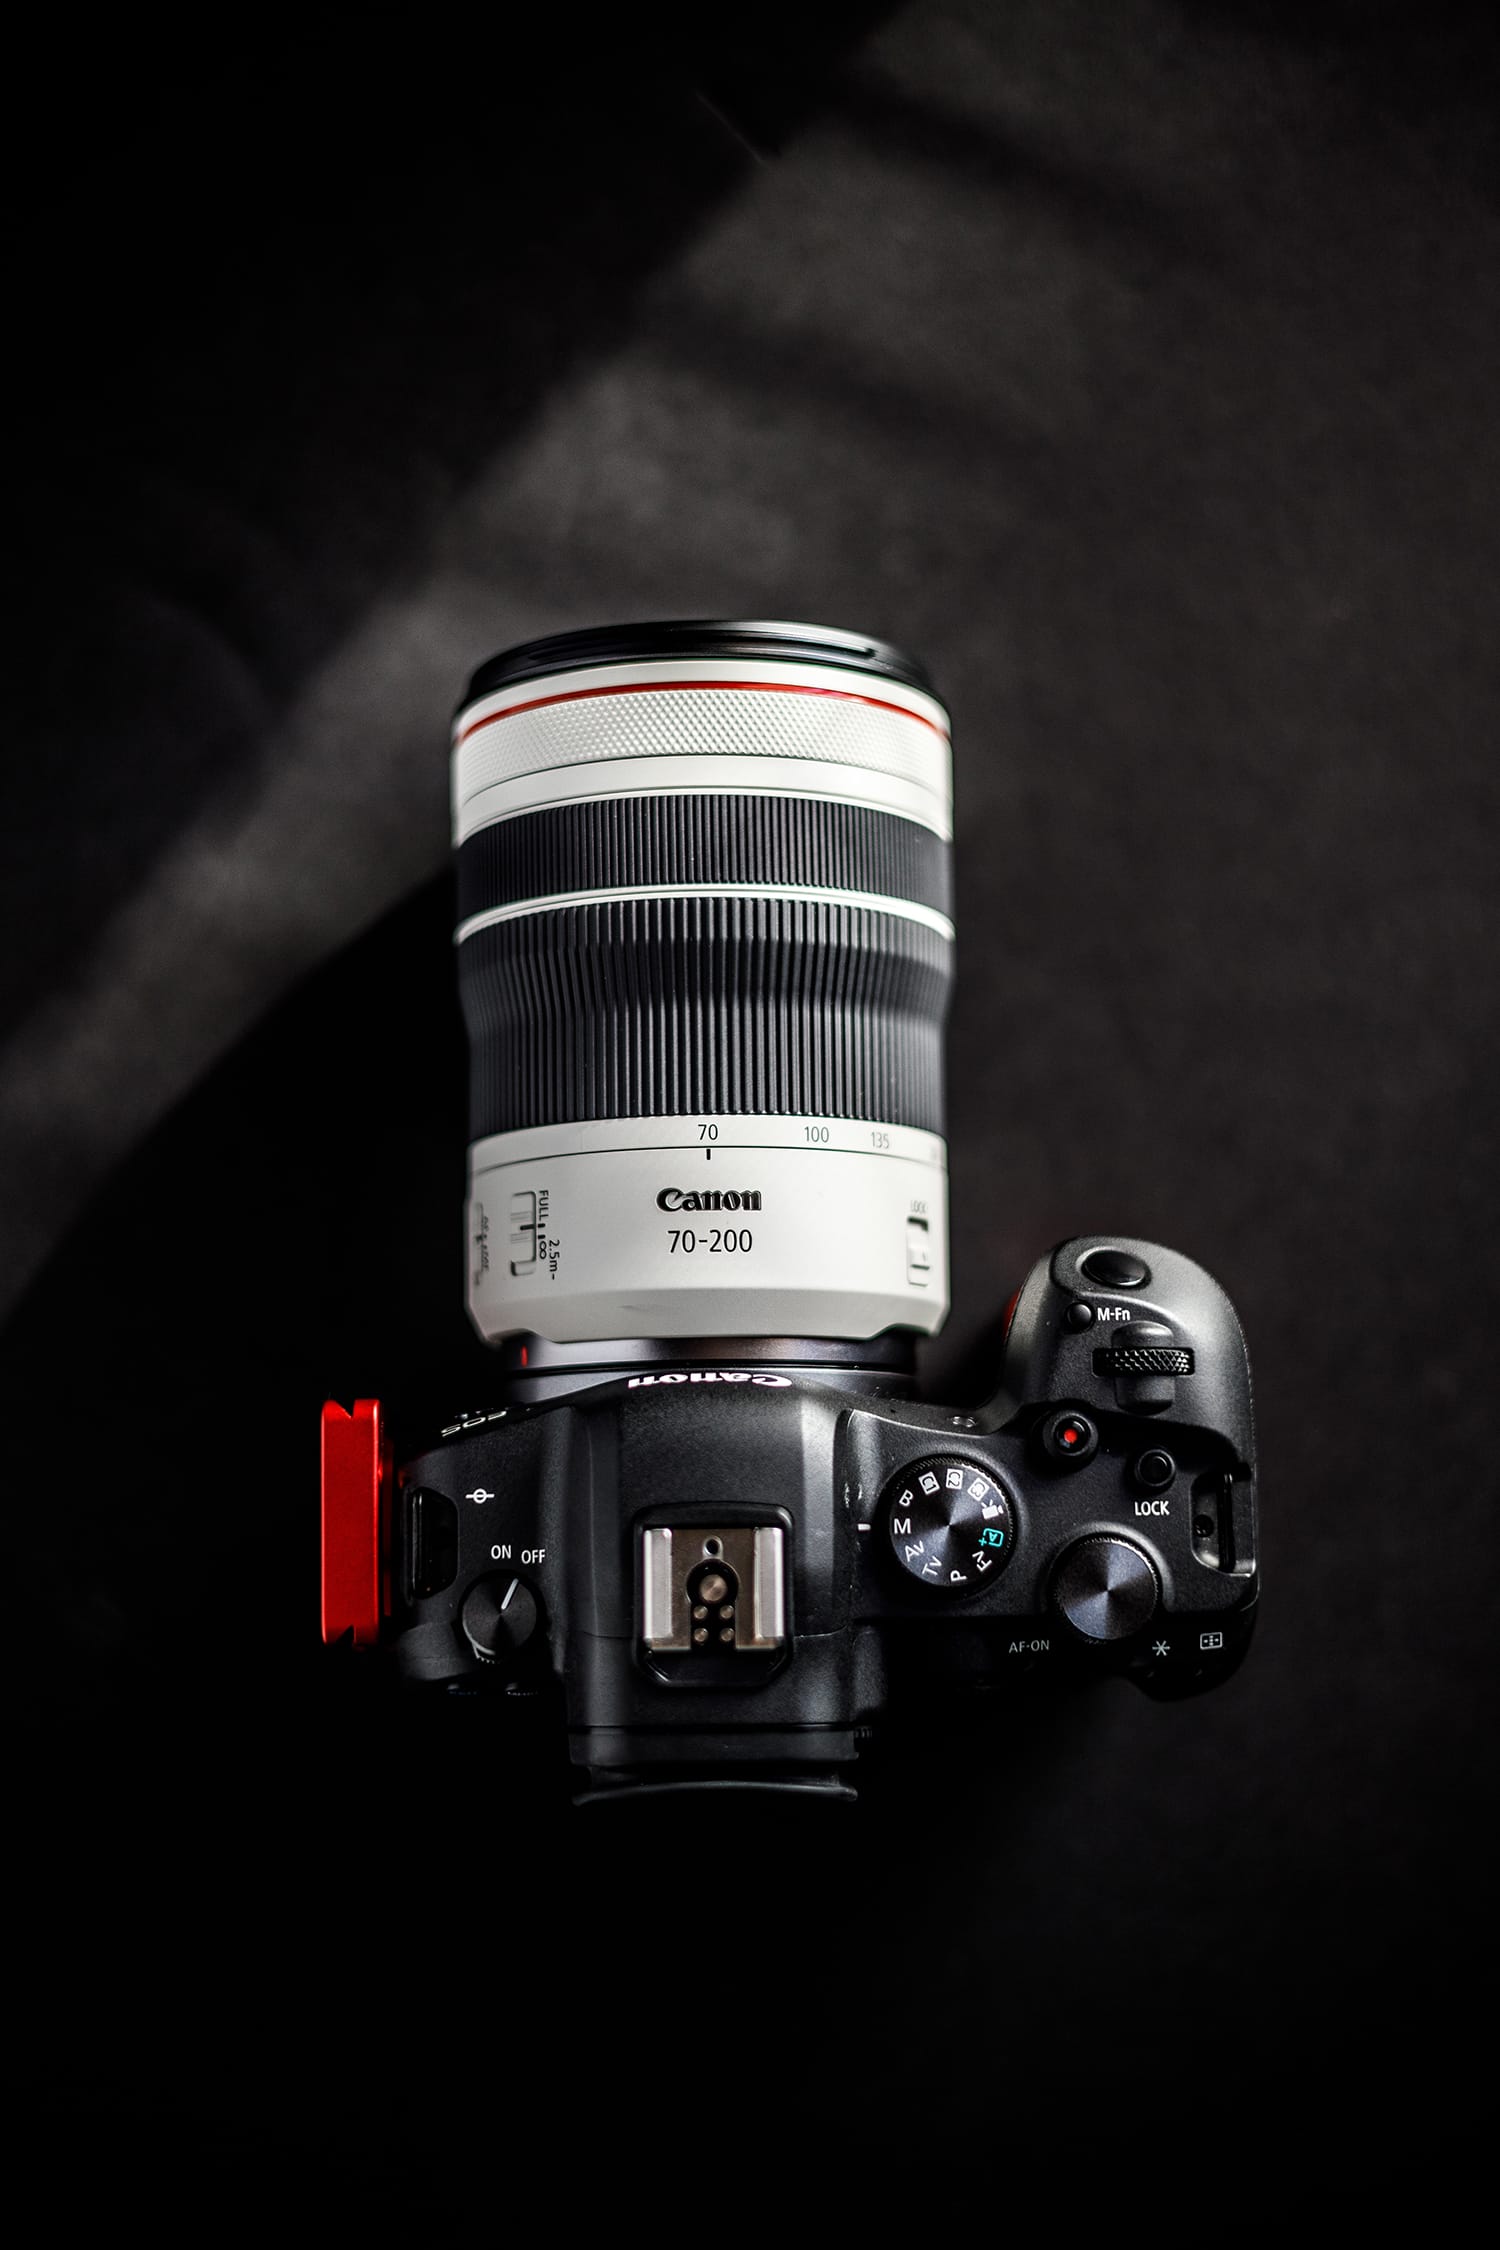
5. White Balance
Put simply, the white balance setting helps your camera assess what’s white in an image, and then sets the other tones accordingly.
With modern cameras, the Automatic White Balance (AWB) is pretty accurate and a good place to start as it will cope well in most situations. If you’re going to be shooting in the studio a lot, you will need to learn how to use Manual White Balance, so that you can set it along with a grey card.
6. Focusing
Cameras come with at least two autofocus modes – single and continuous. Single (or One Shot) is for stationary subjects, where as continuous (or AI Servo) is for moving objects.
Most DSLRs also come with a third auto mode (also known as AI Focus) whereby the camera will automatically detect if a subject starts moving and switch between the modes. If your camera has this option, use it but, if not, single AF mode is the best one to leave your camera on to start with, as most subjects will be stationary.
Different cameras also have different numbers and styles of AF points. I recommend starting by setting your camera to the central AF point, as most images will require you to focus on the centre of the image.
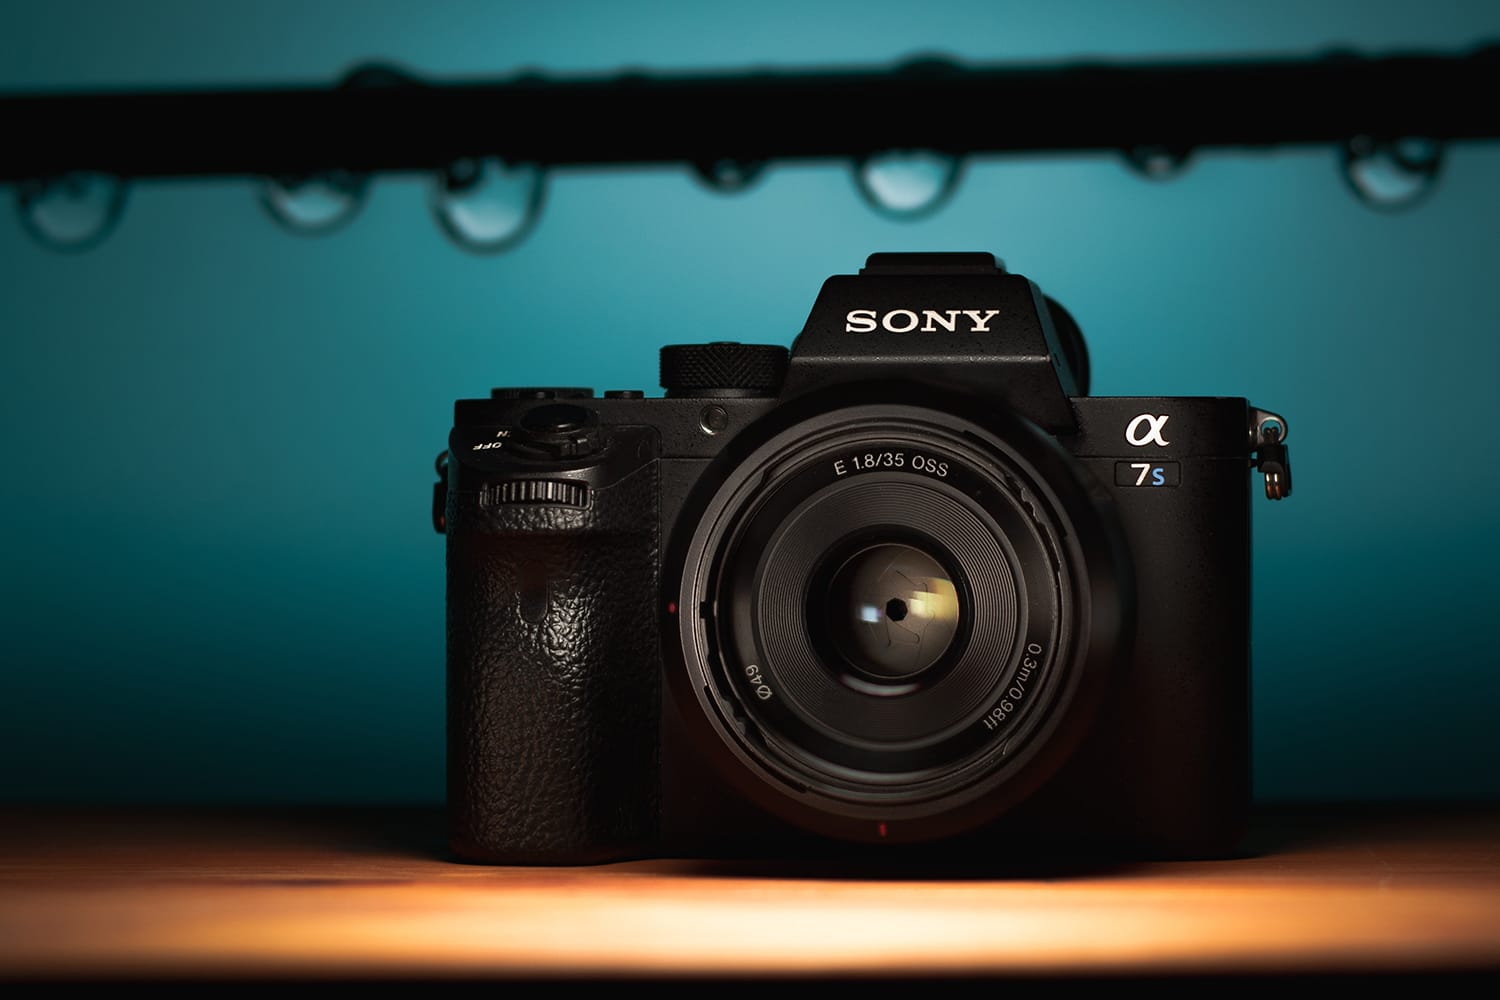
7. Drive Mode
The drive mode allows you to choose between single and continuous shot modes. In single drive mode, the camera will take one image every time you fire the shutter, where as in continuous mode it will take a ‘burst’ of shots for as long as you keep the shutter pressed down.
This can be very useful for moving objects but to start with, put your camera on single mode so that you don’t accidentally fire off loads of shots and fill up your memory card!
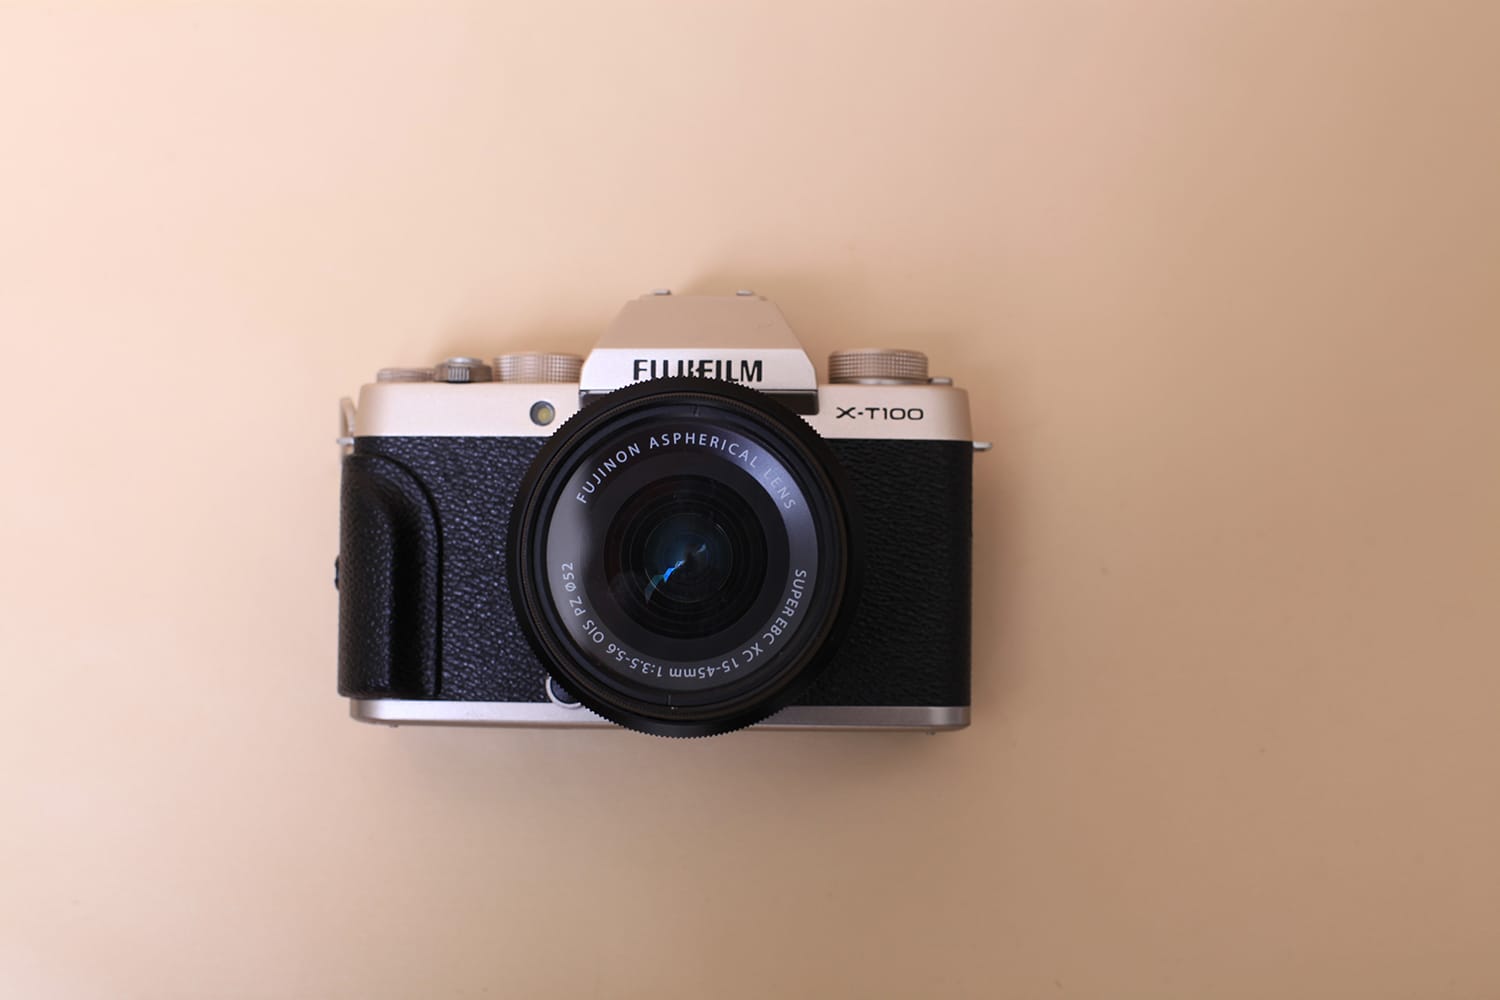
8. Exposure Settings
If you’ve been using a compact camera with no manual settings, a DSLR or mirrorless camera can seem a bit daunting!
Personally, I think the best way to learn is to go straight to the manual mode but if this seems a bit much, you can try the Aperture Priority mode (where you set the aperture) or the Shutter Priority mode (where you set the shutter speed). This allows you to focus on getting one element right at a time.
As a side note, start by putting your ISO on 100 to get the least grainy / noisy shots and raise this if needs be after adjusting your other settings.
By setting up your camera before you start shooting, you should make life a lot easier for yourself and take some of the worry out of using a more complicated machine.
