An Introduction to Splash Water Photography: 10 Tips for Stunning Images

Water splash photography is one of the coolest genres of photography. You can use various techniques to get some of the most stunning photos!
Splash photography can be a little intimidating, but the fact of the matter is that it’s not as difficult as it sounds.
The process of capturing water splash photos is quite simple. You need to use the right equipment and practice the best techniques. That’s where this tutorial comes in. Let’s go over the ten best tips to create simple yet perfect splash water photos.
1. Water Splash Photography Setup
You can create water splash photos by capturing a naturally occurring scene or creating your own setup. The latter option allows you to have greater creative control and provides you with more opportunities to improve your skills.
However, you’ll need to gather all the necessary material to create your setup. Here’s what you’ll need.
- High-quality camera (ideally full-frame, but APS-C works too)
- Camera timer (built-in is fine)
- Remote shutter release and tripod
- Glass or bowl of water
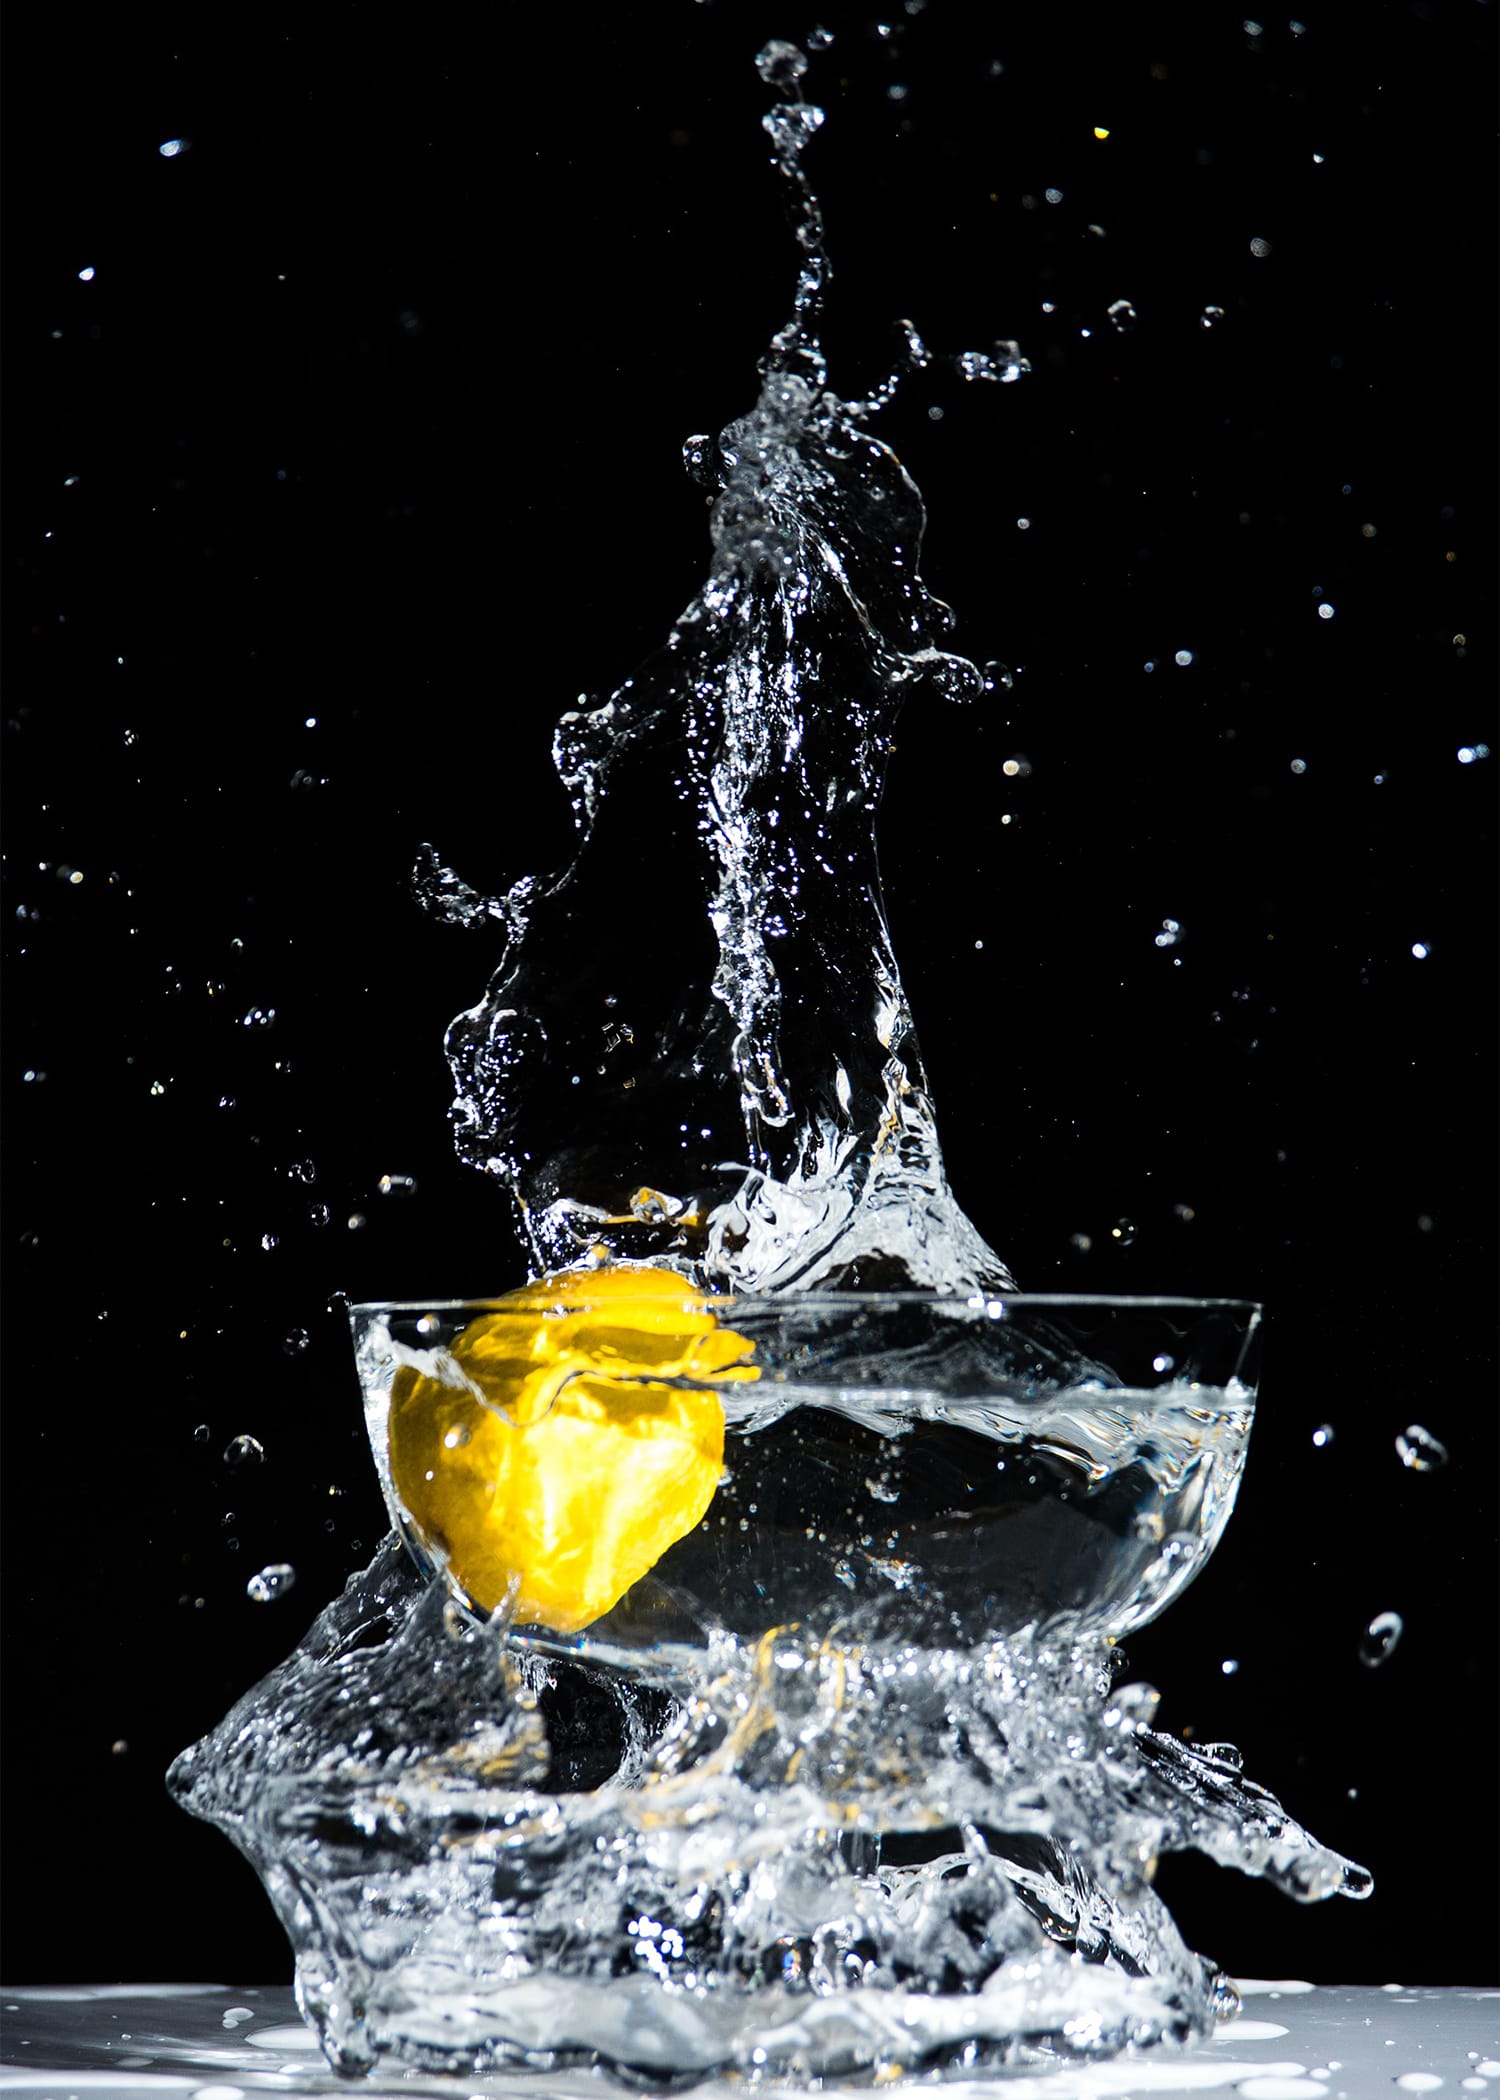
- Item to drop in the water (fruit, rock, more water)
- External flash
- Black backdrop/surface
- Light reflectors (aluminum foil works great)
- A dark location
- Towels, solid-colored cloth, plain-colored walls (optional, recommended)
- Photoshop, Lightroom, or other editing software (highly recommended)
2. Use the Right Camera Setting
If you’re just getting started, the great news is that you don’t need to use a camera with full manual settings. It’s possible to set the desired shutter speed by using the Shutter Priority mode and let the camera decide the suitable aperture setting for you.
Moreover, you can also influence your camera’s aperture indirectly by adjusting the ISO setting, if needed. You can opt for 1/250 shutter speed if you want to capture bigger water splashed. But if you’re going to freeze a small water droplet effectively, then a higher shutter speed, e.g., 1/1000, will serve you well.
On the other hand, if you’re planning to capture water splashes with a controllable light source like an external flash, manual mode is recommended. In this case, consider setting your camera’s aperture anywhere from f/4 to f.8. I found that f/5.6 works great in most situations. Your shutter speed will depend, but start around 1/125s and go up or down based on the available light and the desired effect.
The ISO should be as low as possible. Anything below ISO 800 should work just fine. Of course, if you can go to ISO 100, that’s even better.
You want the flash and reflector to do their jobs; if the settings on the camera do not allow that, you could end up with a blurry photo. Don’t forget to shoot in a RAW format. This will enable you to develop your images in Lightroom or Photoshop properly.
Some photographers prefer to rely on auto-focus, but I like to manually focus to allow more accurate and sharp focus. There is no right or wrong answer here. Finally, get a timer on your camera ready. This is important because you need to work very efficiently and won’t have the time to press the capture button. I would use anywhere from 5-10 seconds.
3. Understand Lighting Conditions
Whether you are capturing splash water photos in a controlled or natural environment, it’s critical to experiment with light. If you want to shoot realistic splash water photos with interesting water reflections, the natural light will be more than enough.
On the other hand, you can use an external flash to create an attractive combination of light and water with directed light. Moreover, you can also create a deep 3D effect by adding another flashlight or a reflector facing the first light source from the other side of the subject matter.
4. Use High-Speed Flash Sync on Your Camera

Splash water photography allows you to practice and improve your photography skills using an external flash. Because of your camera’s slow flash sync speed, you might end up with photos that are underexposed if you’re trying to freeze a moment with a 1/200 shutter speed with a synced flash. You can fix this problem by using the high-speed flash sync feature of your camera.
It’s known as Auto FP if you’re using a Nikon camera. It ensures that your complete frame is effectively covered by firing quick and multiple light bursts. It almost works like a source of continuous light to increase the flash duration.
This way, you can freeze the motion of water by using even faster shutter speeds and the most suitable wider aperture to create stunning photos.
5. The Power of Auto-Focusing

I mentioned in a previous point that I prefer to focus manually, but using the auto-focusing capabilities of your lens and camera is nothing to shy away from. Consider locking the focus on the water or your container’s surface so that you only need to take care of the timing of your shot.
You can verify if your focus is accurate by zooming in. Otherwise, you can always switch to manual mode and make a few adjustments to your focus by tweaking the focus ring.
6. Eliminate the Unnecessary Clutter

Eliminating unnecessary objects, especially from the background, is critical in splash water photography. Keep your background uncluttered, simple, and plain as it will keep your viewers from being distracted.
Now you’ll need to use solid color towels, cloths, or walls to keep your frame’s background as simple as possible. It will greatly help you to maintain your focus on the subject matter.
7. Compose Your Photo
Mostly, in splash water photography, a limited number of objects and elements are involved. Therefore, it’s not very difficult to compose a photo that focuses on a water droplet or splash.
One important factor that you need to consider while composing a shot is the amount of upward splash or outward rippling that you want to have in your frame. If you’re going to capture the water surface, then the best practice is to place your camera about the same level or slightly above.
Also, try to have an assortment of lenses to shoot with and experiment with a few different focal lengths.
8. Keep it Steady
Hitting the shutter button will inevitably introduce some shake, which you should try to avoid as much as possible. Consider using the built-in timer in your camera to reduce the risk of camera shake when the shutter is pressed.
You’ll have just enough time to drop the item, generate the motion, and capture the shot with a 5-10 second timer setting. The main disadvantage of this technique is that it makes it difficult to time your shot.
That’s where the remote shutter release comes into play. Not only does it eliminate the possibility of camera shake, but it also provides you with freedom and enough time to capture your photo at the right moment. Needless to say that your camera should be on a sturdy tripod.
9. Take your shot
Patience will come in handy at this stage. Prepare to drop the item after the timer has started. Ensure there are one to two seconds left before the photo is taken, and then drop whatever you’re holding into the water. It’s important to keep in mind that timing is everything in water splash photography.
Consider turning on the flash of your camera right when the item touches the surface of the water and generates a splash. It produces a greater effect than leaving the flash on all the time.
Taking the photo might mean a bit of trial and error, and as I previously stated, timing is everything in this type of photography.
Ensure you don’t drop the object from a height where it will cause a large splash that the camera might miss. Continue doing this until you have the perfect photo. With a little practice, you will be able to do this quickly and simply. You can also use your camera’s burst mode to take multiple photos in rapid succession if you’re just starting out. That might increase your odds of capture a great image.
10. Post-Processing
While some might consider post-processing an optional step, we feel it’s just as important as the actual photo taking. If you shot in RAW format (and you should), then developing your images in Lightroom or Photoshop is essential.
First, open your RAW file in Photoshop, Lightroom, or your favorite photo editing tool. Then try adjusting the exposure and ensure that there are no blown-out highlights or shadows that have lost detail.
If you use Lightroom Classic, you can achieve most adjustments in the Basic panel under the Develop Module.
Once you have an amazing-looking photo, you might still need to perform some additional adjustments. Feel free to use the healing brush tool to remove unwanted water droplets. The key to editing is to never go overboard with adjustments. Usually, some subtle changes can make your photo pop – rarely do you have to make dramatic adjustments.
Final Words
Now that you know the best setup and techniques to capture splash water photos, the only thing left to do is start practicing. Let your imagination drive you and perform as many experiments as possible and keep the tips discussed above in mind. We hope that it will help you to take your water splash photography to the next level.
About the Author: Jon C. Phillips
 Jon C. Phillips is a photographer, watch lover, product developer/designer, guitarist & musician, and all-around web nerd. He's the founder of Contrastly which he launched in late-2012. He also co-founded DailyPhotoTips and TheDailyPreset.