Capturing the Northern Lights
 by
Jo Plumridge
by
Jo Plumridge

I think seeing the Northern Lights (or Aurora Borealis, to give them their proper name) is on most photographers’ bucket list. This magical, almost otherworldly spectacle in the night sky is a once in a lifetime photographic experience, but getting those photographs takes a little know-how along with a lot of patience. But with 2024 expected to bring some of the brightest displays in over 20 years (thanks to an approaching peak in the Sun’s activity known as ‘solar maximum’), this could be your best chance of seeing them.
What causes the Northern Lights?
Our sun is continuously bombarding Earth with a solar wind of electromagnetic waves and particles, which all act differently with the atmospheric atoms they encounter. The solar wind’s electromagnetic particles and its highest frequencies contain enough energy to strip electrons from the atmospheric atoms, creating a charge imbalance known as ionization.
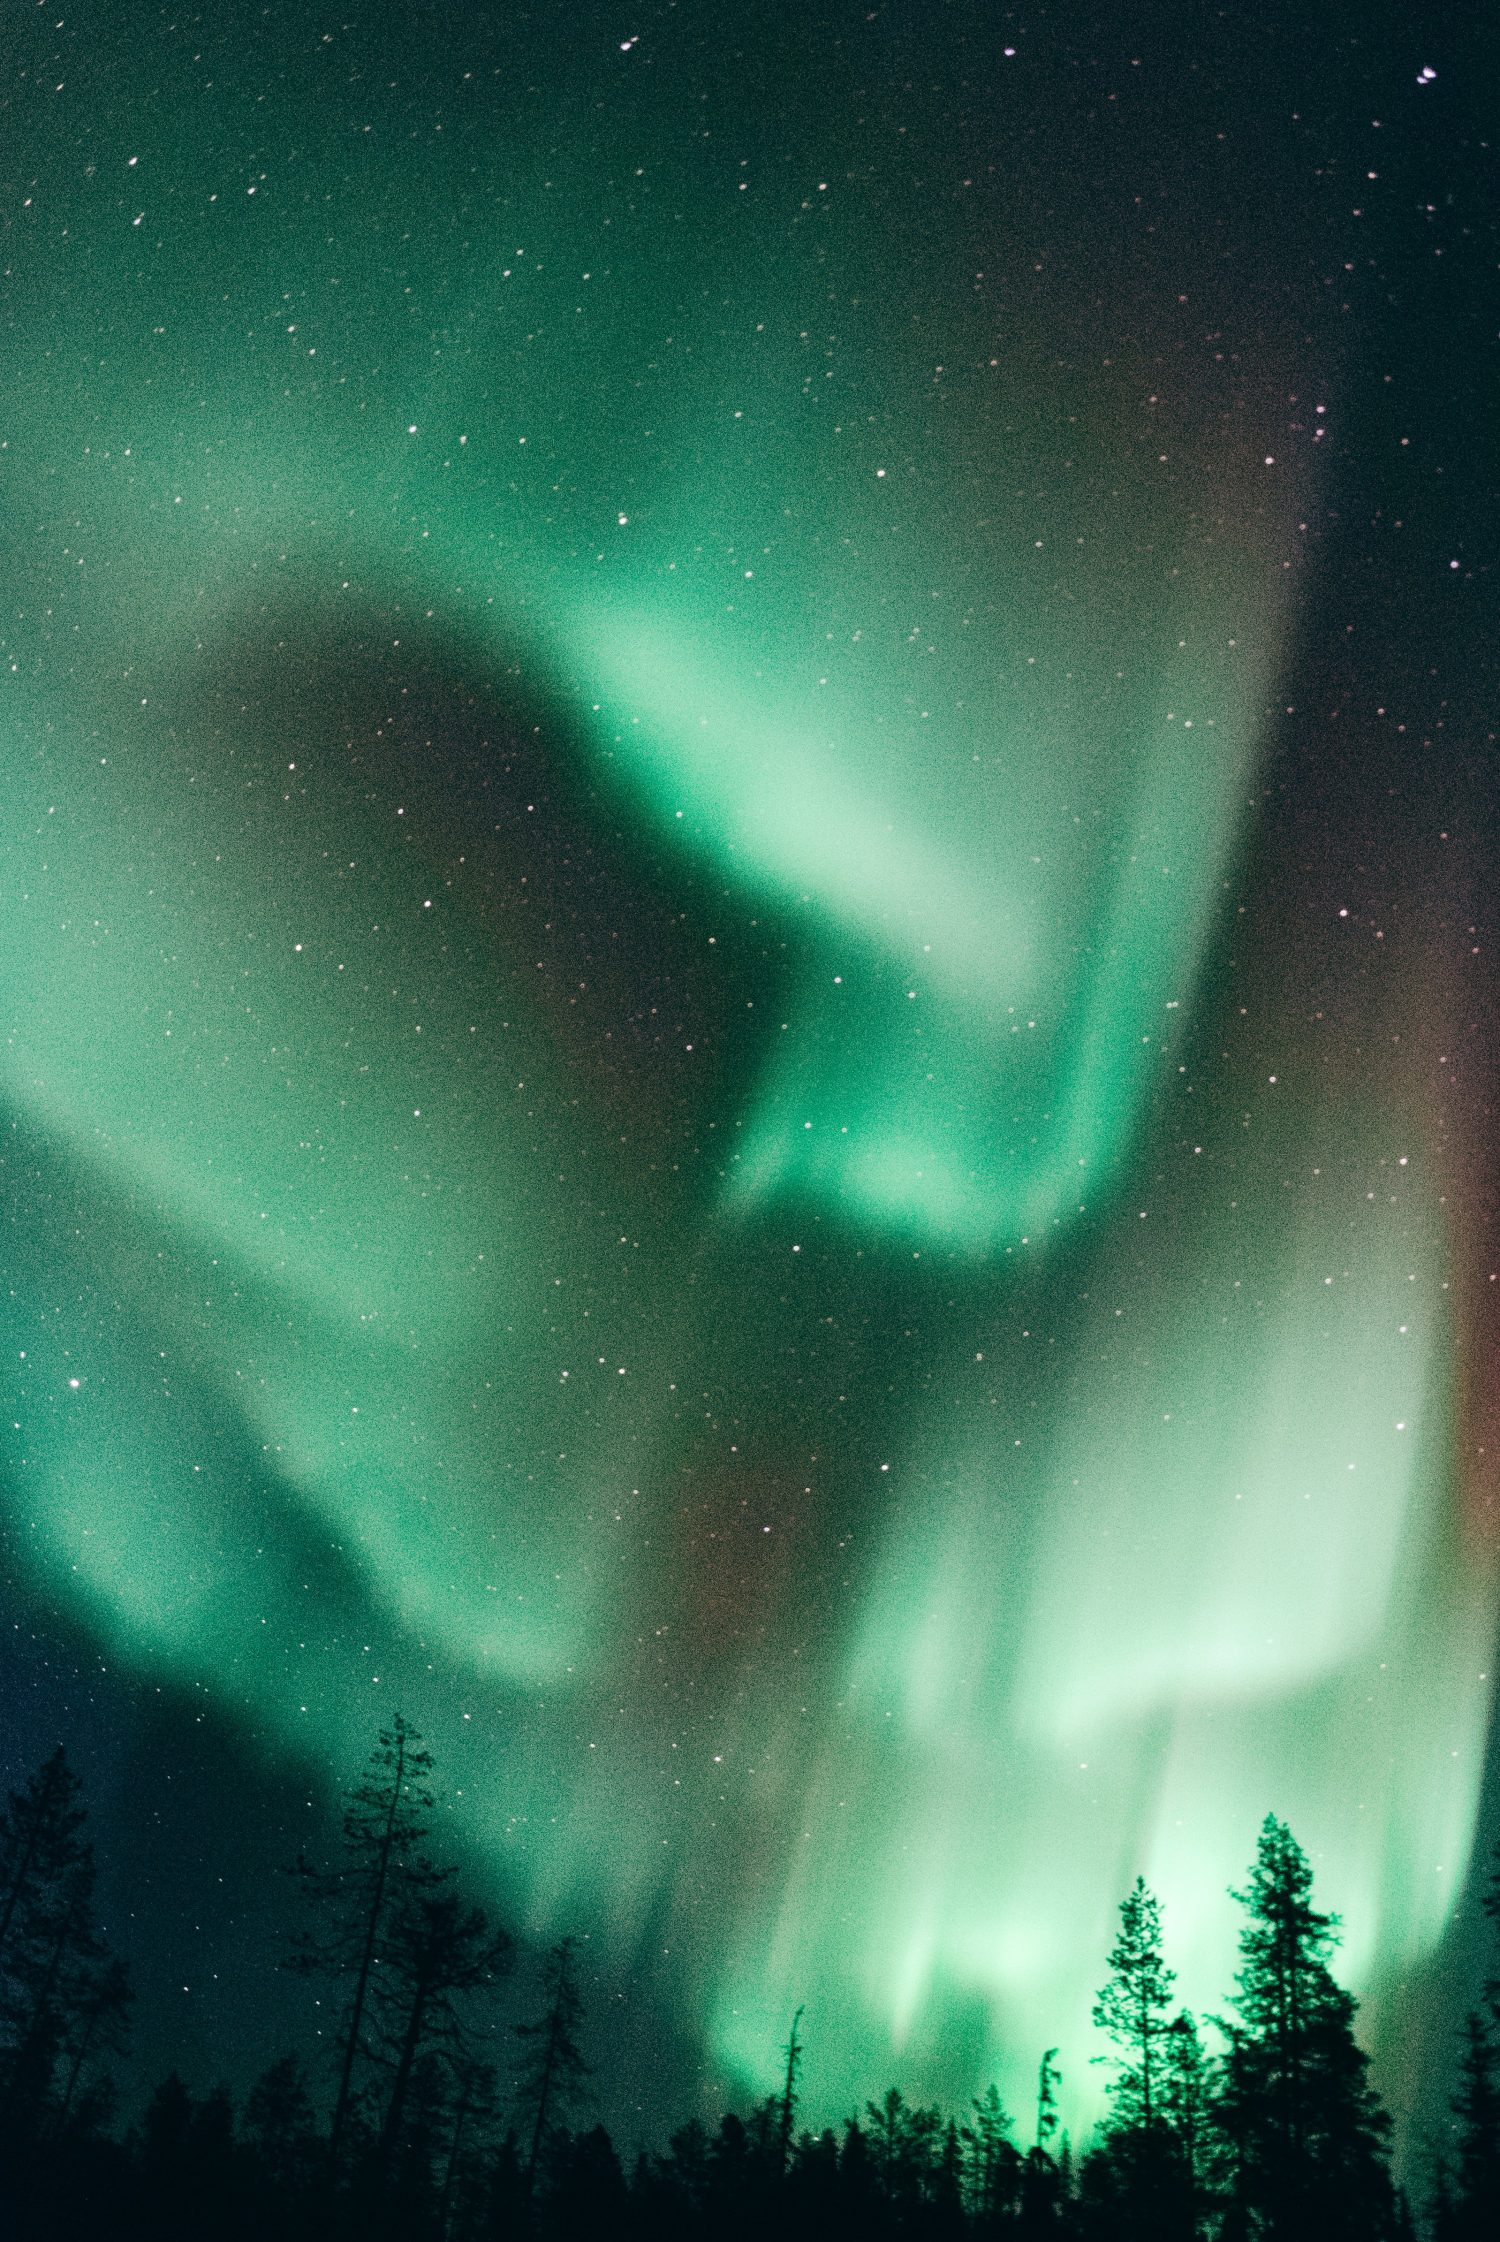 Photo by Lucas Marcomini
Obviously, this would be quite damaging to our planet’s surface, but most of the ionizing radiation is deflected by the Earth’s magnetosphere –a teardrop shaped magnetic shield. And the sunwards side of the magnetosphere channels ionized particles to the upper regions of Earth’s night side, spreading out to create an ovular aurora region. Size and intensity vary according to the intensity of the solar energy reaching Earth. Although green is the dominant aurora colour, you’ll also find yellow, red, violet and blue colours.
When and Where to Travel
The Northern Lights aren’t visible in all parts of the world and, as the name suggests, can only be seen in the Northern Hemisphere. Traditionally, the best spots are north of the Arctic Circle, the Nordic countries and some sparsely populated parts of Canada and Alaska. With the period of high solar activity currently underway, aurora have been spotted in the UK and Ireland, with the Shetland Islands being a particularly prolific spot to see them in at the moment.
Wherever you are, you’ll need to be away from cities to escape light pollution and get the best views. Norway, Iceland, Greenland, Finland and Sweden have a multitude of tours and locations that can help maximise your ability to capture the lights.
As with all weather events, there’s no guarantee of seeing the Northern Lights but you can increase your chances by monitoring something called the Kp- (or K-) index once you’re at your destination. The Kp- index is a 0-9 scale of atmospheric electromagnetic activity, with 0 being little activity and 9 being the most extreme activity. There are plenty out there – I like the one from NOAA’s (National Oceanic and Atmospheric Administration) Space Weather Prediction Centre.
Camera Gear
You can shoot the auroras with almost any camera, with people even using their phones now that the technology has improved so much. However, you’re going to get the most control over your images, along with the highest quality results, by using a decent camera with interchangeable lenses.
Like nearly all genres of photography, your lens is going to be the single most important piece of equipment when it comes to photographing the Northern Lights. A fast, wide-angle lens is essential to getting the most out of your shots – think focal lengths of between 12-24mm (on a full frame camera). Do remember that if you’re shooting at the really wide-angle end, you need to keep a close eye out for accidentally including distracting features in a shot – these lenses really are ‘wide’! Ideally you want a lens with a f-stop of 4 or lower – f2.8 is ideal but can be very pricey.
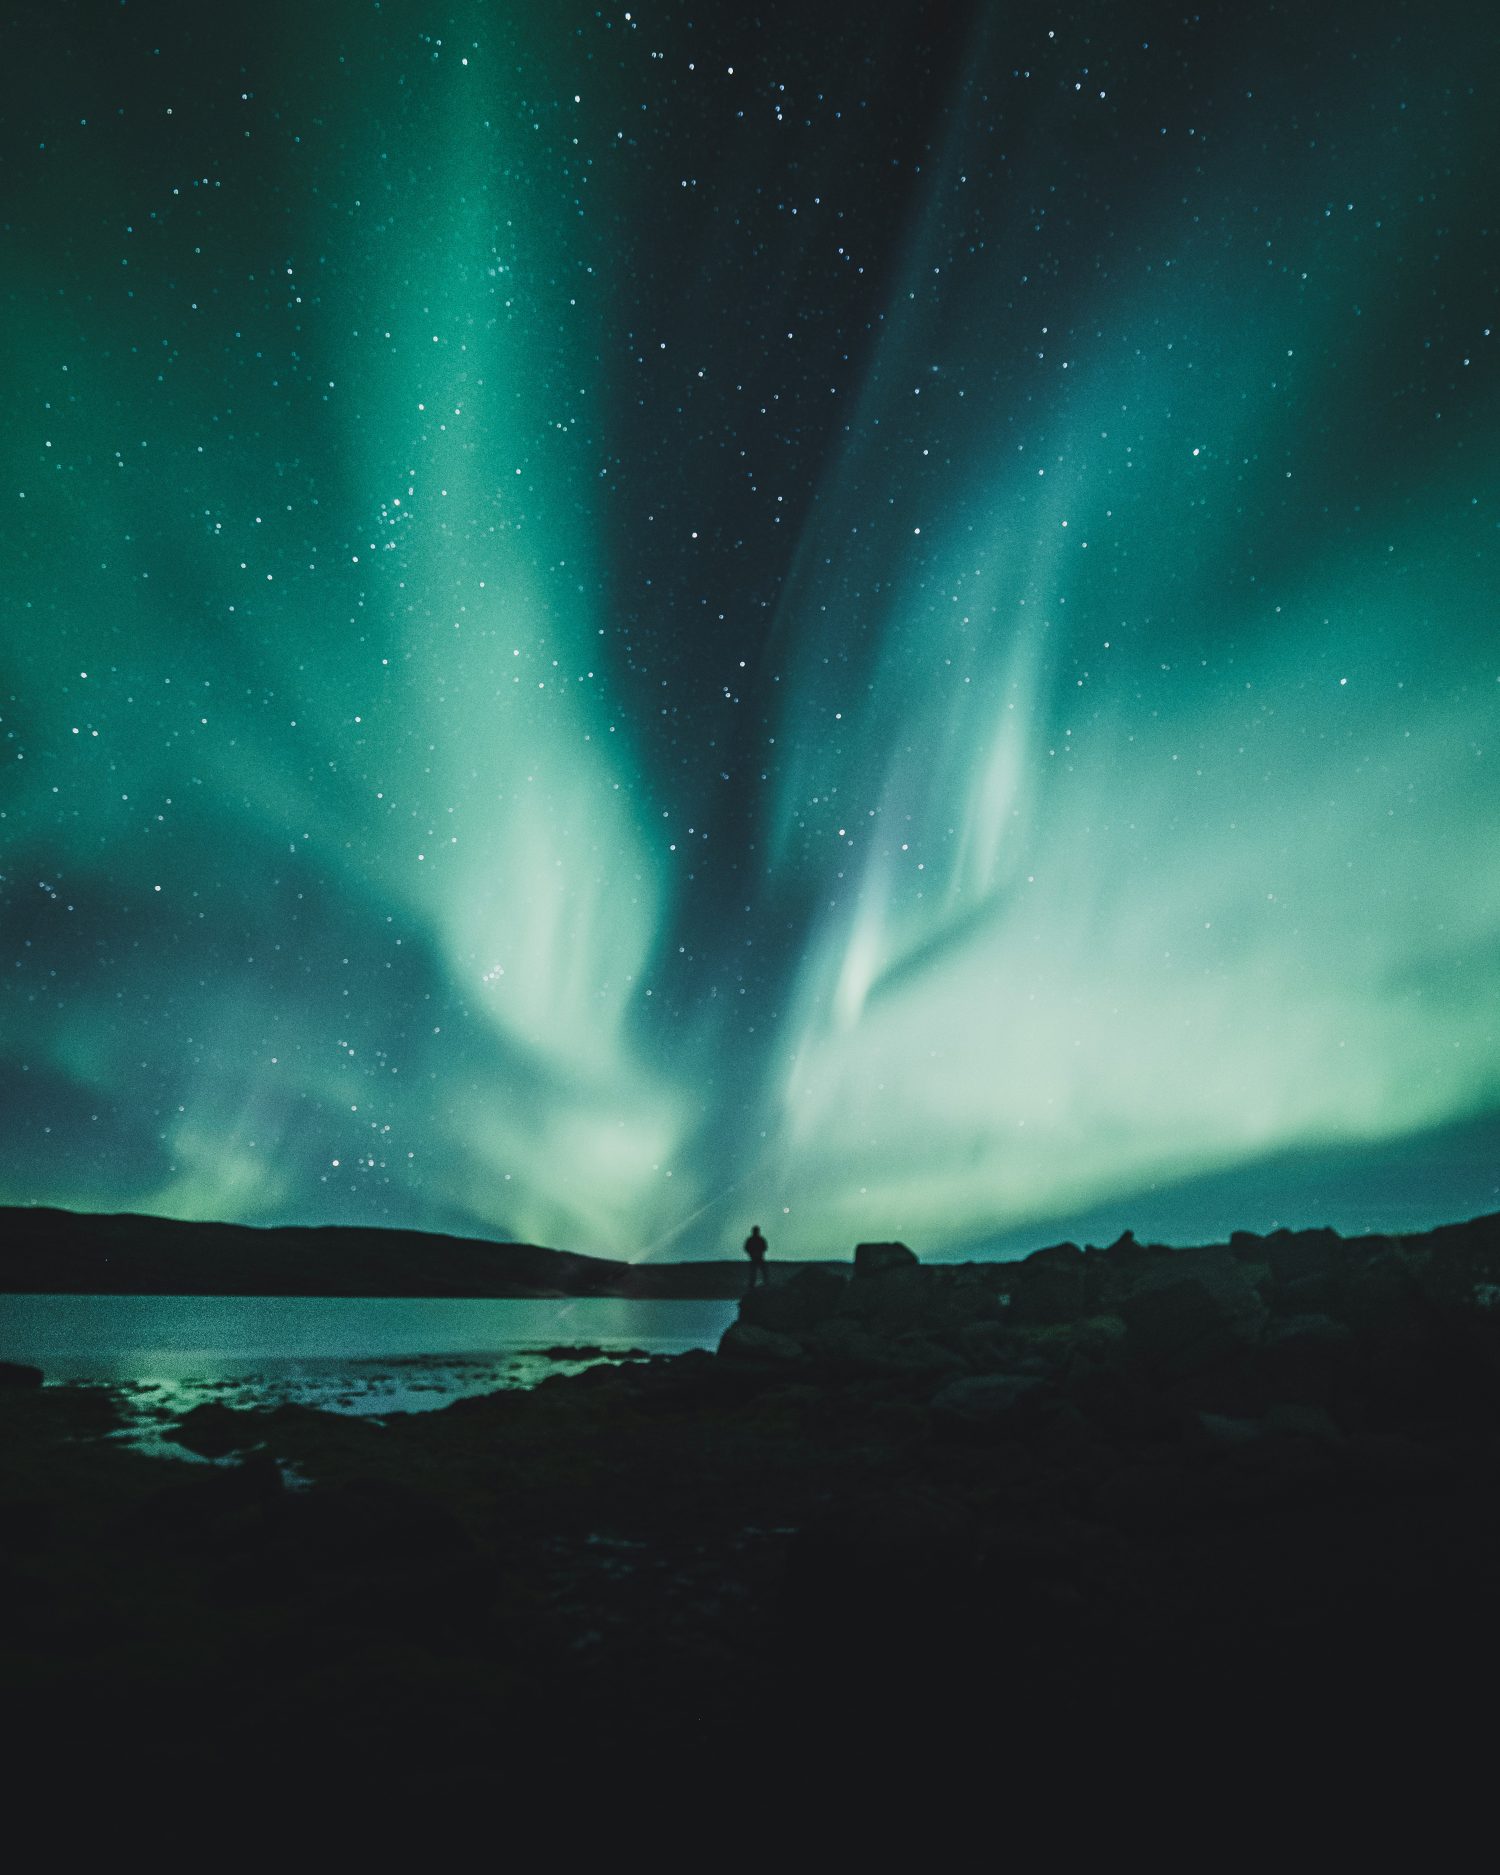 Photo by Luke Stackpoole
Prime lenses can generally be picked up more cheaply with a faster aperture than zoom lenses with a fixed aperture throughout their range. Zoom lenses with variable aperture ranges won’t give you such good results, although they can be used at a pinch. But if you’re going on a one-time only trip, I’d recommend hiring the right lens if you don’t have it in your kit bag.
The other big essential is a tripod. You need stability when you’re leaving the shutter open, and hand held just isn’t going to cut it. Carbon fibre travel tripods are the best option as they’re extremely lightweight as well as portable. Add in a remote release or even an intervalometer to avoid camera shake. And pack plenty of memory cards and batteries. You could be facing some fairly extreme conditions and it’s likely to be fairly cold, meaning battery life could be affected. Keep your batteries in interior pockets so that your body heat helps to keep them at a reasonable temperature. Some photographers even carry portable lens heaters to stop the camera from getting too chilly!
It’s not just the camera and batteries you need to keep warm. You could be outside for a long time waiting for the aurora to put on a show, so you need to take care to stay warm as well. Thermal layers along with a decent insulated winter coat and hat are a great idea and you should also invest in a decent pair of photographic gloves that allow you to adjust all the dials and settings on your camera without your fingers falling off! I’m also a big fan of the little heat warmers you can get to slot into shoes and gloves and, if you can, I’d also recommend taking along a thermos of either a hot drink or some soup. Finally, a head torch is vital for safety in the darkness – one with a red-light option will maintain your night vision but do be courteous to other photographers.
Setting Up
If it’s possible, it’s a great idea to pre-scout your locations in the daytime. Look for a striking foreground that will frame the aurora. You also need to be aware that, whilst the Northern Lights tend to concentrate in the northern sky, an intense display can appear in any direction. So try and find a location that works in multiple directions. You also need to be confident in controlling your camera in the dark. This is where a head torch will come in useful to add illumination to any areas of the camera you’re struggling to see clearly.
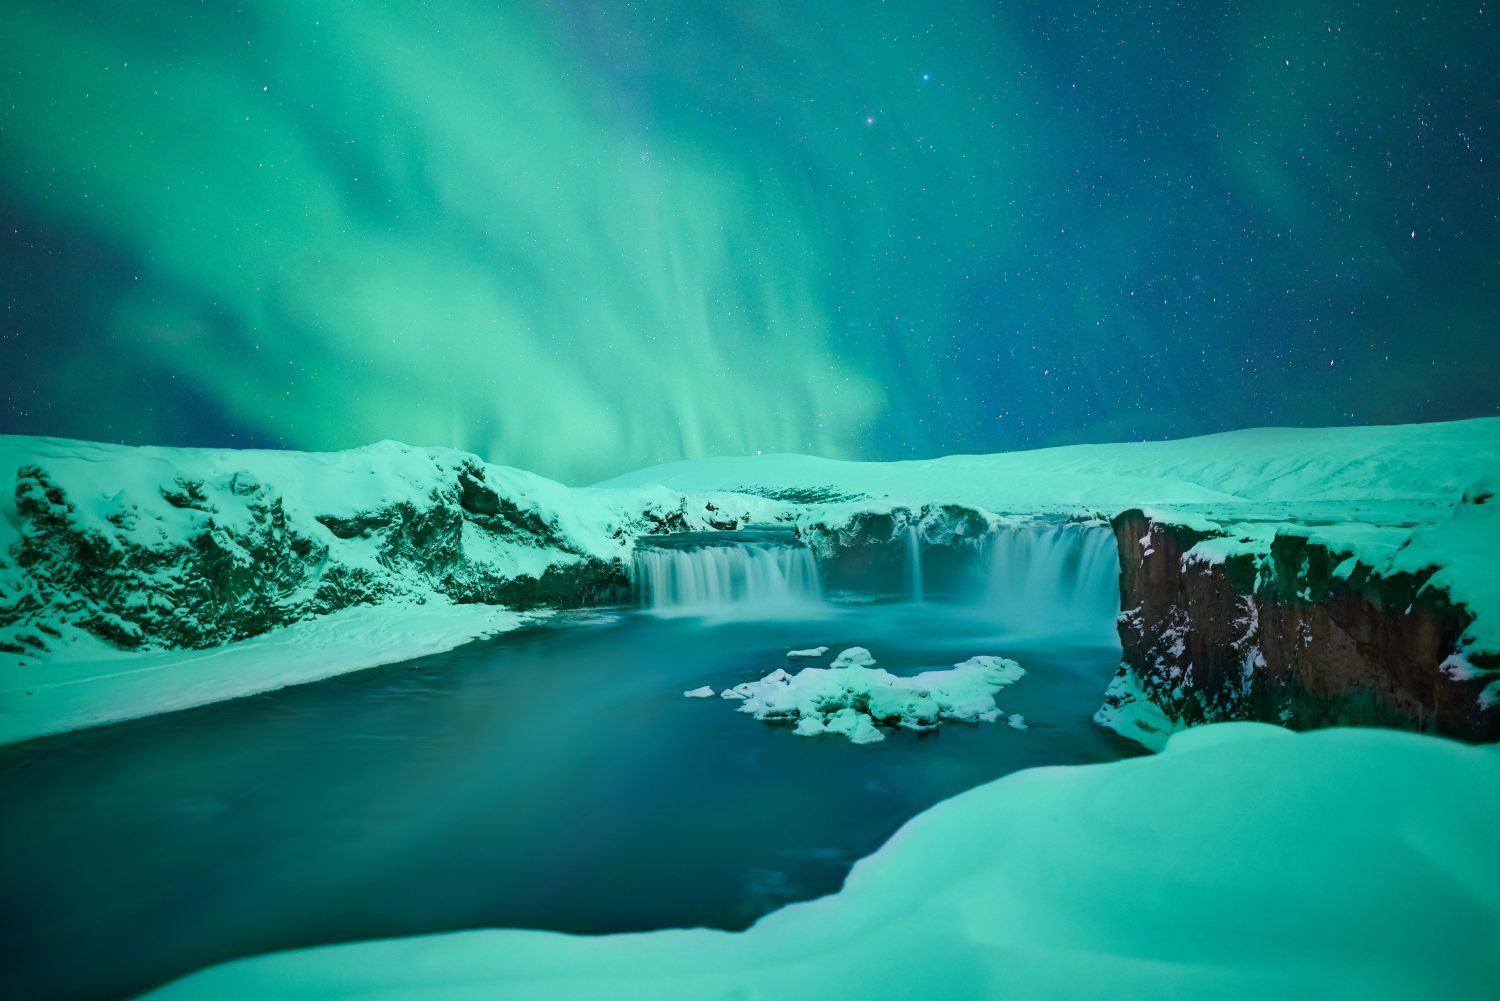 Photo by Marc Marchal
I’ll talk about settings for the exposure triangle in a bit but there are some settings you can pre-dial into your camera before you set off. Shoot in RAW and set your white balance manually. Use the Kelvin mode and set your colour temperature to between 3000K and 4000K. This will produce a colder, more authentic sky. Don’t let your value go over 4000K as this will make the green in your aurora look muddy and discoloured.
Turn on your camera’s highlight alert (more commonly referred to as ‘blinking highlights’). You’ll need to be monitoring your histogram throughout an aurora shoot, so the blinking is a good reminder. And try to focus your camera to infinity whilst there’s still daylight (if possible).
Lastly, turn down your LCD screen brightness until it’s giving you a realistic preview. This will help you to avoid underexposing your photos.
Taking the Shots
Even with the capabilities of modern cameras, you want to keep the ISO as low as possible to avoid any noise in your images. This is why a lens with a large maximum aperture is so important, as it allows you to capture as much light as possible through the lens. Of course, every camera is slightly different, so be aware these are just guidelines to start with. Put your lens on f2.8 (or f4 if that’s its maximum) and expect your shutter speed to be between 1-30 seconds. Remember that you don’t want the shutter open for too long, or the sky could end up just looking like a giant green blob! As a general rule of thumb the stronger, brighter and more dynamic the aurora is, the faster a shutter speed you will need to freeze the shapes and movement being produced. Adjust your ISO accordingly – you should expect to be shooting at around ISO 800 if there are other light sources around (street / house / road lights etc) or anything up to 6400 if the location is in complete darkness.
If you haven’t been at the site during daylight hours, focusing at night can be a challenge. You’ve got a couple of choices here. Firstly, you can switch the camera to manual focus and just fix the lens on infinity, since you’re aiming at the sky and into the distance. Or, if you prefer, you can set the live view mode on your camera and zoom in on the brightest light you can find (the moon or a bright star). Now move the focus ring of your lens manually until you find the sharpest point. Lock this focus unless you change your lens or focal length.
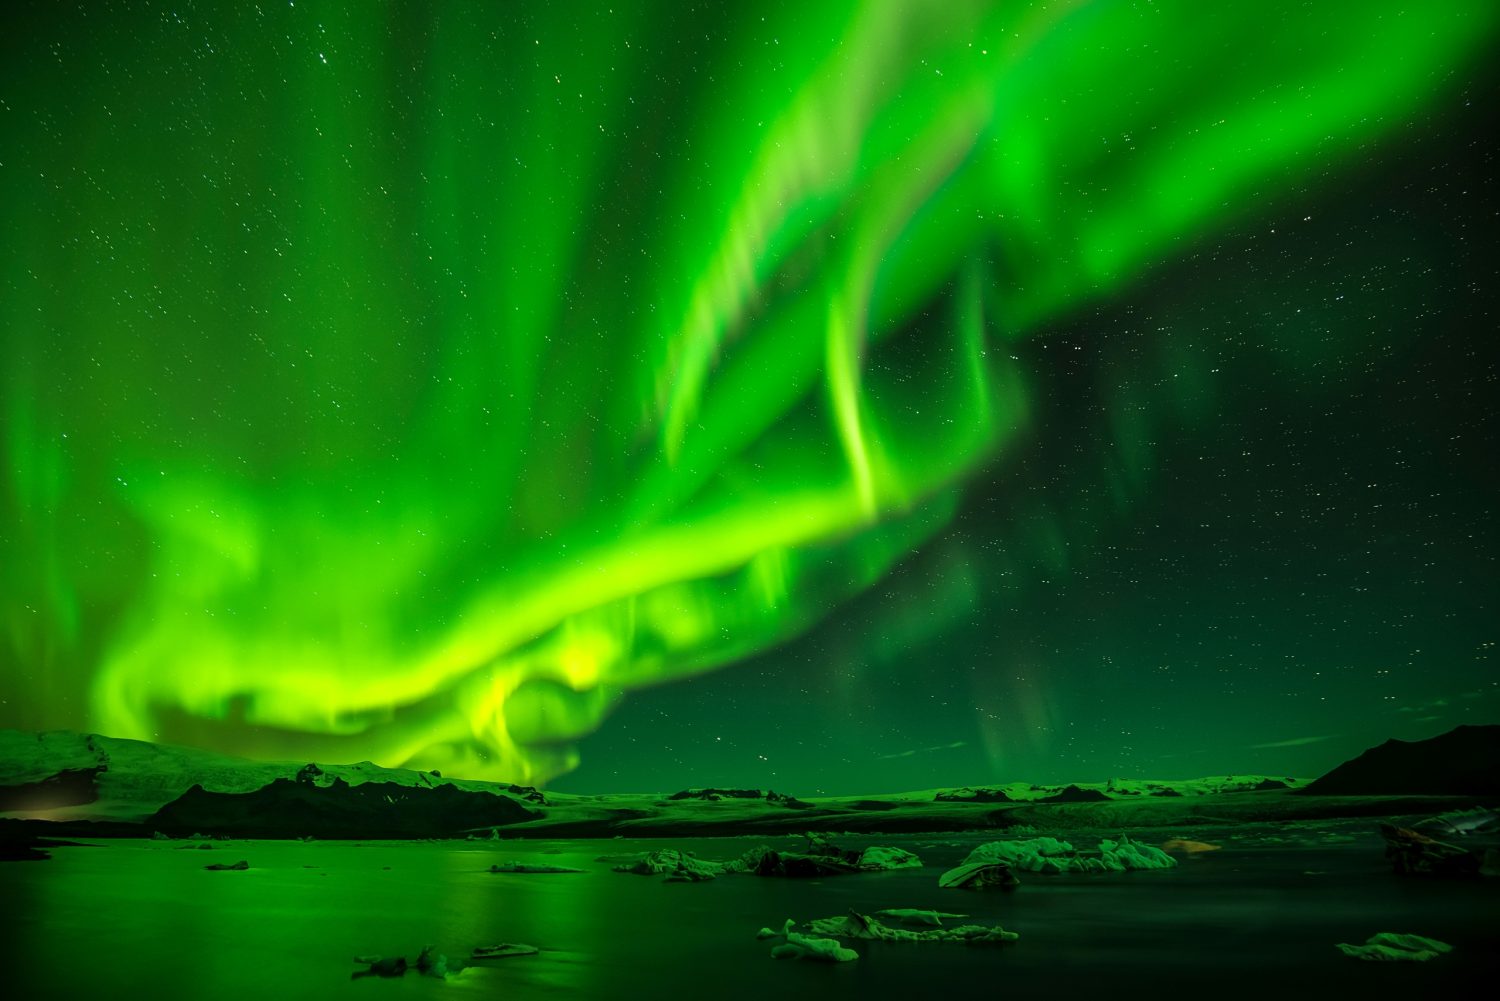 Photo by V2osk
Keep an eye on your histogram as you’re shooting. The brightness of the Northern Lights can fool your eyes, so it’s best to check that your exposure is correct by checking the histogram. Look for a histogram that tilts towards the left, but doesn’t clip the blacks or, most importantly, the highlights. You can also zoom in on the image to check that everything is in focus. Your exposure is likely to vary a lot with the aurora’s intensity and the amount of moonlight, so you should be aware that exposures can change by multiple steps in a matter of minutes.
When you’re photographing the aurora, it can be easy to just focus on the sky and forget about your surroundings. As I mentioned above it’s a good idea to try and scout out some interesting foregrounds that you can add into an aurora shot. Much like a sunrise / sunset, you need something in your frame to ground the aurora and give it context in its wider location. You can also look for interesting backdrops, such as hills and mountains, to add definition and interest.
In Conclusion
There are few natural phenomena as mesmerising and beautiful as the Northern Lights. Make sure you capture them in all their glory by following the advice in this article, and happy shooting!
About the Author: Jo Plumridge
Jo Plumridge is a UK based photographer, writer and lecturer. She specializes in portrait, corporate and travel photography, and writes photography, travel and comedy pieces for magazines, websites and books. You can see some of her work at her website, or follow her on Twitter.