Christmas Photographs: What To Shoot & How To Shoot It
 by
Jo Plumridge
by
Jo Plumridge

Christmas provides photographers with a wealth of opportunities for photography, with bright lights, festive treats and friends and family all on hand for great photo projects.
But what should you photograph and, more importantly, how do you go about doing it? Let’s take a look at some great ideas for festive photography shoots.
Shooting Christmas Lights

At this time of year, colourful fairy lights are everywhere – in miniature versions in our homes, or in giant installations on the streets. These lights provide great opportunities to create bokeh images. (Bokeh is a Japanese term that refers to the aesthetics regarding the areas of a photograph which are out of focus.)
One of the easiest ways to create a pretty bokeh effect is to use Christmas lights as a background in your shot. For this type of shot, you’ll be shooting your subject so that they’re sharp and using your Christmas lights to create a blurred background and your bokeh. You can experiment with using either a human subject or a still life object.
Position your subject as far away from the lights as possible and, if you’re working indoors with your own lights, make the background as dark as possible by turning off your room lights and just using the Christmas lights to illuminate your background. You’ll need to illuminate your subject separately, by using a flashgun on a low power setting and, ideally, off-camera so that you can position it at an angle to your subject, but angled in a different direction to your background Christmas lights.
Set your camera on its widest aperture, focus on your subject’s eyes and keep your ISO at 100 to avoid noise. By the way, the closer you keep your subject to the camera, the closer your focus distance will be, and the more the camera and lens will throw your background out of focus.
Capturing Stunning Winter Landscapes
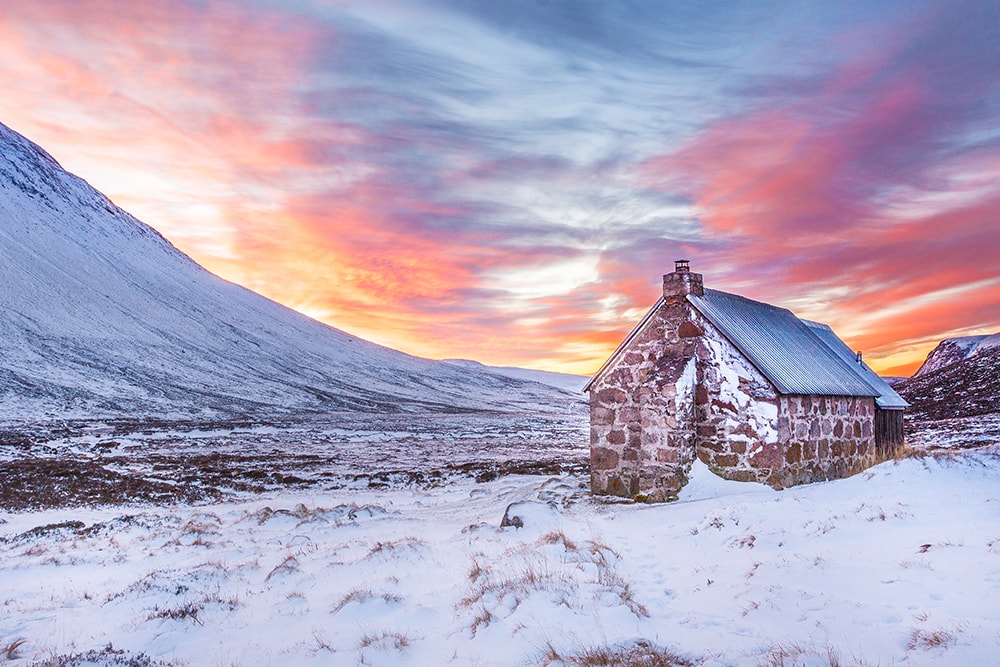
If you’re lucky enough to live in a part of the world where snow is guaranteed in December, you’ve got the chance to create classic Christmas landscape shots. Snow can be a bit tricky to photograph correctly though, so let’s look at how to do it properly.
Your camera will want to make everything mid-toned, and this can lead to problems when shooting snow. Brilliant white snow confuses your camera, and it can lead to under-exposed shots… and snow that looks gray in the final image. You’ll need to help your camera out in one of these three ways.
- First, frame your shot and focus. Then zoom in to a bright area of snow in the scene. Using your exposure compensation button, dial in a value between +2/3 to +1 2/3 EV, depending on the brightness of the snow. Take a meter reading, remember the settings, switch to manual, and dial in the new shutter speed and aperture. This overexposure will ensure that the snow looks white, but it won’t blow out other objects in the photo.
- If any mid-tone objects (such as a gray rock or building) are visible in the scene, take a meter reading off these. Setting your camera to these settings will then help it to render the snow correctly. You may have to dial in a little negative compensation (such as -1/3 EV) to stop the highlights in the snow from being blown out.
- Alternatively, you can just use your camera’s histogram to correct exposure. Take a test shot and check the histogram. If it is slightly “humped” in the middle, then just dial in a little positive compensation to add brightness. If the graph appears to fall off in the right hand edge, then just dial in a little negative compensation to stop blown out highlights.
Don’t forget to use a lens hood when photographing snow. As snow is so bright, it creates a lot of flare that can make photos look very hazy. And don’t use a flash to photograph a scene whilst it’s actually snowing, as the flash will turn snowflakes into distracting balls of overexposed light.
Christmas/Winter Portraits
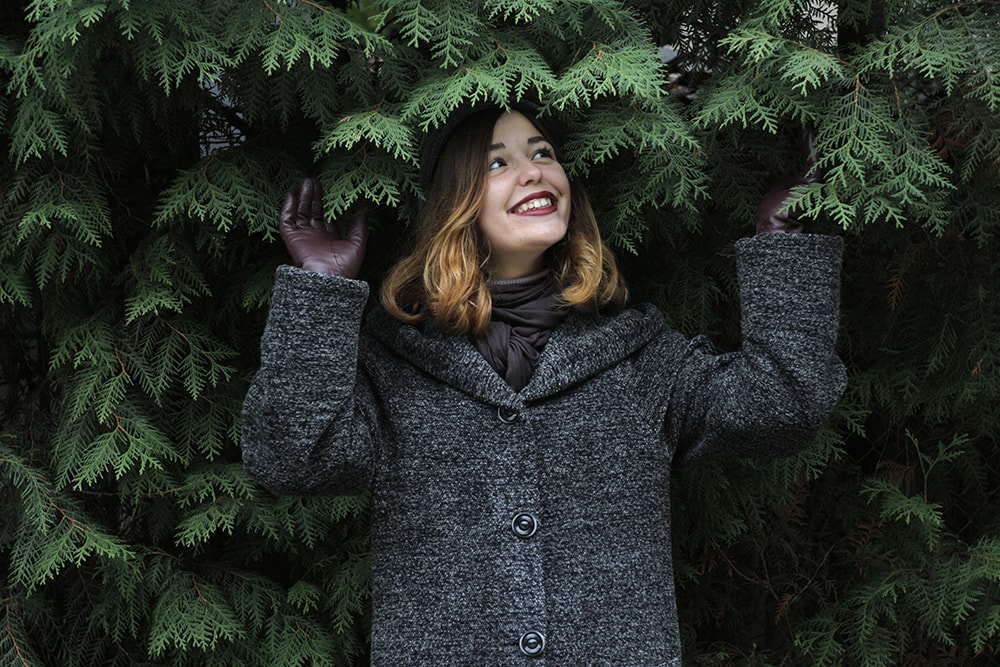
Christmas is a time when families often come together, meaning that it’s the perfect time to get some lovely portrait shots. Don’t feel obliged to include festive jumpers and hats unless you want to, of course! Most modern DSLRs and CSCs have semi-automatic settings to help with portraits if you’re new to the game, but I recommend going fully manual for optimum control.
Portraits work best when you control your depth of field – you want your subjects to be sharp, but the background to be blurry to really make them ‘pop’ out of the shot. (This can be another scenario where you can experiment with lights and bokeh.) If you’re shooting individual portraits, use an f-stop of around f/4 to f/5.6 and increase it to between f/8 – f/11 for group shots.
Ideally, you’ll want to use ISO 100 to prevent any noise but, if you’re finding you need a slower shutter speed than 1/60th of a second (which is the slowest it’s really safe to hand hold a camera at, especially with a portrait lens between 50mm and 85mm), you might need to push it up a little.
You’ll probably need a flashgun if you’re shooting indoors but keep the power low and use something like a Sto-fen diffuser on the front to soften the light. If you’re really not a fan of flash light and have a newer modern DSLR, you can probably risk pushing the ISO up far higher to get more light into the camera that way.
Finally, the absolutely key thing to remember when photographing people is that the eyes must be pin sharp. So make sure you manually select a focus point that lies over an eye.
Hopefully these tips will help you to produce some truly memorable Christmas images. Have a Happy Holidays!
About the Author: Jo Plumridge
Jo Plumridge is a UK based photographer, writer and lecturer. She specializes in portrait, corporate and travel photography, and writes photography, travel and comedy pieces for magazines, websites and books. You can see some of her work at her website, or follow her on Twitter.