Common Problems in Outdoor Portraiture and How to Overcome Them
 by
Kent DuFault
by
Kent DuFault

001
I spent thirteen years working for a company that specialized in outdoor portraiture. That was all we did. We didn’t have a studio.
In that time, I encountered many challenges. And you will too!
This blog post will share some problematic location portrait situations and then offer some tips and hacks on how to overcome them.
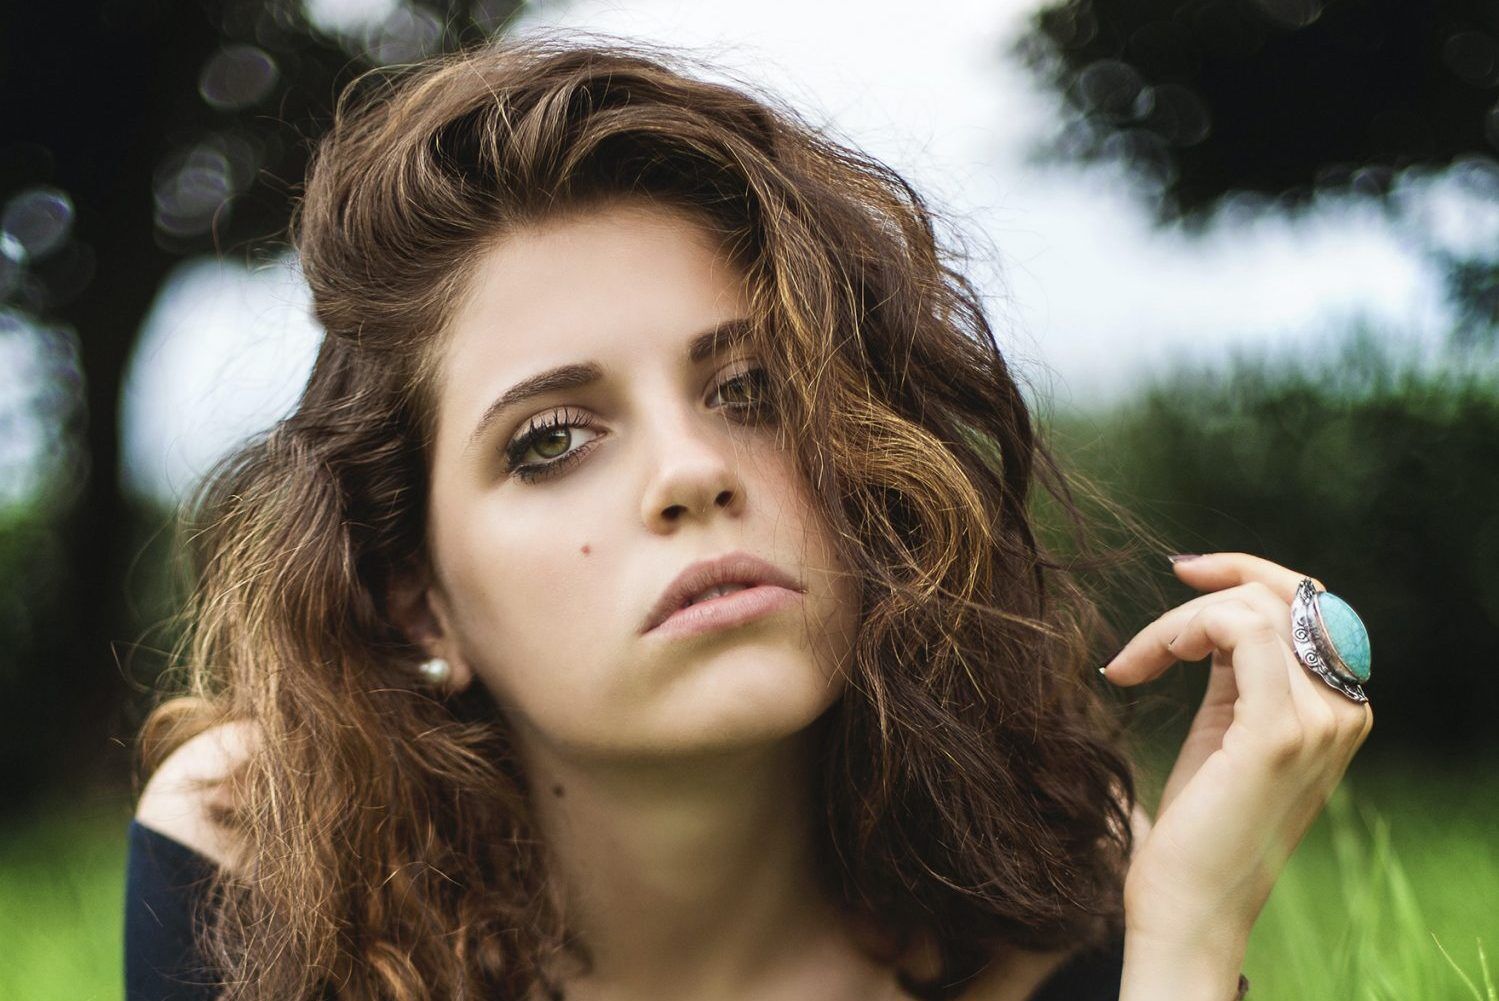
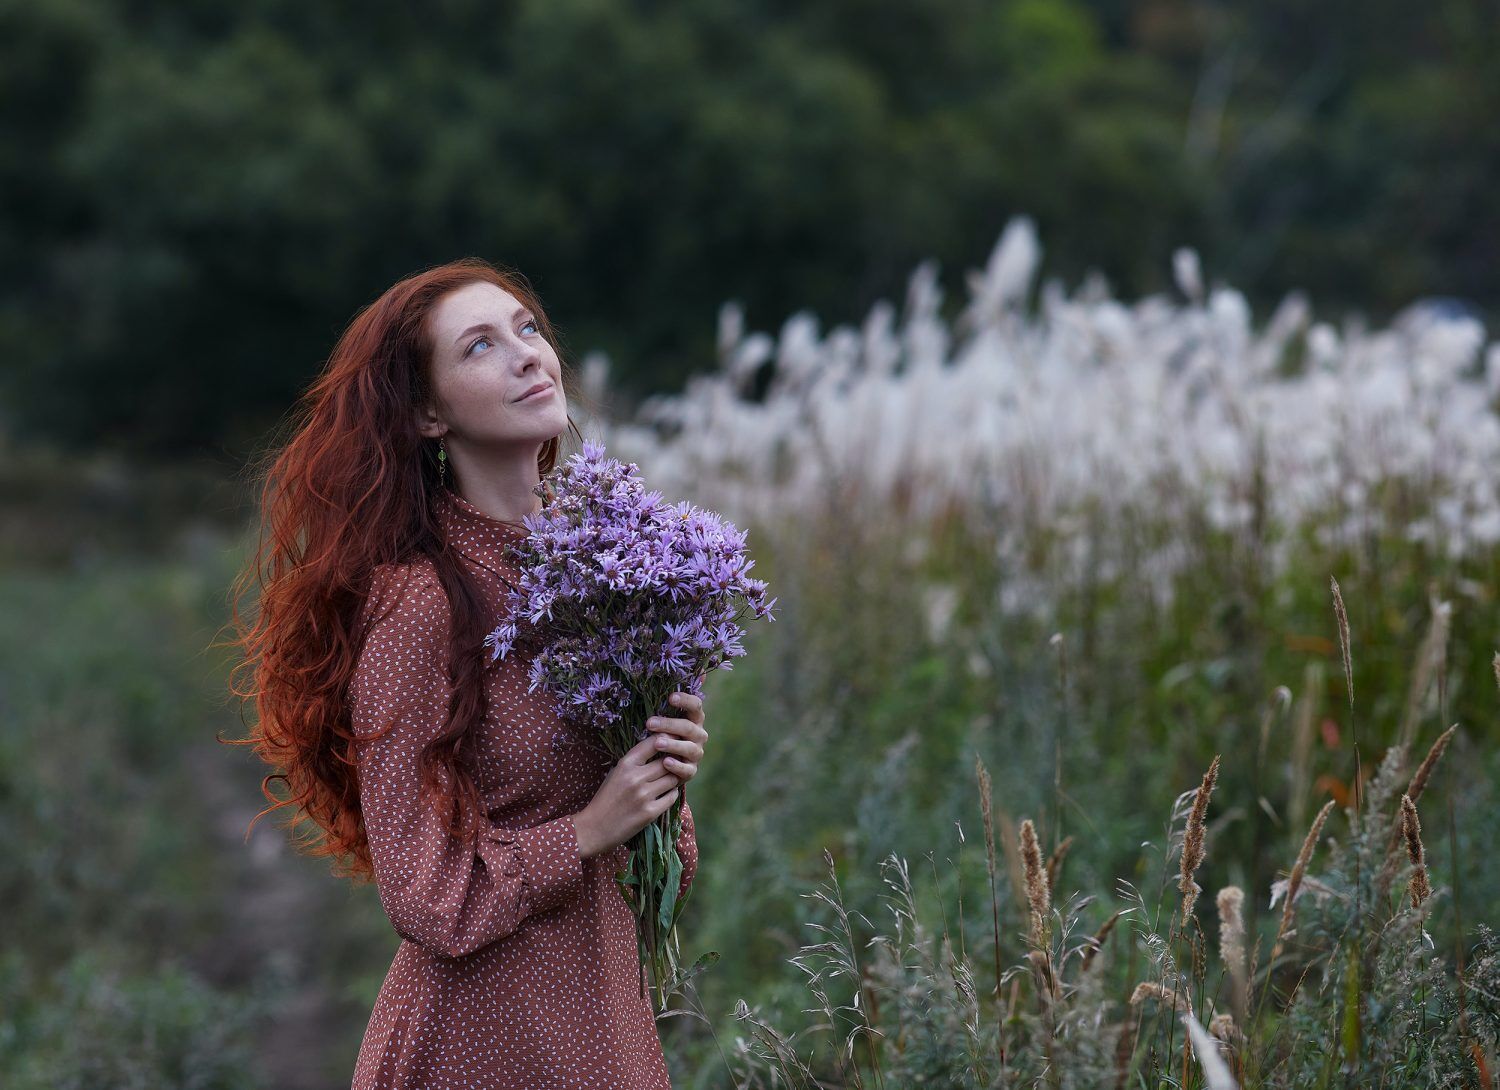
Challenge #1 – The Wind
002
You will be dealing with the wind. Even the slightest breeze can create problems if your subjects have long or fine hair.
I once photographed a family of twelve for an outdoor portrait. All of the women had prepared for hair problems. So, their hair was fine in the light breeze that we experienced.
However, grandpa (who happened to be funding the whole portrait session) was balding with long thin hairs that he combed across the top of his head.
In every shot, those long thin strands of hair were blowing around above his head like a dust devil.
No matter how many times I tried to explain to him that, the images could be retouched. (I even showed him a sample) He wasn’t having it. In his mind, it was my fault, and all he could see was his ten long strands of hair flying around above his head like buzzing bees.
They walked out without buying a single image. That was an expensive lesson for me. Hopefully, I can save you from that same disaster.
Tip #1
Communicate the potential problem of wind to the subject(s). Ask about the hair of everyone involved. Prepare your subject(s) for the possibility of retouching costs for blowing hair. Make sure that they understand upfront that even men and children can have hair problems in an outdoor portrait.
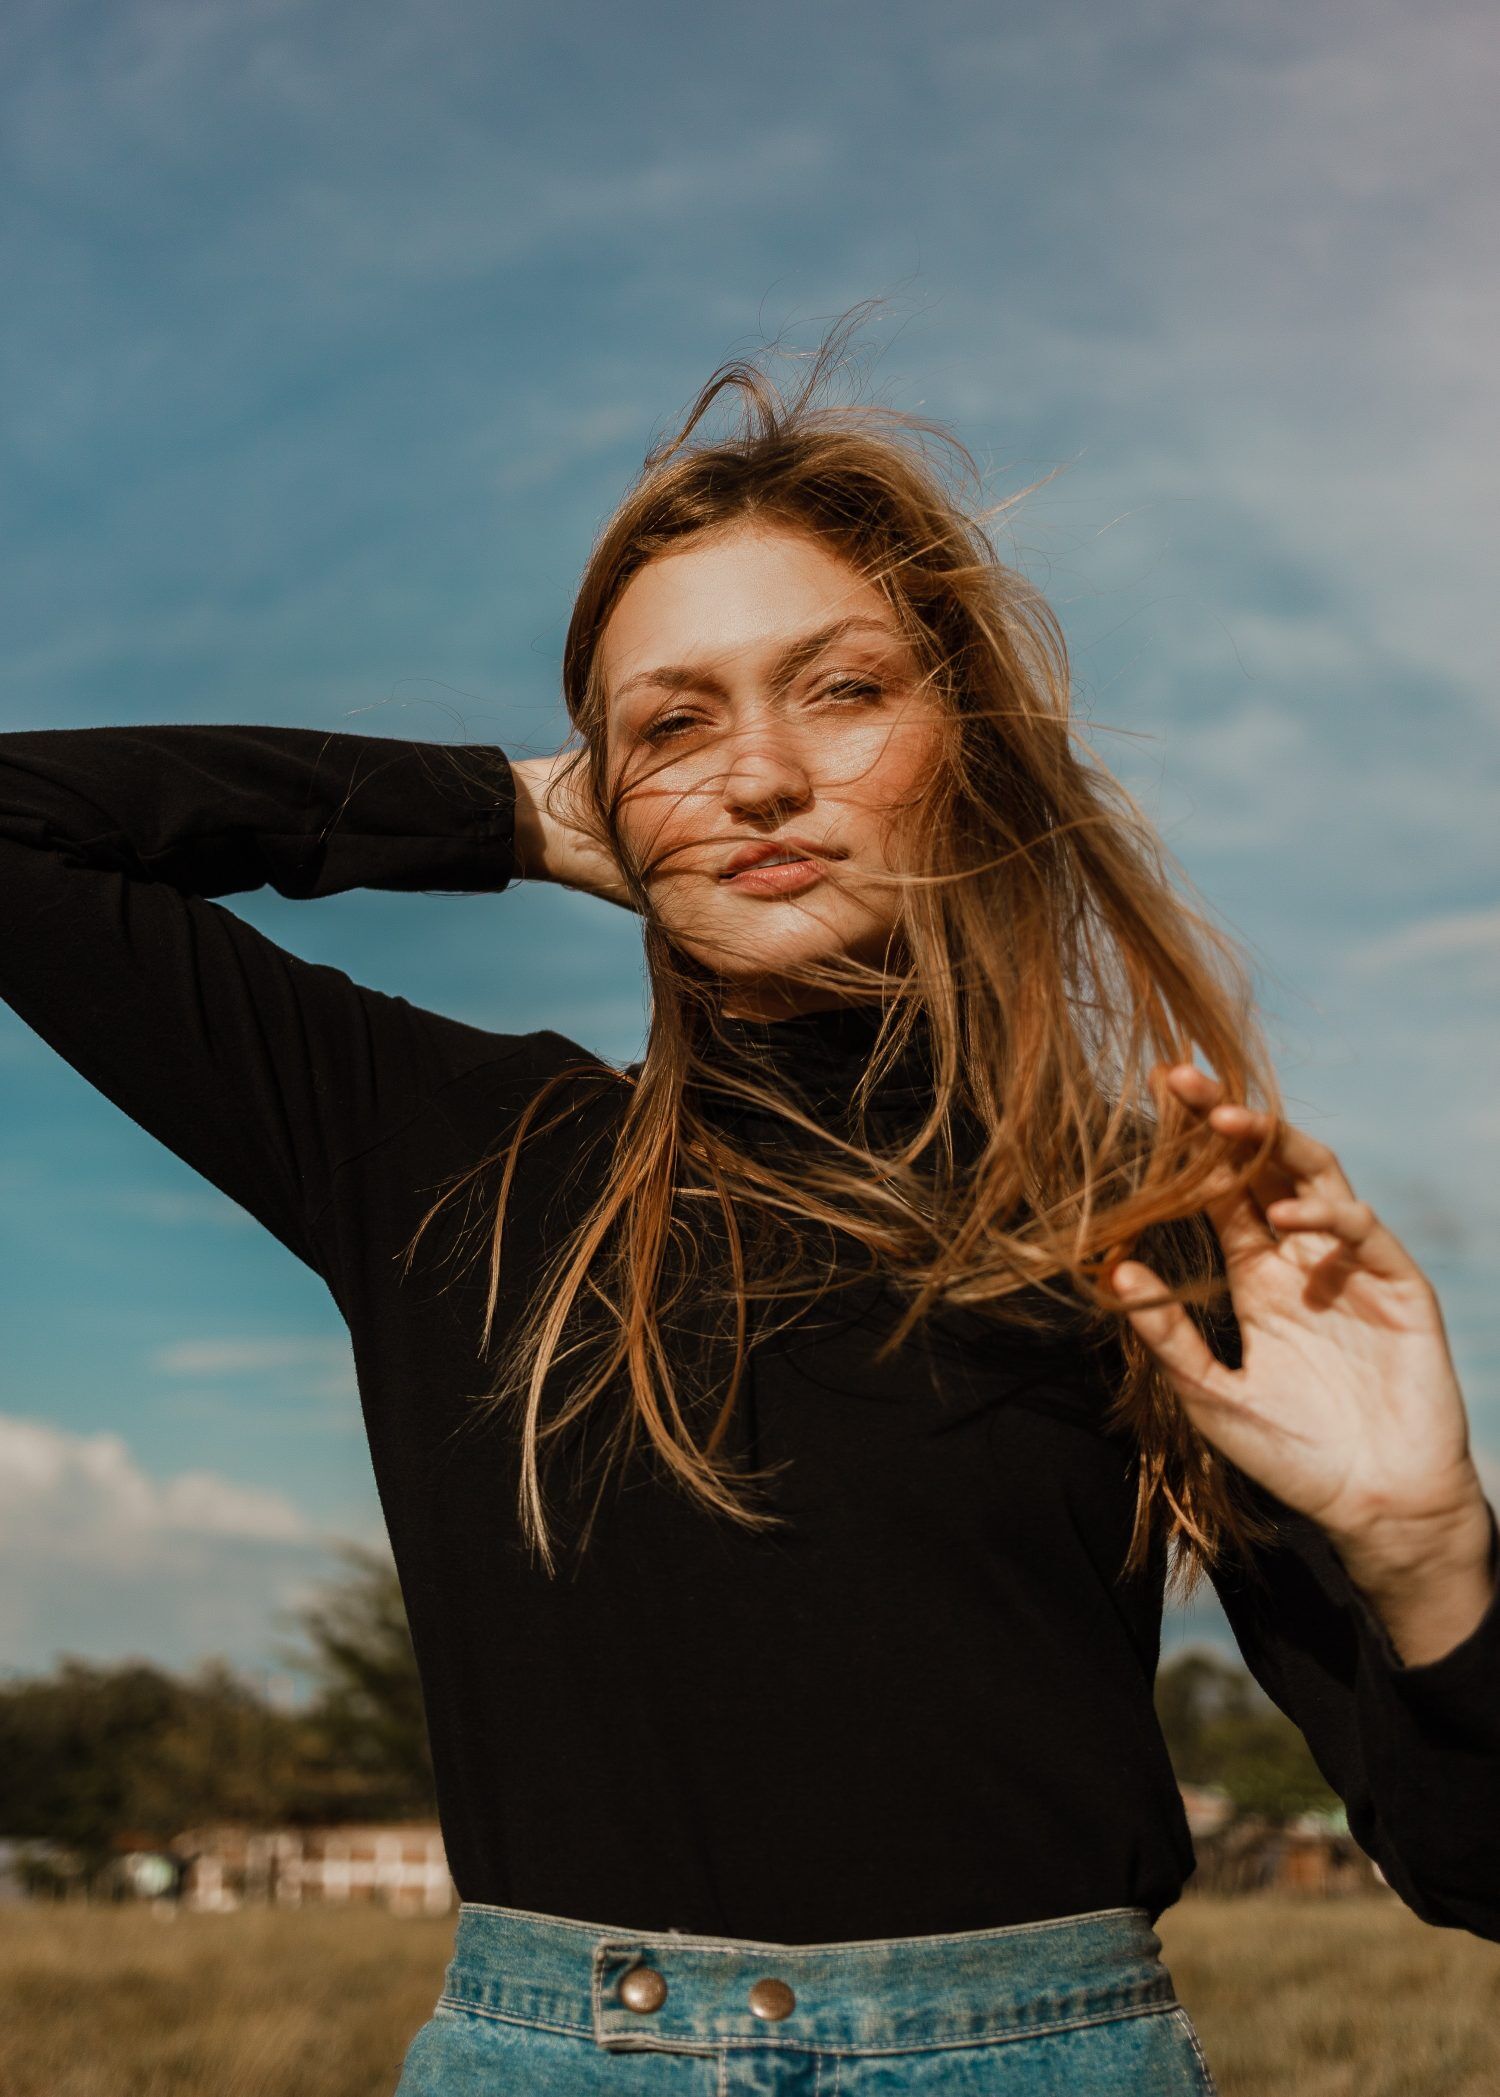
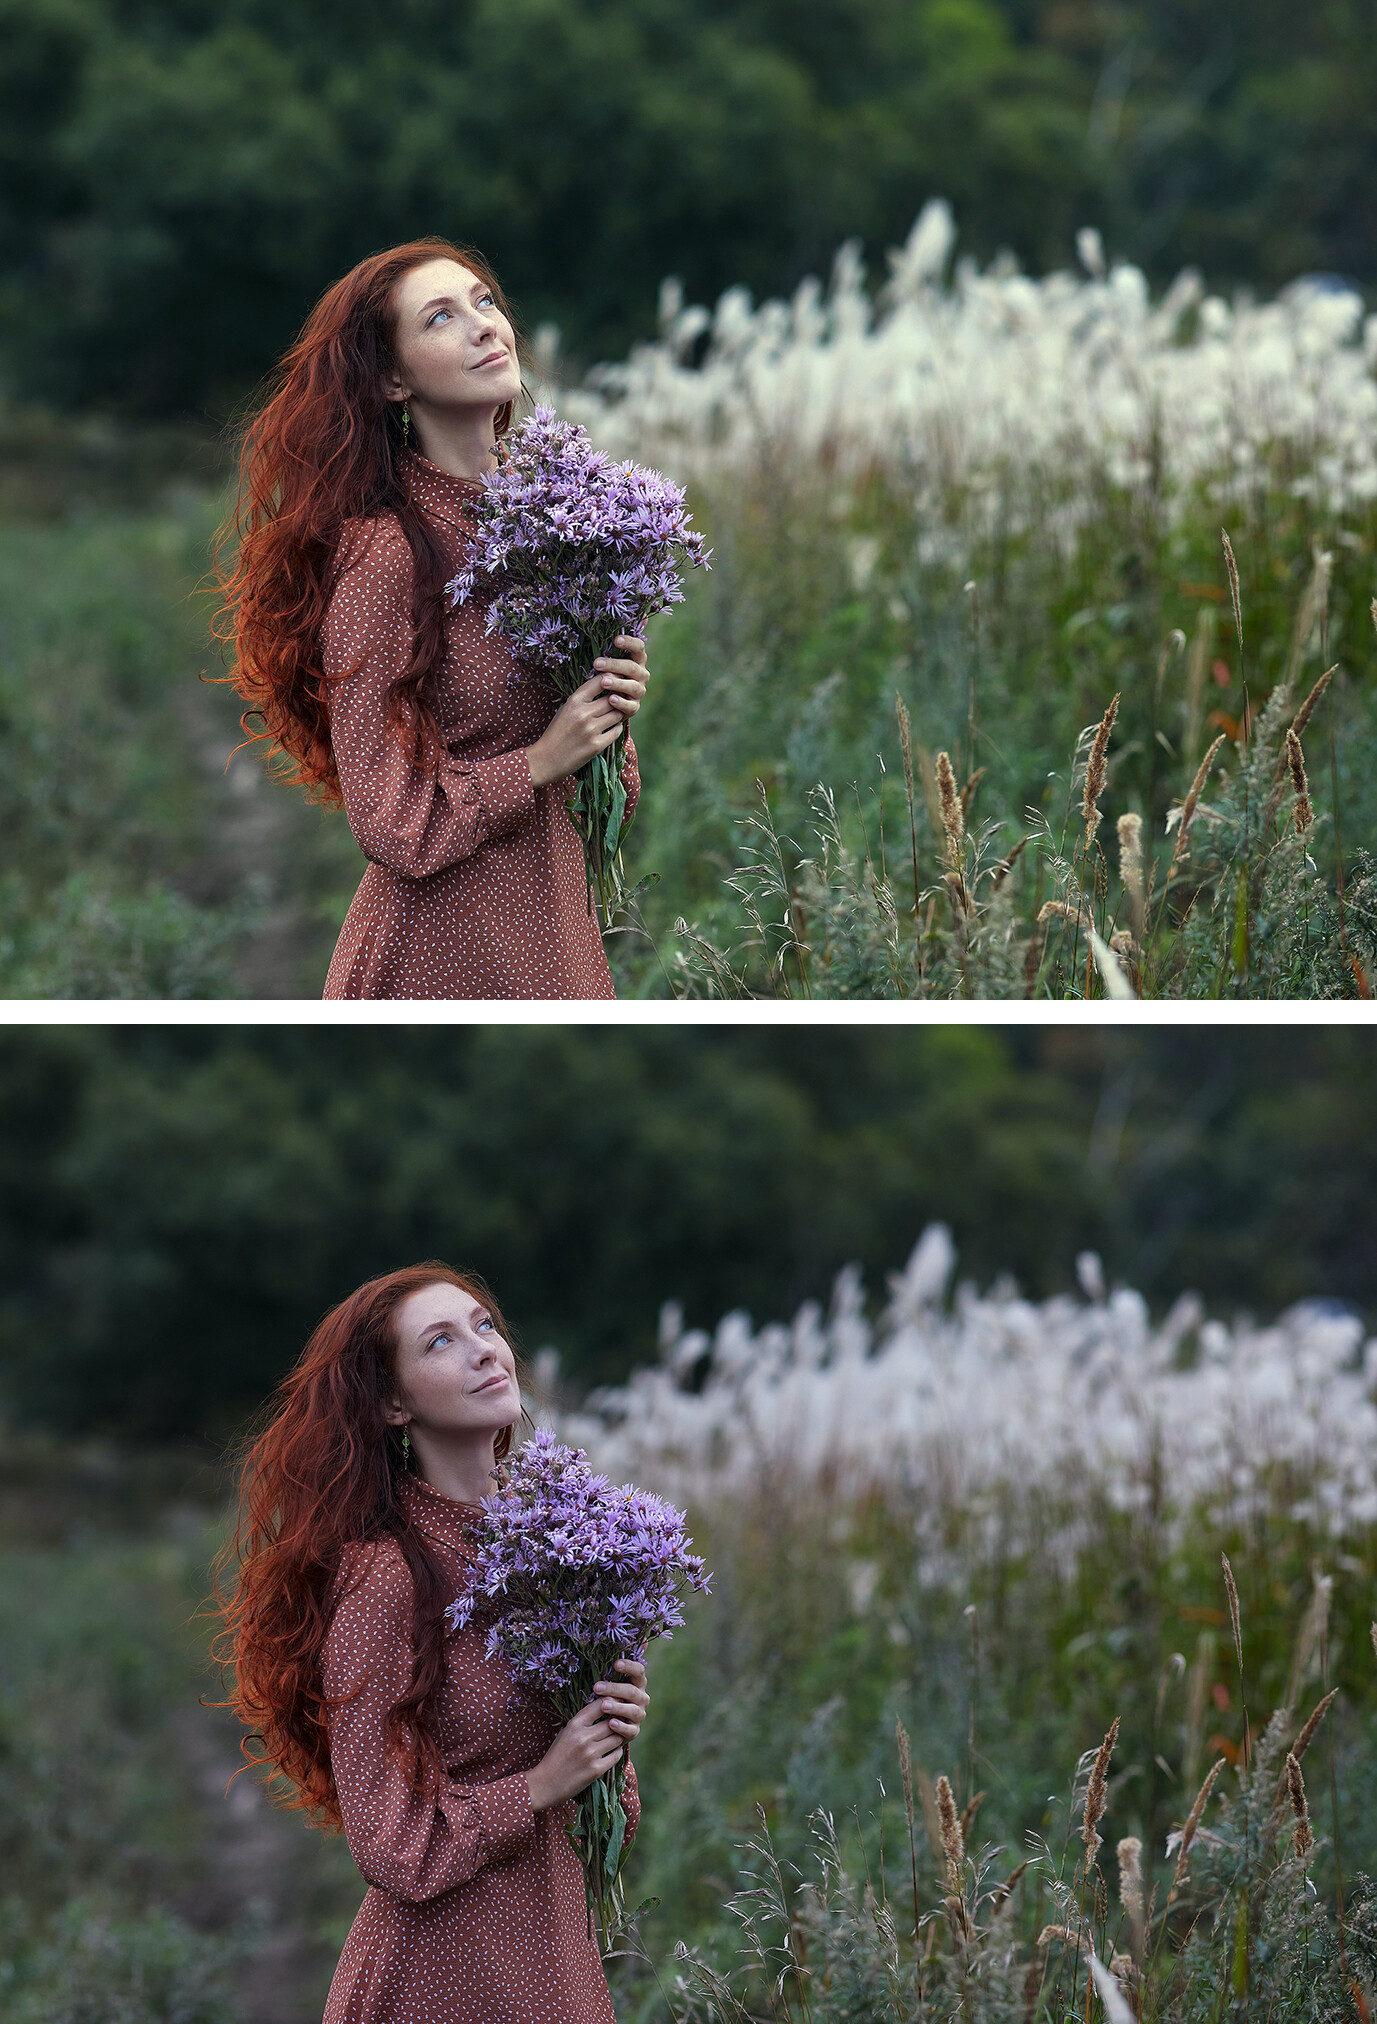
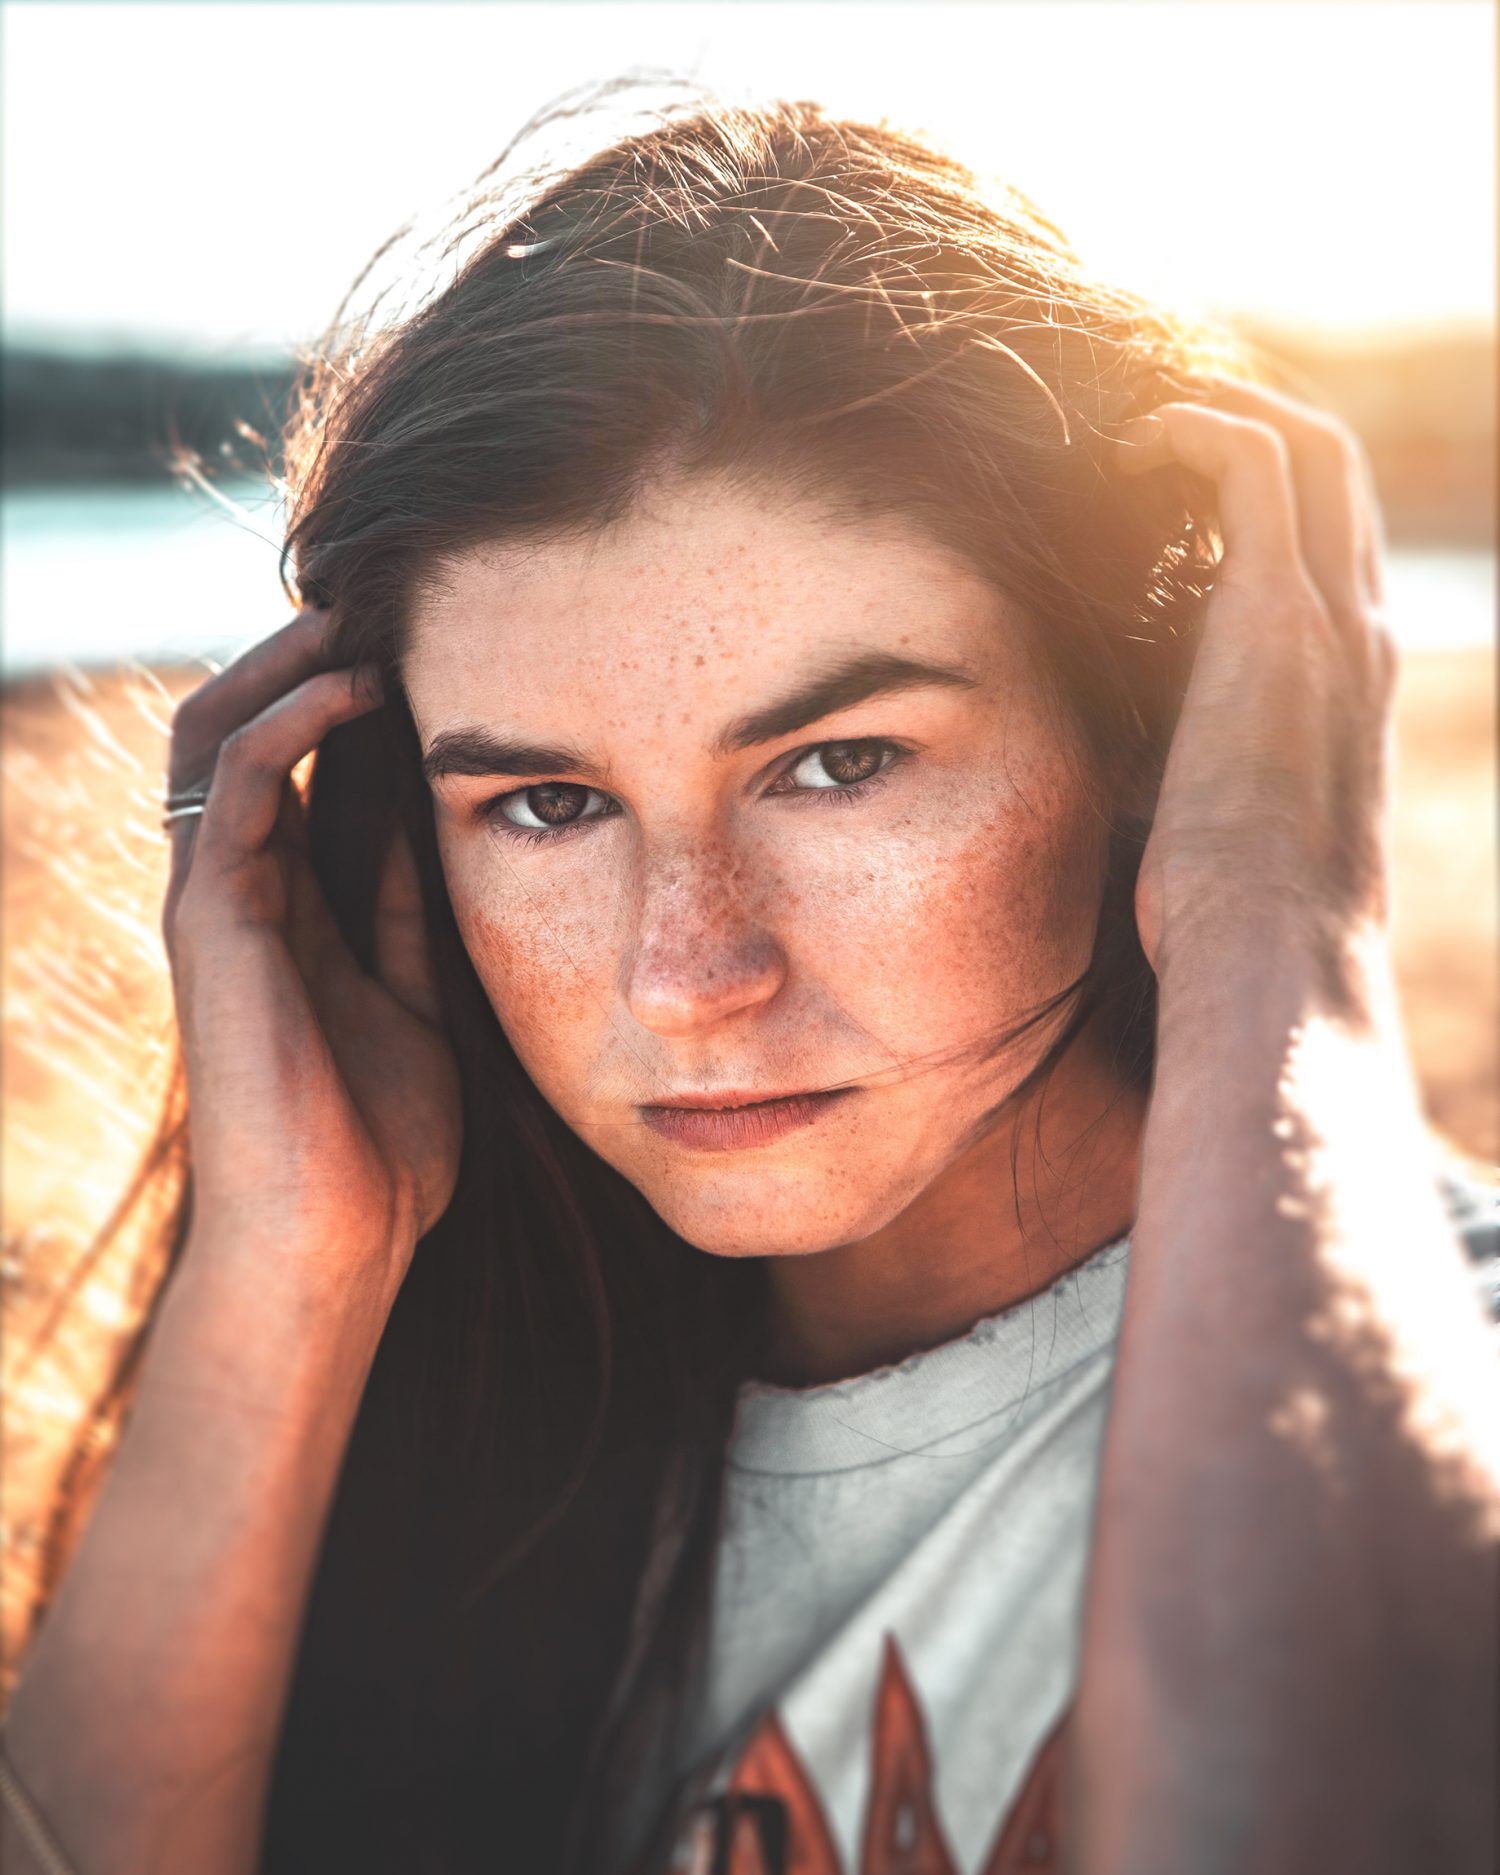
003
Tip #2
Always carry hair ties, bobby pins, a comb, a brush, and a small mirror in your kit.
I also tell the subject(s) to bring these items as they might like a particular color or style. Perhaps, they may want everyone to match or for everyone to be different. Talking to them ahead of time gives the subject(s) the chance to make that happen.
However, they often say they will bring these items, but they don’t. So having a supply of your own can save the day. Go for generic colors – white or black.
A hair tie on its own may not completely solve the problem of blowing hair, as you see in the right panel of image 003. This is where bobby pins can help.
Tip #3
If the hair is still fluttering around the face, find a camera angle that positions the subject’s face into the wind.
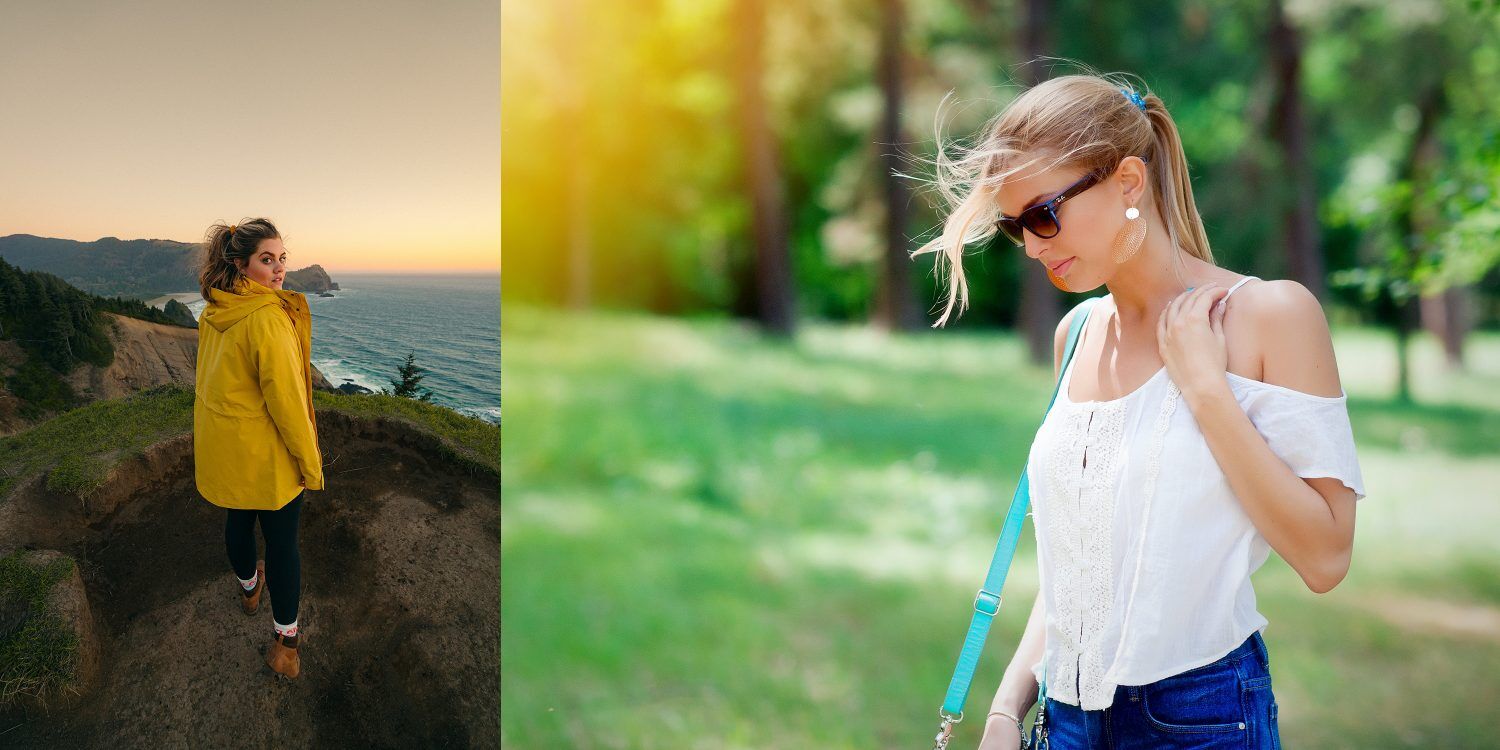
004
I also discuss hats in my pre-shoot conference with the client. Some people won’t want to wear a hat. But you would be surprised at how many will.
I always tell the subject(s), “It’s better to have a hat that you like with you on the shoot rather than not have it and your hair blowing in your face.”
It also works at times to merely get them closer to the ground, as in image 004.
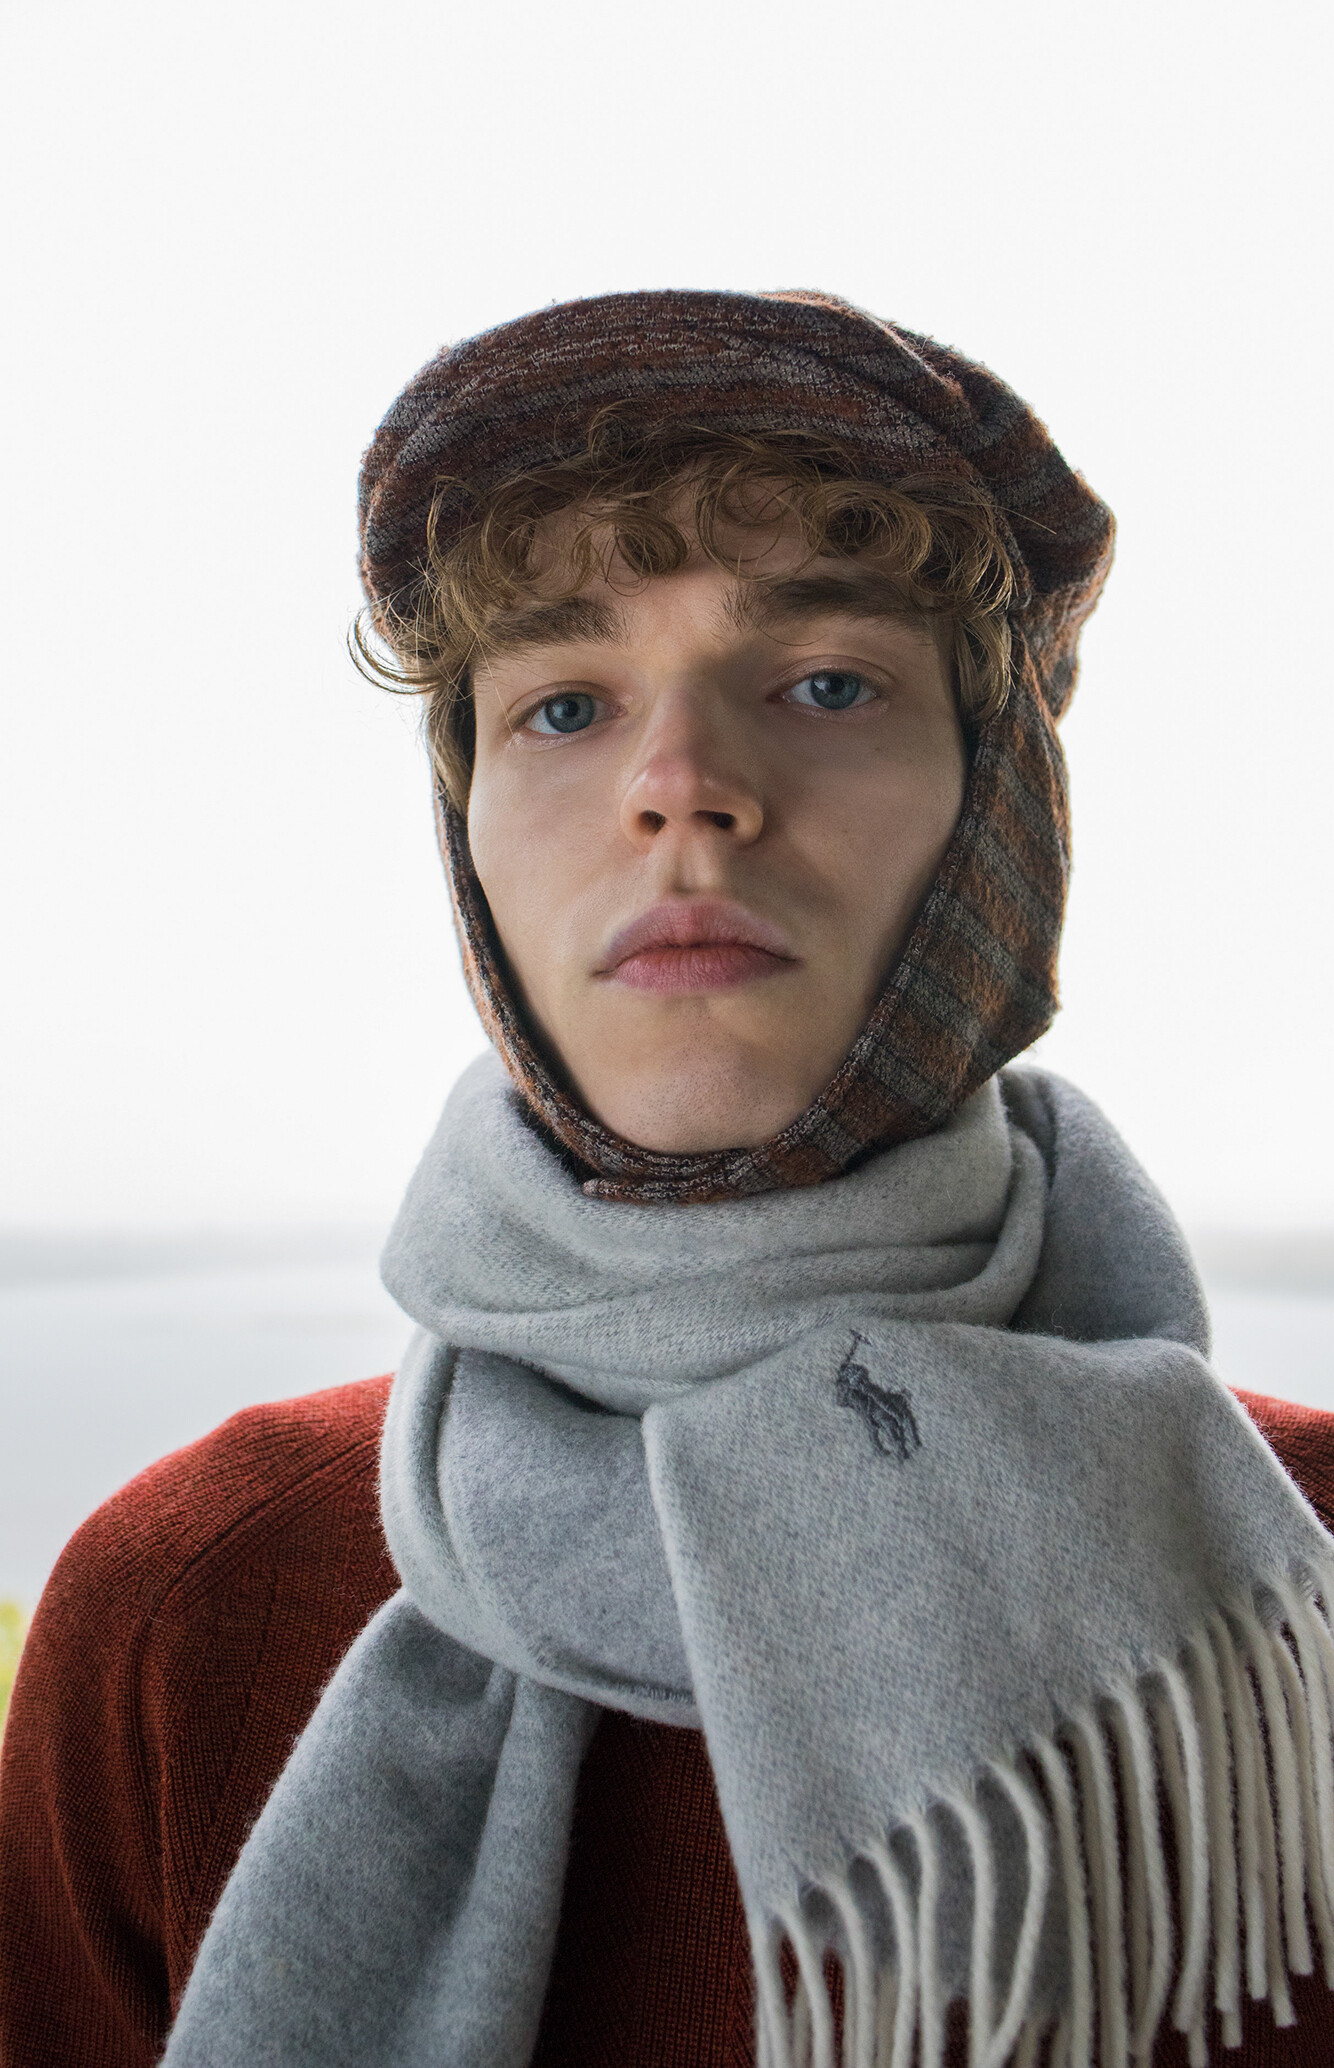
004a
Hats shouldn’t be limited to women. The important consideration is picking a hat that works with the composition, background, and story of your portrait session
In my story of grandpa and his blowing hair, I think he would have been quite happy to wear his country club golf cap that day – (had I thought to mention that he should bring it).
Tip #4

004b
Using hair ties and a hat helps, depending upon what kind of wind you’re dealing with. Sometimes you must try to get them out of the wind as much as possible. I always look for meaningful or aesthetic structures near our chosen portrait location. This way, I can pose them out of the wind if all else fails.
Challenge #2 – White Balance
005
You will often hear the advice to shoot outdoor portraits in the shade or with cloudy skies. The purpose of this is to reduce contrast. That isn’t bad advice. However, it comes with its own set of issues.
The skin tones of a portrait taken in the shade or on a cloudy day will often take on a not too pleasing blue tint as in image 006.
Tip #1
- Do not set your camera to the ‘cloudy’ or ‘shade’ white balance setting. These settings can also produce weird skin tones that can be hard to correct in post-production.
006
Setting the white balance to the shady or cloudy settings can produce strange orangish-brown skin tones, as revealed in image 006.
Do shoot in camera raw, which allows the greatest flexibility for correcting skin tones in post-production.
Sometimes, a light pop from a fill flash with be just enough to bring the skin tones back to normal. I generally start with the electronic fill flash set to one-stop less than the ambient exposure and adjust from there. Be careful not to put the power too high, or you’ll get the ‘flashed’ look.
006a
Image 006a shows you what a well-balanced fill flash effect should appear like in a portrait. All the colors are brightened, the white balance is accurate, and the exposure between subject and background is on an even-keel with no harsh shadows.
006b
Image 006b depicts the harsh shadows of an overpowered fill flash. This effect can be used for experimental work. But it would be unacceptable for most portrait sessions.
007
The top of image 007 depicts the corrected skin tones. The bottom photo shows the bluish color cast often captured in the shade or under heavy clouds.
Challenge #3 – midday light
008
It’s common knowledge that the portrait photographer should avoid shooting under midday lighting.
However, there will be times when there is no other choice. People are busy, and they want your services when it’s convenient for them. I always try to talk folks out of the midday shoot, and sometimes it works- but often it doesn’t.
If you study image 008 for a second, you can see the problem with midday lighting. It creates very unflattering lighting and harsh shadows.
Tip #1
Have your subject(s) strike a pose where they tip their head back just a bit to open up any shadows under the eyes as in image 008.
009
Tip #2
Position your subject with their face away from the sun. Even at high noon, the sun is slightly angled to either the Northern or Southern hemisphere.
Choose a camera angle with a darker background behind your subject.
Take the camera meter reading from only the model’s face. Set your exposure using the camera’s manual mode and open up 1-stop using either the aperture or the shutter speed.
Frame your picture and take a shot.
Look for three things.
- Is the subject’s face adequately exposed?
- Is the background at an adequate exposure compared to the subject?
- Does the backlighting overexpose the hair or clothing?
- Suppose you answered no to question one. Adjust your exposure.
- Suppose you answered no to question two. Change your background by moving your camera position.
- Suppose you answered no to question three. Shoot two exposures. In the first shot, expose for the face. In the second shot, expose for the hair and clothing. Merge the two photos using post-processing or change locations and look for some overhead cover.
010
Perhaps you are faced with a situation where it isn’t quite midday light, and it isn’t quite the lower contrast of the Golden Hour.
Tip #3
Use the same technique as described in Tip #2 – with one exception.
Don’t choose a darker background. In this scenario, you will have a better balance in your lighting by allowing the backlighting to illuminate your background with the same intensity as the subject. Image 010 is a fine example of this technique.
010a
Backlighting has created a nice halo effect in image 012. This photo depicts later afternoon light getting closer to the Golden Hour. Notice how the background is of a similar color and tonal range as the subject. This helps to even out the exposure between these two crucial elements of the shot!
Tip #4
011
While this tip won’t work with all subjects, it is an excellent alternative for the more creative portrait work in midday lighting.
Use objects to break up the light and create interesting shadow patterns. I often use trees and windows of buildings. The best combo is the light filtering through a tree with a nice bright white wall just a few feet in front of your subject. The tree breaks up the light, and the wall fills in the shadows. Image 011 depicts this technique perfectly!
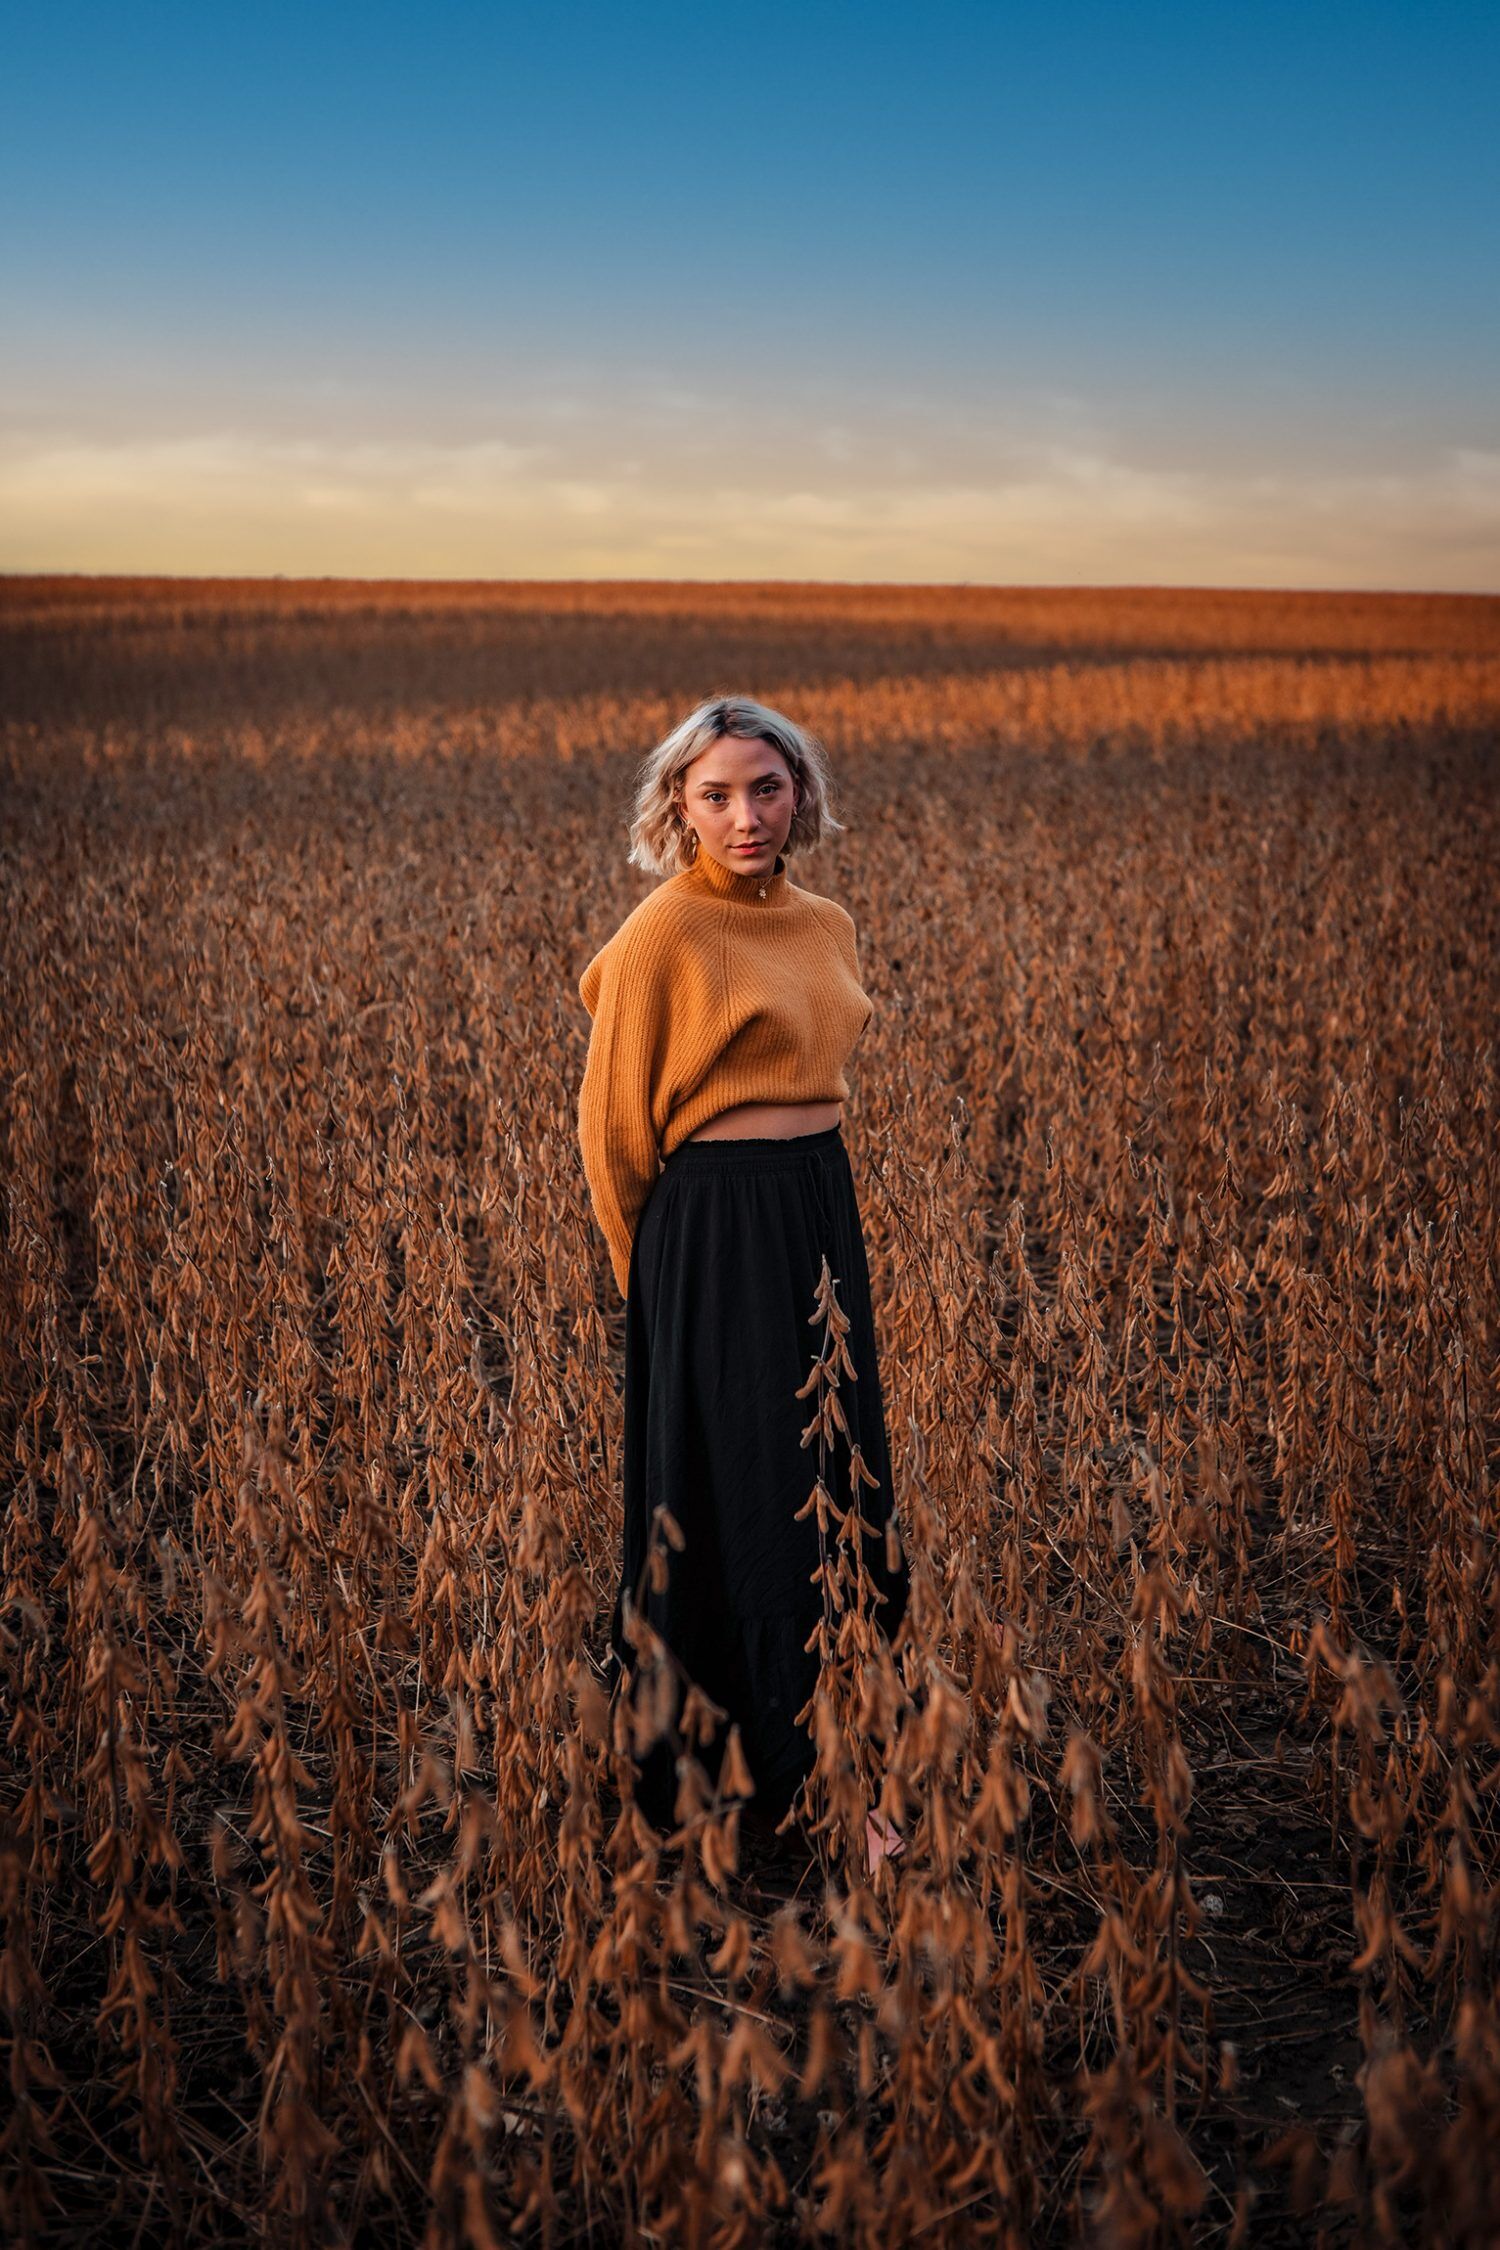
Challenge #4 – The Golden Hour
012
It’s the mantra of photography – THE GOLDEN HOUR!
However, the Golden Hour frequently is not the outdoor portrait photographer’s friend.
Here’s why.
Just as shady light can skew skin tones, so can the warm lighting of the Golden Hour.
Keep in mind – not always!
But sometimes, that setting sun gets major league red and orange. I’ve had more than one portrait session ruined by the warm light of the setting sun. The skin got so reddish-brown that it simply couldn’t be corrected in post-production without making everything in the shot look weird.
Image 012 is an example of Golden Hour lighting that would be difficult to correct. In a case like this example shot, where it’s more creative, it might be okay.
But a family portrait or even model shoots- the subject doesn’t want to look like an orange crayon.
Tip #1
Study the Golden Hour lighting before you start shooting, and keep an eye on it as it changes. Check your preview screen at the beginning of the shoot and then often.
013
This shot is right on the edge of acceptable skin tones produced by the light of the Golden Hour. I think it works because of the color scheme and clothing selection.
Challenge #5 – Insects
014
As photographers, we become engulfed in thoughts about lighting, location, pose, background clothing, hair, makeup, depth of field, and other camera settings.
But there are things that can tank your photo session faster than any of those, and at the beginning of my outdoor portrait career, I didn’t give them much thought.
Let me tell you a short story.
When I worked for the studio that specialized in outdoor portraiture, I found a spot where a beautiful driftwood tree had washed up onto the beach of the Atlantic Ocean near where our office was located.
It was perfectly positioned as a posing tool for groups of up to six people. I used it all summer long with great success.
One day I brought a family of four down to the driftwood as I had repeatedly done all summer long – even the day before. Whenever I arrived at the location, my workflow was to set up the camera and lights quickly.
I would then pose the subject(s), In this particular case, on the driftwood.
I would then finalize my exposure and other settings before creating portraits.
On this day, just as I was about to say, let’s start taking pictures. The entire family jumped up off of the driftwood tree and started screaming, “OMG! OMG! OMG! Etc…
It turns out that sometime in the last 24 hours, a nest of red ants had moved into that log.
Needless to say, that day did not end with everyone hugging each other and saying what a great time they had.
Plus, they were quite angry with me, and I couldn’t blame them.
Tip #1
Do not seat anyone on the ground or on anything else until you thoroughly inspect it for insect activity!
I’ve had numerous outdoor portrait sessions ruined by ants, biting flies, bees, mosquitos, gnats, and no see-ums. And there’s probably more that I failed to mention.
Tip #2
- Bring bug spray.
- Bring bug killer.
- Bring towels.
- Bring sting relief ointment.
- Scout at least three nearby locations before your portrait subject(s) arrive. So that you can move them if insects invade your first choice.
I had a session once that was a little more than half over when suddenly several women in the group were attacked by biting flies. It turns out they were all wearing floral perfume.
Tip #3
Tell your subject(s) not to wear perfume or hairspray or anything that smells sweet or with a floral scent.
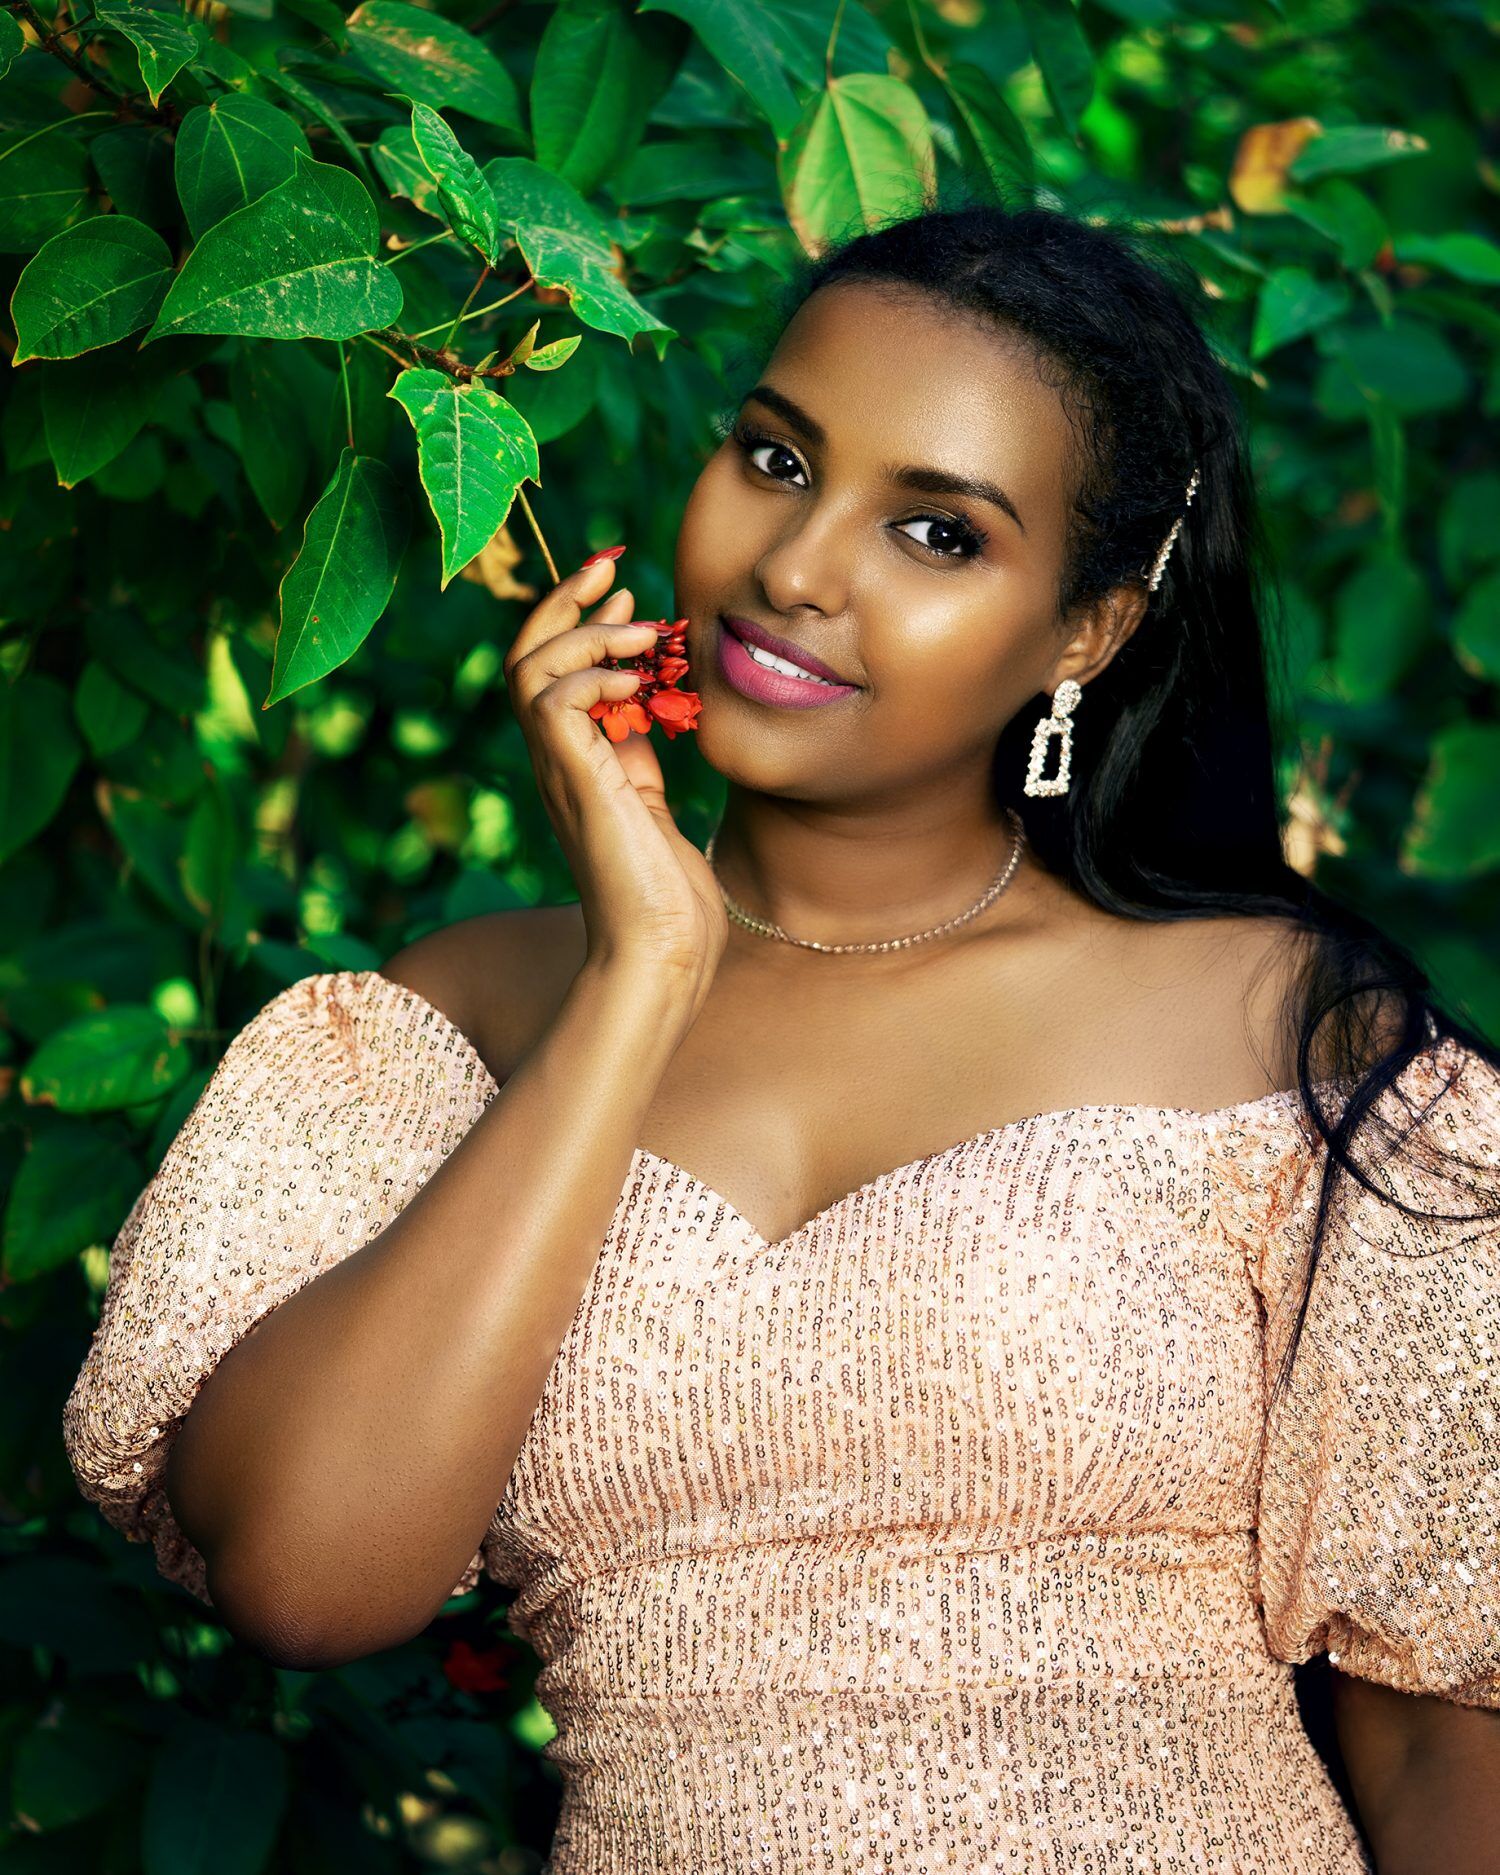
Challenge #6 – Subjects with darker skin
015
Any subject with darker skin will be challenging in the areas of lighting and contrast. This may be further exacerbated if they wear lighter-colored clothing, as in Image 015.
The best way to work with a subject with darker skin is to choose your shoot day wisely. Ideally, you want a lightly overcast day with partly sunny conditions.
There should be enough light to create form and highlights. But enough to develop deep lines of contrast and dense shadows. The darker the skin, the more this becomes an issue.
If you’ve picked an overcast day and you’re still getting an excessive contrast – move them to the shadows and go for a custom white balance!
I hope you’re enjoyed this discussion on outdoor portraiture and hopefully saves the day for you at some point.