Learn to Control Your Flash

“Flashy” looking photos, red eyes, and washed out subjects – a misguided flash in the hands of the wrong person can cause horrendous results. Some photographers avoid flash photography altogether, while others only use it when it’s dark, and there are few options available for lighting.
While it’s true that the flash often gets a bad rap; for all the negativity that is associated with it, there are times when a flash can be genuinely useful for producing excellent results. When it comes down to it, making the most of available lighting is the basis of good photography, and learning to use your flash effectively can be a one such way to improve the lighting in your images.
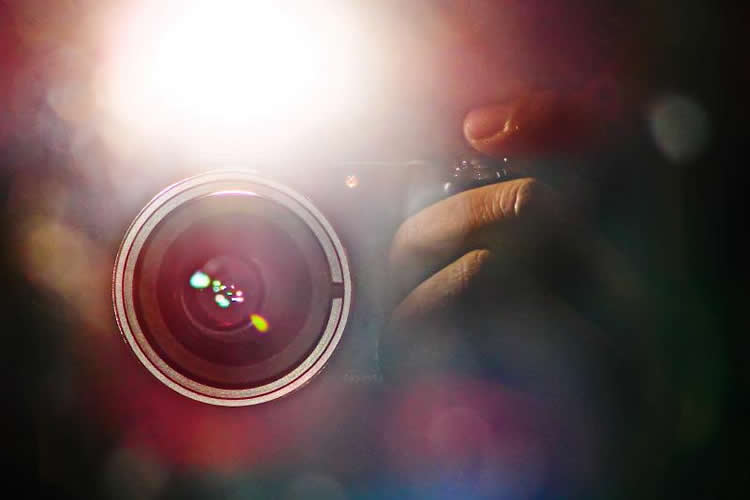
image by Mahesh Telkar
Don’t underestimate the power of the flash – there’s a reason it’s included on your camera. The important thing is to learn how to use it correctly, to avoid the classic mistakes of washed out details and squinting subjects!
While the thought of learning to use your flash may seem daunting, it’s shouldn’t be! With a few basic tips and a little bit of practice, you’ll soon have your flash under control and be on your way towards using a flash to get the best results in your images.
Here are some flash facts that every photographer should know…
Two Light Sources
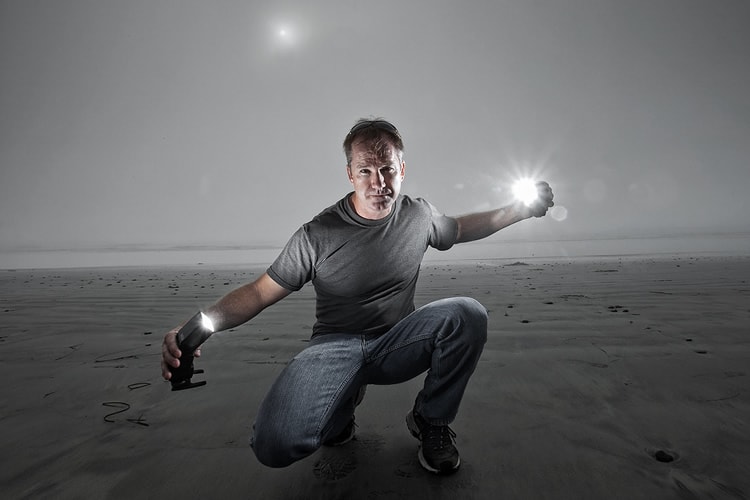
image by Dan Eckert
When shooting with a flash, you have two light sources to consider: ambient light – and the flash. For best results, it’s important to ensure that these two light sources are balanced properly. Managing these light sources is often a matter of aperture and shutter speed.
-
Shutter Speed: Adjust Ambient light
Your shutter speed, the amount of time that you have the shutter open for, will affect the amount of light that reaches the sensor – but only the ambient light; the light from the flash is too brief to be impacted by the length of the shutter speed.
Think of your shutter speed as “blinking” your eyes – the speed of the shutter is how long the shutter stays open.
Use your shutter speed to adjust the amount of ambient light that you allow into the image. If you want to keep the background and the subject in focus, slow your shutter speed down, even all the way down to 1/10. If you want to make the background darker, increase your shutter speed up to 1/200 to cut out as much background light as possible.
-
Aperture: Adjust Ambient Light and Flash
Aperture however, affects both the light from the flash, as well as ambient light. Adjust the aperture and ISO to adjust both your flash illumination and ambient light. A wide aperture (smaller number) will allow more light in, and a narrow aperture (bigger number) will allow less light in.
Think of your aperture as how wide you have your eyes open – wide open allows more light in than squinting.
Adjusting your aperture will affect the power of the flash. Remember, the wider the aperture, the more light you allow into the camera. Once you have an aperture that produces the look that you are looking for, increasing your shutter speed will not affect the strength of the flash on the subject, it will however, change the amount of light in the background.
Know Your Flash Limits
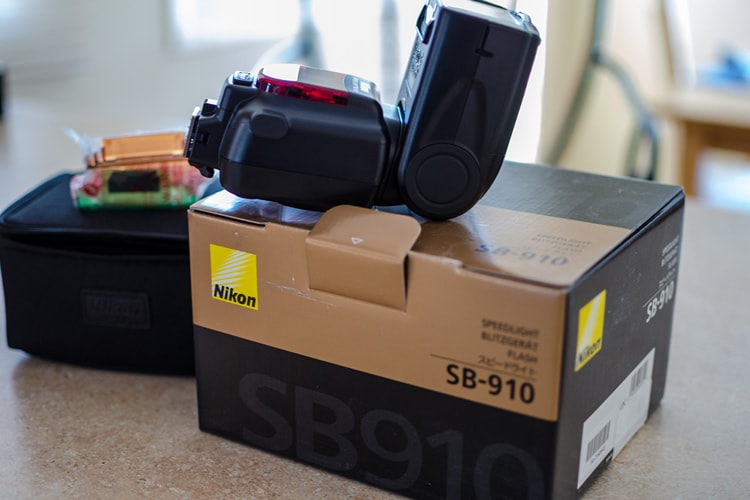
image by m01229
Know the limits of your flash! Every flash unit has a specific amount of light that it can generate – and therefore a specific range of use. The impact of a flash is dramatically impacted by distance: a subject that’s out of range will appear dark, while a subject that’s too close will be washed out. For best results, know what your flash range is, and ensure that your subject is within range. Even the most powerful flashguns have trouble illuminating a subject that’s further than 40m away. A built-in camera flash is only good up to about 5m.
For photos that are out of range, it’s better to turn off your flash completely, and rely on a tripod and long exposure instead. Using the flash in these scenarios will cause your camera to use a higher shutter speed, resulting in a dark photo!
Helpful Tools
Flash photography produces the best results when the flash is diffused, or reflected. A few tools that can help you to reflect or diffuse the light are: an external flash, a diffuser, and something to bounce the flash.
- External Flash: A dedicated flashgun offers greater flexibility than your built-in flash. A flashgun will let you control the direction of the light, allowing you to angle it upwards or to the side to bounce off the ceiling or walls. The result will be softer light and better results.
- Diffuser: Using a diffuser over your flash is a great way to soften or change the quality of light. A diffuser, placed over your built-in or external flash, is a great way to diffuse the harsh light from the flash. Diffusers are relatively inexpensive but in a pinch, draping a piece of tissue over the flash, or using an empty film canister, will give you soft, diffused lighting – with fewer shadows.
- Something to Bounce the Flash: A bounce card can be made by simply attaching a white index card to your flash and transferring the light somewhere else, resulting in more even lighting. You can also use equipment such as reflectors, or umbrellas to help bounce the flash and give you a more evenly lit subject. This is especially helpful when shooting multiple subjects, and is a great way to keep everyone well lit.
Fill Flash for Outdoor Portraits
While it may sound counterintuitive, using your flash outdoors – especially on a bright, sunny day, can produce excellent results.
On bright and sunny days, the sunlight can cause shadows to appear on the subjects’ face – especially when the sun is directly above or to the side of the subject. With the help of a flash though, these shadows can be eliminated. This is an excellent time to use the flash because the combination of flash and ambient light is less harsh than a using a flash as the sole light source. When shooting outdoor portraits, you may want to consider using a silver reflective umbrella to shoot the flash into. This will help to bounce the light back onto the subject’s face – creating beautiful results.
The flash is also helpful when shooting into the sun. Normally, shooting a subject whose back is to the sun will result in a silhouette, but with a flash, you can capture the subject as well as the background – both evenly lit.
Of course, sometimes you won’t need to use a flash at all – in situations where the lighting is perfect, and in the right direction. Often though, the lighting isn’t quite right – in these situations, your flash can be a lifesaver.
When used correctly, a flash can help to add a professional feel to your photos; separating your subject from the background, and eliminating dark, harsh shadows. So look for opportunities to shoot with your flash. Remember to bounce the light or diffuse it, and enjoy experimenting with different methods for creative results.
Have fun, and share your photos with us via Twitter or Facebook!
About the Author: Christina Harman
 Christina is a part time blogger and full time photography enthusiast living in Southeast Alaska. She enjoys travel photography and has taken pictures in countries such as Mexico, England, France, and China. She likes sunny days, new lenses and drinking good coffee. You can visit her at Tangled Thoughts.