The Ultimate Getting Started Guide to Scanning Film
 by
Adam Welch
by
Adam Welch

Over the past few years, worldwide interest in analog photography has exploded. More and more people, for one reason or another, are discovering (or rediscovering) the beautiful world of film.
Being a born again film shooter myself, I’m happy to see this steady resurgence of this “Analog Renaissance.”
That doesn’t mean that the increased use of film is free from its share of problems. Namely, what the hell do you do with your film after it’s been processed? Let’s face it, a relatively small percentage of us are able (or willing) to print our photographs from our negatives in the darkroom. We can have them printed at photo labs, sure, but the costs rapidly pile up.
Not only that but one of the reasons people seem to be getting back into shooting film is because they long for a stronger connection to their photos… and turning them over to someone else for printing appears to defeat the purpose. There are also dedicated film scanners available to purchase, but there again, costs might be an issue.
Take heart! There’s an easy, cheap and more practical way for you to have the best of both worlds: shoot film and handle converting it digitally for sharing or printing without a darkroom. It’s called “hybrid processing.” Hybrid processing is just a cool name for the process of first obtaining images using film and then converting those images to digital files using a scanner.
You can also do this with your DSLR… but that’s another article. Today, we’re going to talk about the basics of scanning your own film so that you can revel in the heavenly glory that is film photography. We’ll see what essential tools you’ll need and some tips on making the best of your digitized film.
Note: The majority of the information found here can be applied to any type of black and white and color negatives or positives (such as slide film). However, we will focus primarily on 35mm negatives in this article.
Terms to know
Before we get rolling (film humor) there are few common terms and phrases that you’ll want to understand to avoid confusion as we move forward. Here are some buzzwords that you’ll encounter as you learn more about scanning your own film:
- Negative film – What we commonly think of as “negatives.” This type of film records a tonally reversed image in either color or black and white; meaning that bright areas appear dark on the film and dark areas appear light
- Positive film/slide film/color reversal film – All these terms refer to the same thing. Images on this type of film appear just as they do in real life. In other words, you can look at the film and see what you’ve shot.
- PPI or PPCM – Pixels per inch or pixels per centimeter. A measure of scanning resolution. The higher the PPI or PPCM, the higher the detail and larger the digital file size.
- DPI-Dots per inch – A term related exclusively to physical printers and not digital imaging. You might still encounter this when scanning. Sometimes used interchangeably, DPI is not the same as PPI or PPCM.
- Newton Rings – No, Newton Rings aren’t something you’ll find in outer space but are instead the name for unsightly banding displayed by improperly scanned film.
Scanning
I know it could come as a shock but the primary tool you will need to scan your film is… *drum roll* … a scanner! Yes, you will need some type of flatbed scanner. Most all-in-one types of printer/scanners today will be more than adequate. The key to a quality scan will lie more in how you handle the negatives rather than the power of your scanner — more on this in just a minute.
Which scanner?
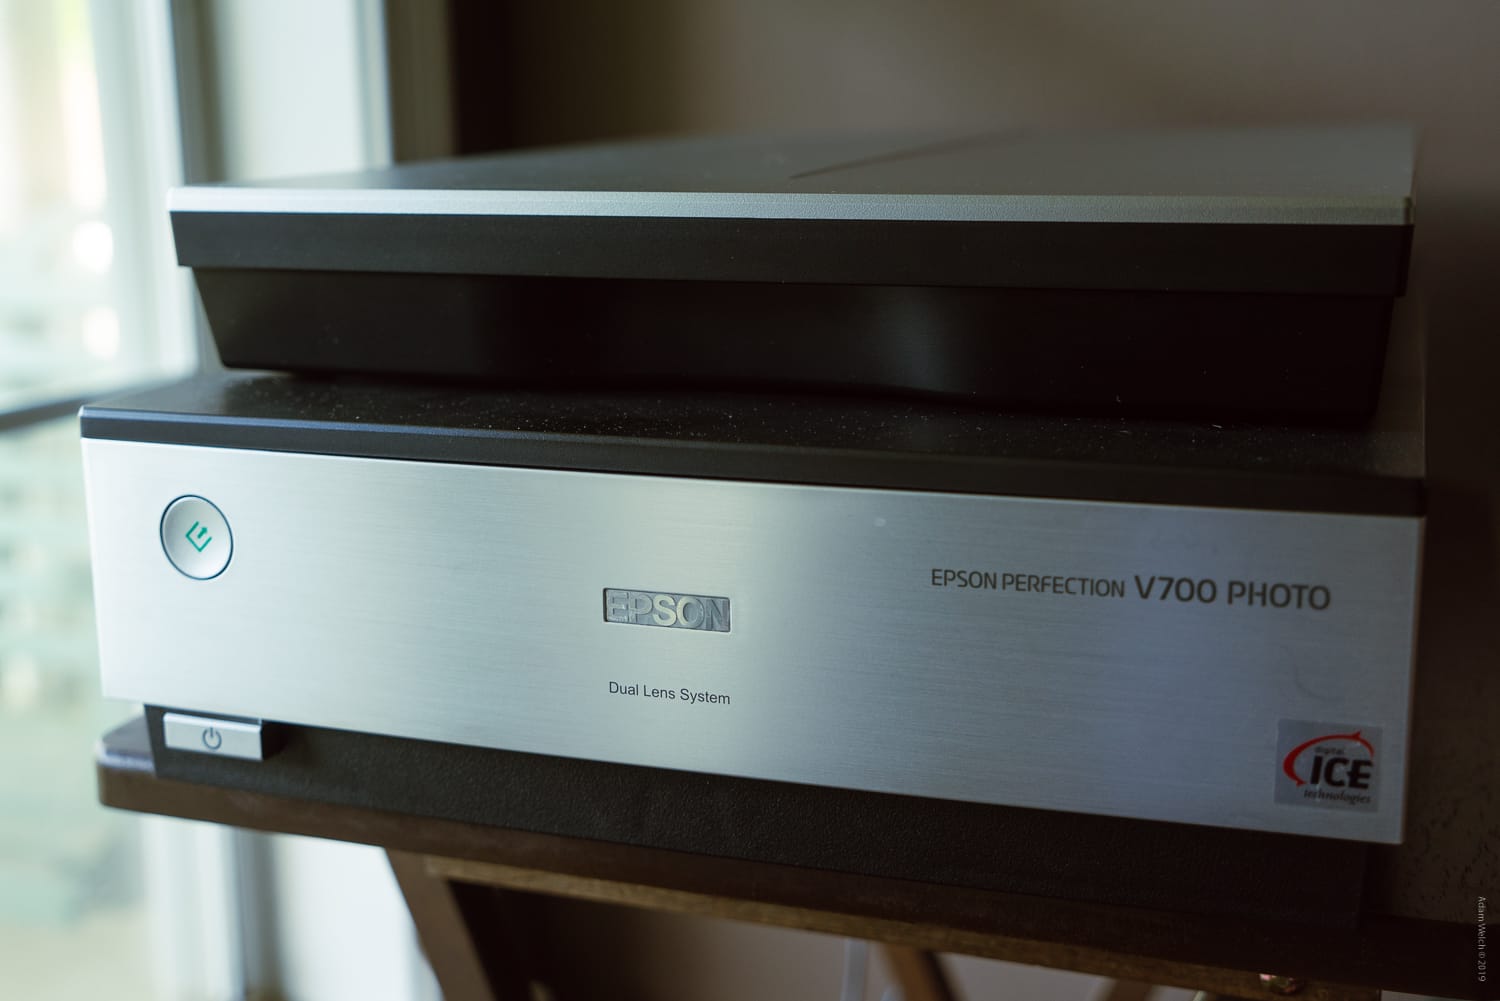
Well, any scanner. For the majority of my work, I use an Epson V700 Photo. It’s an older scanner which I purchased used; not something that would be considered “top of the line” today.
Depending on the scanner which you happen to be using, there are some things to consider while understanding a few simple concepts and knowing what you hope to achieve from your scans. Managing your expectations based on the tools you happen to be using, and the outcome you’re hoping for will go a long way to avoid being disappointed.
Reflective vs Transparency
How your scanner physically acquires the scans makes a big difference in how you will handle the resulting images. There are two main types of scanning processes: reflective and transparency. Some scanners are capable of both and some only one. Let’s break it down.
Reflective Scanning
This is the type of scanning that you’re likely most familiar with and the one that is the most common. With reflective scanning, the scanner will shine a bright light on the surface of the object and “see” how it is reflected back.
This is the process used when you scan a document or photo. Essentially, what you see is what you get. Here’s what happens when I scan a 4×5 negative and film holder while the scanner is set to reflective.
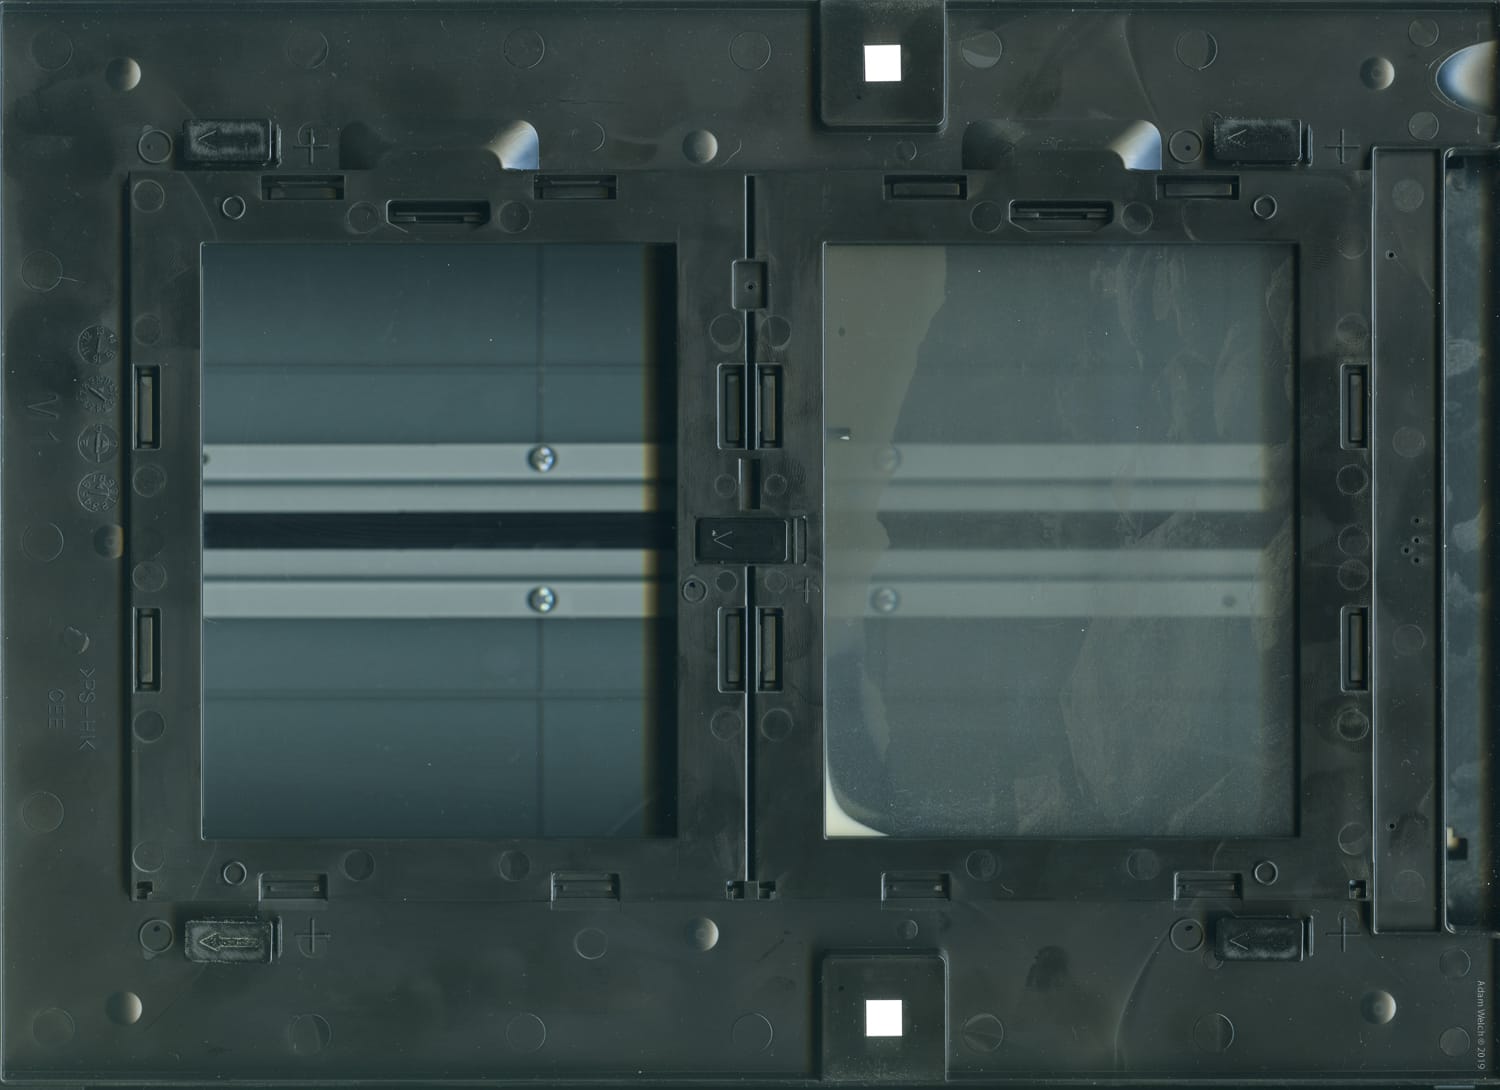
While this is great for positive scans like slide film when it comes to negatives, reflective scanning requires a little post-processing to turn the negative image into a positive. The process of transforming a negative to a positive image is, and I’ll explain exactly how it’s done when we reach the processing section.
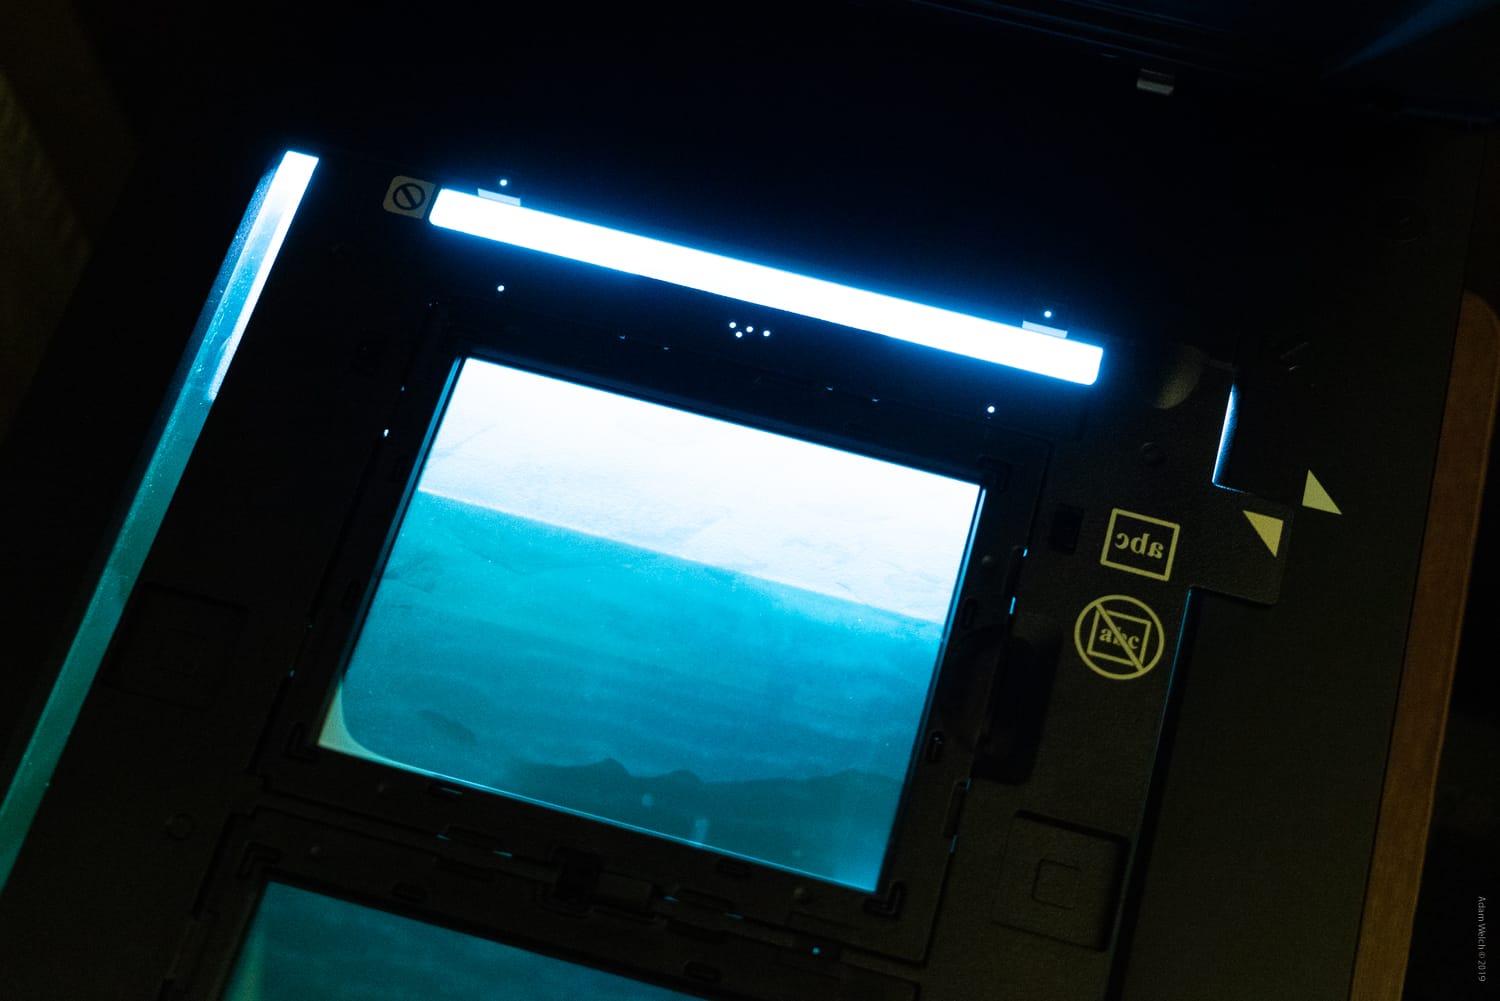
Transparency Scanning
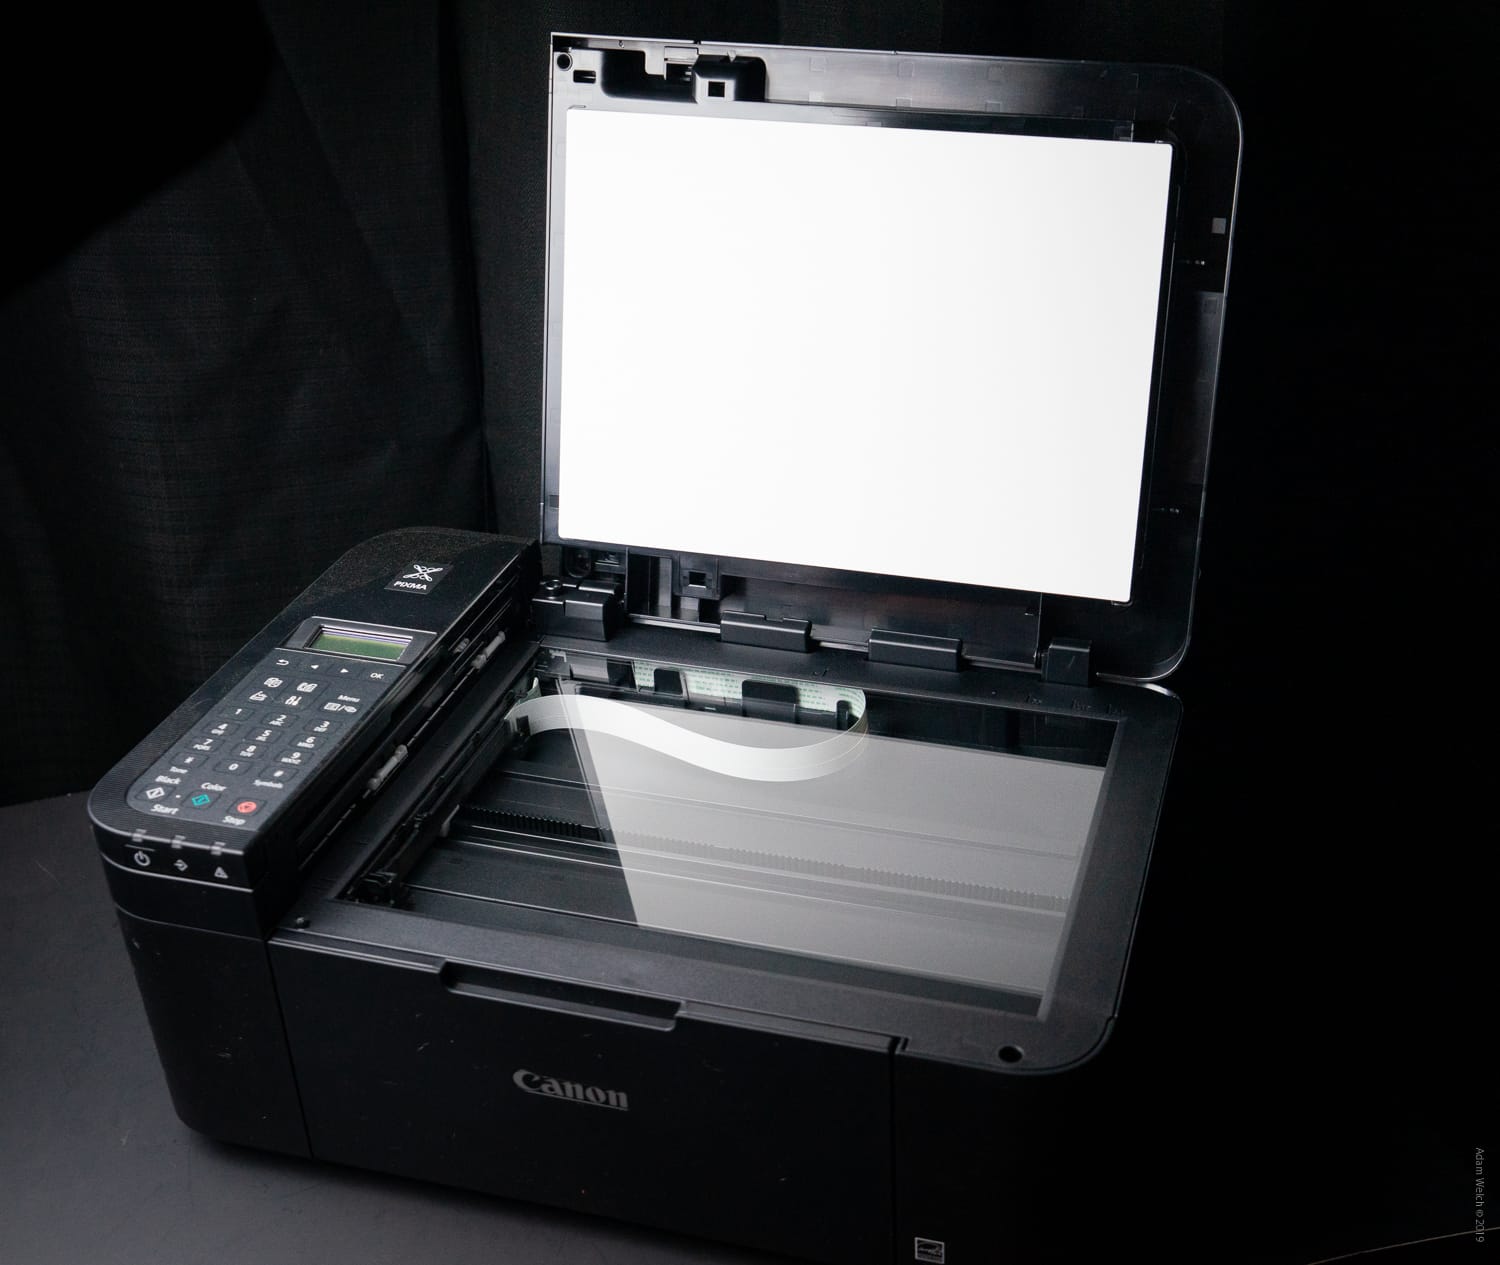
This is very much just like it sounds. Instead of reading the light reflected off the object, a transparency scan measures the light which passes through the object, in our case, film. Scanners with the ability to scan transparencies will appear to have two separate scanning beds.
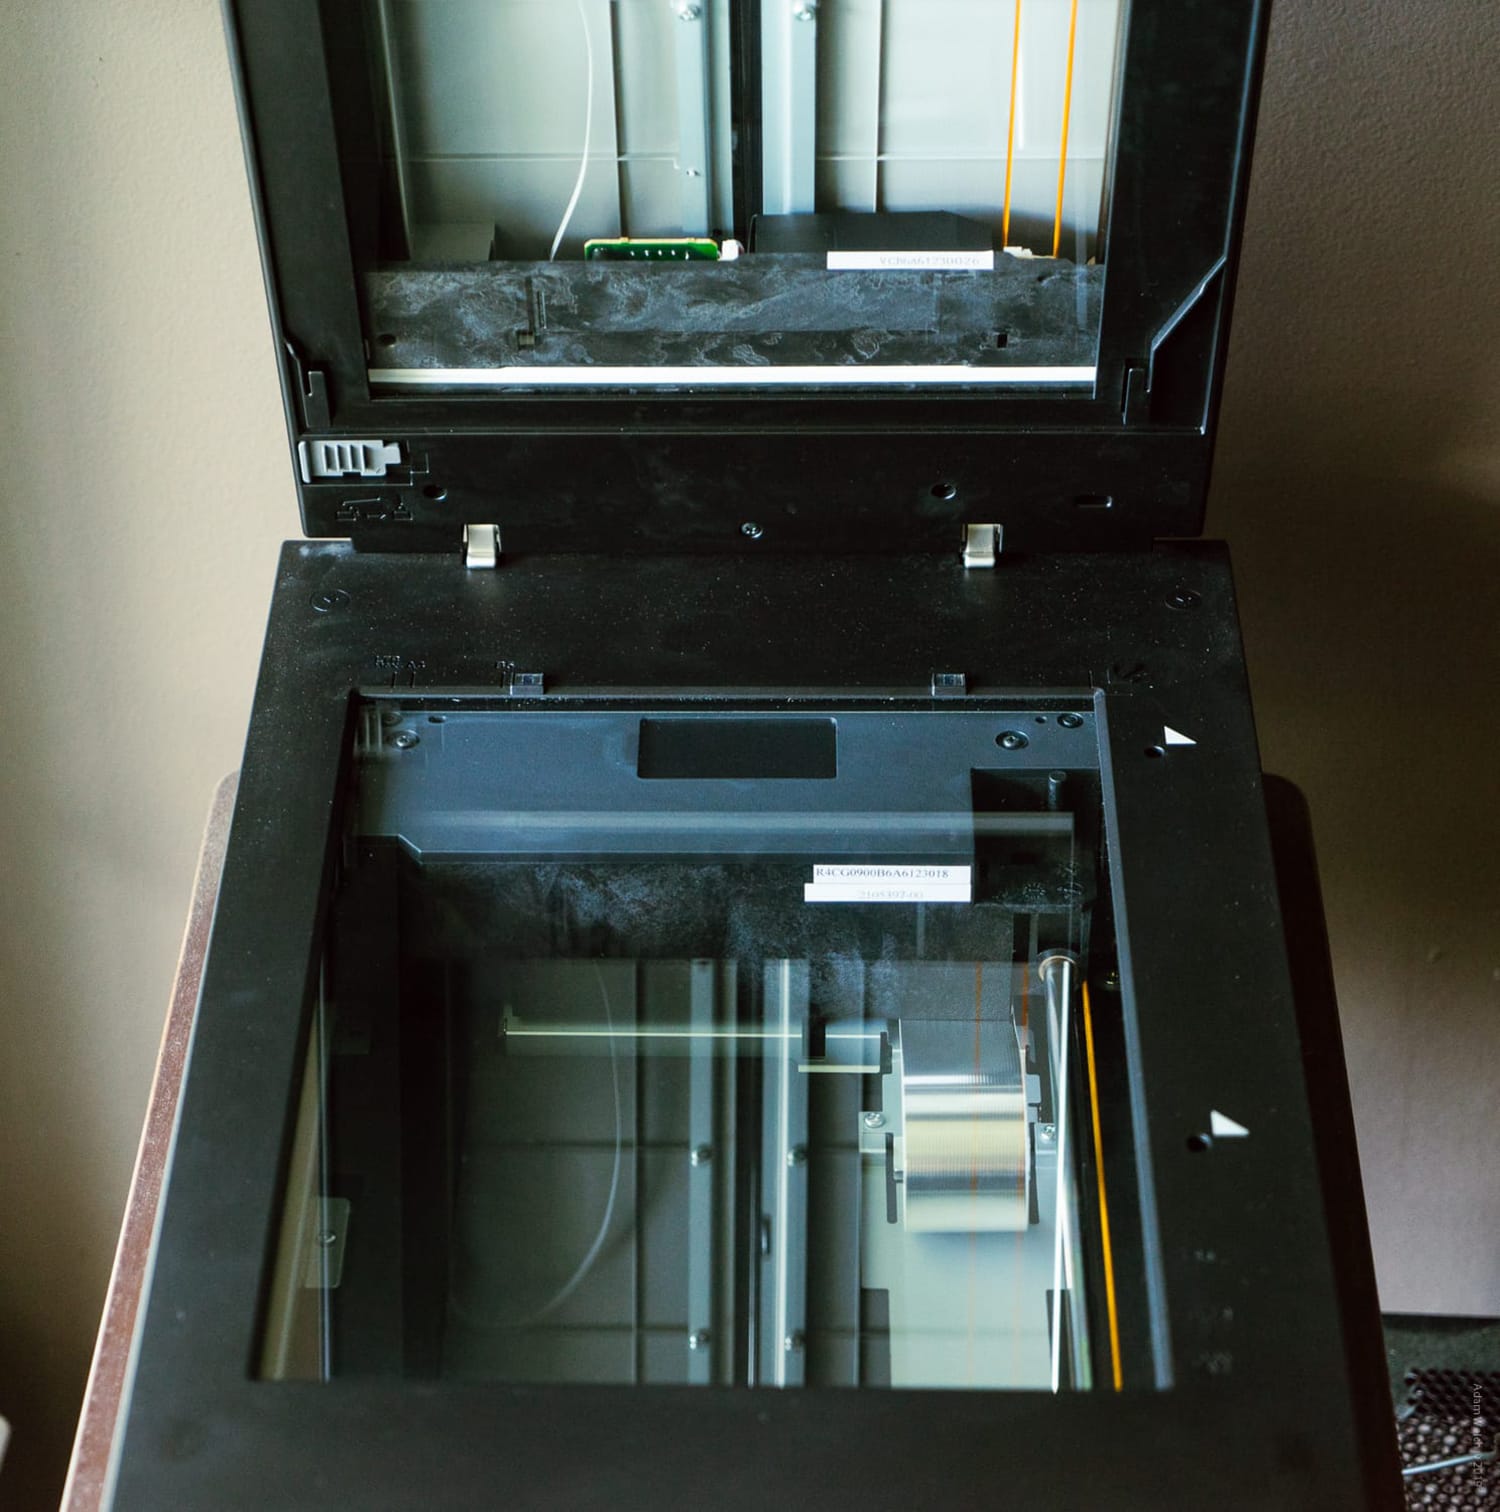
While scanners which cannot scan in transparency mode will not, such as this all-in-one scanner/printer.
Opinions do vary, but the general attitude is that transparency scanning the ideal choice for scanning film negatives. Most proprietary software which is usually included with transparency scanners frequently incorporates a function which will automatically invert the negative into a positive image and are much better suited if you will be regularly scanning your negatives. They also will likely have more accessories available which are geared towards helping photographers digitize their film. Speaking of which…
Film holders
One of the key elements of obtaining quality film scans is keeping the film as flat as possible in relation to the scanning surface. Large format and even medium format film are much less prone to curling.
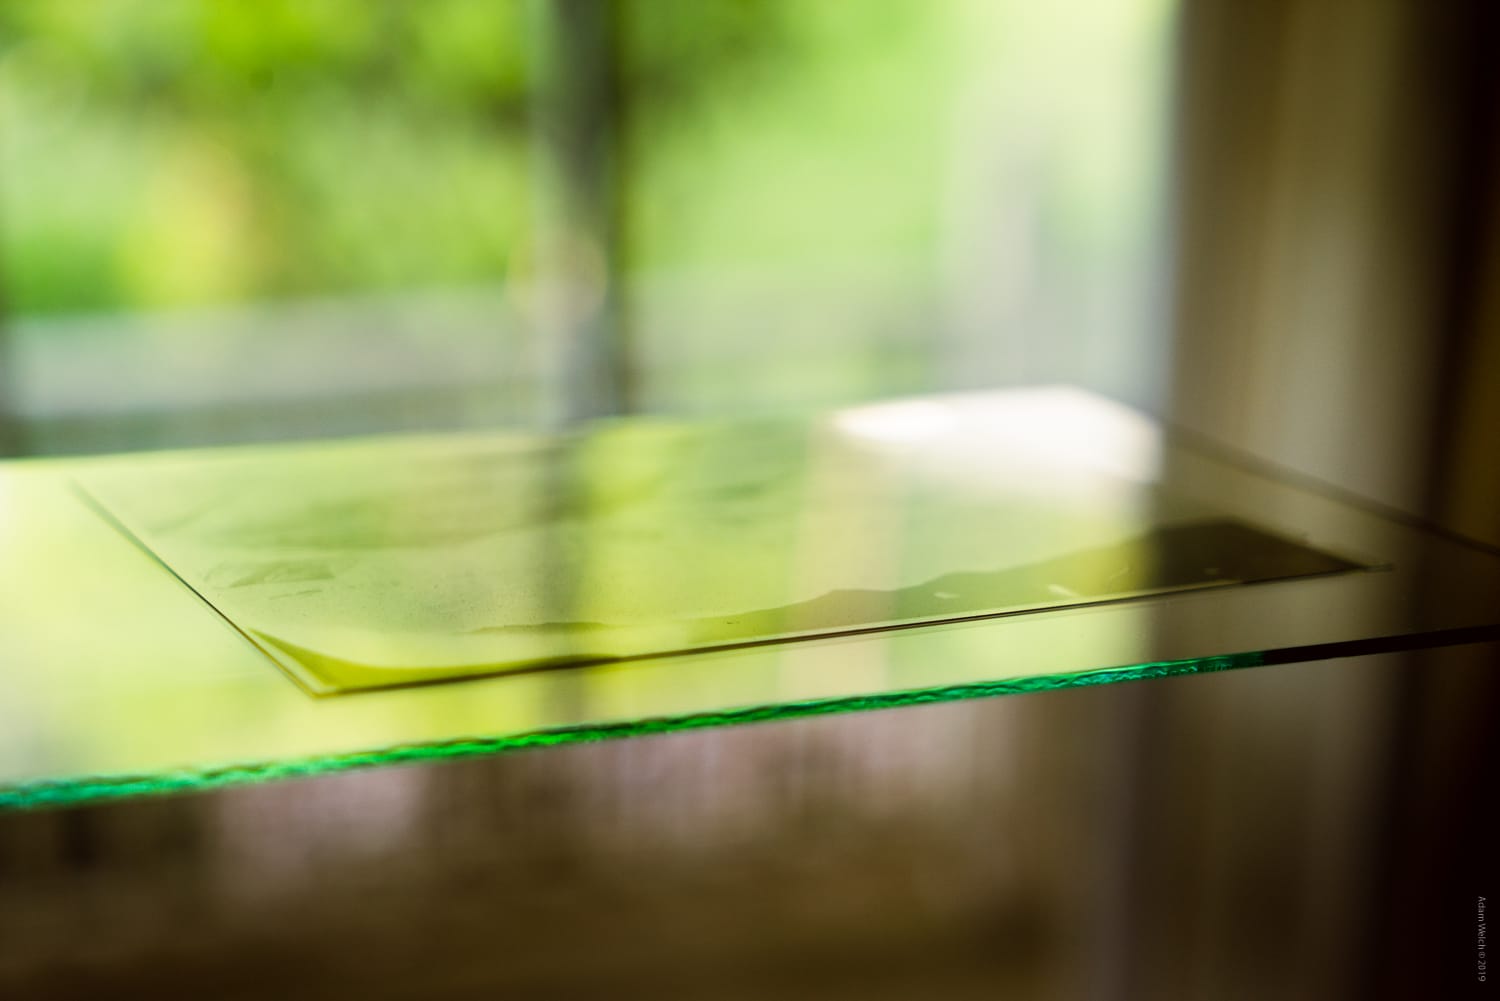
Larger film stocks generally lie flat easily.
On the other hand, 35mm film is quite challenging to remain flat on their own in the scanner.
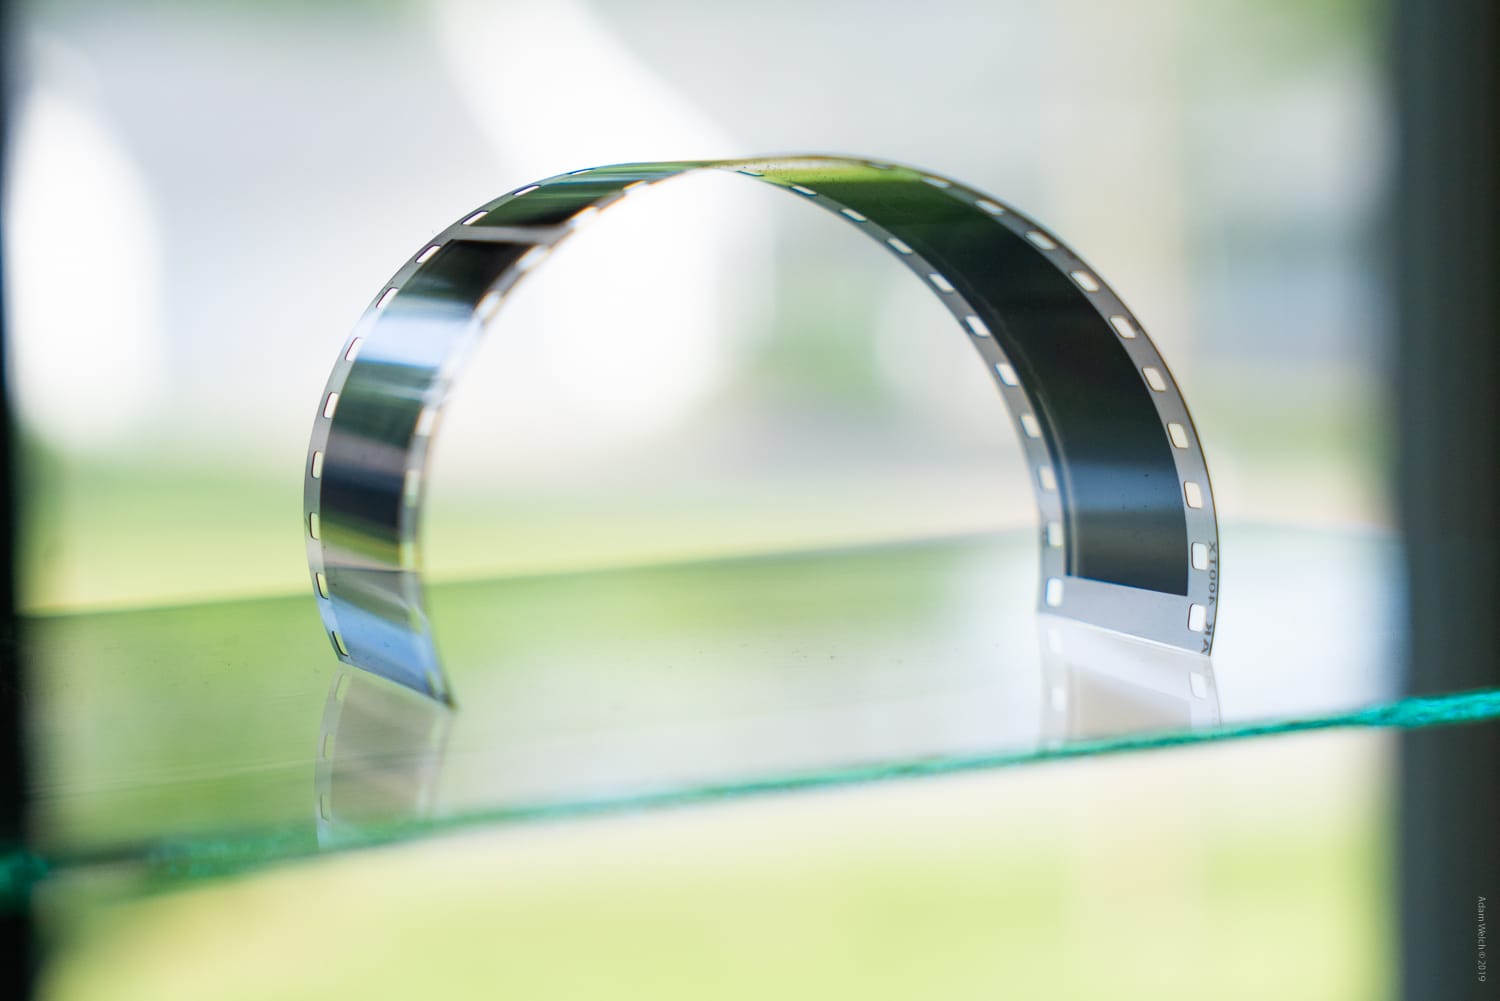
Smaller film stocks like this 35mm…not so much.
If your film is not entirely flat, you will experience some nasty effects such as distortion and the dreaded Newton Rings. This is where film holders come in.
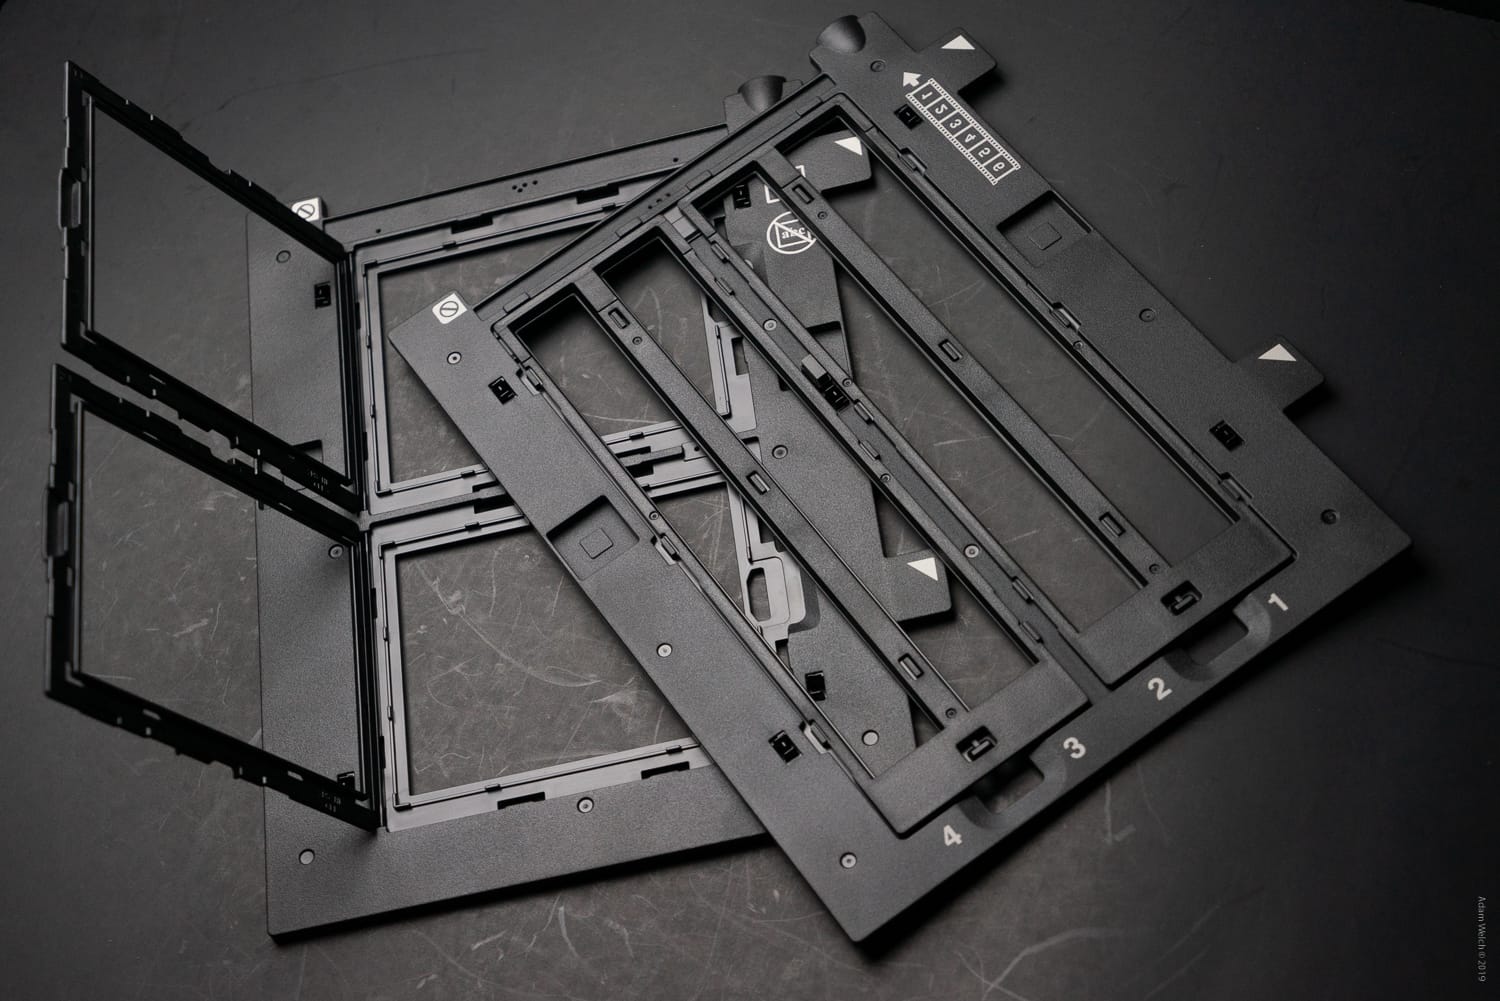
Most modern scanners or scanner/printers, especially those which are capable of transparency scanning, will likely have dedicated film holders available. A film holder will be the most straightforward method for keeping your film flat and secured during scanning. While not exclusively required, a film holder is a relatively low-cost investment with many being available for $20-$30US online.
A quick internet search for your scanner’s make and model, including the phrase “film holder” will likely yield quite a few options.
A Quick Word on Resolution
DPI and PPI. Dots and pixels and resolution? Oh my. When it comes to the resolution of your scans, it’s easy to get confused and even easier to find a multitude of opinions on what is the “optimal” resolution for scanning your film. The short answer is… there is no answer. In truth, the resolution of your scans is directly dependant on these three things:
- Where will your images be viewed?
- How large do you want your image files?
- What size will your image most commonly be viewed?
Scanning your film will forever be an exercise in compromise. Extremely high-resolution scans mean the file will be enormous. If you scan too low relative to the final size of your image will make it look pixelated. Today, even the most modest scanners are capable of resolutions upwards of 3200PPI (pixels per inch).
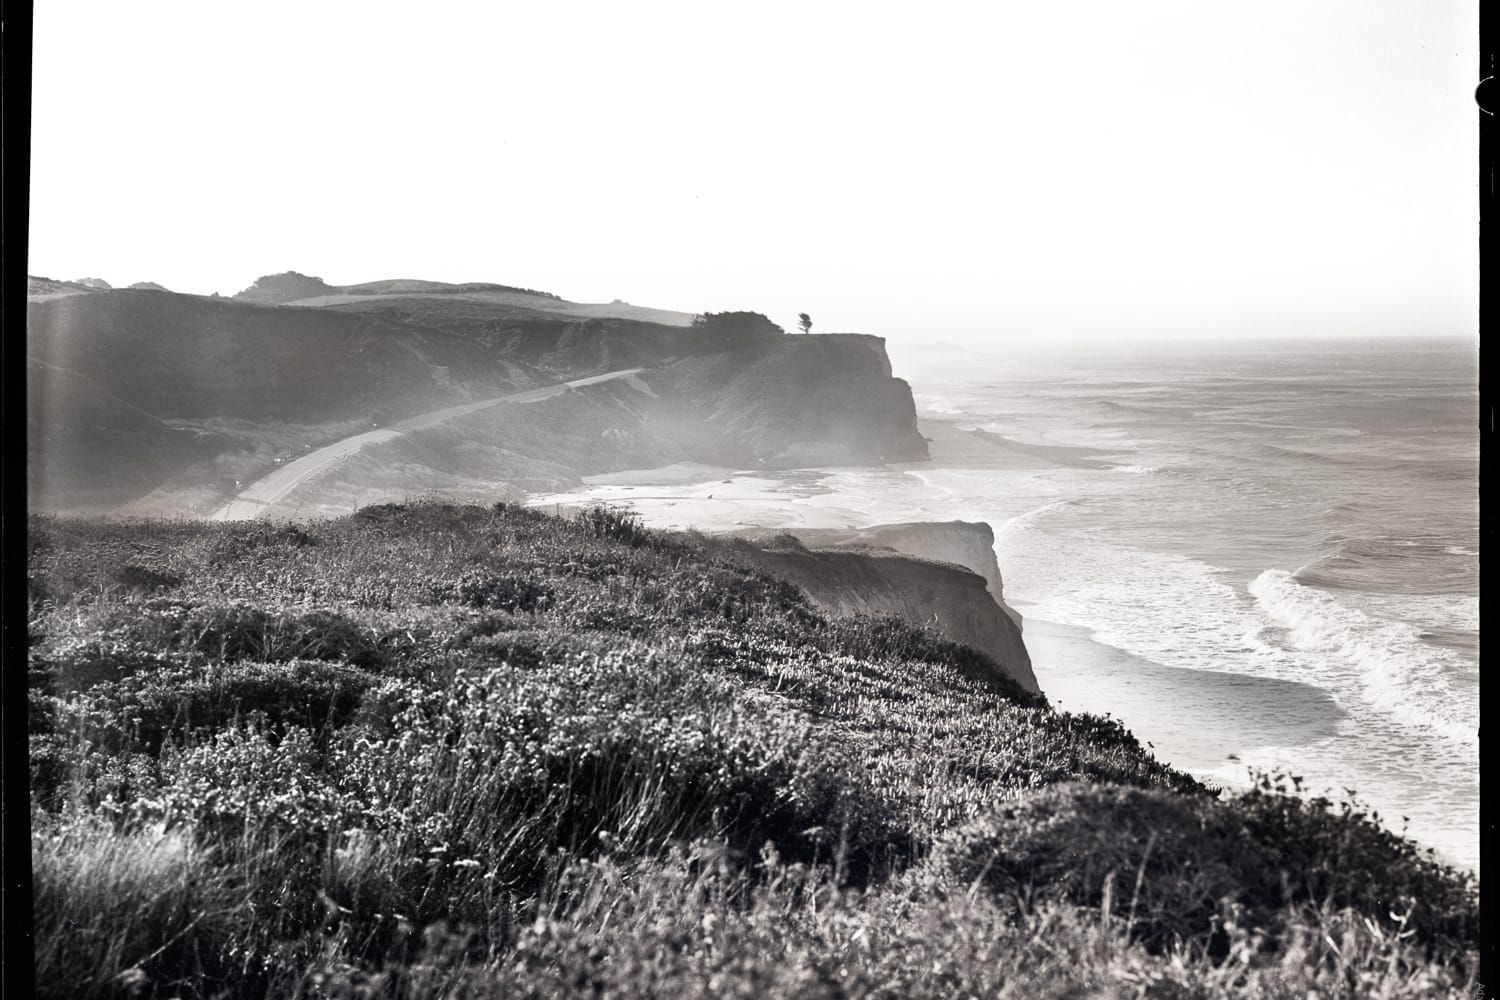
The good news is that for most scans, a much lower resolution is almost always perfectly acceptable. Let’s look at an example. Here are two scans of the same negative side by side: one at 3200PPI and the other at 600PPI. Both are set to 1500 pixels in width.


Left: Scanned at 600PPI · Right: Scanned at 3200PPI
See much difference? At this size… not really. Now, let’s zoom in on that leaf…
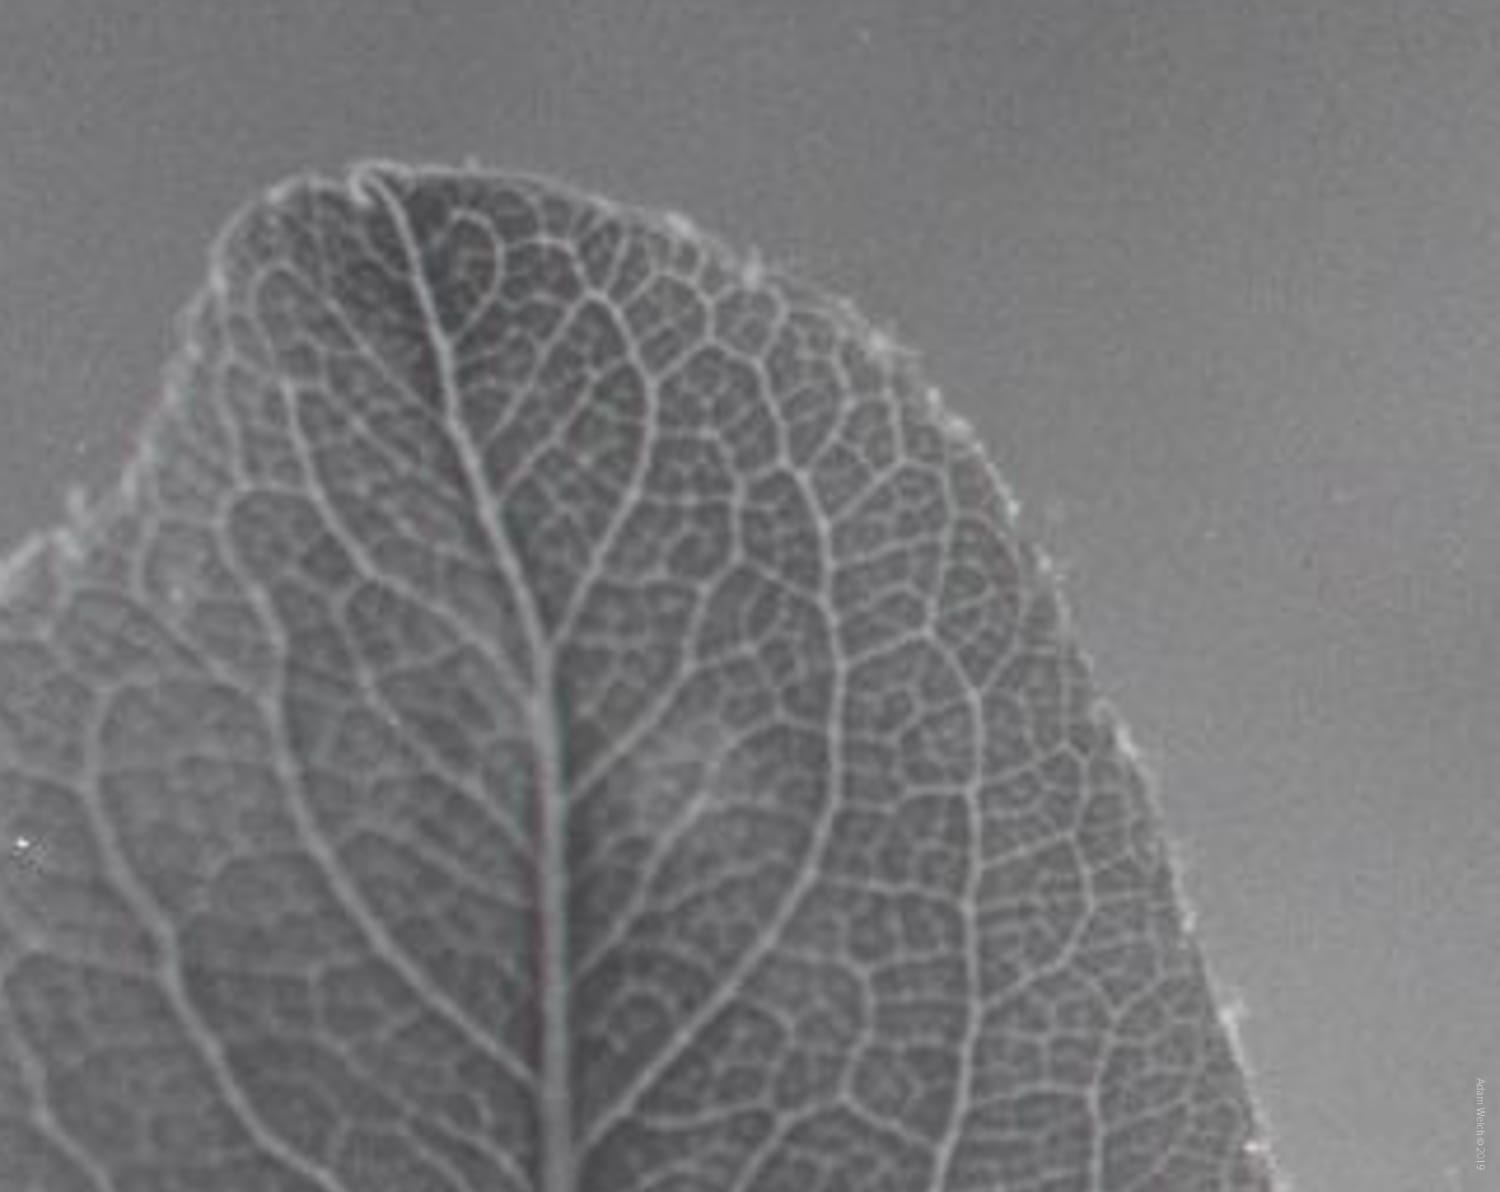

Left: Scanned at 600PPI · Right: Scanned at 3200PPI
Notice how pixelated the lower resolution scan appears when highly cropped. This is where higher resolutions clearly beat out lower resolutions. The downside, the 3200PPI scan sports a relatively massive file size of about 17.5 Megabytes when compared to the 600PPI scan which comes in at just under 80 Kilobytes….
Unless your scans will be viewed very large, there generally isn’t a need to scan at extremely high resolutions which will serve only to gobble up more space without much discernable payoff in terms of image quality. I seldom find myself scanning at any resolution over 2400PPI.
Keep it Clean…Really Clean.
If there’s one thing that will cause you the most problems when scanning your film, it’s dust and other nasties that can make their way onto your scan. Fortunately, with a little diligence, you can keep these unsightly problems to a minimum. The key is to keep your scanner as absolutely clean as possible.
This means being a little proactive when it comes to your scanning. It’s recommended that you keep your scanner covered when not in use to reduce the amount of residual dust particles on and around the equipment.
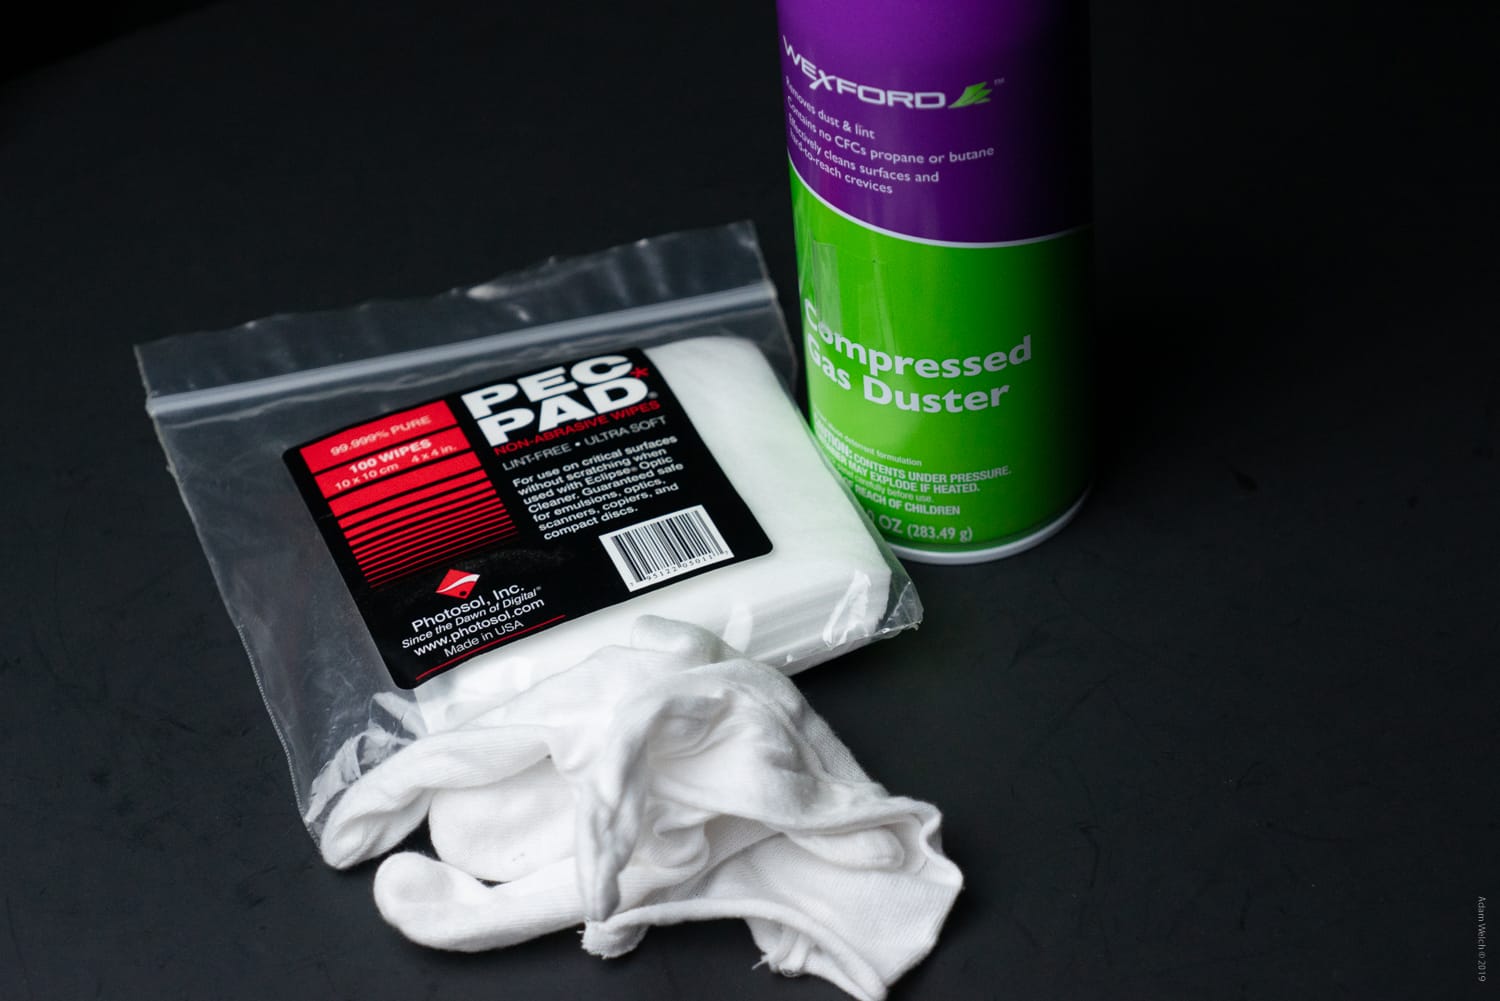
Before each scan, use some compressed air or airbrush to remove any dust from the scanner. Also, use a fresh static/lint-free cloth to clean the surface with a quality optical cleaner gently. Never touch the glass with your bare hands! It’s also a good practice to turn off all ceiling fans and close any windows to allow the room air to settle prior to using your scanner.
Post-Processing
One of the great things about digitizing your film is the ease of post-processing. A scanned film image is no different than any other digital image and can be processed in the exact same way. However, as we mentioned earlier, any negative which was scanned reflectively will still appear as a negative image even after it’s brought into your processing software.
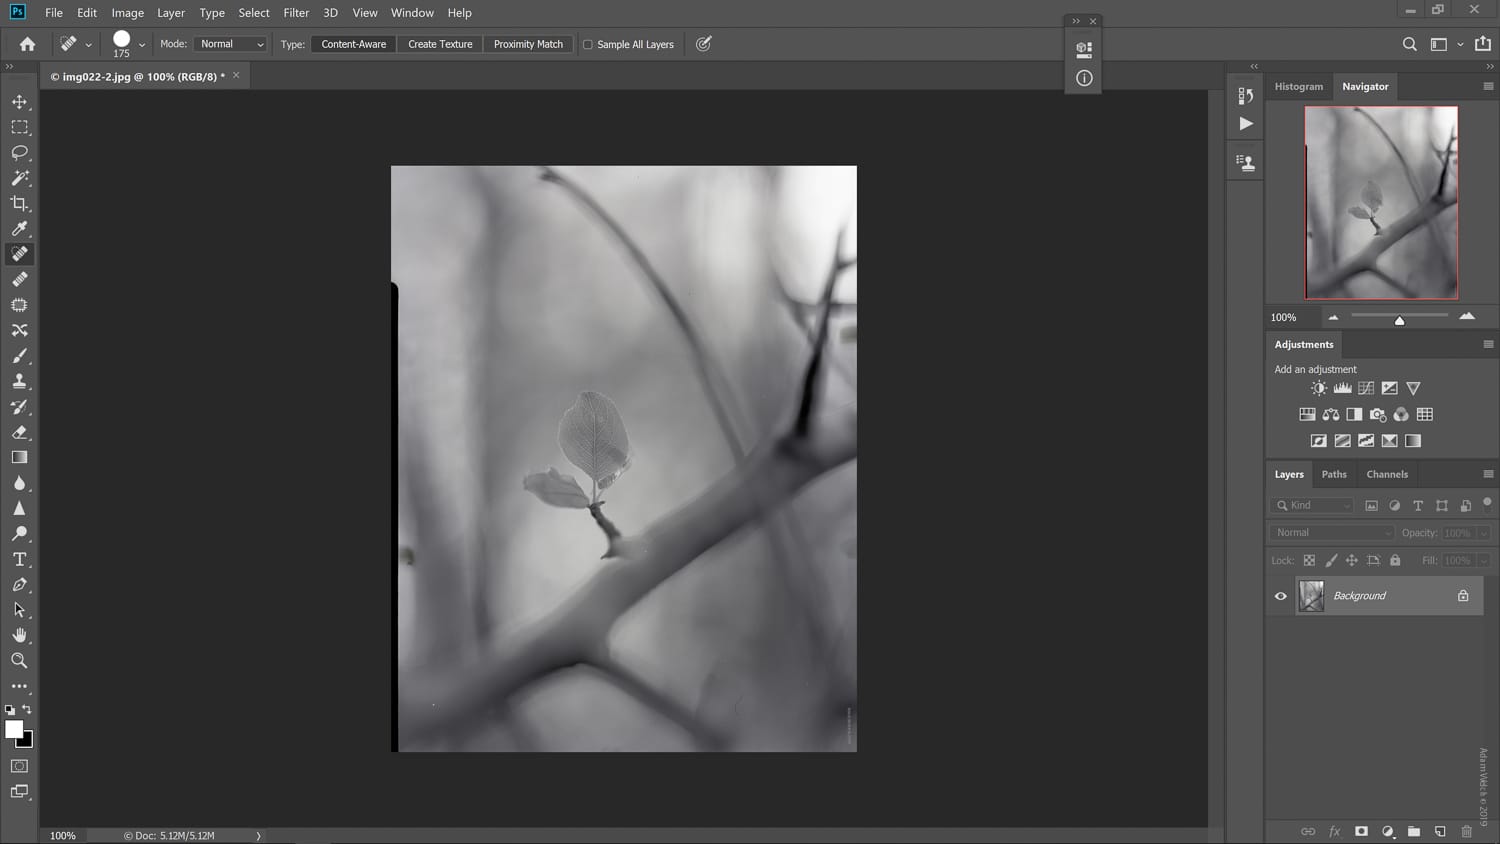
The image must be transformed from a negative into a positive. This is where Photoshop saves the day and makes it possible to scan negatives even when you don’t have a transparency-capable scanner. Switching from a negative to a positive image in Photoshop couldn’t be easier. First, bring the negative image into Photoshop:
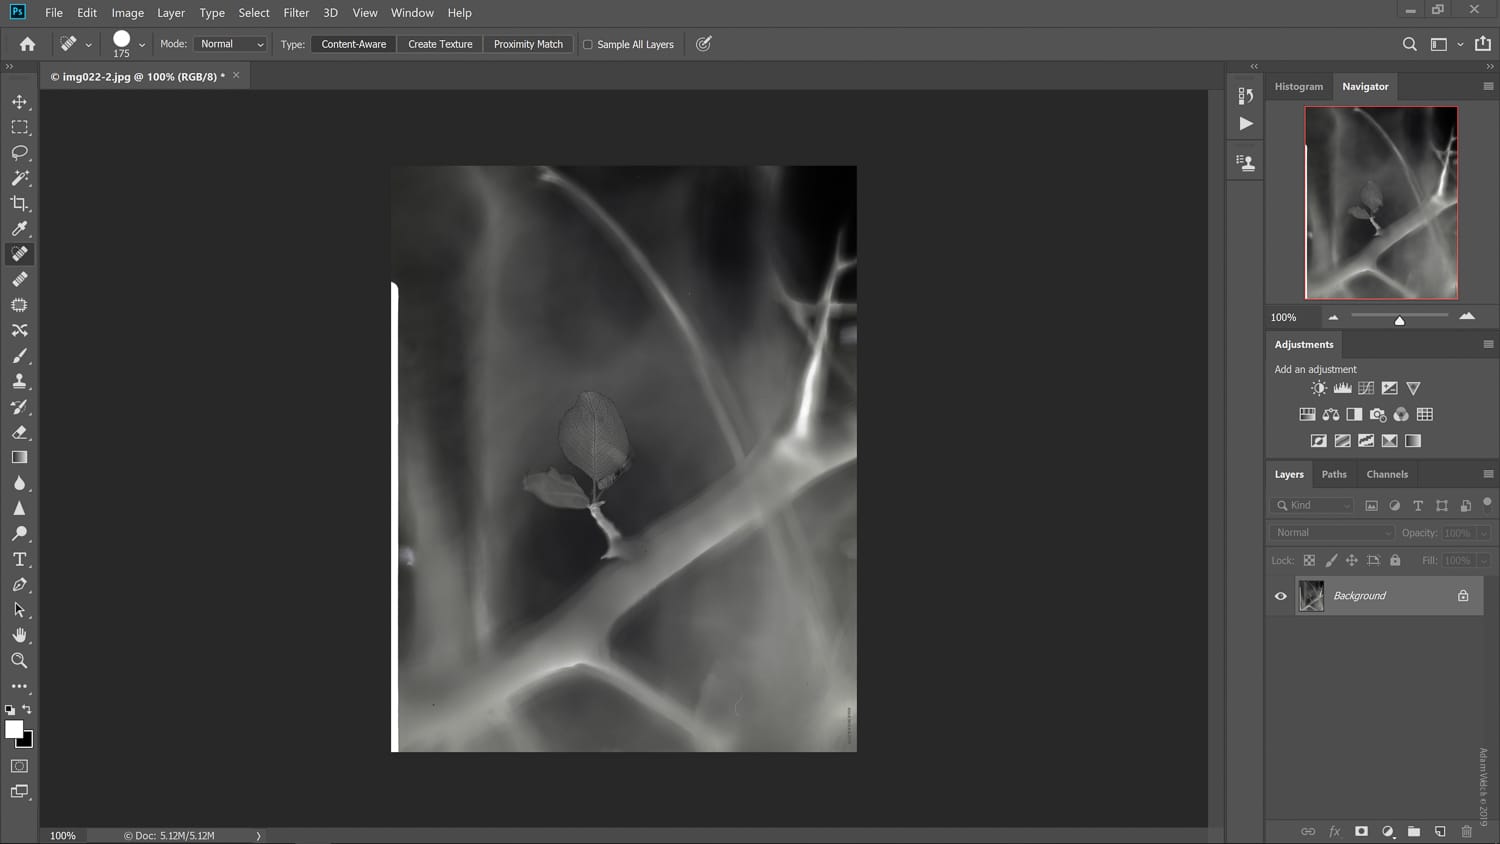
Next, under the ‘Image’ tab, select ‘Adjustments’ and then ‘Invert.’
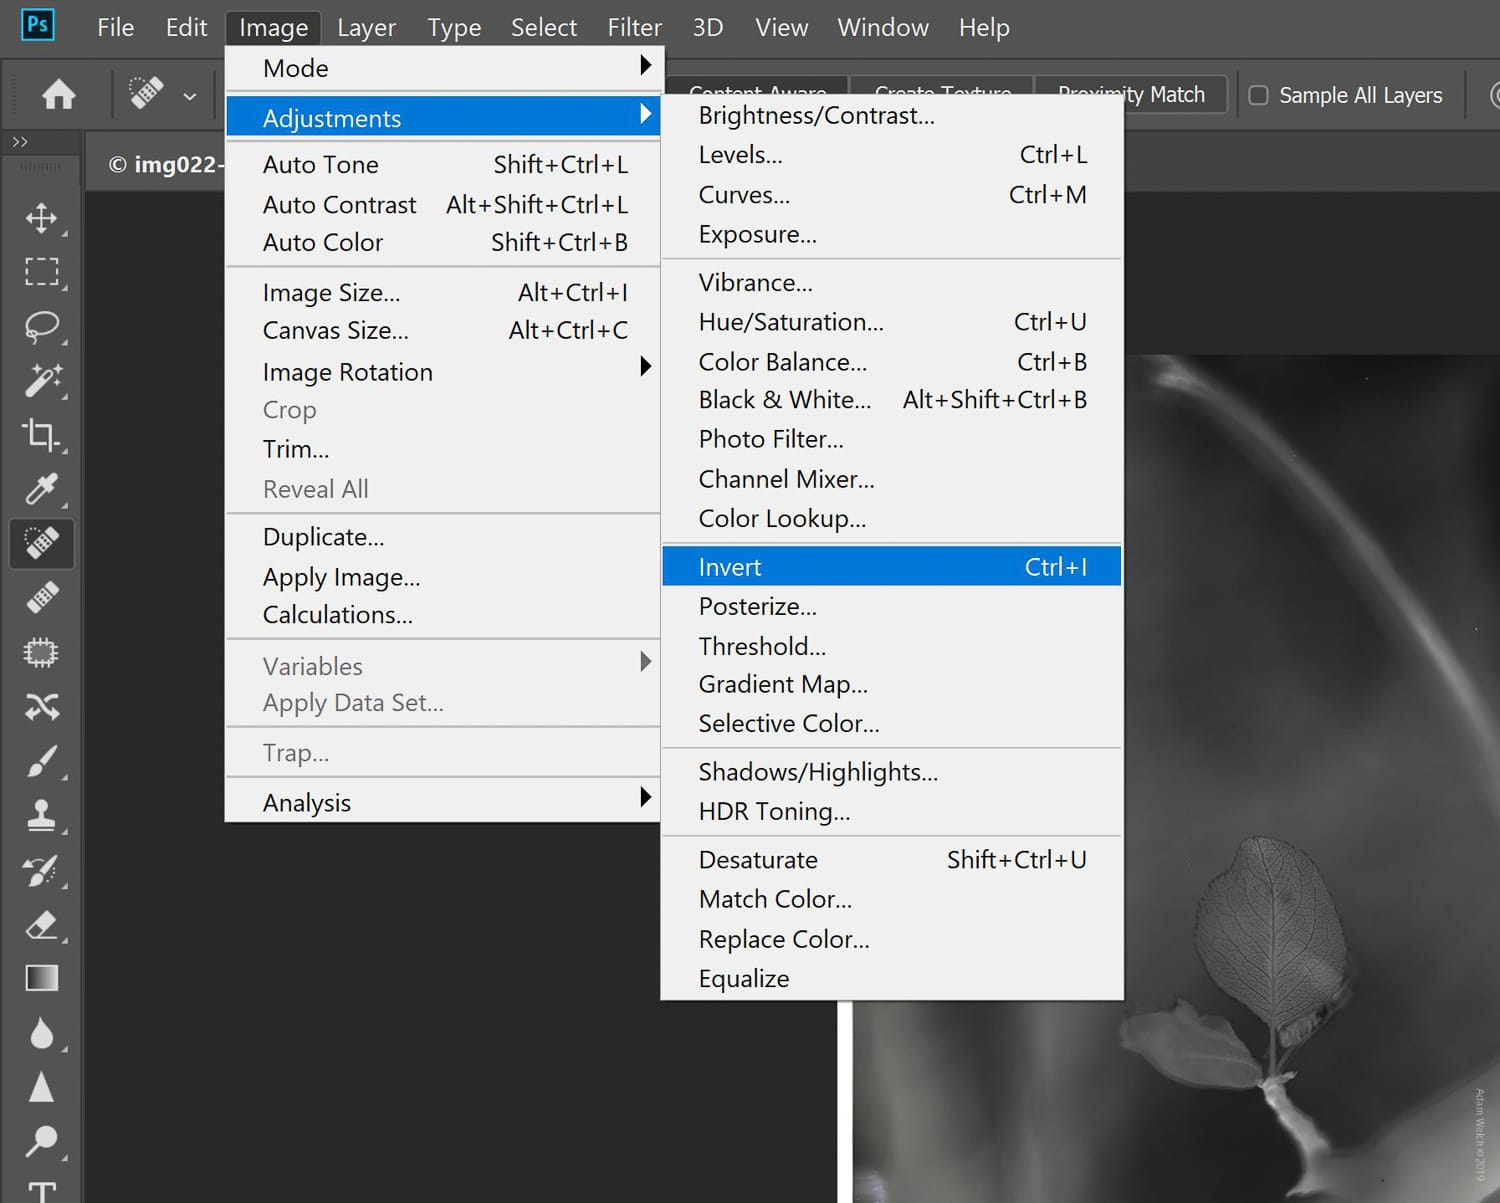
It’s just that simple. No layers. No blending or masking. Just a couple of clicks. From here, you can process the image further inside of Photoshop or save it as-is. See? I told you there was nothing to it!
Final Thoughts on Scanning Film…
In the world of film photography, you will encounter extremely polarized attitudes towards scanning film. Many photographers swear by it while others view the entire idea of working with your negatives anywhere external of a darkroom as nothing short of blasphemy.
Regardless of where you might stand on the subject, there is no denying that the accessibility and versatility of hybrid processing is something that opens up an entirely new photographic experience. The organic nuances of film blended with the convenience of digital? Sure, sign me up.
Of course, the quality of outcome can vary greatly when it comes to scanning your own film at home. At the same time, it’s an incredibly easy and budget-friendly way to manifest your creativity through photography, which is what we all strive to achieve. I hope the information found in this article helps to shine a little light on an entirely new horizon of photography for you. Now get out there and shoot!
About the Author: Adam Welch
Adam is an author, adventurer, photographer and a jolly co-founder of Contrastly. You can usually find him on some distant trail making photographs, in his darkroom or at his computer writing and planning his next project. Follow his work over at his
website , Facebook, Instagram and YouTube .