How to Effectively Use Macro & Close-Up Filters
 by
Jo Plumridge
by
Jo Plumridge

If you’ve ever looked at the minimum focusing distance written on your lenses, you’ll notice that most standard ones will only focus down to a minimum of around 0.45m (1.5ft).
For most photography this will be more than adequate, but what happens if you want to do close up photography?
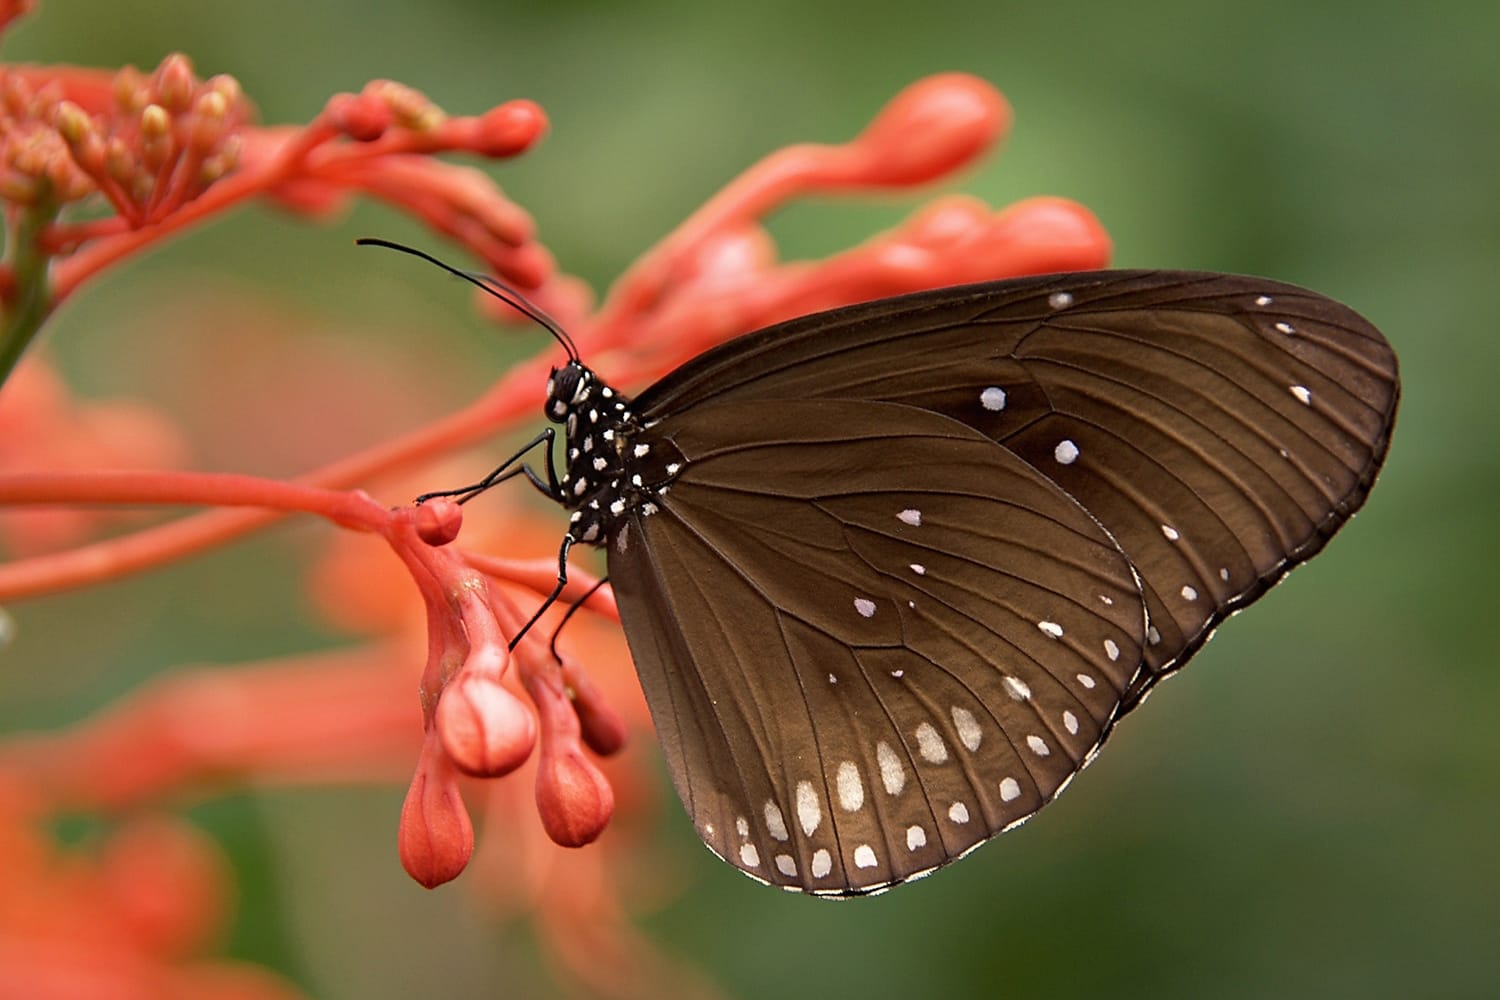
Subjects such as flowers, insects and jewellery require a lens that can focus far closer than standard lenses, in order to capture the tiny details of smaller subjects.
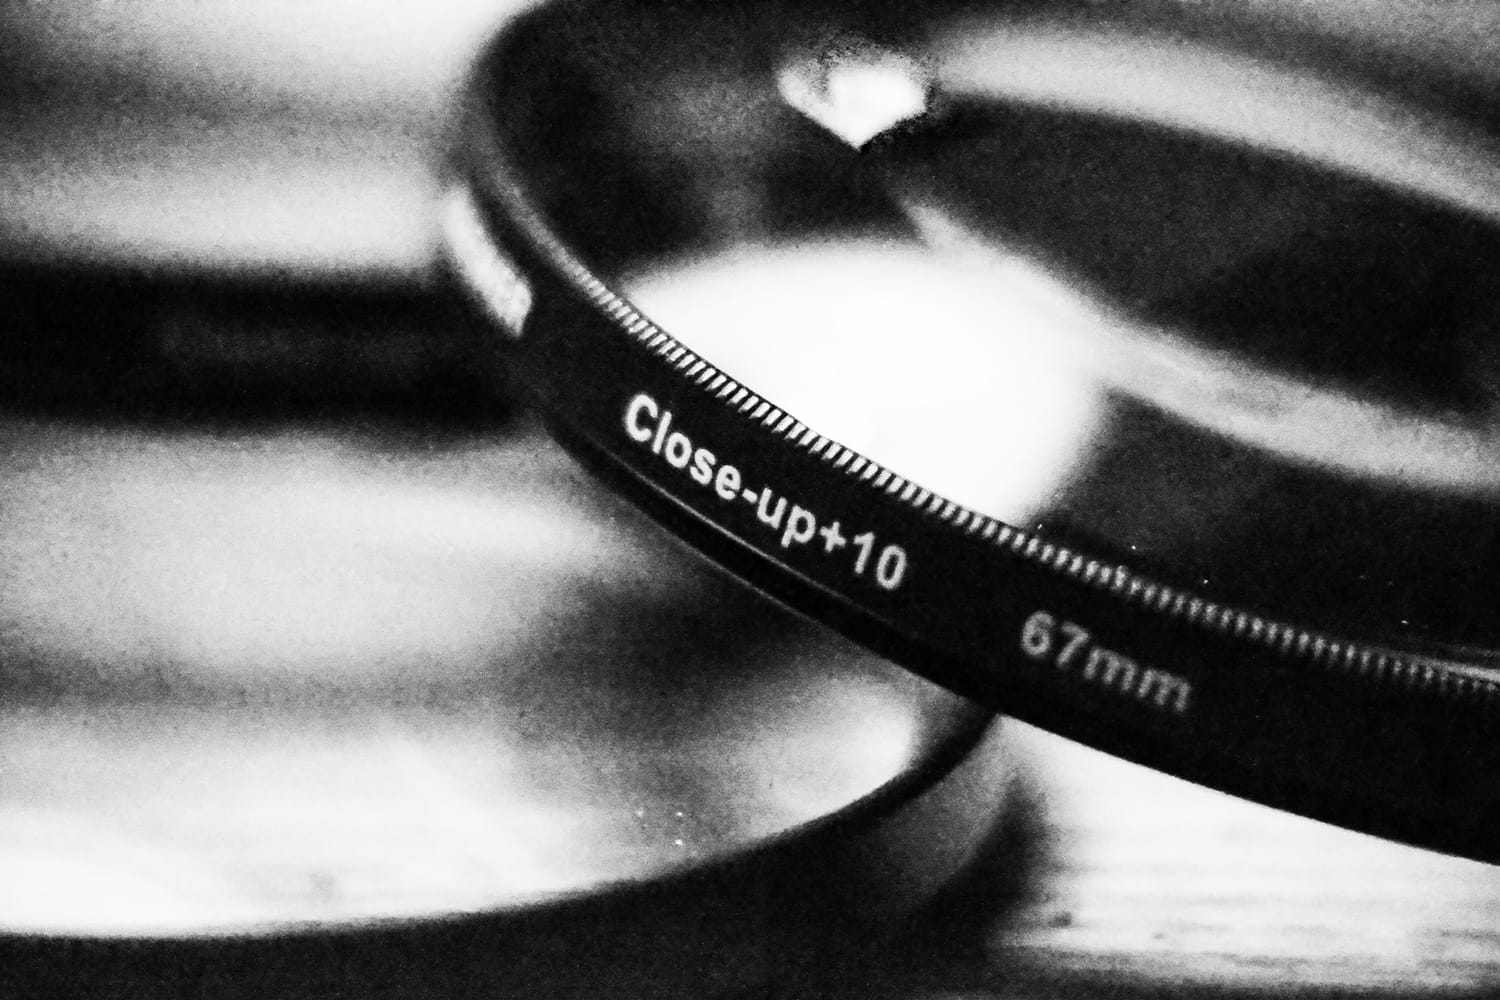
photo by r. nial bradshaw
Of course, you can invest in specialist macro lenses for this purpose, but they come with a costly price tag. Fortunately, there is a cheaper option. Macro filters (also called close up filters) are filters that screw onto the front of a lens and act in a similar fashion to a magnifying glass. Placed between the subject and camera lens, the macro filter reduces the lens’ effective focal length. This in turn decreases the minimum focusing distance of the lens and allows for greater magnification.
Macro filters are available in a range of +2 to +4 diopters. Wearers of glasses will recognise this term as it is also used to denote the amount of positive or negative magnification needed for eye corrections.
In a similar fashion, the higher the number on a macro filter, the greater the magnifying power. You can also stack multiple filters to achieve higher magnification and there are some specialist macro filters available that go up to +10 (although you’ll obviously pay more for these).
Types of Macro Filters
There are two main types of macro filter – the single element and the double element. Single element filters have a single optical element to them. They are cheaper but the image quality will be reduced, commonly with lack of sharpness at the edge of images and chromatic aberration. As with many cheaper lenses though, these problems may only be visible when the filter is used with a large aperture.
Double element filters have a dual element, with two optical elements. Considerably more expensive than single element filters, the second element of a double element filter corrects the defects produced by the first element. You may also hear these filters referred to as achromatic close up filters.
Do note that whatever filters you choose to buy, you’ll need to make sure that they fit the filter thread of the lens you want to attach them to. To find out the thread of your lens, look on the back of your lens cap. You’ll find a number in mm, such as 48mm or 72mm.
Why use a Macro Filter?
Well, the most obvious reason to use a macro filter is the cost. Filters are small and easy to transport and, if used with telephoto lenses, will provide far more magnification than extension tubes. But most importantly, macro filters don’t affect exposure or viewfinder brightness and your autofocus will still work as normal.
This is not to say that macro filters are perfect. As has already been discussed, they can lead to deterioration in image quality and the detail will not be as sharp as it would be with an actual macro lens. It’s also worth noting that lenses won’t be able to focus at infinity with a macro filter attached and that you’ll get very little magnification with shorter focal lengths.
How to use Macro Filters effectively
To get the best results out of macro filters, the first thing to do is to choose a decent brand such as Hoya or B+W (if you want to spend a little more). You can stack the filters, but I wouldn’t recommend using more than two filters, due to the loss in image quality that you will incur. The maths with stacking filters is quite simple – if, for example, you stack a +2 and +4 filter, you’ll get results of a +6 diopter.

As already mentioned, single element macro filters are particularly prone to image quality loss on the edges of the image. This can be avoided by stopping down your lens by a couple of stops. Although this will obviously have an effect on the amount of light coming through your lens.
You’ll get the most pronounced magnification by using longer telephoto lenses but conversely these longer focal lengths also increase the known issues. Therefore it’s worth bearing in mind that the longer a focal length you use, the more stops you are likely to have to stop your aperture down by.
In practical terms, using a macro filter is very simple. Start by simply screwing the filter onto the front of your lens (you’ll need to remove any UV or other filters that you have on your lens). Remember that each filter will decrease the minimum focusing distance of your lens, so you’ll need to move closer to your subject. If you’re used to working with standard focusing distances, this may feel alien at first!
As with all close up work, your depth of field will become more limited the closer you get to your subject. With some macro filters, it can be reduced to a few millimetres. Therefore, you’ll probably need to use a larger depth of field to get your subject in focus.
The key with macro filters is to experiment, as you can produce different effects with different diopters, depth of field and stacking filters. And you can produce some really creative effects. Have fun!
About the Author: Jo Plumridge
Jo Plumridge is a UK based photographer, writer and lecturer. She specializes in portrait, corporate and travel photography, and writes photography, travel and comedy pieces for magazines, websites and books. You can see some of her work at her website, or follow her on Twitter.