How To Get Started With Off-Camera Flash Photography

Off-camera flash (OCF) photography, in a nutshell, is using a flash that isn’t attached to your camera. There are a number of reasons that you may want to get started with off-camera flash photography.
If you enjoy capturing portraits, or photos of friends and family, or even doing still life photography – taking pictures of flowers, fruit, and objects – being able to use an off-camera flash will prove to be invaluable.
Instead of being held hostage to the lighting and time of day, you’ll be able to use your flash to fill in or add special effects, to create some truly remarkable images.
An off-camera flash will also give you flexibility and freedom to move the flash easily, and make adjustments as you see fit. With your on-camera flash, you can still dial your flash down, or bounce it; but you’re be a lot more limited when it comes to the direction of the light and usually you’ll be limited to front lighting.
While using a flash can be daunting, it’s not as complicated as you might think. Once you learn how to use it, it will prove to be a tremendously valuable piece of kit! Let’s take a look at what you should know if you’re thinking of getting started with off-camera flash photography.

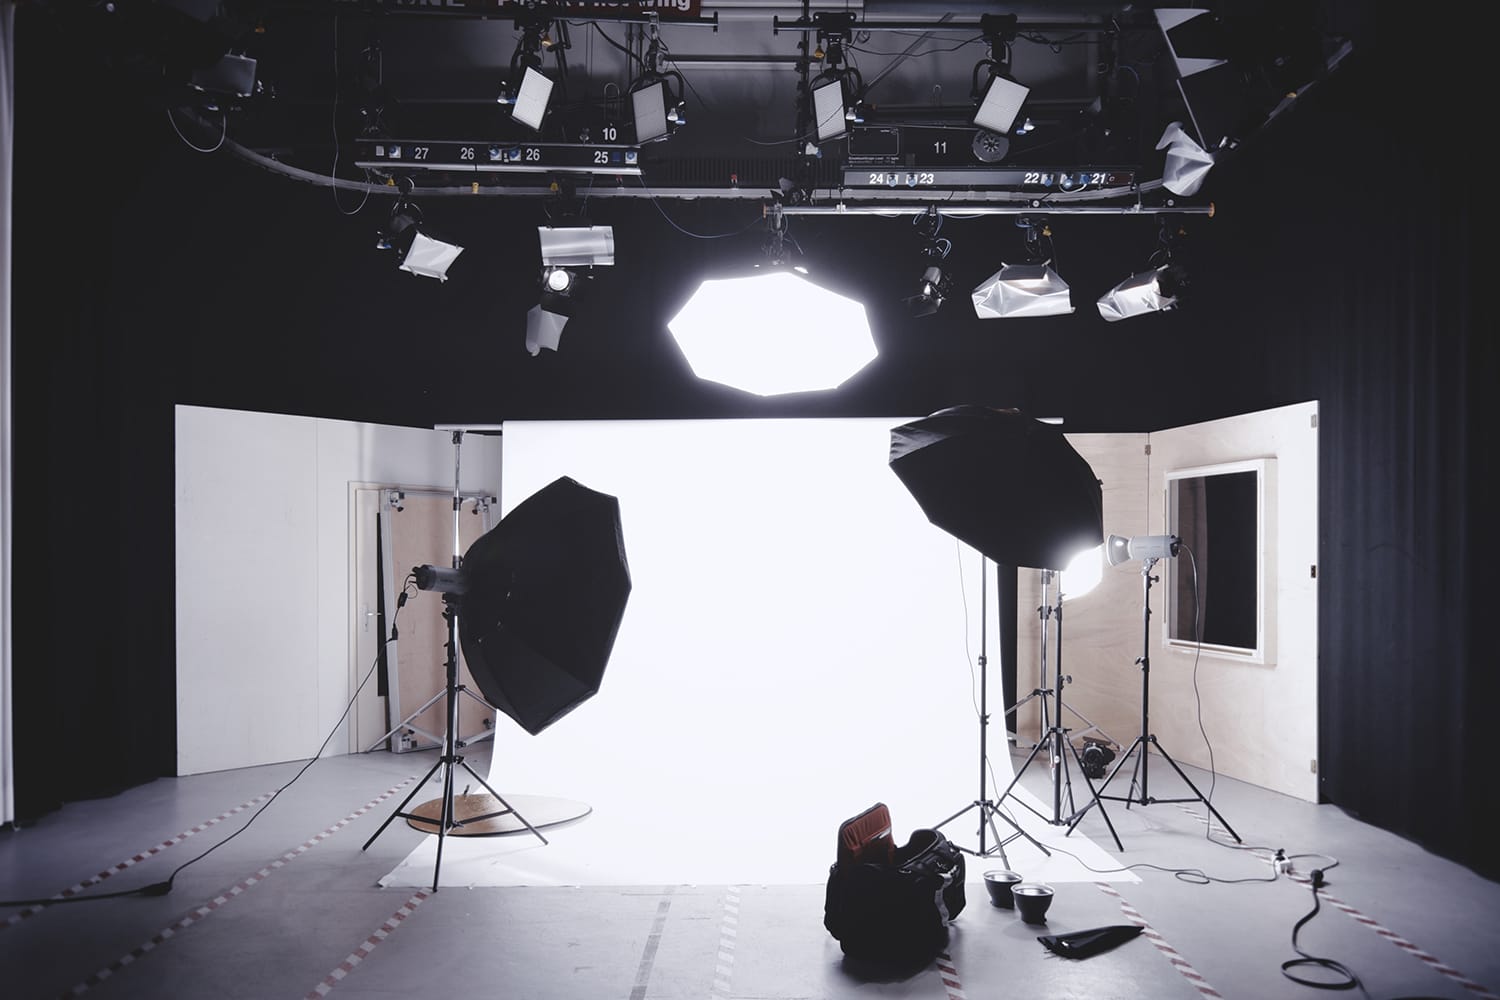
photo by Girish Kolanthra Ramadevan
Get the Right Gear
Before you get started, make sure you have the right gear. While you don’t have to start out with top of the line equipment, it’s important to have the basics.
- A Camera With a Hot Shoe
First, you’ll need a camera that works in manual, and includes a hot shoe mount; the piece of metal on top of your camera that an external flash or wireless trigger fits into. - A Flashgun
An off-camera flashgun can cost anywhere from $30-$600. With so many options, finding the right one might seem like a daunting task, but there are a few things you’ll want to look for. First, ensure that the flash has a rotating head, to make it easier to adjust your angle and direction. You should also consider whether the flash is ETTL (i-TTL) compatible or just manual. Cheaper wireless systems usually are not compatible with your camera’s TTL flash-metering system, and you’ll have to use manual and dial in the flash’s power output settings yourself. You may want to look for a flashgun that will allow you to switch back and forth from manual to TTL. Finally, make sure the flashgun is compatible with your camera. You’ll also want to look for a wireless flash unit, to save you from tripping over wires or being limited in terms of where you can place your flash. - Remote Trigger and Receiver
Unless you’re using a wired flash, you’ll need a remote trigger that allows you to fire your flash.
Additional Accessories
There are a few additional accessories that aren’t strictly necessary, but they can make a difference in terms of your resulting images. Here’s a look at a few.
- Light Diffuser
While it isn’t essential, having a way to soften the light can improve the quality of your images. A diffused or softer light will make your images more natural looking. Diffusers are relatively inexpensive. - Light Stand
A light stand that holds your flash will make set up and adjustments easier. There are plenty of different options available, so find one that will perfectly suit your needs.
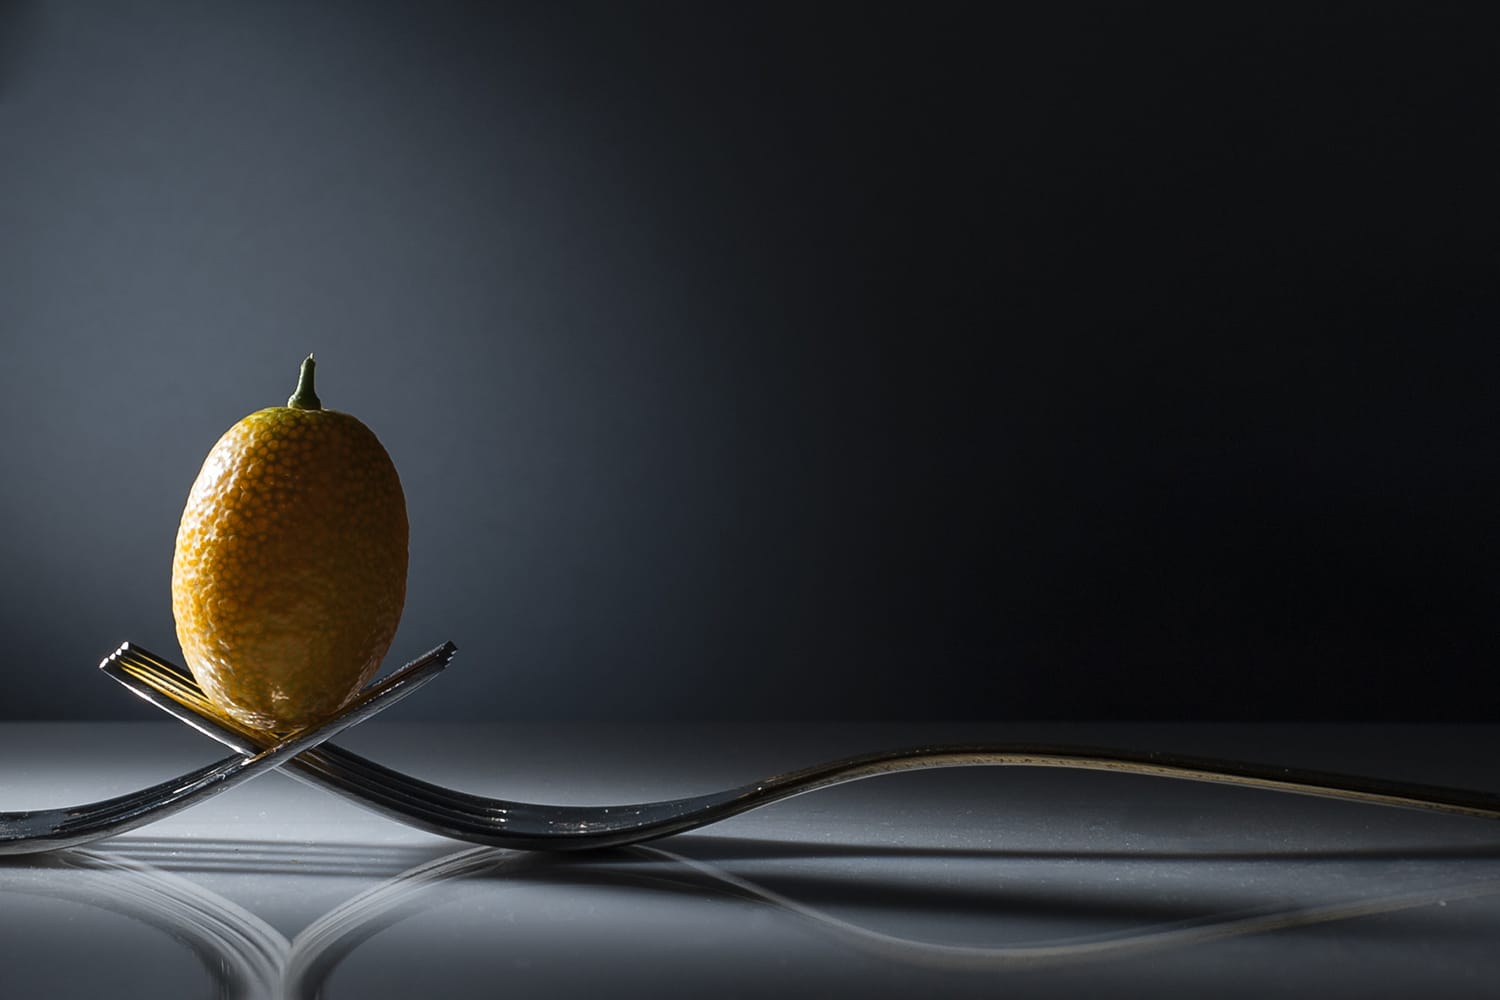
photo by Flavio~
Direction of Light
Once you are set up and ready to go, you’ll want to consider where you place your flashgun. Here’s a look at different directions of light, and using them to enhance your images.
- Sidelight
Sidelight is typically one of the preferred types of lighting for portraits. While front-lighting often runs the risk of causing portrait images to appear ‘flat’ and one dimensional, side lighting preserves some of the shadows that help to add a sense of dimension. - Backlight
Backlighting is often used to make a subject ‘glow’ from behind, and is achieved by positioning the flash directly behind your subject. You can see the results of backlighting as a faint glow on a subject’s hair or clothing. - Front Light
Front lighting can be used to fill in some of the dark shadows on the front of your subject’s face. While a bit of fill light can be flattering, in most cases, you’ll want to ensure that the fill light is subtle, and doesn’t wash your subject out.
Often a combination of different directions of lighting is used for the best results.
Off-Camera Flash Settings
Next, it’s time to master your flash settings. You could use ETTL (i-TTL) flash metering, or go all out and use manual. Think of ETTL flash as auto mode for your flash. It will sync with your camera and choose the flash settings that it deems best. However, if you’re looking for absolute control over your images, you’ll want to manual mode.
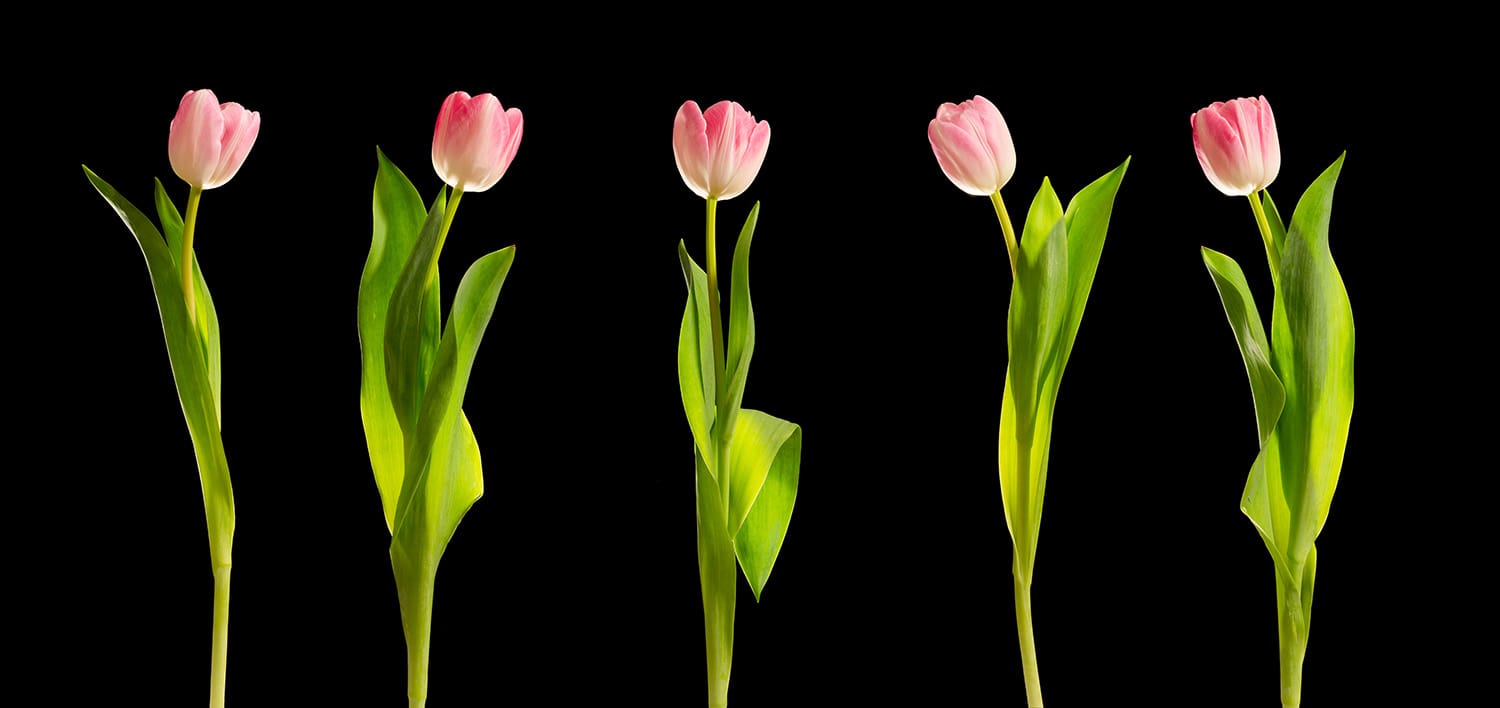
photo by Scott Wylie
Modifying the Light
Modifying the quality of your light will let you control the exact mood that you’re hoping to create. You can adjust the direction of light, its harshness, direction, color, and amount of the light as well. Here’s a look at some tips for using your flash settings and accessories to create perfect lighting.
- Adjust the Direction
First, the simplest adjustment: direction. As we’ve seen, different directions of light can create completely different effects. Try using a combination of different directions to see the effects. - Adjust the Harshness
Moving the light source closer to your subject will result in a stronger, more concentrated beam of light, while moving it farther away will make it softer. You can also use flash modifiers like diffusers, softboxes, or an umbrella to soften the light. - Adjust the Color: Modify The Color Temperature With Gels
If you would like to get creative, or want to match the existing light, consider modifying the color temperature with a colored gel. - Adjust the Amount of Light: Dial In Appropriate Flash Power Settings
Ask yourself what type of look you’re going for. If you’d like a natural looking image, lower your flash power. If you want something more dramatic, dial it up.
In the end, the best way to perfect your off-camera flash photography is by practicing. Start by reading your flash manual, practice with different settings and features, and then combine them for a mock photoshoot. Don’t forget to take advantage of helpful online resources as well. There’s a lot to learn, but with a bit of practice –and by experimenting with manual mode, you’ll soon become adept at using your off-camera flash.
Do you use an off-camera flash? Let us know on Facebook or Twitter!
About the Author: Christina Harman
 Christina is a part time blogger and full time photography enthusiast living in Southeast Alaska. She enjoys travel photography and has taken pictures in countries such as Mexico, England, France, and China. She likes sunny days, new lenses and drinking good coffee. You can visit her at Tangled Thoughts.