How to Photograph Birds
 by
Jo Plumridge
by
Jo Plumridge

Bird photography is a challenging genre to get right, with often tiny and fast-moving subjects to contend with. You need the right equipment, camera settings and a lot of patience to get great images. So in this guide, I’ll run you through everything you need to know to produce beautiful bird imagery.
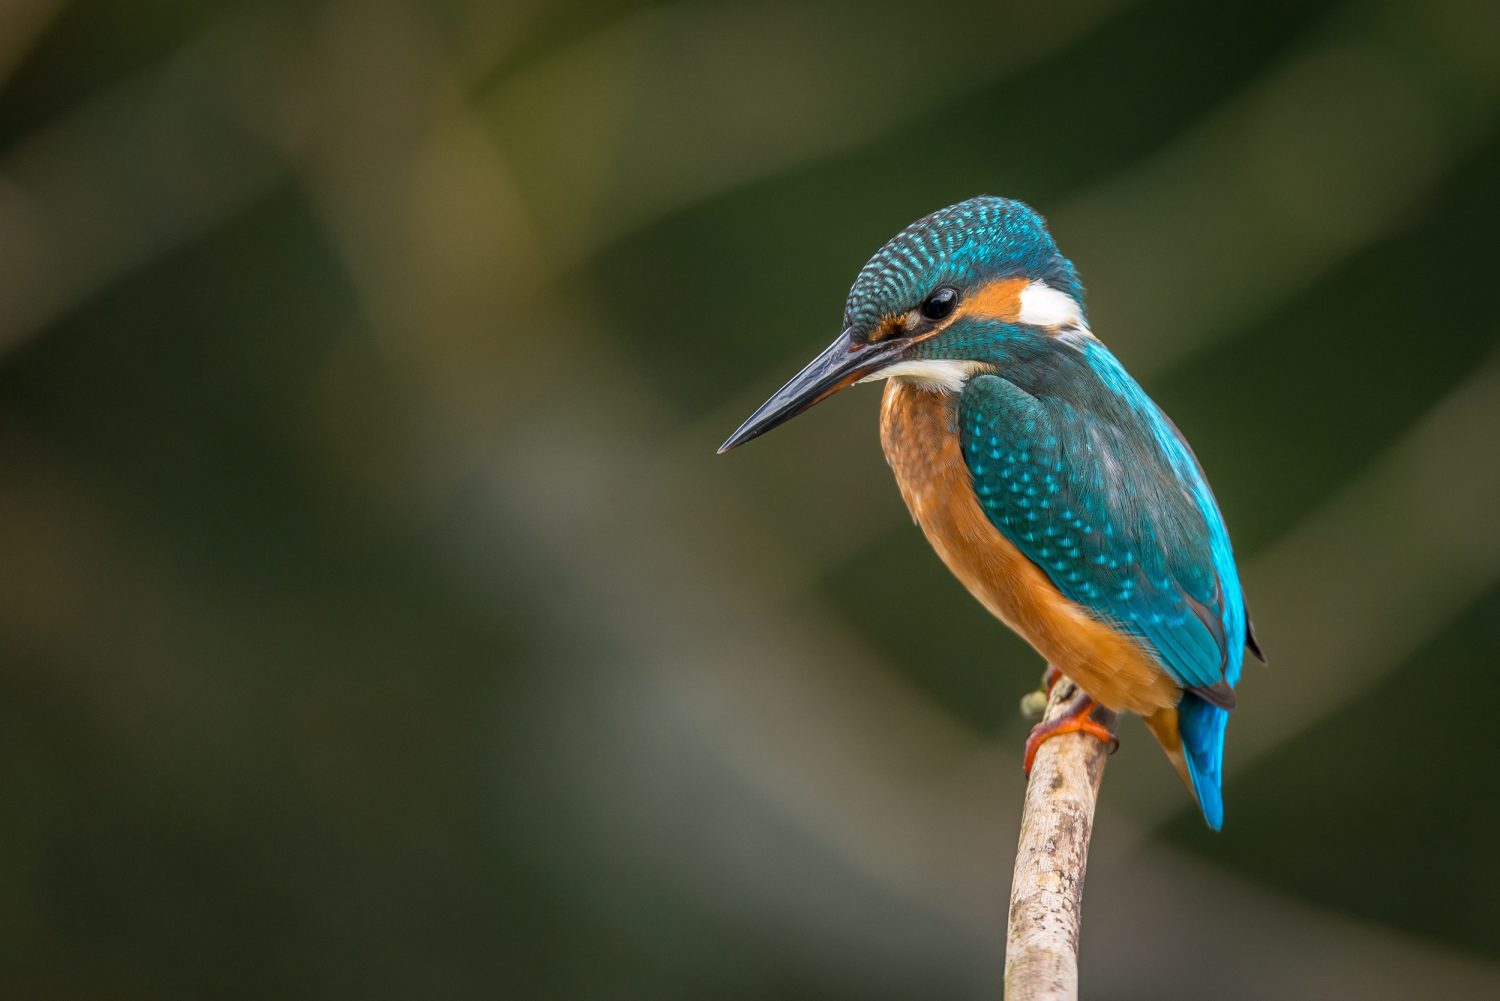 Image 001 – Photograph by Vincent van Zalinge
Equipment
To get successful shots of birds does require some specific equipment. Cameras and lenses need to be capable of shooting fast action photography. From the camera point of view, this means a model with shutter speeds that go up to at least 1/2000th of a second and preferably faster (most high-end models go to 1/4000th or 1/8000th). You’ll also need a decent frames per second (fps) rate and a big camera buffer to handle these large bursts of images. As with all things photography, the higher end models will give you the best results, but most modern DSLRs and mirrorless cameras have a fast enough shutter speed range and a decent fps rate to give bird photography a go with.
There are also cameras with features that are particularly useful for bird photography. Some Olympus cameras, for example, have a mode called Pro Capture. This mode starts recording a sequence of images when you half press the shutter button. When you fully press the shutter button, it records a predetermined number of images both before and after the shutter is pressed. The idea is that the camera can react far quicker than a human eye, meaning you won’t miss any shots as a bird takes off. One of the Olympus cameras even has a dedicated Bird Assist AF mode!
APS-C (crop frame) or Micro Four-Thirds cameras can really come into their own for bird photography. This is because the sensors are slightly narrower than a full frame sensor, meaning that they will capture a narrower field of view. What this means is that the focal length that’s displayed on a lens won’t be providing the angle of view that’s expected when used on a crop frame camera. The easiest way to work out the equivalent angle of view that is being provided is to multiply the focal length of your lens by 1.6 (for Canon), 1.5 (for Nikon) or 2 (for most micro four-thirds cameras). So when it comes to using telephoto lenses, you’re at a distinct advantage – you can get closer to your subjects with much more reasonably priced lenses.
Professional wildlife photographers use super telephoto lenses that cost a great deal of money. But for most people, it’s best to start off with a shorter telephoto that has good optics. A cheaper longer focal length won’t produce the best images – always choose a high quality 200 or 300mm lens over a cheap 600mm. You can also consider adding in more focal length by using a teleconverter to extend your focal length range, although you will lose one-two stops with this.
Whilst many mirrorless cameras are light enough to handhold, and you’ll be using fast shutter speeds, the telephoto lenses could cause a little camera shake. I’d recommend carrying either a monopod or tripod for stability. If you can run to it, a carbon fibre tripod or monopod will be considerably lighter than an aluminium one, and therefore easier to transport around.
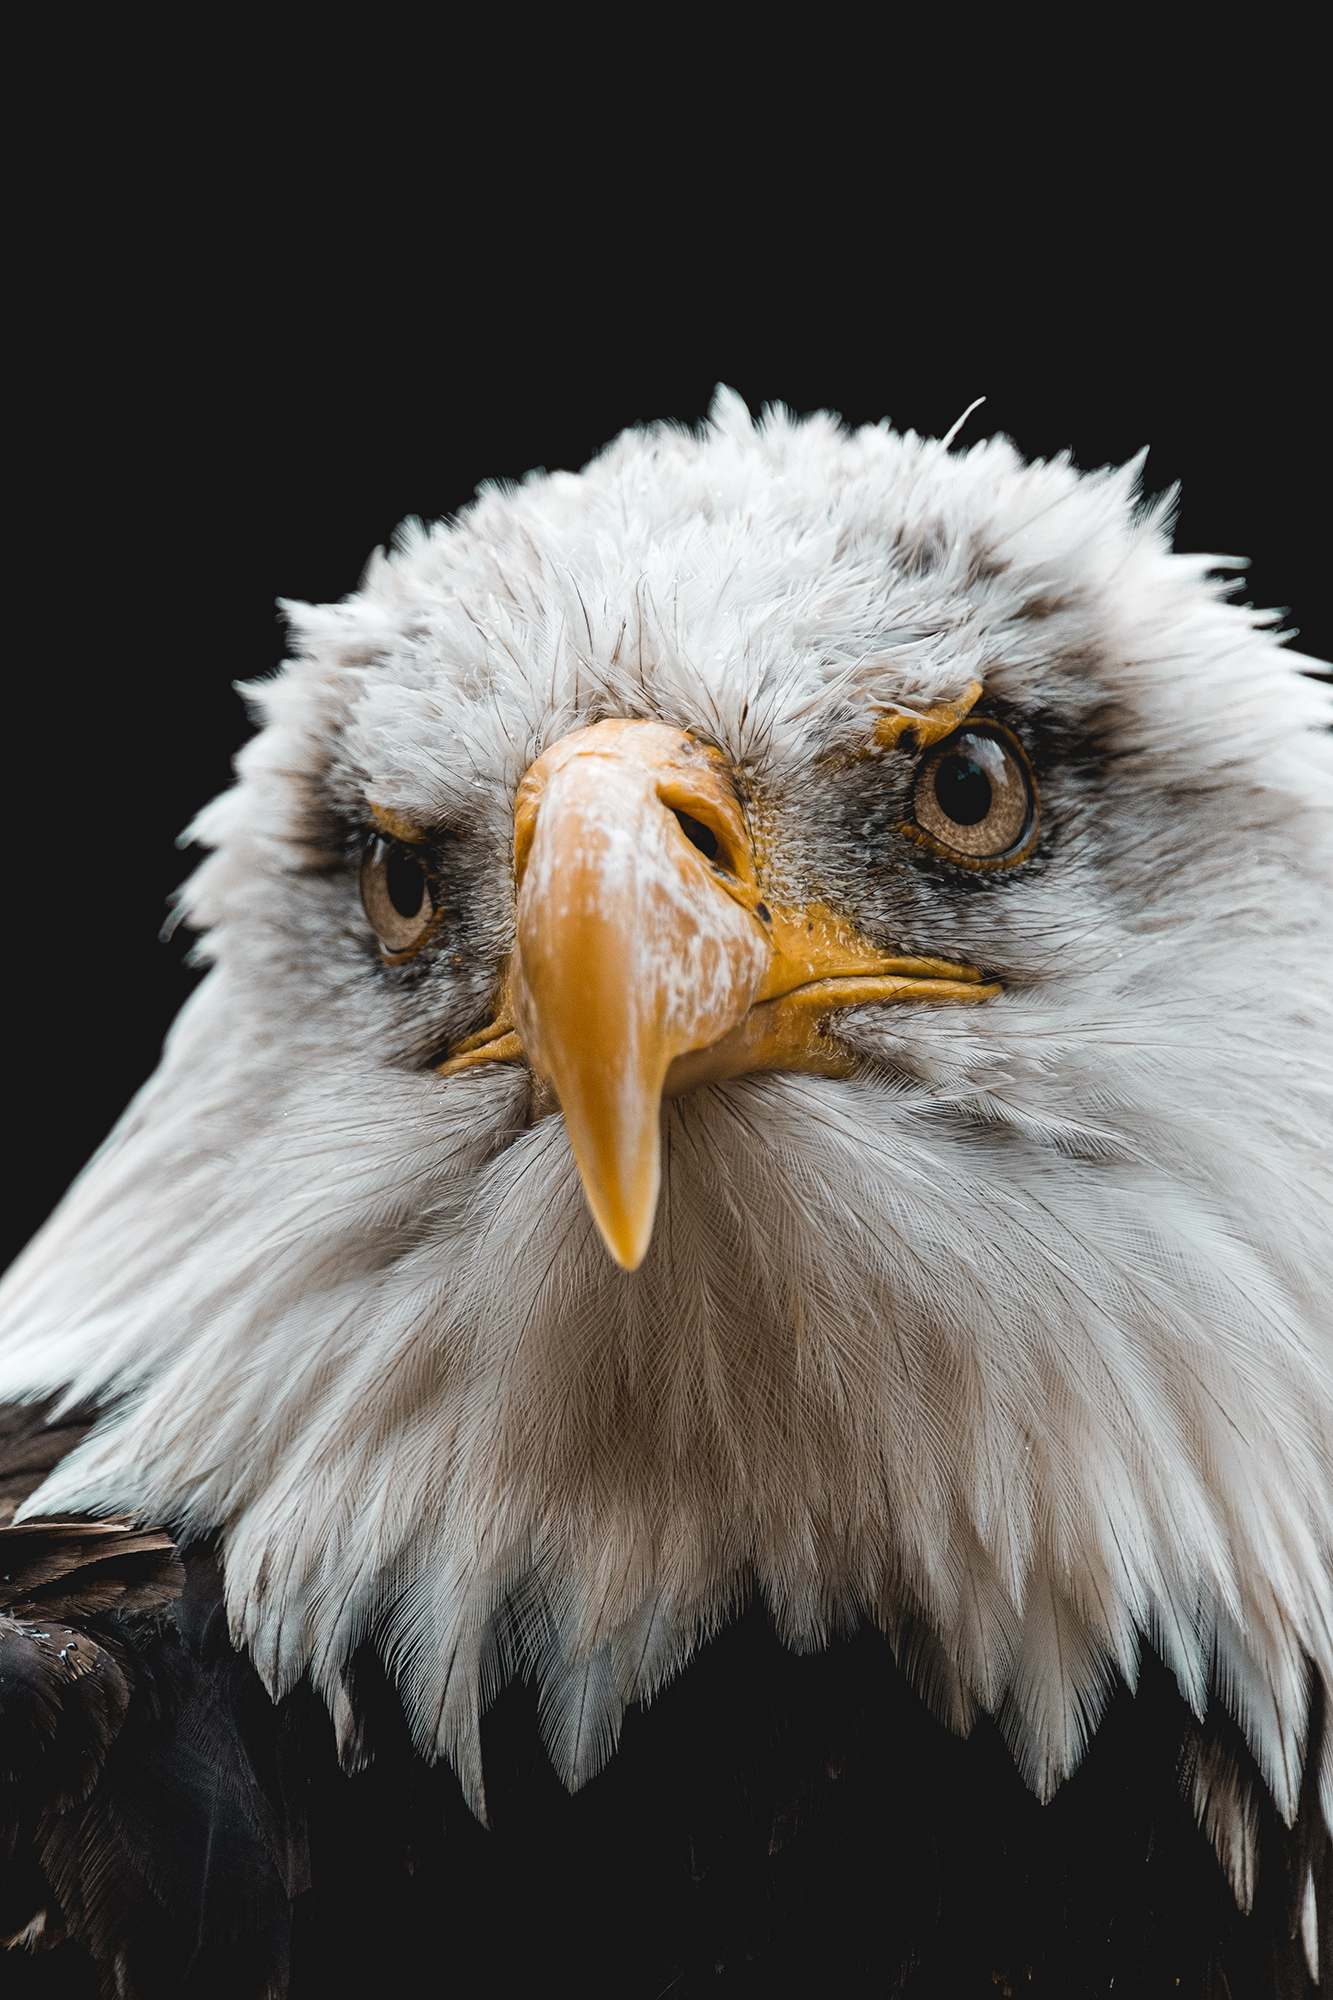 Image 002 – Photograph by Alfred Kenneally
Camera settings
Shutter speed is everything in bird photography. Birds move quickly, even when they’re not in flight, so fast shutter speeds are essential to freeze action and keep them sharp. Plus, if you’re using heavy telephoto lenses you need to be using a shutter speed that’s at least as fast as the focal length of the lens (e.g. a 300mm lens requires a shutter speed of 1/300th of a second or faster). You’re probably going to be looking at shutter speeds of between 1/1000th and 1/6000th of a second for birds in flight and 1/500th upwards for birds on the ground or in trees.
For this reason, your aperture and ISO are going to be somewhat dictated by the amount of light available but there are factors to take into consideration. A larger aperture will let more light into your camera but will give you a smaller depth of field. This isn’t generally a problem in bird photography, as you want a small depth of field to blur the background and help your subject ‘pop’ from the image. Be careful not to use too small a depth of field though, or you run the risk of not all of your bird being in focus. Apertures of between f4 and f8 will work well. Of course, you may want to photograph a bird in its surroundings, in which case you’ll need a larger depth of field to get everything in focus. This will obviously mean a smaller aperture and less light coming into your camera.
Whilst you can raise your ISO to allow more light into your image, you need to remember that higher ISOs will add more digital noise. Modern cameras do cope well with noise, but it is always going to be more obvious when you’re photographing delicate subjects such as birds. If the natural light is so bad that you need to use extremely high ISOs, it’s probably best to shoot another day! You can try using flash but it’s quite possible that it will scare the bird and make it fly away.
You will want to shoot in RAW so that you’ve got the highest image quality to work with in post production. I would leave your white balance on auto as conditions could be changeable and you don’t want to be wasting time fiddling with settings when working with wild animals. You’ll also want to select continuous AF mode, so that the camera can track a bird and keep focusing. Make sure you’re in control of where the camera is focusing as well, by either choosing a single AF-point or a suitable group if available. Finally, you’ll want your camera to be in continuous shooting mode, so that it shoots a burst of shots.
Locating birds
Your first job, once you’ve got your camera set up, is to locate some birds to photograph. Start with the more common birds where you live, as they will often be used to people and less likely to fly away. I’m in the UK, where robins, finches and sparrows tend to be particularly cooperative.
Early mornings tend to be the best time to photograph birds, as they’ll be out looking for food for themselves. If you’re having trouble finding birds to photograph, look for a local zoo or bird sanctuary where you can practice. Google is also your friend! There are plenty of online resources to guide you and you’ll also find detailed information on different bird species and their habitats and behaviour.
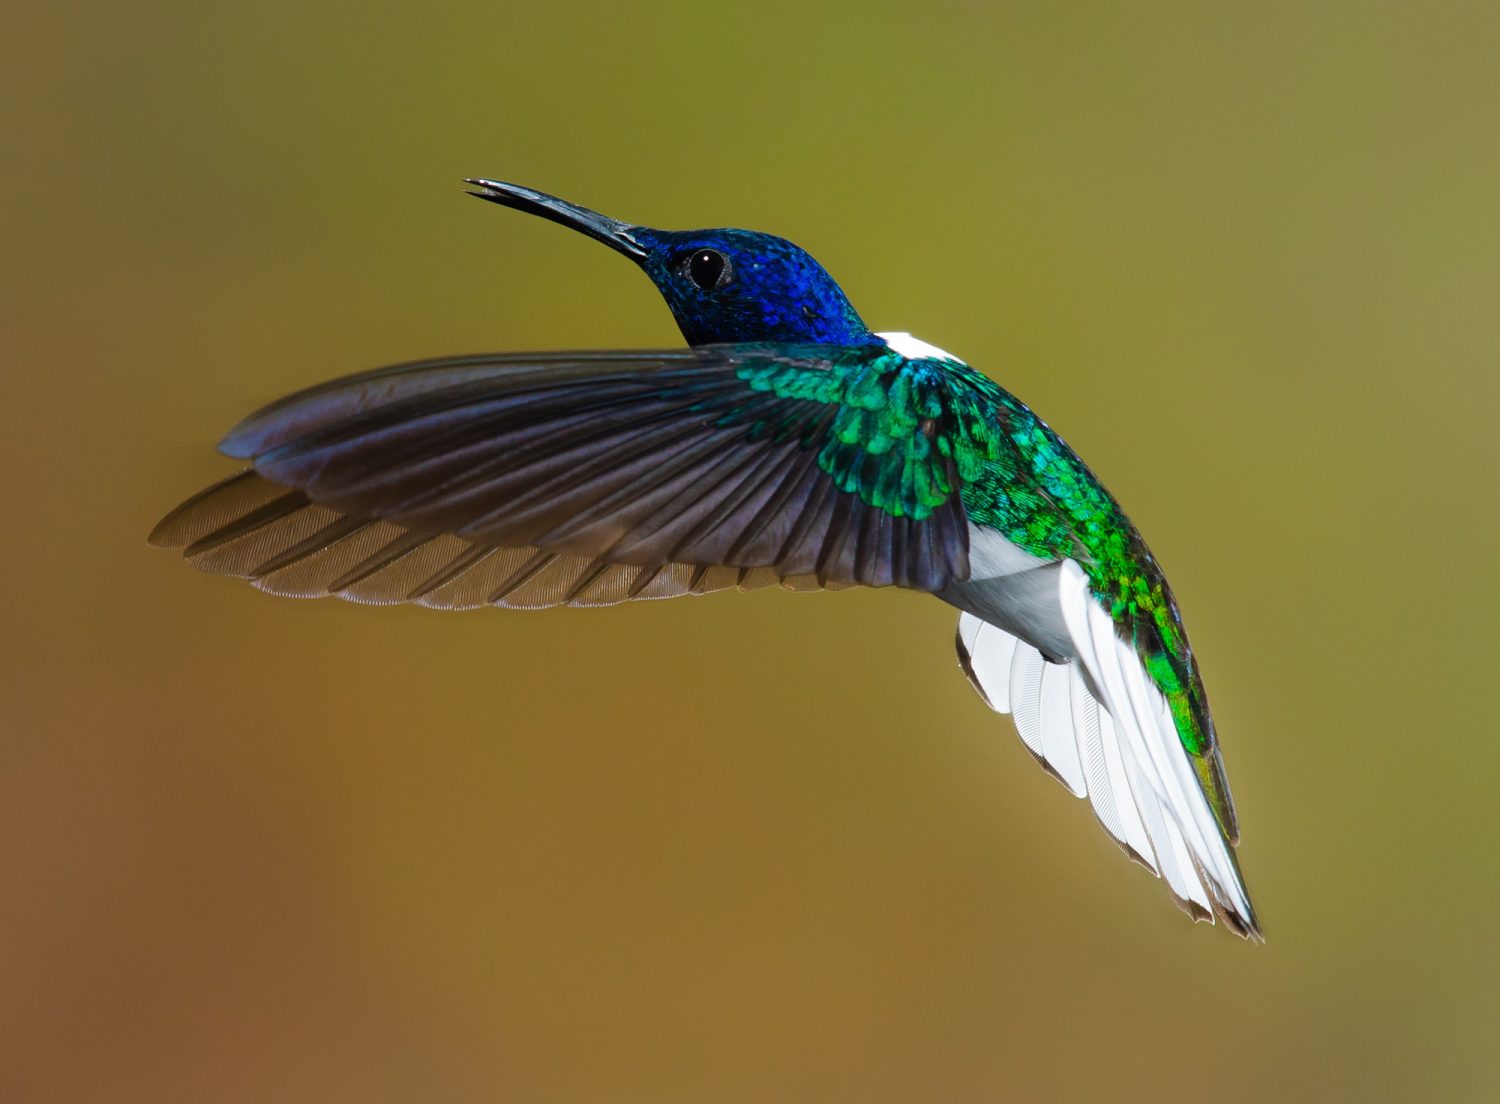 Image 003 – Photograph by Zdenēk Macháček
Understanding birds
If you’re new to bird photography then before you start shooting, you need to understand your subjects. The best place to start with bird photography can often be in your own back garden, with the birds that are local and found in your habitat. Common birds are often easier to photograph, as they’re used to humans and will often carry on with their day-to-day routine without paying you much attention. You can set up a feeder in your garden, which will allow you to practice with the birds that come to eat there.
For each species of bird that you’re interested in photographing, you need to consider their natural habitat, the times of day they’re most active and any times of year where they might display particularly interesting behaviour. The more you know, the easier it is to be in the right place and to set up your equipment for successful imagery.
Birds are shy creatures, so it helps to follow some techniques when approaching them. If you’re just starting out, you’re unlikely to be investing in hides or camouflage gear but it’s best to wear muted colours that blend in with the environment as much as possible. You don’t want to stand out. Try and approach a bird whilst it isn’t looking at you, but if it is, try walking in zigzags towards it and make sure you approach slowly. If you’re using a telephoto lens you shouldn’t need to get too close anyway. If a bird is staring at you, it’s already on alert so make sure you don’t stare at it and don’t approach any closer. And, even if you are photographing from a fair distance away, make sure your camera is switched to silent mode so that it doesn’t make any beeps or noise to scare a bird off.
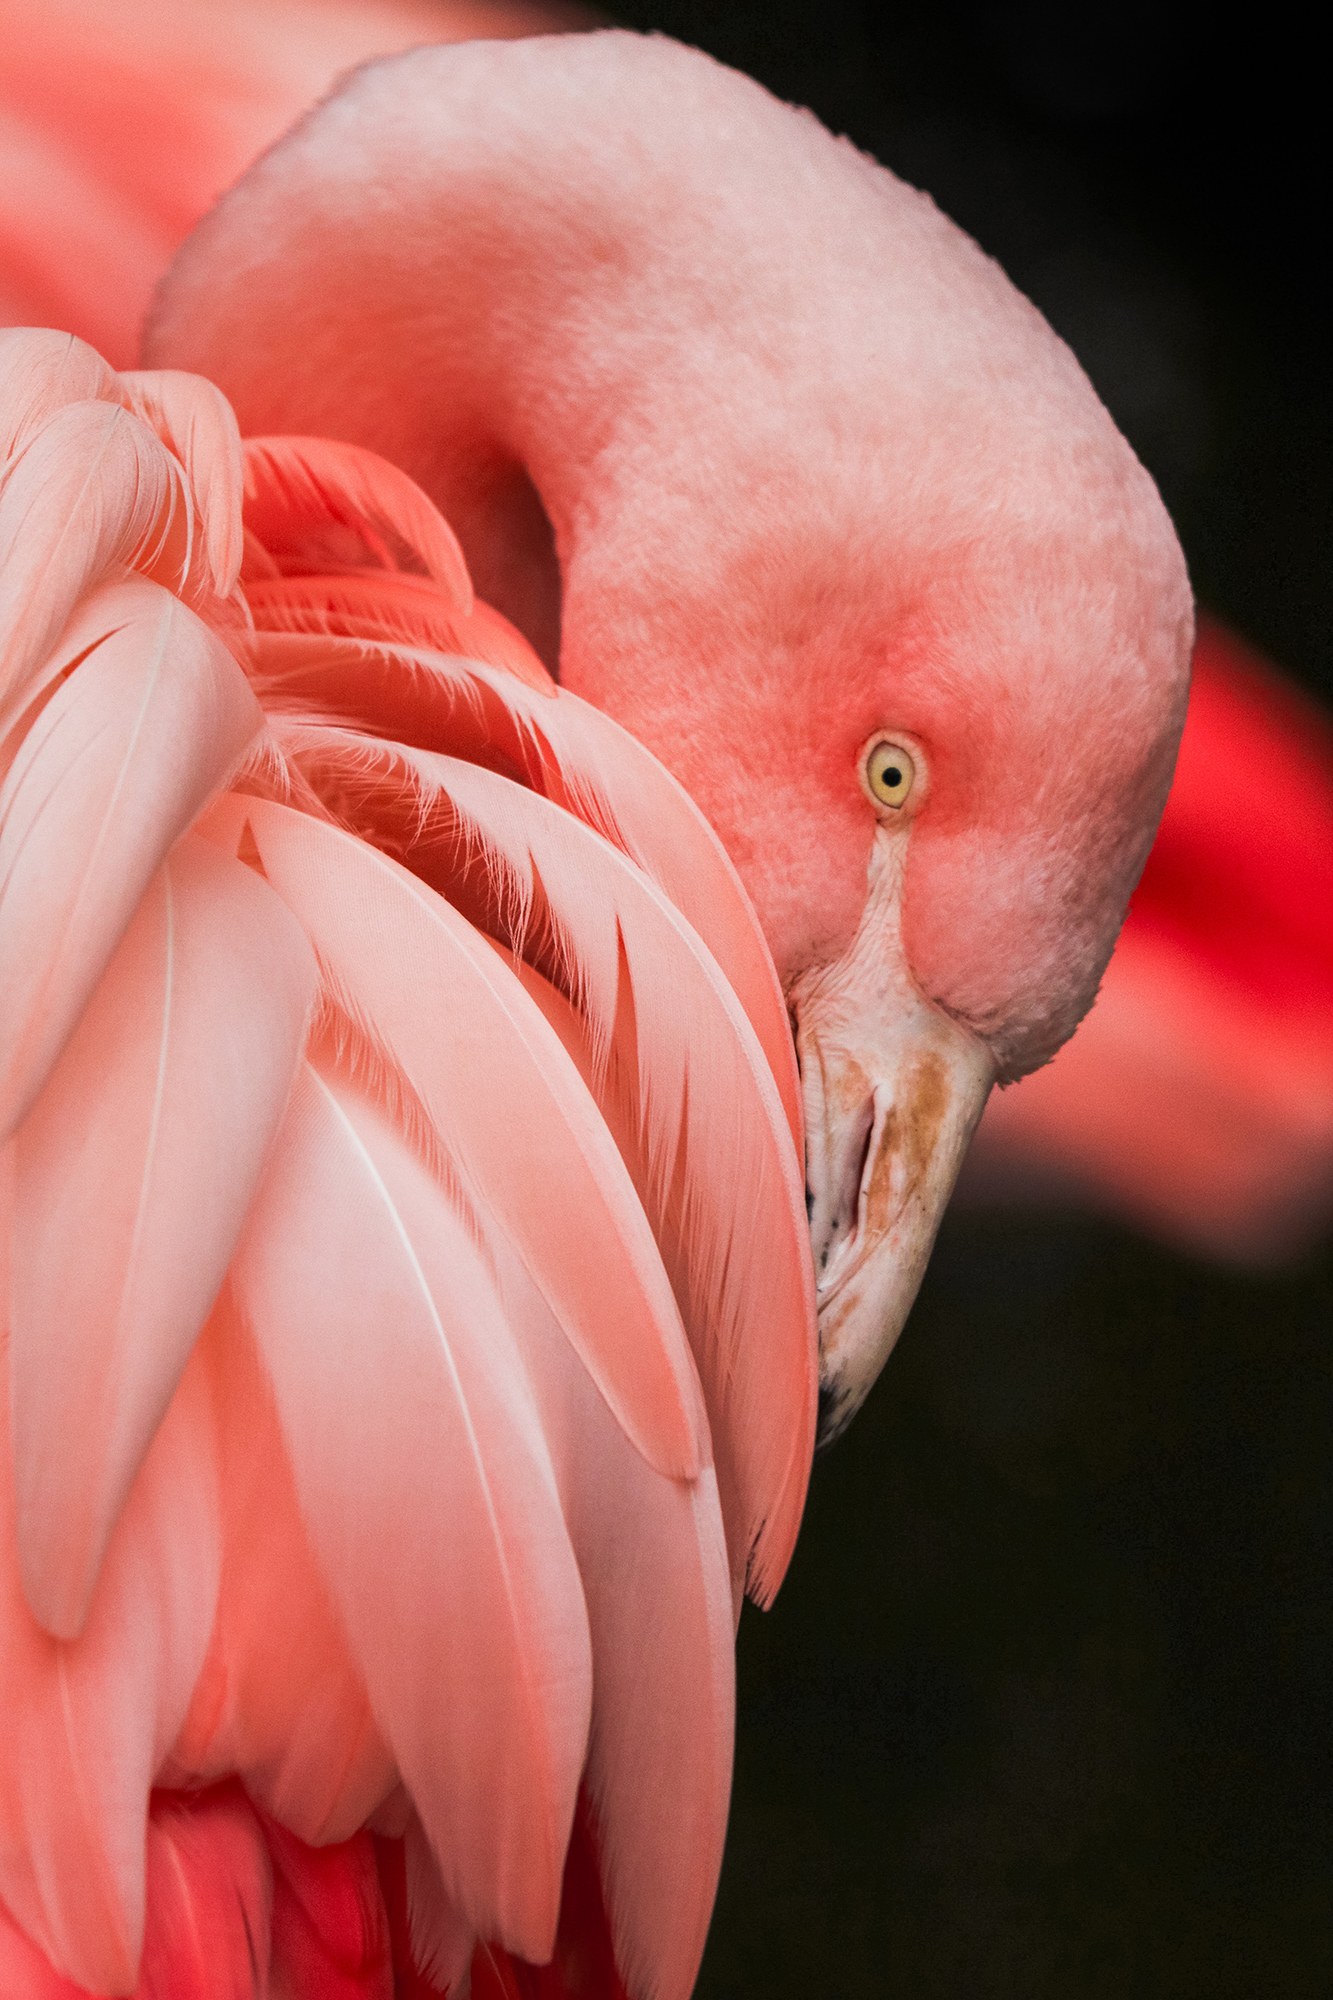 Image 004 – Photograph by Gwen Weustink
Photographing birds
There are lots of techniques for photographing birds, but here are some tips to get you started.
- Don’t expect to get great bird photographs in 10 minutes! You need to have patience when you’re photographing any wild animal. But the more time you spend around the same birds, the more they’ll get used to you.
- Shoot early in the morning if you can, or late in the afternoon as a second choice. Birds will be looking for food in the morning and returning to their night time resting places in the late afternoon.
- Always focus on a bird’s eye. As with human portraits, a soft eye will ruin a shot.
- Take lots of photos and use your burst mode. You want to start shooting before a bird starts to move and use continuous focusing to keep images sharp. You’ll end up deleting a fair few, but the burst rate allows you to keep up with your subject.
- Don’t forget to keep an eye on your background. If a bird is flying through the sky, depth of field isn’t so important. But if it’s against a busy background, you’ll need a smaller depth of field to blur out any distracting details.
- Make sure your shutter speed is fast enough to freeze the bird – particularly if it’s in flight. Be aware that there are some birds (hummingbirds being a prime example!) that beat their wings so quickly that you’re likely to have some motion blur on the wings at any shutter speed.
- Try not to take photos of birds in flight on very cloudy days. A dull grey or white background will make your birds look a little staid and lifeless.
- Watch where the sun is and keep it behind you or to one side.
In conclusion
Bird photography is a challenging genre and one that rewards patience and practice. But, if you’re prepared to put the hours in, you can come up with some beautiful images.
Additional Resources
If you found this article interesting and want to learn more tips and tricks for your Bird Photography, check out these Bird Photography Snap Cards from Photzy. Every card covers a mini-lesson, a breakdown of equipment and gear you’ll need, tips and settings, shooting steps and recommendations. Learn your bird photography, in the field and on-the-go with these cards now.
About the Author: Jo Plumridge
Jo Plumridge is a UK based photographer, writer and lecturer. She specializes in portrait, corporate and travel photography, and writes photography, travel and comedy pieces for magazines, websites and books. You can see some of her work at her website, or follow her on Twitter.