How to Photograph Food & Drinks Like a Pro
The right photos can make your portfolio stand out from the millions of others online. You don’t have to have a degree in photography to take a beautiful photo.
A few simple tweaks should do the trick. Use these tips to start taking better food & drinks photographs.
Choose Your Subject Wisely
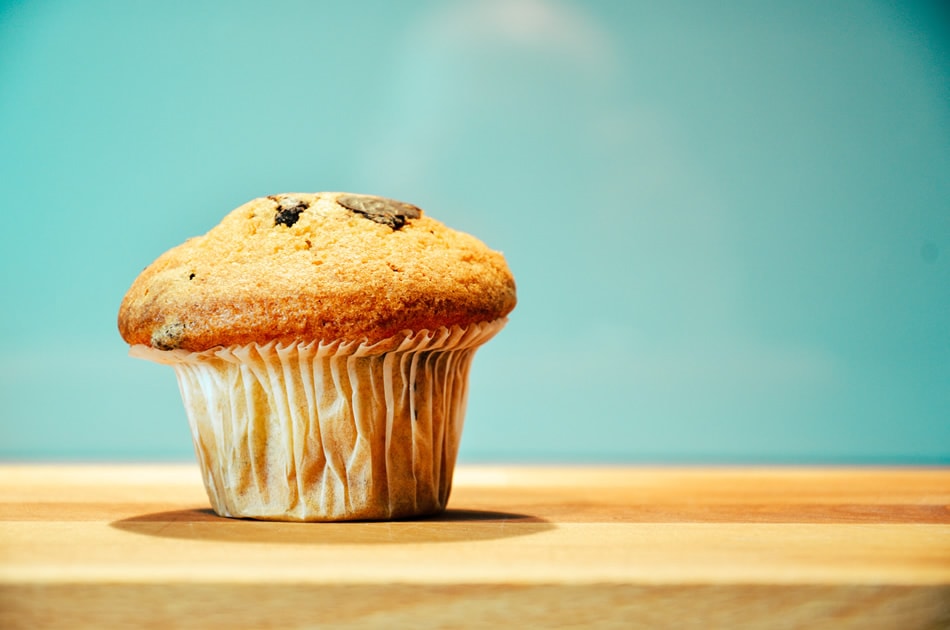
Have you ever wondered why your food photos don’t have that “wow” factor? You might be shooting the wrong things. Choose foods that have a range of colors and textures to make your shot more compelling. A plate full of brown foods simply won’t do the trick and certainly lacks that “wow” factor you’re after.
For drinks, choose colorful cocktails or a beer that pours with a big head, such as the Guinness Nitro IPA. Food photography is all about the details.
Embrace Natural Lighting
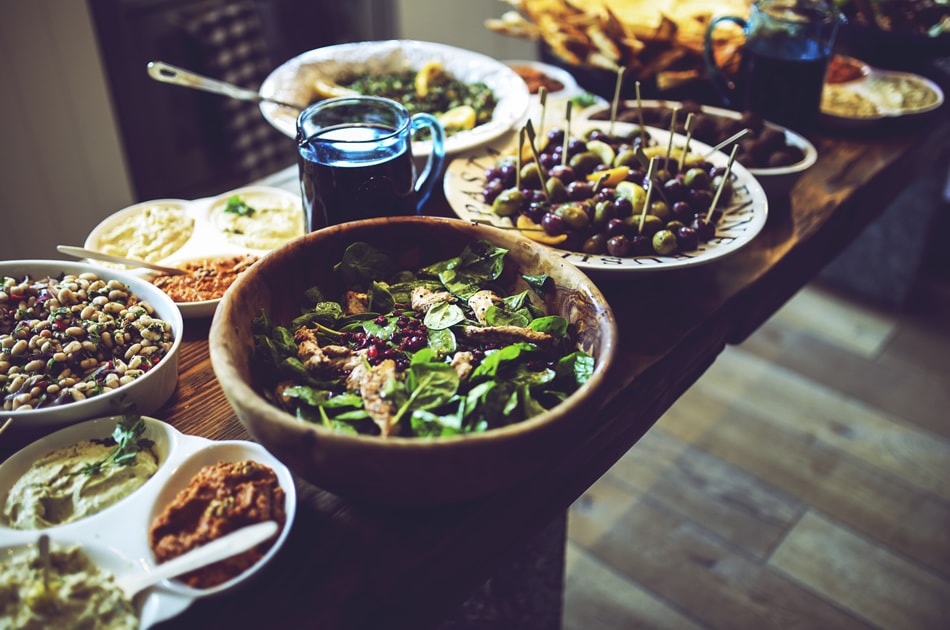
It’s extremely important to be aware of the lighting in your surroundings. If you’re out and about at a restaurant, consider shooting outside on the patio or nearby a window to embrace the natural lighting. If you’re shooting at home, play around with the light at different times of day to see what works best for your shot. You may even want to consider using a collapsible bounce reflector.
Keep Clutter out of Your Shot
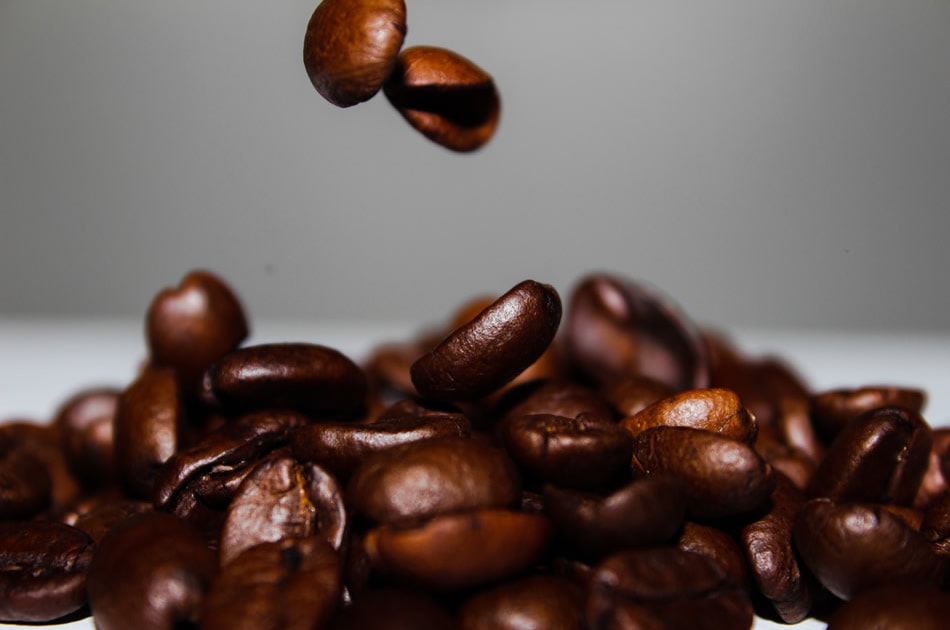
Food should be the focus, not what’s on the table or in the background of the shot. Clean up your shot and remove all nearby clutter before shooting. Simple backgrounds are best, but there’s no harm in including a vase or additional plate or cocktail in the background, as long as it looks clean and does not distract from the subject.
Get Close
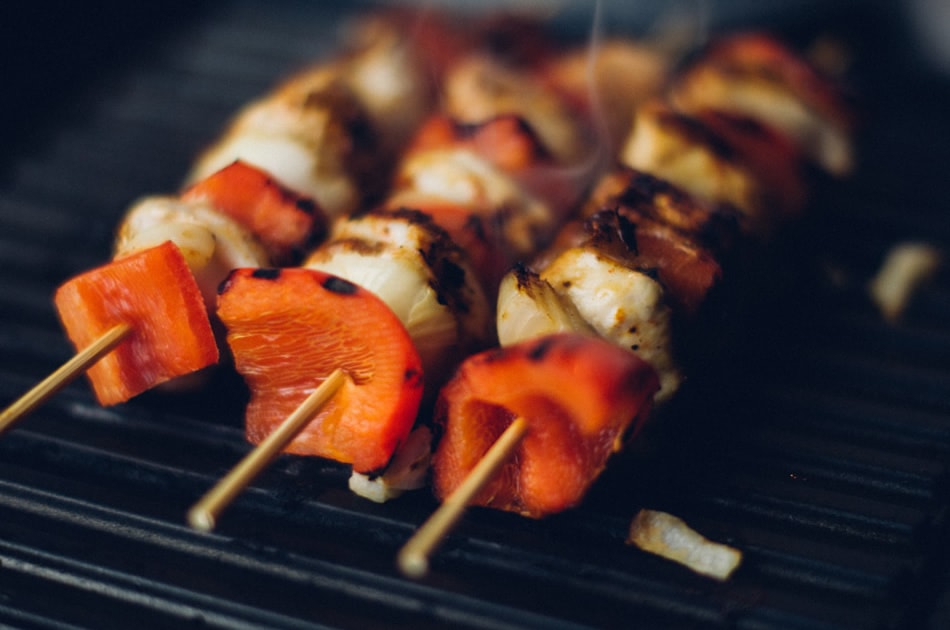
Shoot up close to capture all the colors and details. Your images should be crisp and clear, never blurry. Experiment with different angles – after all, there’s no harm in taking 20 or more photos of one dish. You can select your favorite when it’s time to edit. Most items look best when only a portion of the details are in focus.
Stabilize
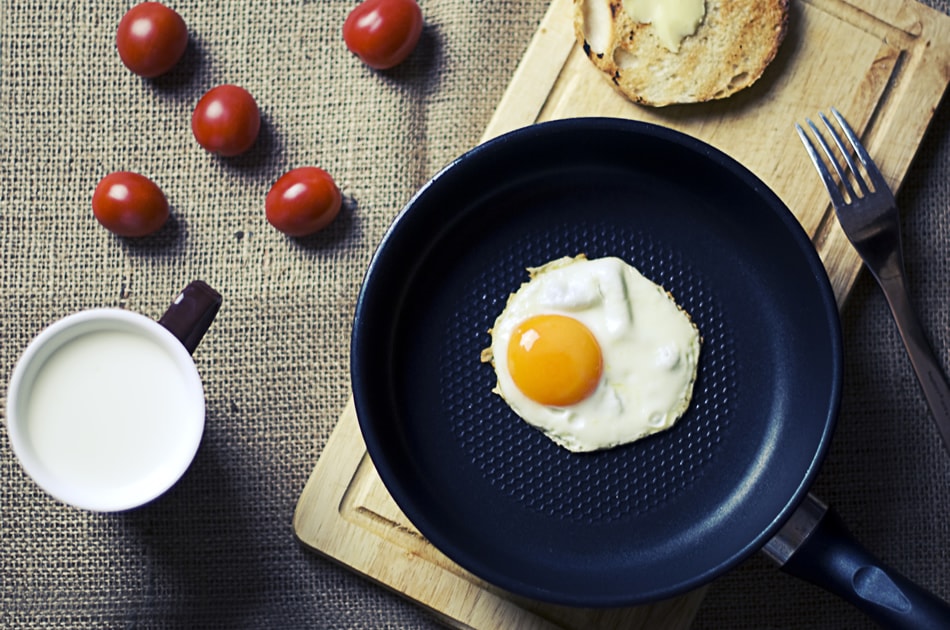
Oftentimes, shooting food requires a slow shutter speed. And it’s not easy to keep a still hand. Ensure that your photos look their best by using a tripod to stabilize your camera. A tripod will also come in handy when you need to make quick adjustments to the food, like rearranging the plate or placing an item in the perfect place.
Skip Over-Editing
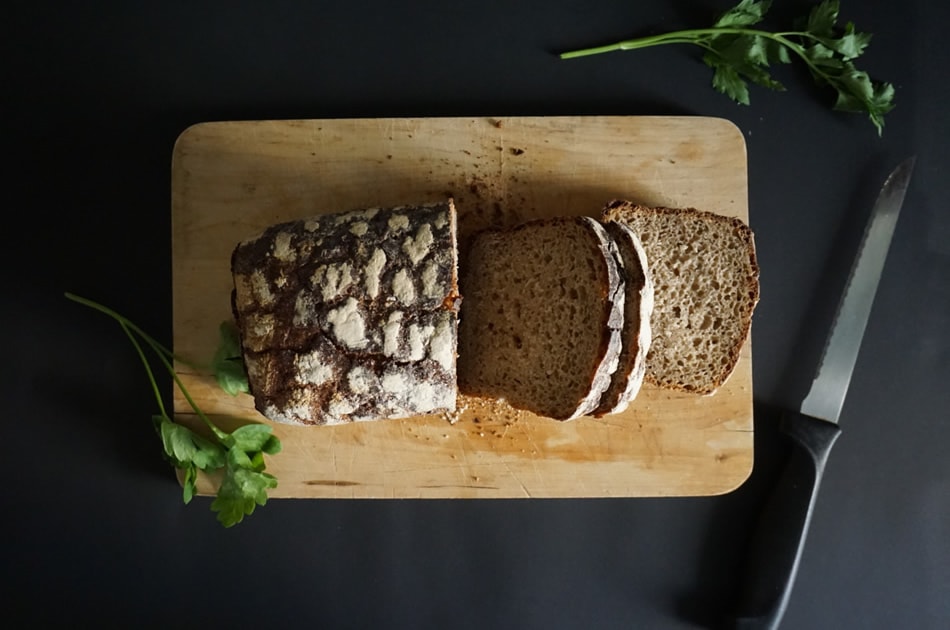
Professional photographers suggest shooting in RAW. You can get a great shot by shooting without a popup flash or built-in flash, as these create harsh lighting that can distort the coloring of your photo.
After you’ve got your shots and are editing your work, be careful not to over-edit. If you’ve shot your photos in RAW format, it’s likely that you’ll have some editing to do to perfect your photos as the raw format is an unprocessed file, as opposed to jpg.
Share Your Work
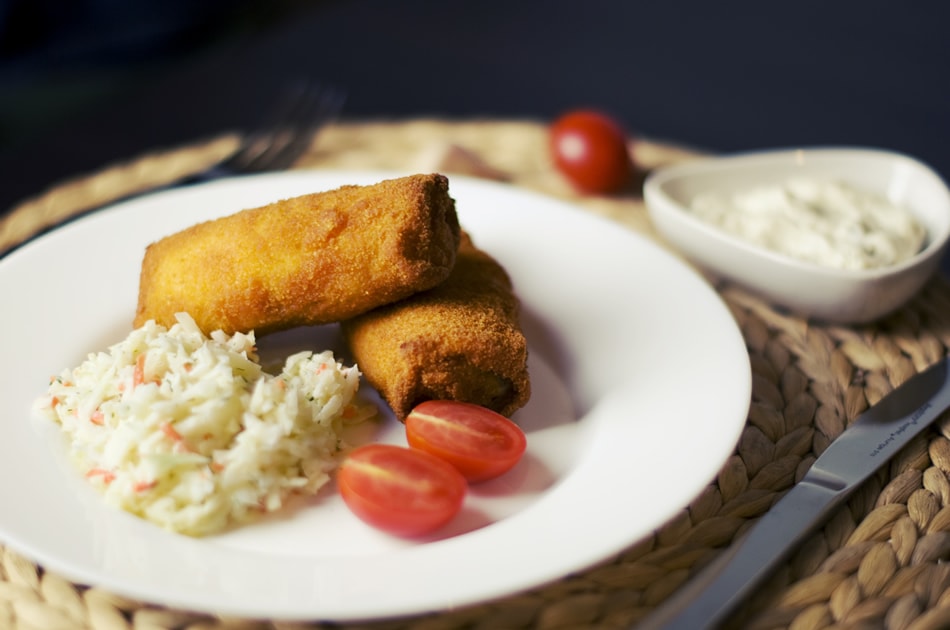
After you’ve shot and edited your food photos, share them online. Flickr is a great place to store and share your photos online. So is 500px and a few others. Doing this can get your name and your photos exposure on the Web.
