How to Run a Fun Family Portrait Session
Family photography will always be popular, as people love to capture photos of their children as they grow up. But photographing children can come with its challenges – kids aren’t always as patient as adults!
In this article, I’ll run you through how to get the best out of family portraits and help you make sure that the shoot is fun for everyone.
Here’s what we’ll cover:
- What is family photography?
- Equipment
- Camera settings
- Location, clothing and props
- Shooting tips
What is family photography?
Family photography is a catch-all term to refer to photographing all or some members of a family. So this could be just the children, or it could be multiple generations of an extended family, or anywhere in between. Families come in many different shapes and sizes, but a family photography shoot should be relaxed, fun and hopefully fairly informal. Most people choose to have family photos taken to mark different milestones, or just to create a record of a particular family event. Your job as the photographer is to capture that unique bond between your subjects, whilst still keeping the shoot fun and light hearted.
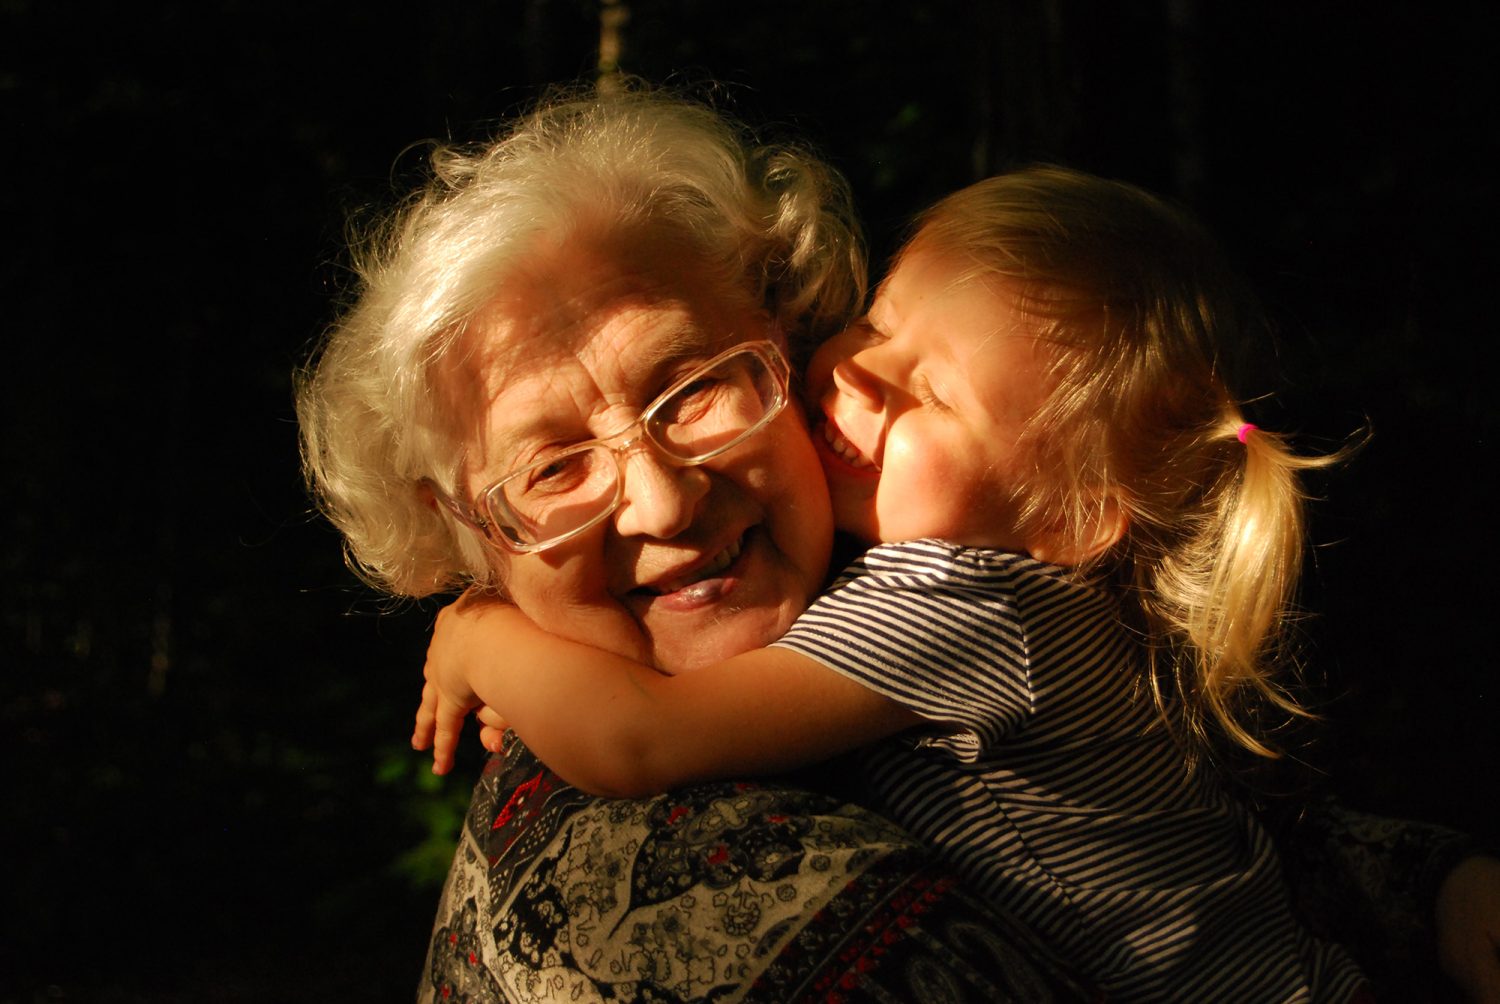
 Photograph by Ekaterina Shakharova
Family photography is a great way to capture the bond between different generations of a family.
Equipment
You can use any camera to photograph families, but you ideally want one with interchangeable lenses and the ability to shoot in manual mode, as well as decent frames per second (FPS) to capture moving children.
Key Lesson: As with all photography, it’s the quality of your lens that makes the most difference. A fast lens with a large maximum aperture gives you the most creative possibilities and makes it easy to create background blur to isolate your subjects from the surroundings. I highly recommend a 50mm lens (on a full frame camera) if you’re shooting a family group and an 85mm (again on full frame) for individual or close up portraits. Of course, a zoom lens can also be useful as you can change the focal length quickly as children move around. However, unless you have the budget to buy a zoom lens with a fixed aperture, you’re likely to be working with variable apertures and lower quality glass. You may also need a wider lens for large family groups but be careful to watch out for distortion.
It’s also useful to have a flashgun. If you’re shooting outside, you can use this for fill-in flash to get rid of any shadows and if you’re shooting inside, you can use it to overcome any unattractive colour casts from artificial lighting. Of course, there’s also the option to use a studio and full studio lighting. Finally, I’d recommend keeping a tripod on hand for larger group shots. This makes it easier to get consistent images and keep everything straight and nicely composed.
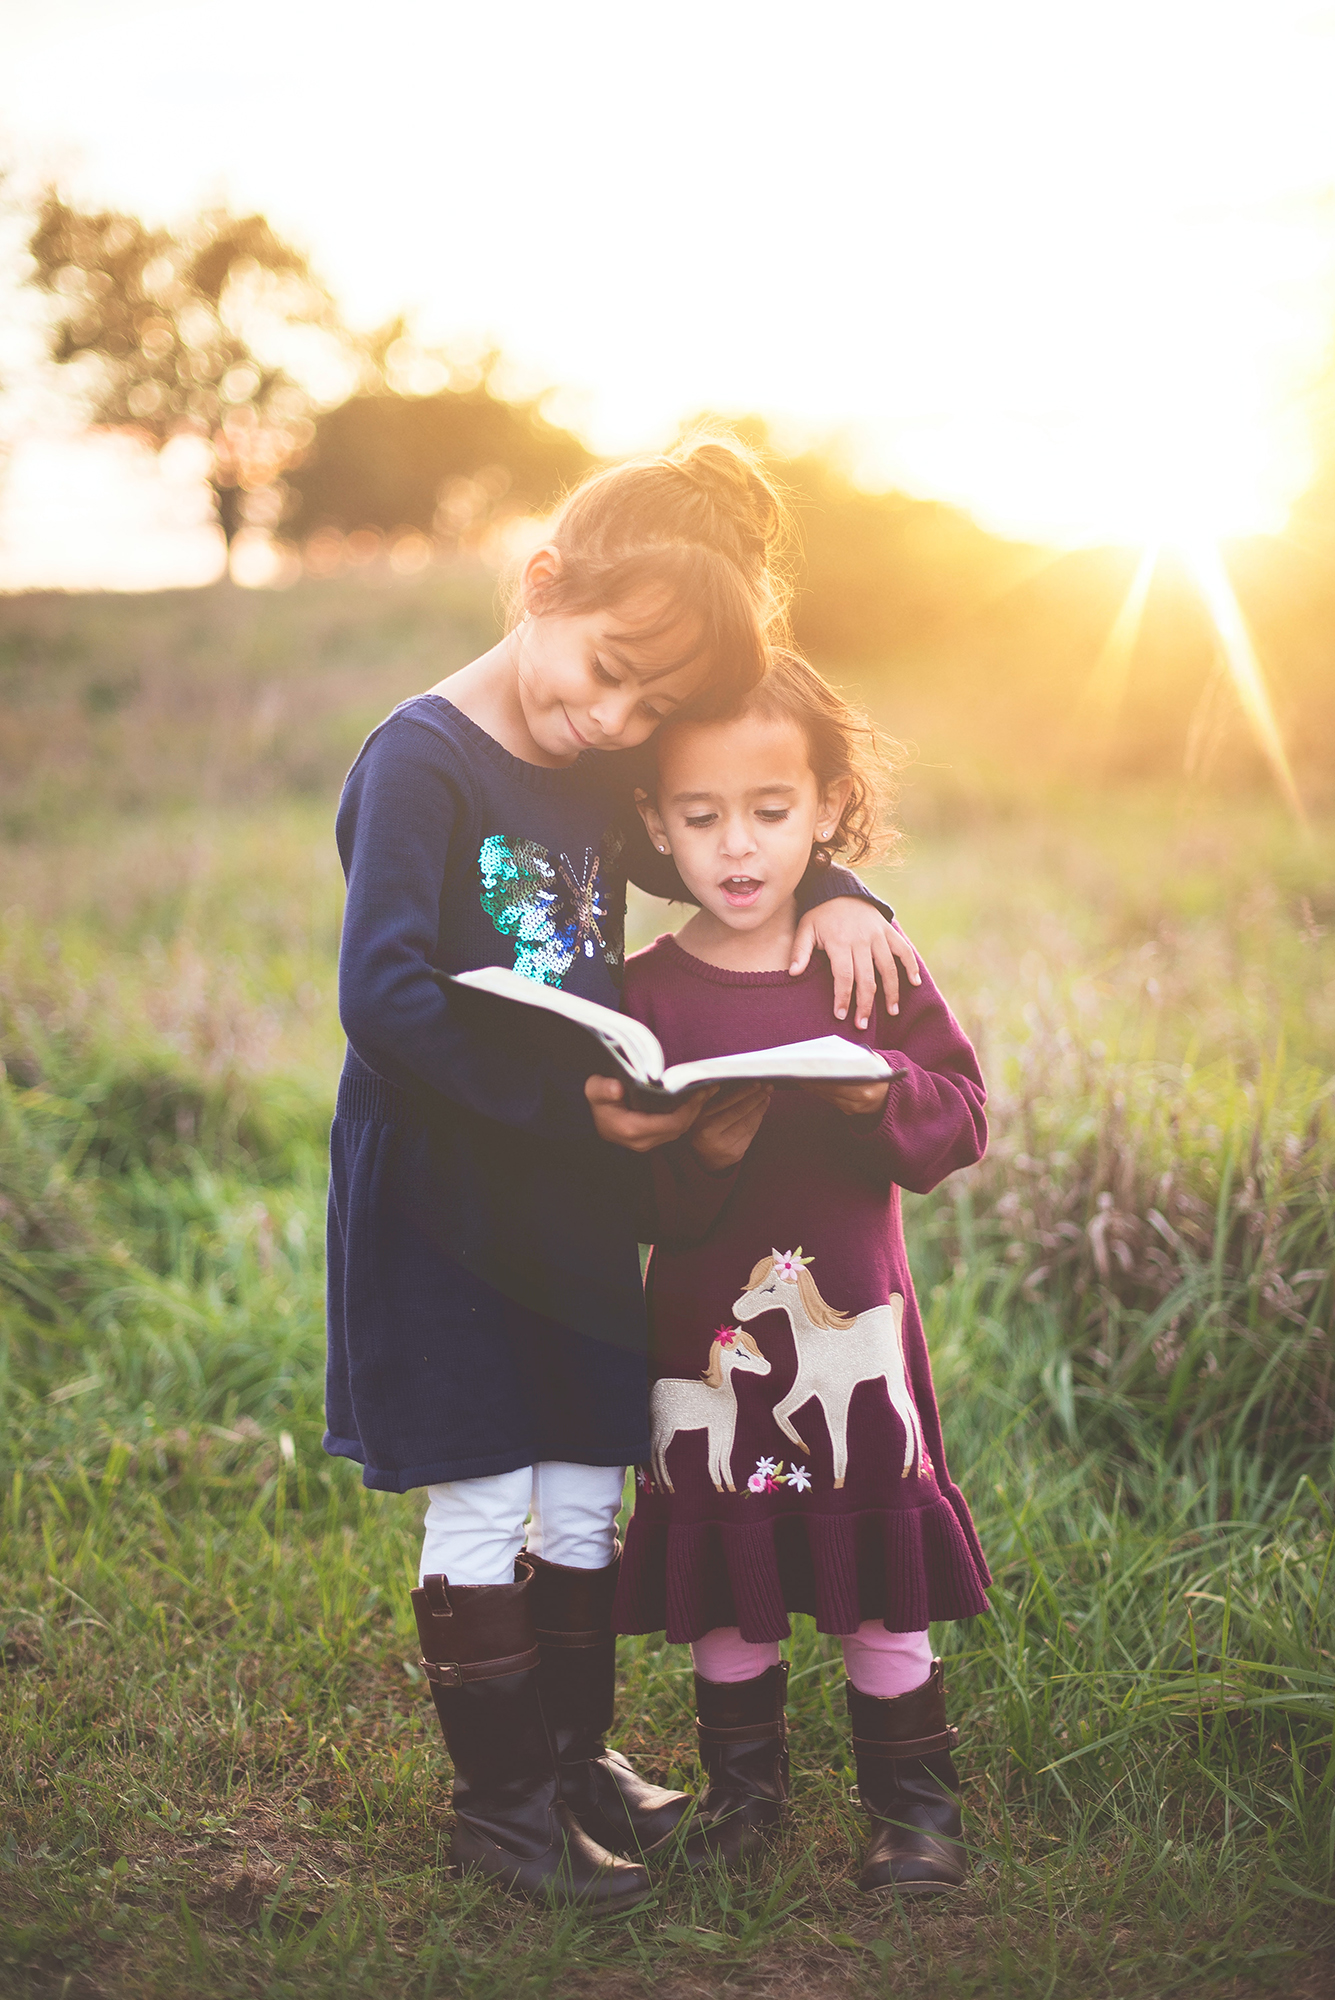
 Photograph by Ben White
The best photos of kids often come when they’re engrossed in something else and not concentrating on the camera.
Camera settings
Family portraiture can involve quite different setups. Some shoots will be fast moving, whilst others will be more static. There are, however, some settings that you can dial in or be ready to adjust as needed.
- Mode – Shoot in manual mode, which will allow you full control over the camera and the exposure triangle of ISO, shutter speed and aperture. If you’re not confident using full manual, start by using Aperture Priority mode. This allows you to control aperture (and therefore depth of field) while the camera sorts out everything else.
- Aperture – A large aperture such as f2 results in more light coming through the lens and gives you a small depth of field. Conversely, a small aperture such as f16 allows less light through the lens but gives a large depth of field. You can use a smaller depth of field to blur out the background, which can be useful if you’re shooting in a location with distracting background details. A larger depth of field will allow you to capture large groups and keep them all sharp and in focus.
- Shutter Speed – Although 1/60th of a second is fast enough to shoot handheld, I’d recommend that you use a slightly faster speed for children, as they don’t tend to stay still for long! I would shoot at 1/125th or faster to ensure you freeze any action.
- ISO – As always, you want to use as low an ISO as possible. ISO 100 is the optimum, as it will prevent your images from having any noise. Of course, you can push it higher – particularly with modern DSLRs or add in a little flash to illuminate your image.
- Focusing – Set your AF mode to continuous focusing or auto focusing, which will allow your camera to keep refocusing if your subjects are moving. You also need to choose single AF point, so that you know where your camera is focusing.
- RAW – It’s best to shoot in RAW, as this gives you the most options and the best quality for editing in post production.
- White Balance – Shoot in Auto white balance if you’re going to be in changeable light conditions. If you shoot RAW you can always tweak the colour temperature in post production.
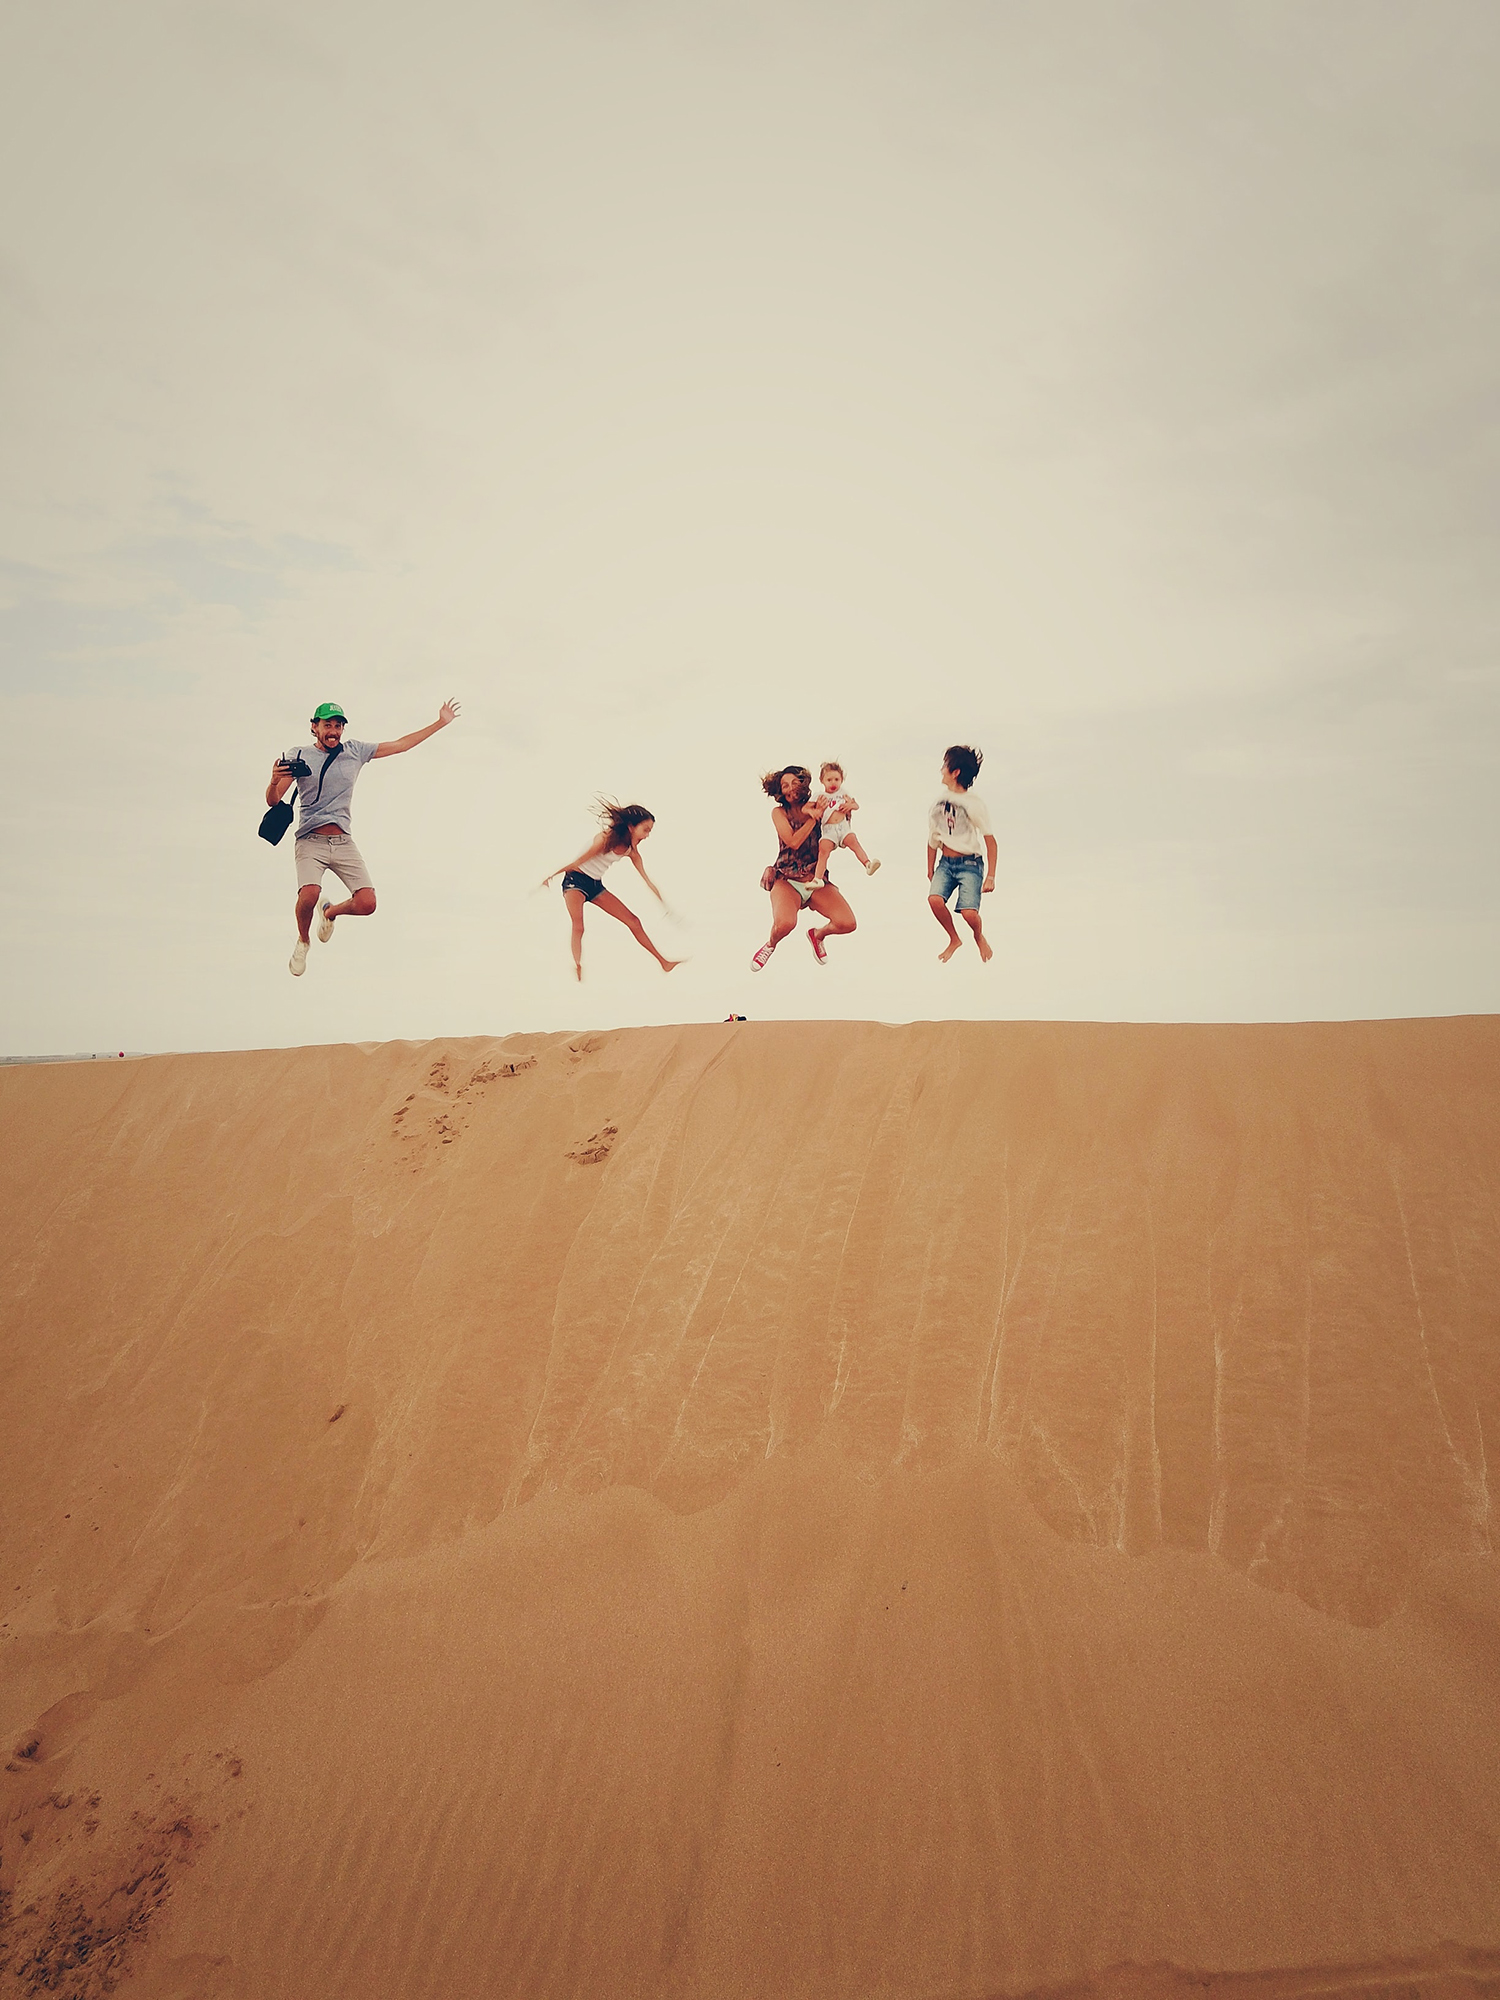
 Photograph by Juan Cruz Mountford
Encourage your subjects to have fun and be a bit silly!
Location, clothing and props
As a professional photographer I’ll often shoot family groups in the studio. This gives you complete control over your setup and lighting. But shooting on location can provide some beautiful and unique settings and images. Do talk to the family you’re photographing and find out if they have any favourite places to go – people will be more relaxed in a location they love. It’s also a good idea to have some locations in mind yourself to suggest. Remember that different locations work well at different times of the year – for example, in the UK we have beautiful bluebells in late April which provide gorgeous colours and backdrops to images.
I can guarantee that you’ll be asked by the family you’re shooting what to wear. I recommend clothes that people are comfortable in and that don’t have a pattern, which could be distracting. You could also suggest that the family wear similar tones and colours to produce a coordinated look. And, if you’re photographing younger children, I’d recommend asking the parents to bring along a favourite toy and a few snacks. Popular bribery tactics that you can pack in your bag to help are items such as bubble makers, balloons and a few sweets!

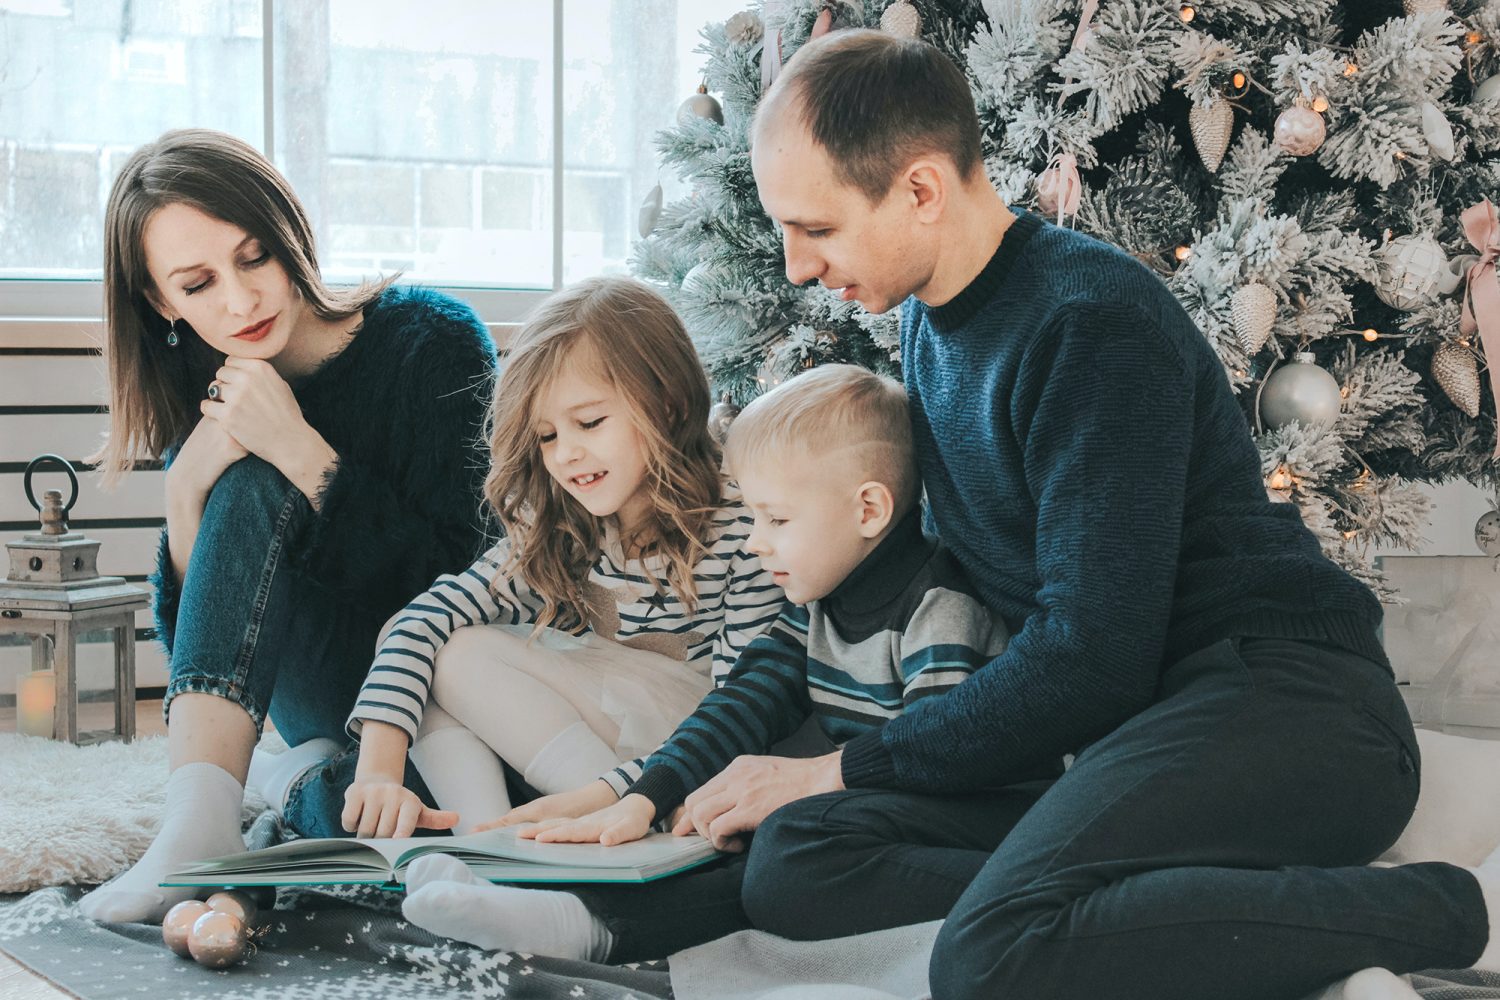
Photograph by Ann Danilina
More posed shots allow you to set up an image as you wish, meaning you can capture a specific look and ‘feel’.
Shooting tips
- Do your prep – Working with small children (and potentially animals if there are family pets) requires some preparation to get the best results. Talk to the family first and find out about their routines. If you’re working with babies or young children, you have to work around their schedule. Kids need frequent breaks, regular meals and possibly even a nap – depending on how long you’re shooting for.
- Timing – If you’ve got a particular location in mind, you also need to plan to be there at the right time of day. You want to avoid shooting in the middle of the day when there are harsh shadows. Try to photograph early in the mornings or late in the afternoon for softer light or choose an overcast day where the clouds will help to soften the light. Make sure you also have an alternative indoor location in the case of bad weather.
- On the level – If you’re shooting just the children in a family, you’ll certainly help them relax more if you get down to their level. I also think you’ll get more natural shots and better angles if you’re shooting on eye level. So, sit or kneel on the floor (or even lie full length) so that you’re on eye level with the children.
- The eyes have it – As with all portrait shoots, you need your subjects’ eyes to be pin sharp. Nothing ruins a portrait faster than soft eyes. And, if you’re using a smaller depth of field, it’s even more important to focus on the eyes. Many modern cameras have face or eye detection AF settings, so make sure you switch that on.
- Shoot posed and candid – You can get some wonderful shots by posing families and photographing them in an organised setup. This can be particularly helpful if you’re shooting large groups of people. But candid shots work really well with families. Ask the group to just get on with their day and take some more natural shots of them interacting. This gives a nice balance of images.
- Think about your background – When we’re photographing families, we usually quite rightly focus on the subjects. But, if you’re shooting on location or in a home, make sure you keep an eye on the background of your shot. You can blur a lot of unsightly background objects out by using a smaller depth of field, but this might not work if you’re photographing a larger group. Look at what’s behind your subjects and look for a background with only one or two colours in it. You don’t want it to distract from your shot.
- And finally…make it fun – You need to make a family shoot fun, particularly if there are small children involved. Make it too formal or dull and kids will quickly get bored. Talk to the smallest members of the group and don’t be afraid to play and joke with them to form a bond. Encourage the parents to be playful too – you’ll get far better images if everyone is relaxed.
In conclusion
Family portraits are such a popular genre and with good reason. Everyone wants to have lovely images of their family. This guide should help to get you started and give you some ideas on how to shoot.
Self-help quiz
- Which prime lenses are best for family portraiture?
- Is f2 a small or large aperture?
- What does using a small depth of field do to the background of your shot?
- What time of day should you generally avoid shooting in?
- Which part of the face should always be sharp?
