Six Pro Tips For Getting The Most Out Of That New Camera
While mastering photography can take decades, you can learn to take consistent and compelling photos in just a few weeks. There are a relatively small number of basic guidelines that those new to photography don’t typically practice. The great thing about most of these tips is that the type of camera you have is not terribly significant with the exception of cell phone cameras.
I’m not knocking cell phone cameras. Phones are taking great images these days, I use my own cell phone camera regularly. The downside to phone cameras is they can lack manual adjustments and don’t make unprocessed images available. The advantage to a DSLR style camera is the manufacturer makes a wide variety of camera settings available the user as well as the unprocessed images, called RAW files.

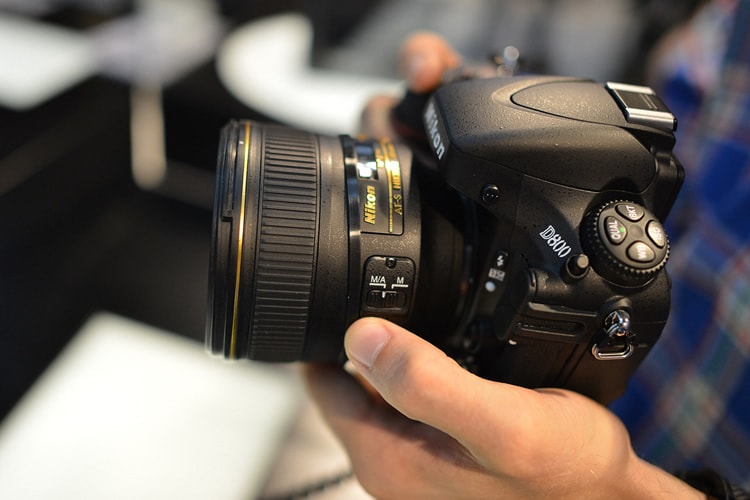
Nikon D800 photo by Ben Fredericson
Here are six no-fail tips for getting great pictures right out of the box with that new camera.
Read The Manual
I know, boring, right? It’s like the people who write camera manuals do their best to make it as dry as possible. All the same there is a world of great information in there and, before you even turn your camera on for the first time, take an hour and read the manual.
You’ll have a better chance of actually doing doing the reading if you don’t turn the camera on. Seriously, it works. Once you turn your camera on, you’ll be distracted and out taking pictures instead of learning about features.
Shoot In RAW
RAW files are the unprocessed images that come right off the camera sensor before the camera does any color correction or white balance adjustment. Okay, I get it, there isn’t any program on your laptop that let’s you see your RAW images. Finding the right software program to develop RAW images does involve somewhat of a learning curve, so in the meantime, many cameras have mode called RAW + JPEG (look in the manual).
In that storage mode the camera produces two images every time you push the shutter button. That way you can post the JPEGs on Facebook or Twitter, and save the RAW files until you have time to pick up a copy of Adobe Lightroom or Corel AfterShot Pro. Your storage card will fill up faster but those are so inexpensive these days that it’s not usually a big deal.
Move In Closer
The only subjects you shoot wide are landscapes and skateboarders, for shooting people you need to get close. Keep moving in until you start to get uncomfortable, then take another step. You can even get in so close you can’t fit all your subject’s face in the frame. That’s okay; take a couple shots and then take a step back. It’s not like you’re going to run out of film.
Work The Angles
Look around for different angles and elevations for shots. I carry a rubber mat so I can lay on the ground and shoot. Use stairs, balconies, benches or whatever features you can safely climb that will give you a unique angle for a shot.
The single biggest rookie mistake out there is shooting every shot from eye-level in a standing position. Bor-ing. Come on, shake it up a little. Don’t put your life in danger but use your surroundings to your advantage.
Rule of Thirds
You’ll hear this one a lot and that’s because it’s a tip that will make a near instantaneous improvement in the quality of your photos. Position your subject at a point in the frame about a third of the way in from two adjacent sides.
When dividing a shot with the horizon, the line should be a third of the way down from the top or a third of the way up from the bottom. The horizon line shouldn’t be across the middle. If the shots are of people, combine the Rule of Thirds with the odd angles I mentioned above and you’ll be hosting your own gallery exposition in no time.
Take a Lot of Pictures
When I go out on a shoot it’s not unusual for me to take hundreds of pictures. When National Geographic photographers go out, they take thousands… per day. There’s a reason for taking so many shots and that reason is shooting the same subject from multiple angles while making subtle adjustments to the camera helps ensure at least one of those shots will be a prize winner.
If you’re going to go to all the trouble to get somewhere with a spectacular view, don’t just grab a few shots and hike back to the car, shoot dozens of shots; try different shutter speeds, apertures, and every filter in your bag. Know those “scene modes” your camera has (check your owner’s manual)? Try all of them. Why not? You got that fancy new camera with all those adjustments, try them all out.
Spend some time with the manual and follow these tips and you’ll be taking great pictures with your new camera the very first day.
