Shooting Dramatic Skies: What You Have to Know
This is for all those photographers who enjoy being awe-struck by what they’re shooting: Nothing captures mood in photography quite like overcast skies, but it’s not as straightforward as just snapping away when you see storm clouds on the horizon.
While it can be tempting to just point and shoot when you’re under dramatic skies, as inspiration strikes you, your results won’t necessarily be appealing to look at. That’s what today’s article will be about: turning the curious photographer into a pro who can master dramatic-skies photography.
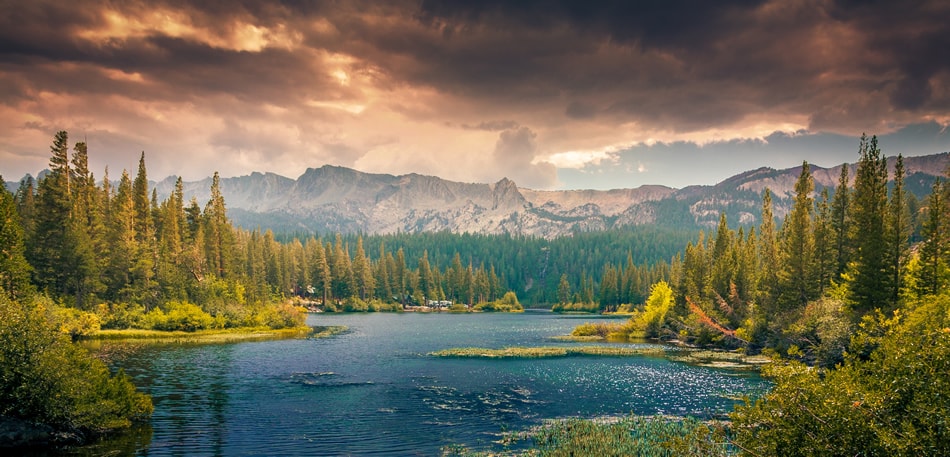
It doesn’t get much more evocative than this. Dramatic skies can be foreboding and imply gloom and doom, yet they can also be a splendid site full of warm and impressive colors!

Understanding What Effect Different Skies Produce
Not all skies are created equally, so a picture showing clear, blue skies will have a different effect on your viewers than one showing a mesmerizing sunset or a darker, rainy moment.
While blue skies will add a peaceful, enjoyable vibe to any shot, realize that they’ll also make the frame look somewhat boring and empty since a blue sky with nothing in it is essentially negative space in your image. This can make your image look imbalanced if all the detail is in the foreground with nothing in the background.
Of course, if the sun’s shining, you need to avoid shooting directly at it because that’ll cause much of your sky to look like a very over-exposed portion of light. Definitely not the kind of dramatic-skies shot you were going for!
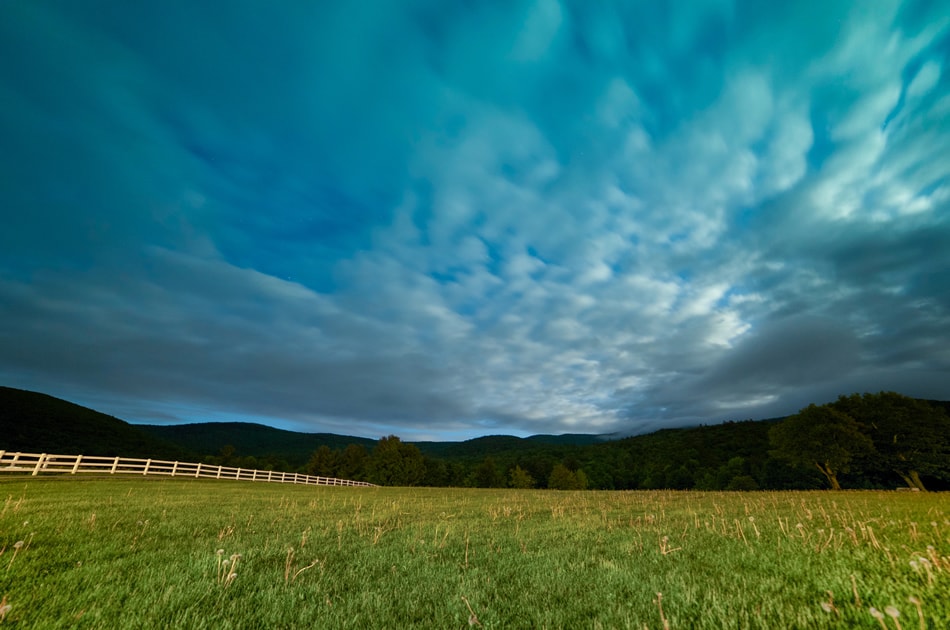
Now, stormy and cloudy skies are ideal for landscapes, so hold the camera horizontally for the best results during dramatic-sky photography. More overcast skies are the best ingredients for dramatic shots because they lend a more serious and somber tone to any sky shot. At the same time, though, these types of clouds have a more functional purpose: they help to balance out both the detail and the light in the frame.

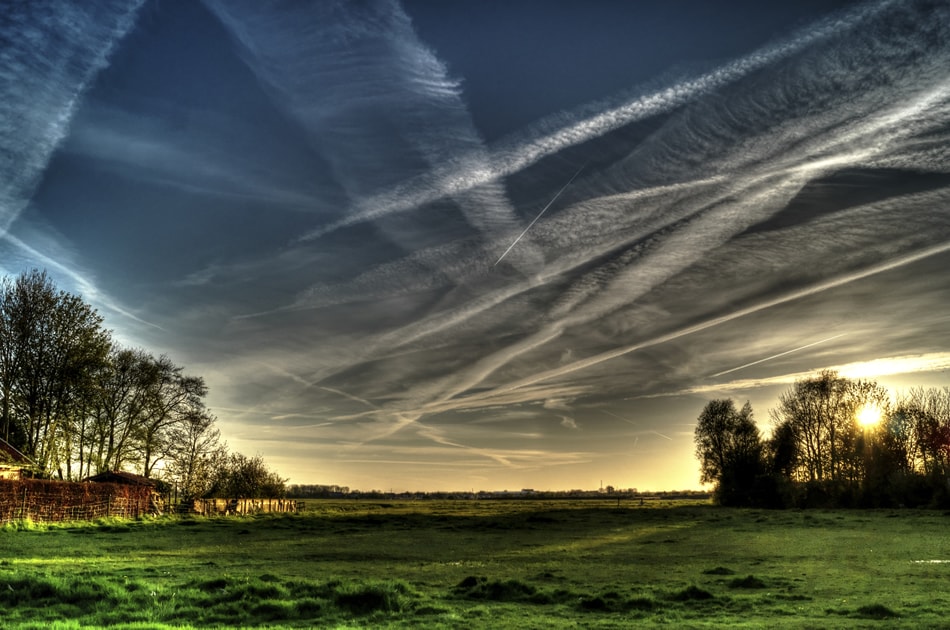
There’s also the topic of specific cloud formations that can turn any shot into a very interesting and unique viewing spectacle. Their beauty is that they incorporate focal points and conversation starters into what would otherwise be just a vast, blank expanse of sky. Remember that these interesting cloud formations aren’t only found in the bleakest of gray skies. They can also be found on sunny, warm days when wisp-like and fluffy clouds dominate the spring and summer skies.
The Exposure
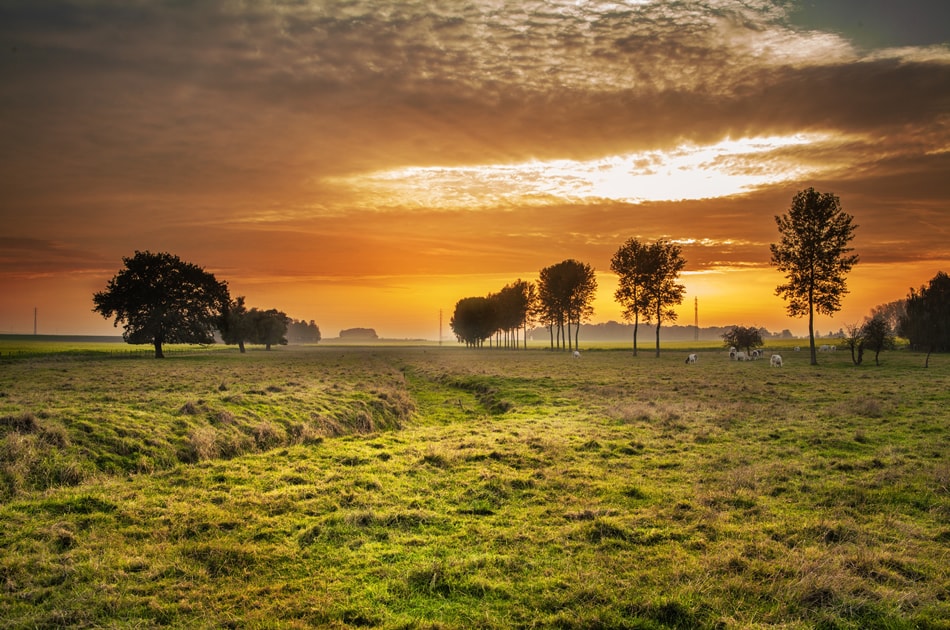
The exposure assists in making the natural light in your shots pop with greater emphasis. This is highly relevant when you’re taking pictures of the sunset, for example, with all its wispy clouds and attractive hues. Bring out the colored lights’ natural saturation by underexposing between a full and a half stop. As a result, the rest of the image (with fewer colors) will get darker—and presto: you’ve made the gorgeous sunset sky pop!
Another option for you is exposure bracketing, which is taking different shots at different exposures. This ensures that you’ll always get the best image when you look at your series of shots on your computer during the editing process.

You can rely on your exposure compensation setting and shoot one picture with your camera’s default settings. Then, you take another shot that’s overexposed by half a stop and yet another one that’s underexposed by half a stop. Check to see if your camera has an automatic bracketing option you can use to alter these settings.
Finally, you can always do a high-dynamic range (HDR) picture that’s a combination of multiple exposures. HDR also lets you play around in the editing process, so you can combine different shots for greater effect in your dramatic-skies photography. For instance, you can make one exposure just for the sky (which features interesting cloud formations), one exposure that highlights the mid-tones, and a last one for any shadows. Once you combine these three in the editing stage, you’ll be surprised at what a dramatic sky image you’ll have.
Weather Effects
Yes, weather effects – rain, lighting, etc. – do a tremendous amount to raise the ante of the drama in your sky shots. The only question is if you want to brave that weather to get the perfect shot. If you’re willing to commit to this extra burden, then good on you! Your passion will be rewarded with amazing results.
First things first, though: If you’re going out in bad weather, make sure that all of your gear is protected. Put your camera in a snug rain sleeve, don that rain coat, and head out into the inclement weather!

Out in the field, search the horizon for low-hanging, dark clouds, as they incorporate an air of mystery in your shots. Think of how you’re going to frame the shot as you’re out in the stormy weather, too, since sinister clouds provide a stellar backdrop for everyday things like buildings, trees, power lines, houses and the skyline.
Do two additional things to make the bad weather your strength:
- Consider going to monochrome (black and white) photography for these bad-weather effects
- Snap only the clouds by themselves to build your own collection of cloud images that you can then drop into other shots when you’re compositing snapshots
Dramatic Skies: A Spectacular Opportunity
So much of photography relies on moods. Does the picture look angry, somber, joyous or serene? The way the sky looks in your frame plays a huge role in creating this evocative quality in your shots.
With the above tips and techniques, you’re now better equipped than ever to take winning snapshots of the sky. To get really dramatic skies, you’ll generally want to avoid clear, blue days, as they’re pretty much devoid of any character, for the most part. But capture some interesting sunsets/sunrises, cloud formations or bad-weather skies, and you’re definitely on a very promising track.
The next time you’re out and about, and you have your camera with you, don’t be shy about shooting the sky. You just might get something beyond memorable.
