So What Exactly is Exposure Bracketing?
If there is one thing you’ve learned after using your camera for any length of time it’s that the automatic exposure settings don’t always get it right.
Sure, the camera’s pretty good at guessing, and in many cases, will produce great results. But in situations where the lighting’s less than ideal – or if there’s a wide expanse of white snow, for instance – the camera will be tricked into overexposing or underexposing the shot. And what about situations where the lighting is different in the foreground and the distance? Your camera will usually expose for one area or the other, resulting in an image that either has a dark foreground, or blown out highlights in the sky.
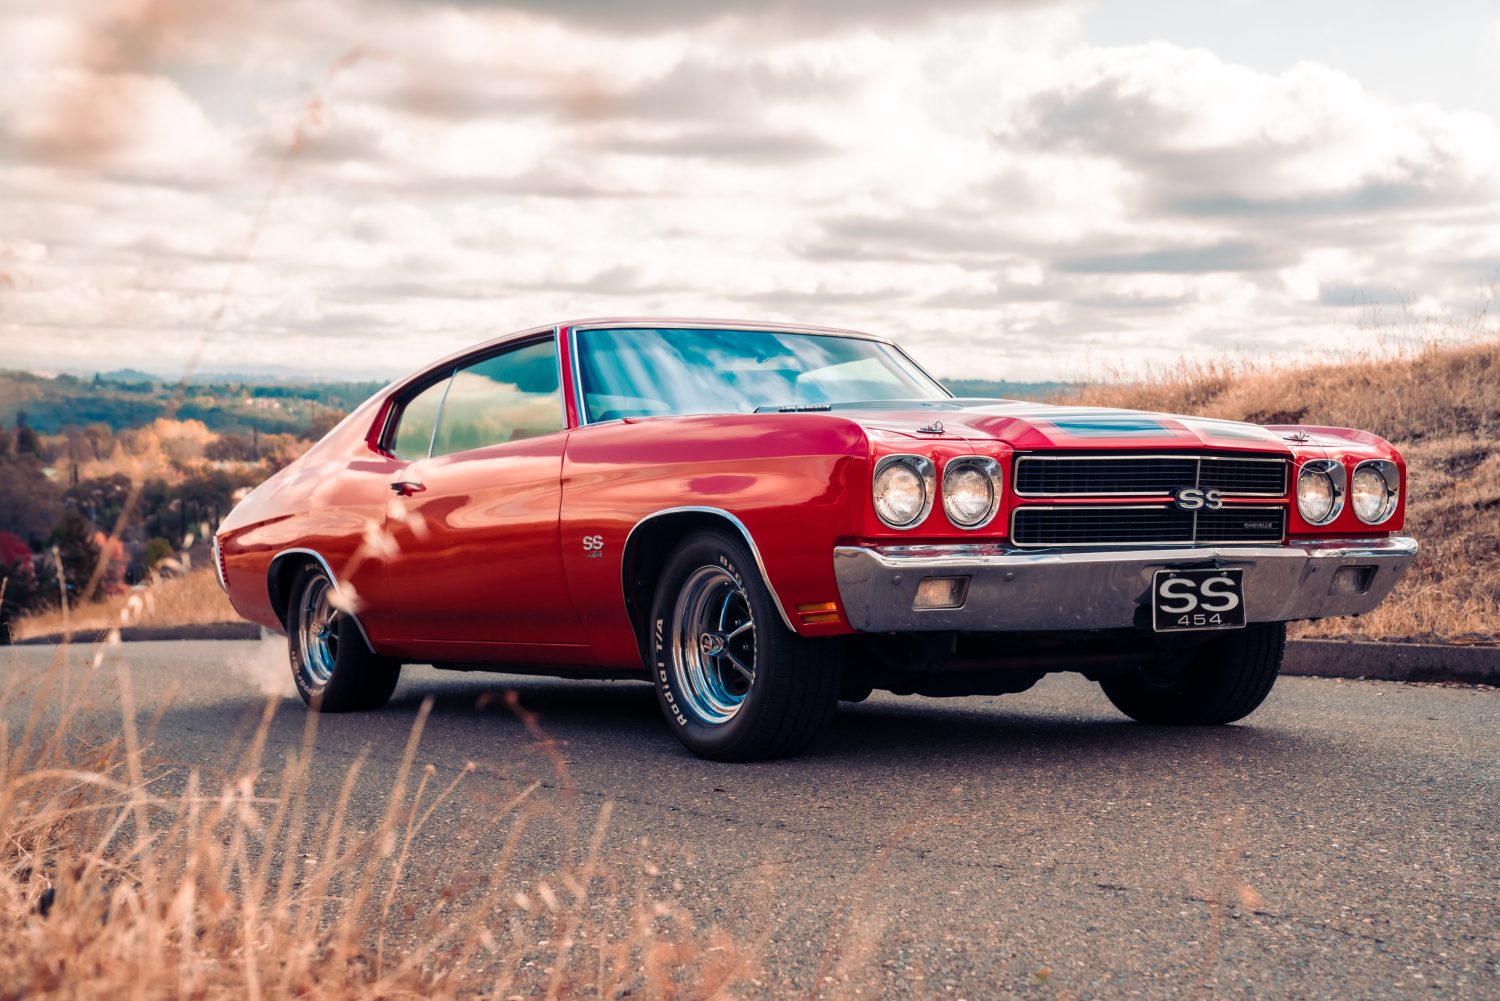
When left to its own devices, your camera won’t always be able to gauge the light perfectly, especially when there’s too much, or not enough of it!
Fortunately, there’s a simple solution that most professional photographers use for tricky lighting situations – or times where they won’t want to risk losing out on the perfect shot due to over or underexposure.
That solution is exposure bracketing – a technique that isn’t nearly as complicated as it may sound. Exposure bracketing simply refers to taking multiple shots of the same scene with different exposures: one overexposed slightly, the other underexposed. This can be done manually by snapping the same image and adjusting the settings in between each; but for most cameras today, bracketing can also be done with the help to a feature that’s known as Automatic Exposure Bracketing (AEB). With AEB, the camera can capture three different images – and three different exposures – with just one click of the shutter.
The great thing about bracketing is that you can choose the image with the best exposure from the bunch later on. Or, use a technique like HDR to create a blend of all three images.
If you’re curious about how exposure bracketing can help your photography, it’s worth spending a few minutes learning how it works. This technique can be a great tool, and knowing how to use it can make it lot easier to capture images that are exposed properly.
How Does Automatic Exposure Bracketing (AEB) Work?
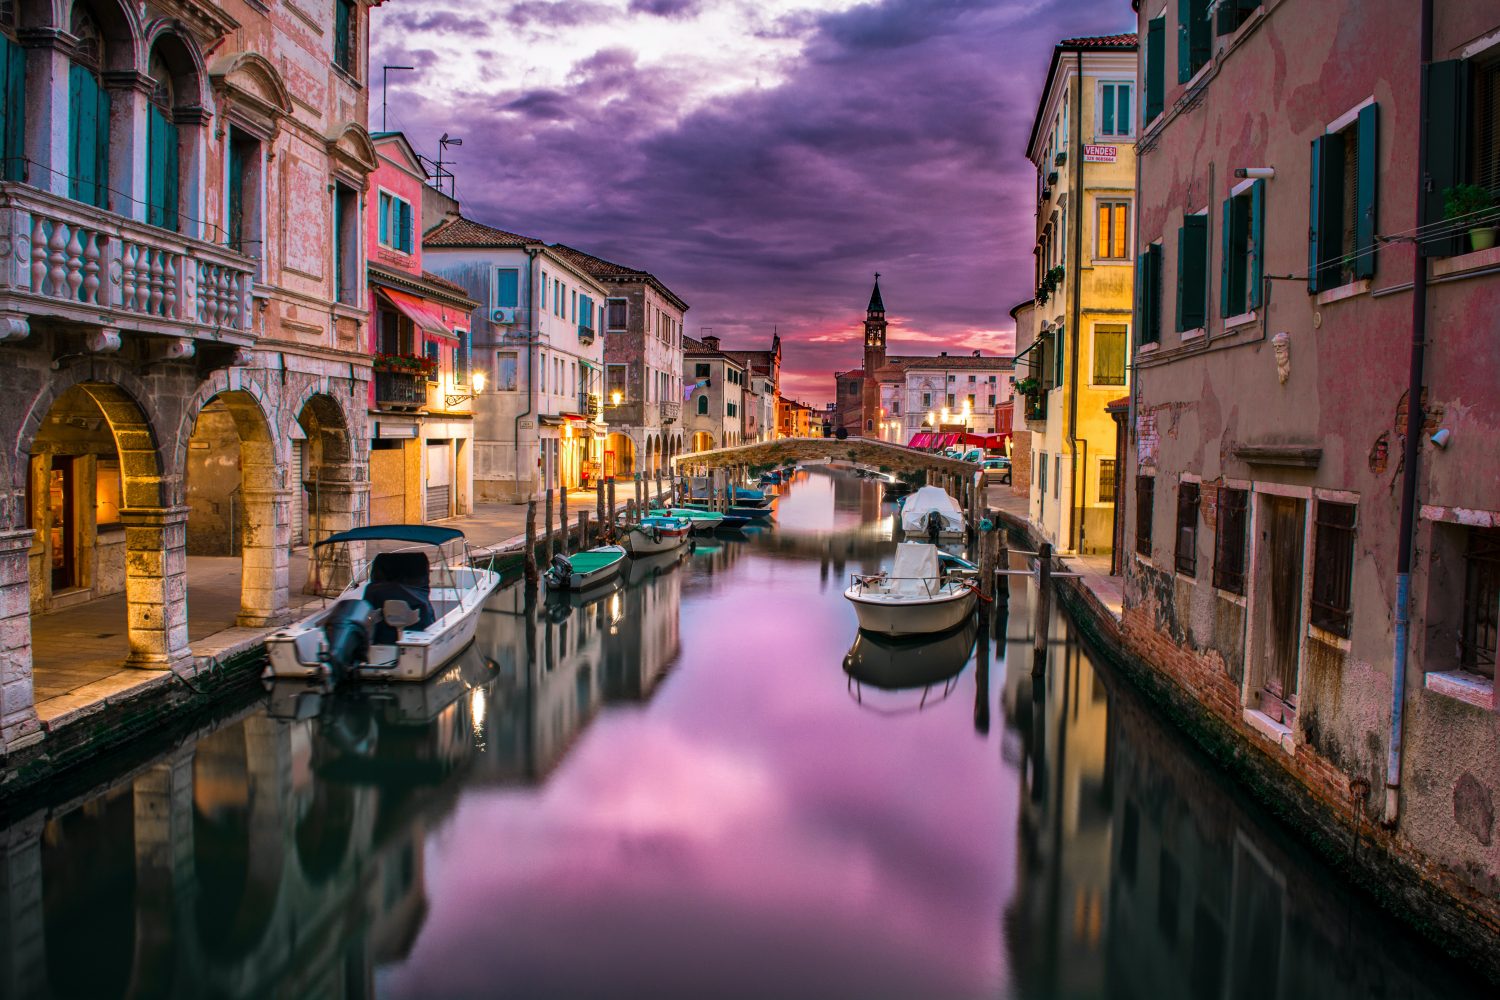
Using AEB is actually very simple! The hardest part is locating the settings on your camera for the first time. While most DSLR’s come with AEB, different cameras have different ways to select this feature.
For some Nikon models, there’s a button on the back that’s marked BTK. Canons often have an AEB setting in the menu. Be sure to check your camera’s manual, or look online to see where the AEB setting is located on your camera, and to find out how it works.
Most cameras will give you the option to control the level of exposure variation between the different images. This is done by adjusting the exposure value (EV). Usually, you’ll be able to change the exposure compensation by –2 to +2 EV, in 1/3 step increments. This means if you’re looking for subtle variation between your exposures, you’ll want to choose 1 stop, or even 1/3 or 1/2 stop variations, depending on what your camera offers. If you would like more variation between your exposures, you could try adjusting the EV by a 2-stop gap. If you’re not sure where to begin, just start with 1 stop, and work from there, adjusting as needed.
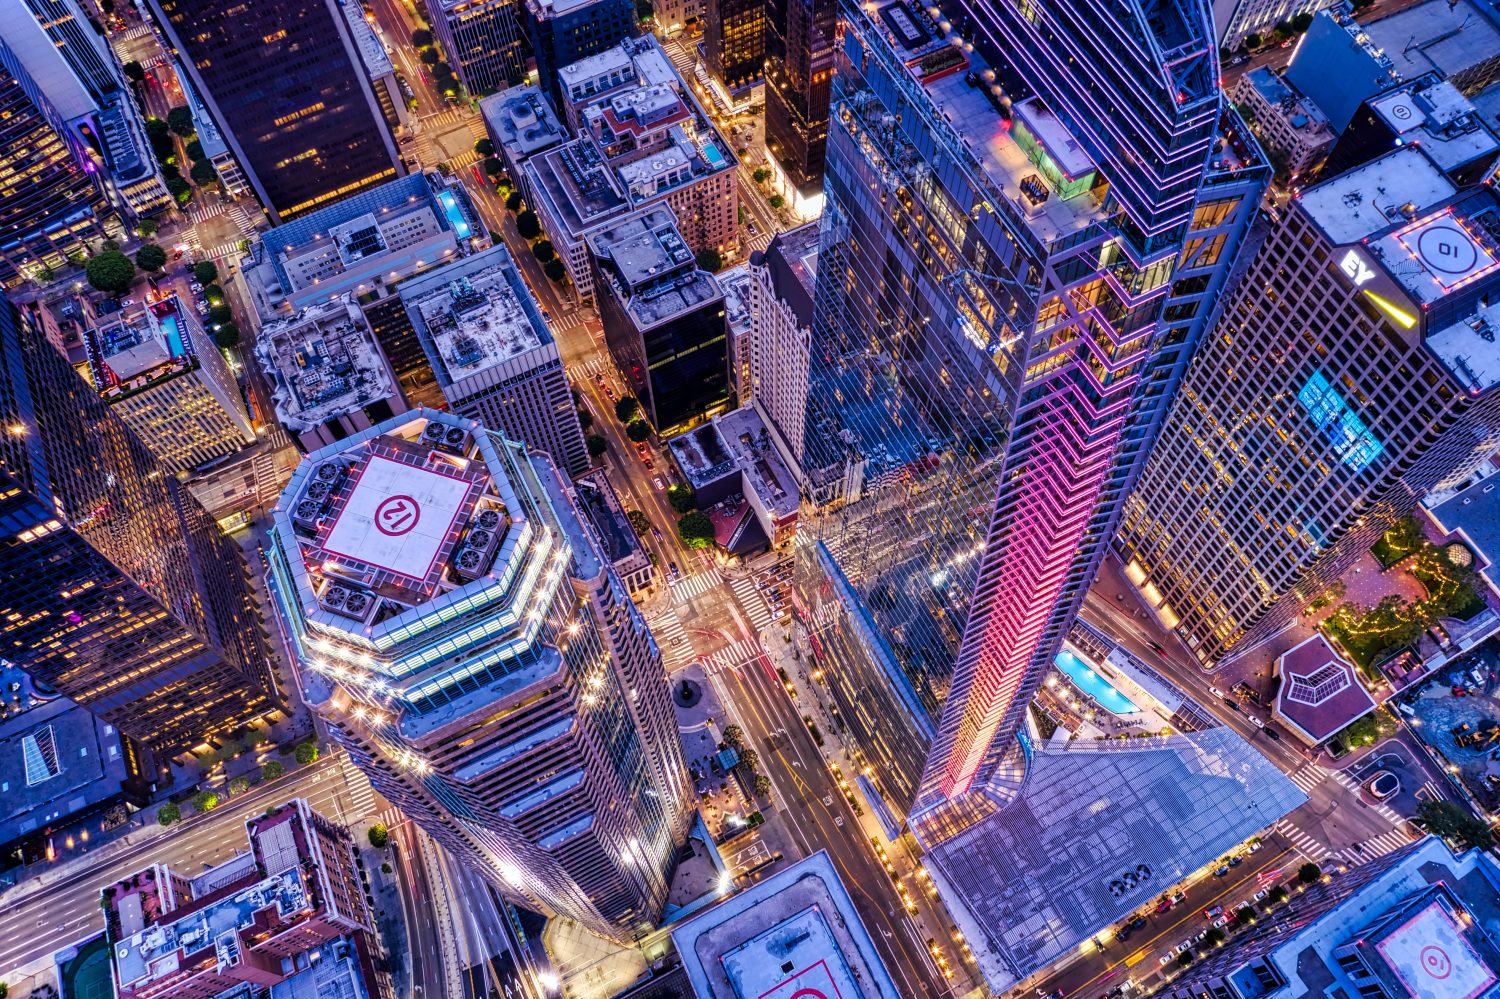
Next, you’ll want to decide whether you want to use single shot mode or burst mode on your camera. Burst mode will result in continuous shooting, and the three images will be taken with one click of the shutter if you hold the button down for three shots. With single shot mode, you will have to release the shutter three times.
If you leave your camera on auto, and turn on AEB, your work is done! The camera will choose the settings and take three different exposures for you. If, however, you’d like to have a bit more control over the results, you’ll want to switch your camera to aperture priority or shutter priority mode.
Using Aperture Priority or Shutter Priority Mode With AEB

Feeling brave? Let’s move on! Using semi-manual camera settings, aperture priority or shutter priority mode will give you more control over your camera’s settings and the resulting images.
This is because rather than relying on your camera to choose the aperture and shutter speed to adjust the exposure value (EV), you’ll be able to adjust the aperture and/or shutter speed in addition to choosing the variations between the different exposures.
Keep in mind that adjusting the aperture and/or shutter speed will have an impact on the amount of light that reaches the camera’s sensor, and the image’s exposure.
-
Aperture Priority
Using AEB in aperture priority mode means that you will choose the aperture, while the camera makes the variations between exposures by adjusting the shutter speed. A stop of underexposure will make the shutter double its speed to compensate, while a stop of overexposure will cause the shutter to half its speed. Remember: a faster shutter speed will let in less light, making for darker images while a slow shutter speed will let more light in.
-
Shutter Priority
With shutter priority mode, your camera will use the shutter speed that you choose, while adjusting the aperture to vary the exposure. This means that the shutter speed will remain consistent and a narrower aperture will be used to create darker images, or a wider aperture will be used for lighter shots.
Post Processing: HDR and Exposure Fusion
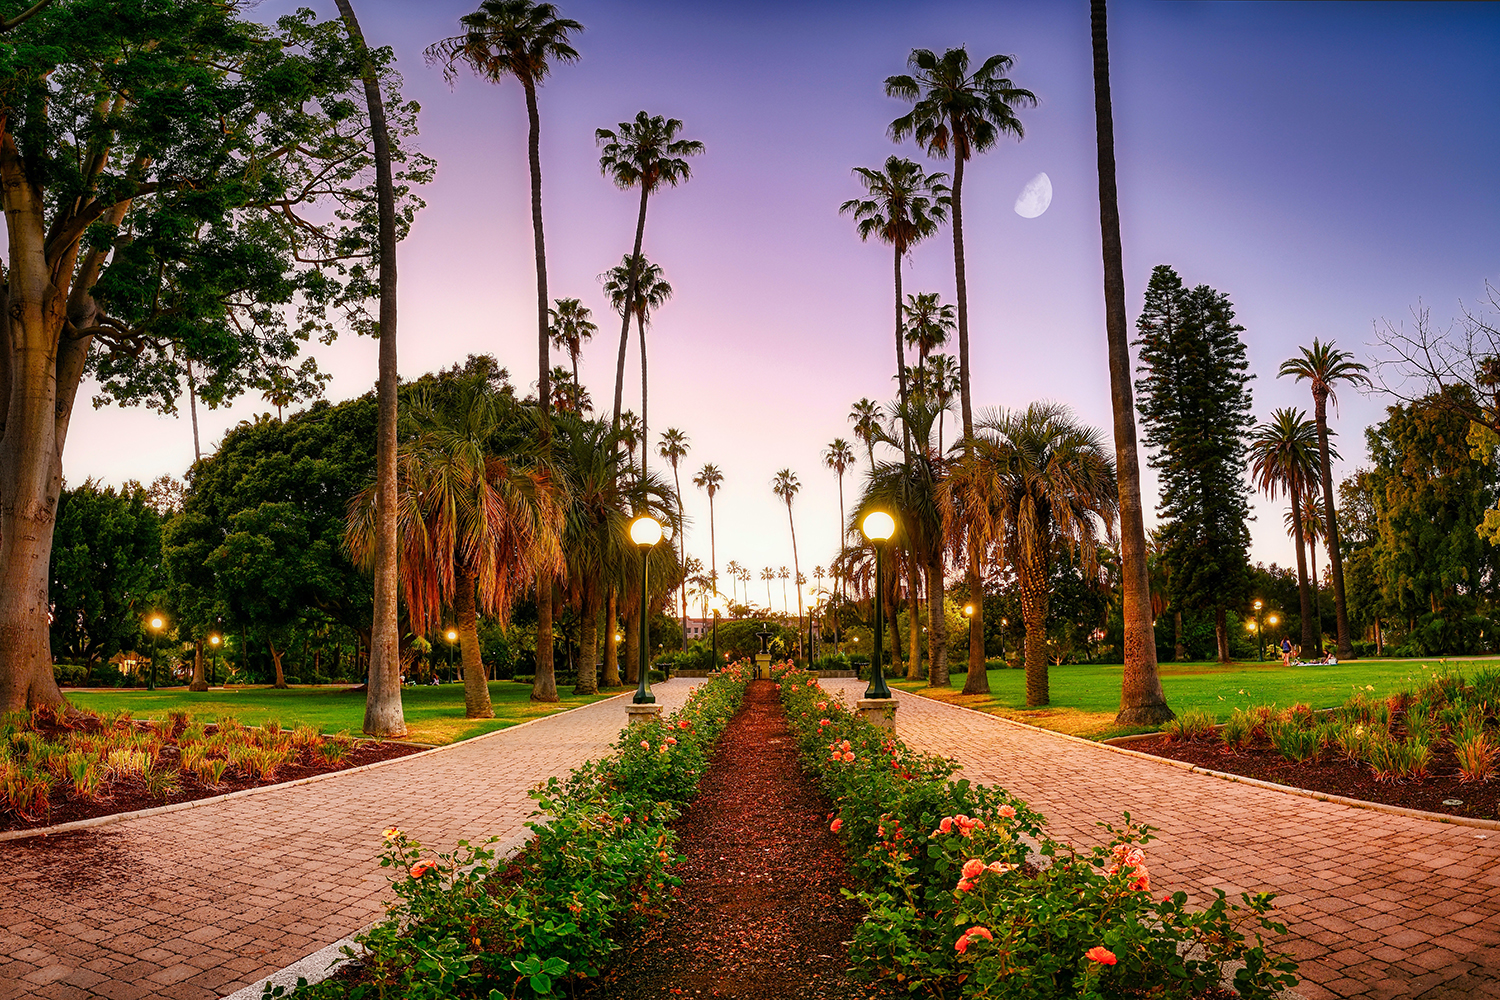
Armed with your new images with three different exposures you’ll be able to decide for yourself which one is the best, or make some adjustments in post processing to create an HDR or exposure fusion image.
-
High Dynamic Range (HDR) Images
Often, bracketing is used to create high dynamic range (HDR) images in post processing. Creating an HDR image involves manually blending multiple images with different exposures together resulting in an image where a greater dynamic range of light is captured throughout the light and dark areas.
-
Exposure Fusion
The exposure fusion process is another way to combine multiple exposures. This process is especially ideal for situations where natural looking results are desired. With this process, software creates a low dynamic range (LDR) image from a series of bracketed exposures, fusing them together into a final image. Exposure fusion requires fewer steps than HDR and gives a more realistic effect.
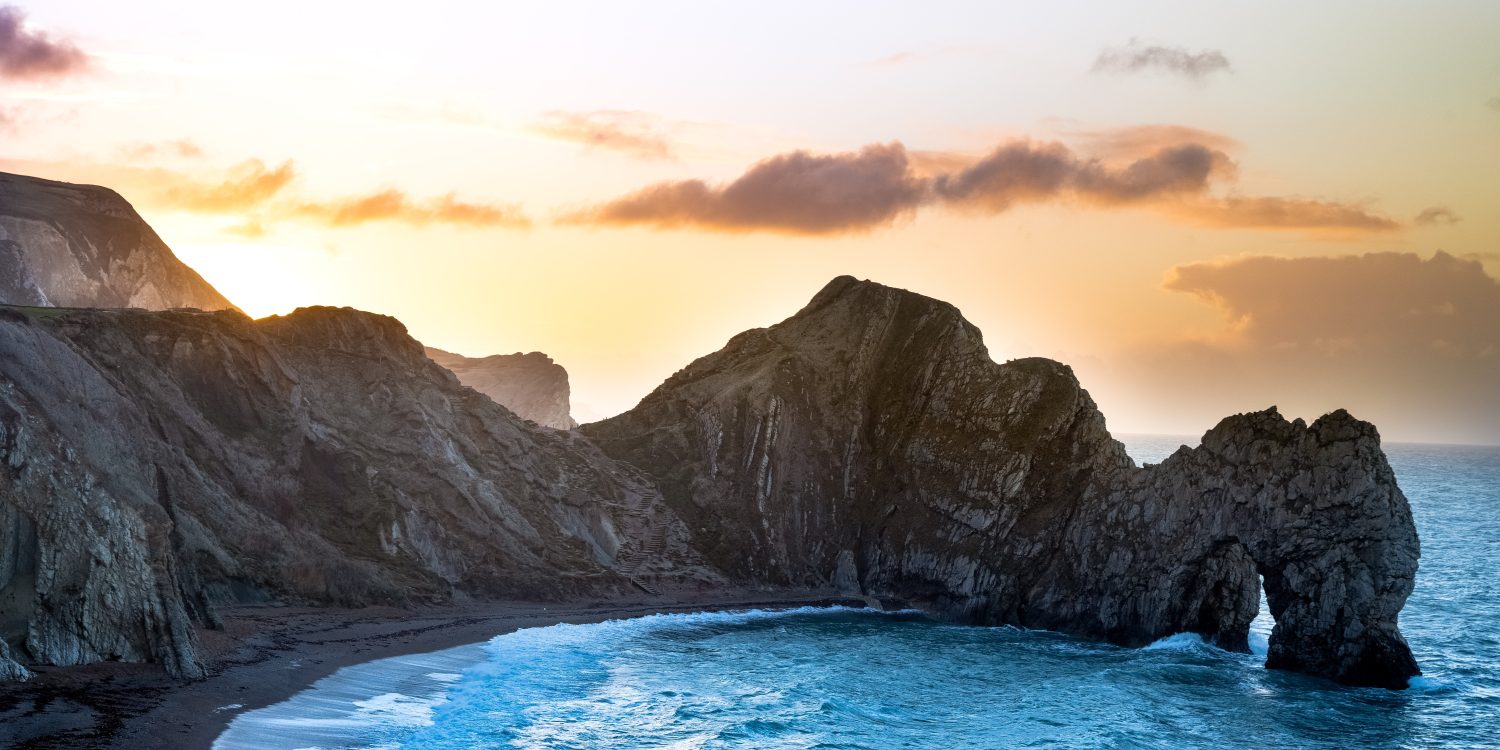
Whether you’re hoping to create some exciting HDR images, or just looking to overcome some difficult lighting conditions, you can’t really go wrong with exposure bracketing. Taking advantage of the AEB option that’s built into your camera will assist greatly when it comes to creating compositions that are exposed properly – helping you to capture the type of images that you’re after.
Have you tried exposure bracketing? Please share your experiences with us on Twitter or Facebook!
