All About Studio Lighting
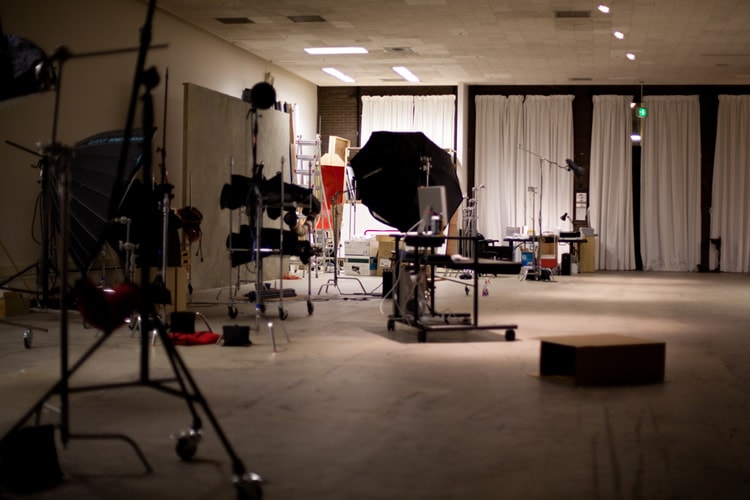
Studio lighting is an essential addition to most photographers’ arsenal. It allows us to create natural lighting effects in a variety of situations, and is far more controllable than a flashgun.
And, with so many options available nowadays, it doesn’t have to be confined to a studio.
There are portable options available too!
But to make sure you buy the right kit for your requirements, you need to know about the different options. In this article, we’ll look at what does what, and where you should invest your money.

image by Geoff Stearns
Studio Lights
Lights can be grouped into two main groups – strobe lighting and continuous lighting. Strobe lighting tends to be the most popular, so let’s look at that first.
-
Strobe Lighting
This type of lighting is more commonly known as flash lighting, as the light will ‘flash’ each time the camera is fired, and then recycle its power. Within the remit of strobe lighting, there are several variants. The most popular, and budget friendly, are monobloc lights. These run off a power cable so you’ll need electricity! Most manufacturers sell their studio flash heads as part of a kit, which is far more cost effective. I recommend flash lighting for beginners over continuous lighting, as it’s easier to control the colour casts (and I prefer the finished product). Flash head power is measured in joules, and lights with a rating of around 400/500 joules will provide more than enough power to cover most rooms (unless you’re working in a warehouse!). Kits come with stands, reflectors and accessories (more on accessories in a minute).
Strobe lights are also available in the form of portable kits, or with power packs. Portable kits are usually lightweight heads with a portable battery, which allows them to be used on location. Power packs allow for use of multiple lights, and offer a far higher joules capacity. But these are extremely expensive for those starting out, and are best suited to pros that need a very high amount of power.
There are many good manufacturers on the market – Bowens, Broncolor, Elinchrom, Profoto and Westcott, to name but a few. Personally, I’m a huge fan of Elinchrom lights and have been using them for many years. Their range offers a solution for all budgets – from budget D-Lites all the way through to their new ELC lights, which allow users to sync lights at extremely high speeds.
-
Continuous Lighting
Continuous lighting is light that’s on all the time, so it doesn’t flash like strobe lighting. There’s a huge discrepancy pricewise when it comes to different types of continuous lighting. A cheap budget option for those starting out in photography is tungsten lighting, with kits starting from around $200. The downside of tungsten lighting is that you have little control over the power of the lights. In addition, care needs to be taken to ensure that you set your DSLR on an appropriate setting for tungsten light. As a cheap starting point, they’re a great idea, but you’re likely to outgrow them quite quickly.
At the other end of the budget, there are fluorescent lighting kits, from manufacturers such as Kino Flo, which provide daylight-balanced lighting. These are beautiful pieces of kit, but are again very costly!
Accessories
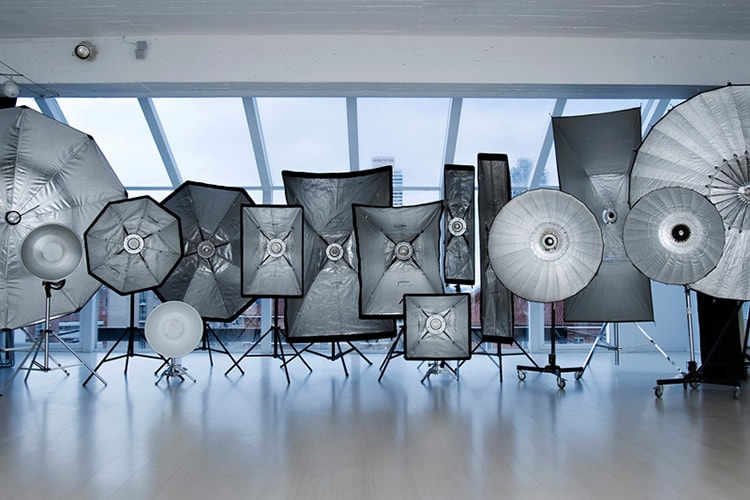
Most lighting kits come with some accessories, but there are a huge variety available. You’ll always get a standard reflector with your lights by the way but let’s have a look at the most common.

image by spot-lightservice.com
-
Softboxes, Octas & Rotaluxes
Softboxes (square), Octas (octagonal) and Rotaluxes (rectangular) are probably the most useful accessories you can invest in. They soften the light and even it out, providing a beautiful light to illuminate your subject. They narrow down to a lighting attachment at the back and are lined in silver, with a white see-through cover that attaches over the front to provide diffusion.
-
Umbrellas
White shoot through umbrellas are probably the most common of brollies. Shoot through refers to the fact that they are made of a similar white diffused material as softboxes. Light passes through them and is softened. You can also get black brollies with a variety of different colour linings, which allow you to throw light back onto the subject.
-
Barn Doors
Barn doors are small rectangular ‘doors’ that clip onto the side of your reflector, and allow for very precise directional lighting. They are particularly useful for lighting a background evenly.
-
Snoots
Snoots are long cones in solid black, which narrow to a small hole at the front. They are often used for highlighting hair, due to the directional small light they provide.
-
Honeycomb Grids
So called because they look like a piece of honeycomb, these slot onto the front of reflectors. Again, they’re most commonly used as a hair light. Do take care if using them near skin – get too close and you’ll get the grid effect showing up on the skin!
-
Beauty Dishes
Beauty dishes are idea for head and shoulders shots, a beauty dish produces a light that’s somewhere in hardness between a softbox and an umbrella. This is a very flattering light that drops off naturally to the sides.
-
Portable Reflectors
Not an accessory as such, but still an essential piece of kit for studio lighting. Reflectors can be handheld or clamped to a stand to fill in shadows, or lift light onto subjects’ faces. If you’re only going to invest in one reflector, a sunfire one is by far the most useful. It’s a combination of silver and gold stripes and suits nearly all skin tones.
Hopefully this guide will help you to start out your journey with studio lighting and find the kit that works best for you!
