The Ultimate Guide To Using Speedlights – Part 1
 by
Jo Plumridge
by
Jo Plumridge

In this two part series, we’re going to take a look at flashguns (speedlights) – from their basics through to how to use them in more complicated scenarios. In this article, we’ll look at choosing a flashgun, how their different modes work, and useful accessories to buy.
In part 2 of this series, we’ll be taking a look at using flashguns off-camera and to achieve different advanced techniques.
When most people start to think about expanding their photographic equipment, a speedlight or flashgun is usually fairly near the top of the list. Even with the excellent high ISOs that modern DSLRs can achieve, there will always be occasions where there simply isn’t enough natural light to illuminate your subject. Speedlights are lightweight and portable and provide a quick fix to this problem.
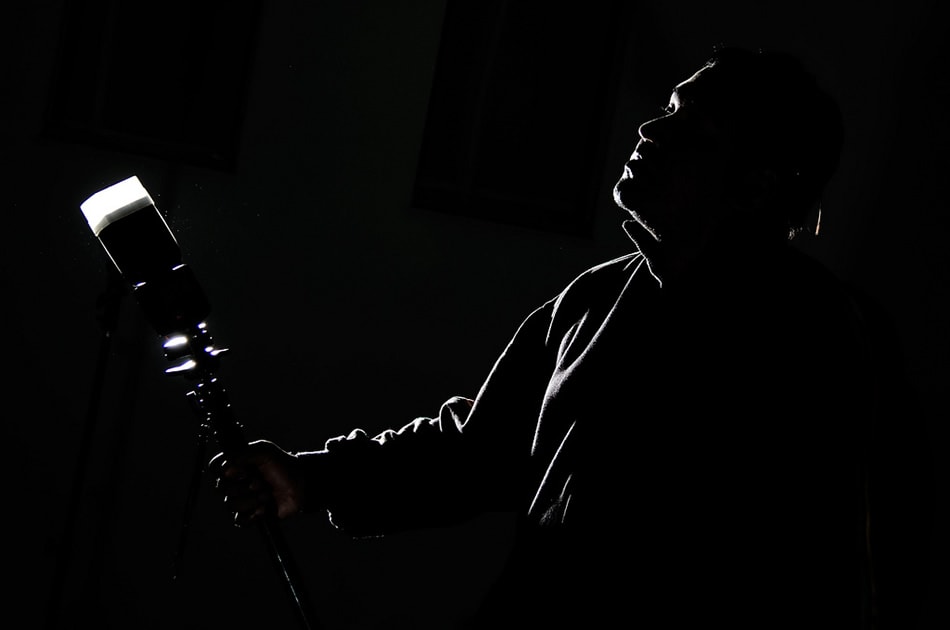
Image by f3nd1
However, using them properly and to their full capacity takes a bit of skill and knowledge, which does put many people off! But once you know how to use your speedlight, you’ll be delighted with the results you’ll achieve.
Choosing A Speedlight
Like many photographic accessories, there’s a bewildering amount of choice when it comes to picking a flash. Firstly, you will need to decide whether to buy a speedlight made by your camera manufacturer, or whether to go for a third-party option. Now, I personally use Canon flashguns with my Canon cameras but I have, in the past, also used Metz flashguns with Hasselblad cameras.
The key thing to ensure is that, whatever flash you go for, it’s designed to work with your particular camera. So, much like Tamron and Tokina make lenses with a Nikon, Canon, Sony, Pentax etc mount, so Metz make flashguns for each of the camera manufacturers. This is particularly important with DSLRs, as so much of the flash can now be controlled through the camera. Do not be tempted to buy a cheap flash and hope to ‘get away with it’. It’s far better to buy a decent speedlight with slightly less power, as you will get far more out of it.
In this article, I’m going to use Canon flashguns as my examples, but you will find that all the major brands have similar attributes. Once you’ve decided on a brand, you’ll need to decide which model of speedlight to purchase. Put simply, the more expensive a speedlight is, the more illuminating power it will have. This power is expressed through something known as a guide number. Most of the major manufacturers do a range of flashguns – for instance, Canon’s range for DSLRs consists of the 270EX, 320EX, 430EX and 600EX. In this case, the numbers also relate to the guide number – so the 270 has a guide number of 27 metres, the 320 is 32 metres and so on. Do remember though that these guide numbers relate to your ISO being set at 100 and that you can work out the number by multiplying your subject distance by your f-stop number.
This is a very useful formula, which can also be reversed to determine which aperture you should use. In this case, you need to divide the guide number of your flash by the subject distance.
When you choose a flashgun for yourself, your primary concern should be how far the distances are that you’re likely to have to cover. Obviously, if you shoot primarily close-up macro photography you won’t need as high a guide number as you will for shooting large events!
Flash Modes & Features
Modern speedlights come with a variety of modes, but the ones you will most commonly come across are E-TTL, Manual and Multi.
E-TTL is the most automatic of the flash settings, whereby the camera takes an ambient metre reading and the speedlight takes a low power pre-flash. By comparing the difference between the ambient and flash readings, the camera is able to set the speedlight to fire at the power it feels appropriate and at the correct moment. E-TTL is an extremely useful mode and, unlike fully automatic camera modes, can actually be used in a number of situations to produce excellent results. It’s particularly useful for circumstances whereby the distance to your subject is fluid and changes a lot, or if you are shooting events where you are likely to be photographing lots of different people.
Whilst E-TTL is an automatic setting, most flashguns allow you to adjust the output power by thirds of a stop. This is flash exposure compensation and means that if you are not entirely happy with the results your flashgun is producing, you can dial in a little positive or negative compensation. As flash light tends to be fairly hard, I usually keep my Canon set at either -1/3 or -2/3rds as a matter of course.
Manual allows users the most control over their unit and means that the amount of flash can be kept entirely consistent from one shot to the next. In this mode, full power is displayed on the speedlight’s control panel as 1/1. The power decreases in one stop settings as so: 1/1, ½, ¼, 1/8, 1/16, 1/32, 1/64 and, on some high-end flashes, 1/128. Once the power has been set, it is then possible to fine-tune the power in 1/3 increments. On some flashguns this will be displayed as – or +1/3 or 2/3, whereas others show this as – or + 0.3 or 0.7. What this means in practice is that by using full manual, a photographer has extremely finite control over their speedlight. (N.B – when using manual, remember the formula that we talked about earlier in the article.)
It’s particularly important to remember when shooting in manual that all flashgun / camera combinations have a fixed top flash sync speed (usually between 1/125th and 1/320th sec). If you try to set your shutter speed faster than this, you’ll end up with clipping, whereby a section of your photo will not have been exposed to the flash.
As part of using manual settings, it’s also important to understand first and second curtain sync. By default, the flash fires on first curtain sync (which is when the shutter in your camera first opens up).
For most images, this will produce great results. But, if you’re shooting subjects in motion, you can set your camera to second curtain sync (where the flash will fire just before the shutter in the camera closes). This will give far more natural results, as it will show ambient-lit motion trails behind the subject. Do remember, however, that second curtain sync only works at speeds below 1/50th sec, and isn’t really that visible at faster speeds than 1/30th sec.
Nearly all speedlights will have a TTL and Manual mode, but as you go higher up the range flashguns offer extra modes and features. One of the most popular is the Multi mode, which is also known as Stroboscopic flash. In this mode, the flash will fire multiple bursts during a long exposure. This creates the ‘strobe’ effect.
Advanced Canon and Nikon speedlights also contain an option known as High Speed Sync / HSS (on Canons) or Auto Focal Plane / Auto FP (on Nikons). This allows the user to briefly use their speedlight as a continuous light source, meaning that the camera can be synced at up to 1/8000sec. This can come in very useful if you need to use a large depth of field, where little light is coming into the lens via your aperture, or if you want to use a fast shutter speed to freeze action.
Different speedlight models also have various features included on them. With Canon flashes, their two higher end models include a ‘Zoom’ feature. This allows the speedlight to automatically detect changes in focal length, from 24mm to 105mm (and extendable to 14mm on some models with a wide-angle diffuser). This allows the flash to match coverage to the field of view of the lens, saving power and allowing faster recycling times and concentrating the light so that it can cover longer distances. The Zoom feature can also be changed manually to allow for different creative effects.
Another important feature to consider with flashguns is the ability to rotate the head. Most speedlights can be tilted upwards from 0 to 90 degrees, which allows users to bounce the flash off a ceiling and soften the shadows falling on the subject. Do be careful not to bounce your flash with heavily marked or tinted ceilings, as you run the risk of things appearing in your photo! Many flashguns also rotate from left to right, allowing you to soften or change the angle of the light falling on your subject.
Accessories
To get the best out a flashgun, it’s worth investing in a few accessories. One of the most essential in my view is a Sto-fen. This is a small white box that slots onto the front of your flashgun and helps to diffuse the light. It does make a big difference to shots and helps to create a more natural look.
You can also take this further and consider investing in a mini softbox, which will fit onto the front of your speedlight. A lot of wedding photographers use the Ezybox, which is made by Lastolite and is particularly sturdy and well made.
Finally, a fairly fundamental accessory is an off-camera cable (along with possibly an off-camera bracket). This allows users to place the flashgun a distance away from the camera, opening up a range of options for user.
Make sure you check out part 2 where we look at some more advanced flash techniques.
About the Author: Jo Plumridge
Jo Plumridge is a UK based photographer, writer and lecturer. She specializes in portrait, corporate and travel photography, and writes photography, travel and comedy pieces for magazines, websites and books. You can see some of her work at her website, or follow her on Twitter.