Three Mega-Tips To Outstanding Flower Photos!
 by
Kent DuFault
by
Kent DuFault


001
On the surface, flower photography seems as though it should be pretty straightforward.
You see a pretty flower, and you point your camera at it. You focus and take a picture.
I cannot deny that it could be that simple.
But, if you desire more than that. If you want your flower photography to shine. Read On.
Today, I am bringing you three mega-tips to outstanding flower photography. Are you ready? Spring is almost here.
Let’s go!
Tip #1 – Camera Settings
002
This is one genre of photography where camera settings truly matter.
I will give you the recommended camera settings from professional flower photographer and author, Leanne Cleaveley. These come directly from her book, Photographing Fabulous Flowers. You can get her informative book here.
- Always use the camera raw file setting. If you want an immediate .jpg as well. Set your camera to record both.
- Ensure your memory card is clean and has plenty of storage space before taking pictures. Don’t be the photographer that takes a hundred pictures only to realize they didn’t have a memory card in the camera (Don’t Laugh! It’s happened to me.)
- Set your ISO. If the lighting is consistent and bright, use ISO 100 or 200. If the light changes due to the time of day or moving clouds set the ISO to Auto ISO.
- Set your White Balance to Auto if your subject is in the sunshine. Set the WB to Cloudy if your subject is in the shade. Since you will be shooting in camera raw, you can correct the white balance in post-production. However, it is best to start with the cleanest original file possible.
- Put your camera on a tripod. You could also use a monopod. However, in that case, you would need to monitor your shutter speed setting, which could be limiting if the light level is too low.
- Choose an aperture. This variable decision may change as you go from subject to subject. But in general, if you want a narrow depth of field to emphasize a particular part of a flower, go with f/5.6 or wider. If you wish to achieve a maximum depth of field window, choose an aperture between f/11 and f/22. Most lenses are not their sharpest at the smallest aperture available. If the smallest aperture is f/22, then use f/16. If the smallest aperture is f/32, then use f/22, etc.
- Start by using the Reciprocal Rule to choose your shutter speed. This rule states that your chosen shutter speed should be equal to or faster than the lens’s focal length. Flowers are generally photographed at a higher magnification than standard photos. Magnification also magnifies movement. I suggest adding one to two stops of shutter speed after following the Reciprocal Rule. For example, you are using a 100mm macro lens. The Reciprocal Rule says that your shutter speed should be 1/100th or faster. I would automatically change the shutter speed to 1/200th or 1/400th.
- Set your Shooting Mode to Manual if you are comfortable with it. If not, use the Aperture Priority mode.
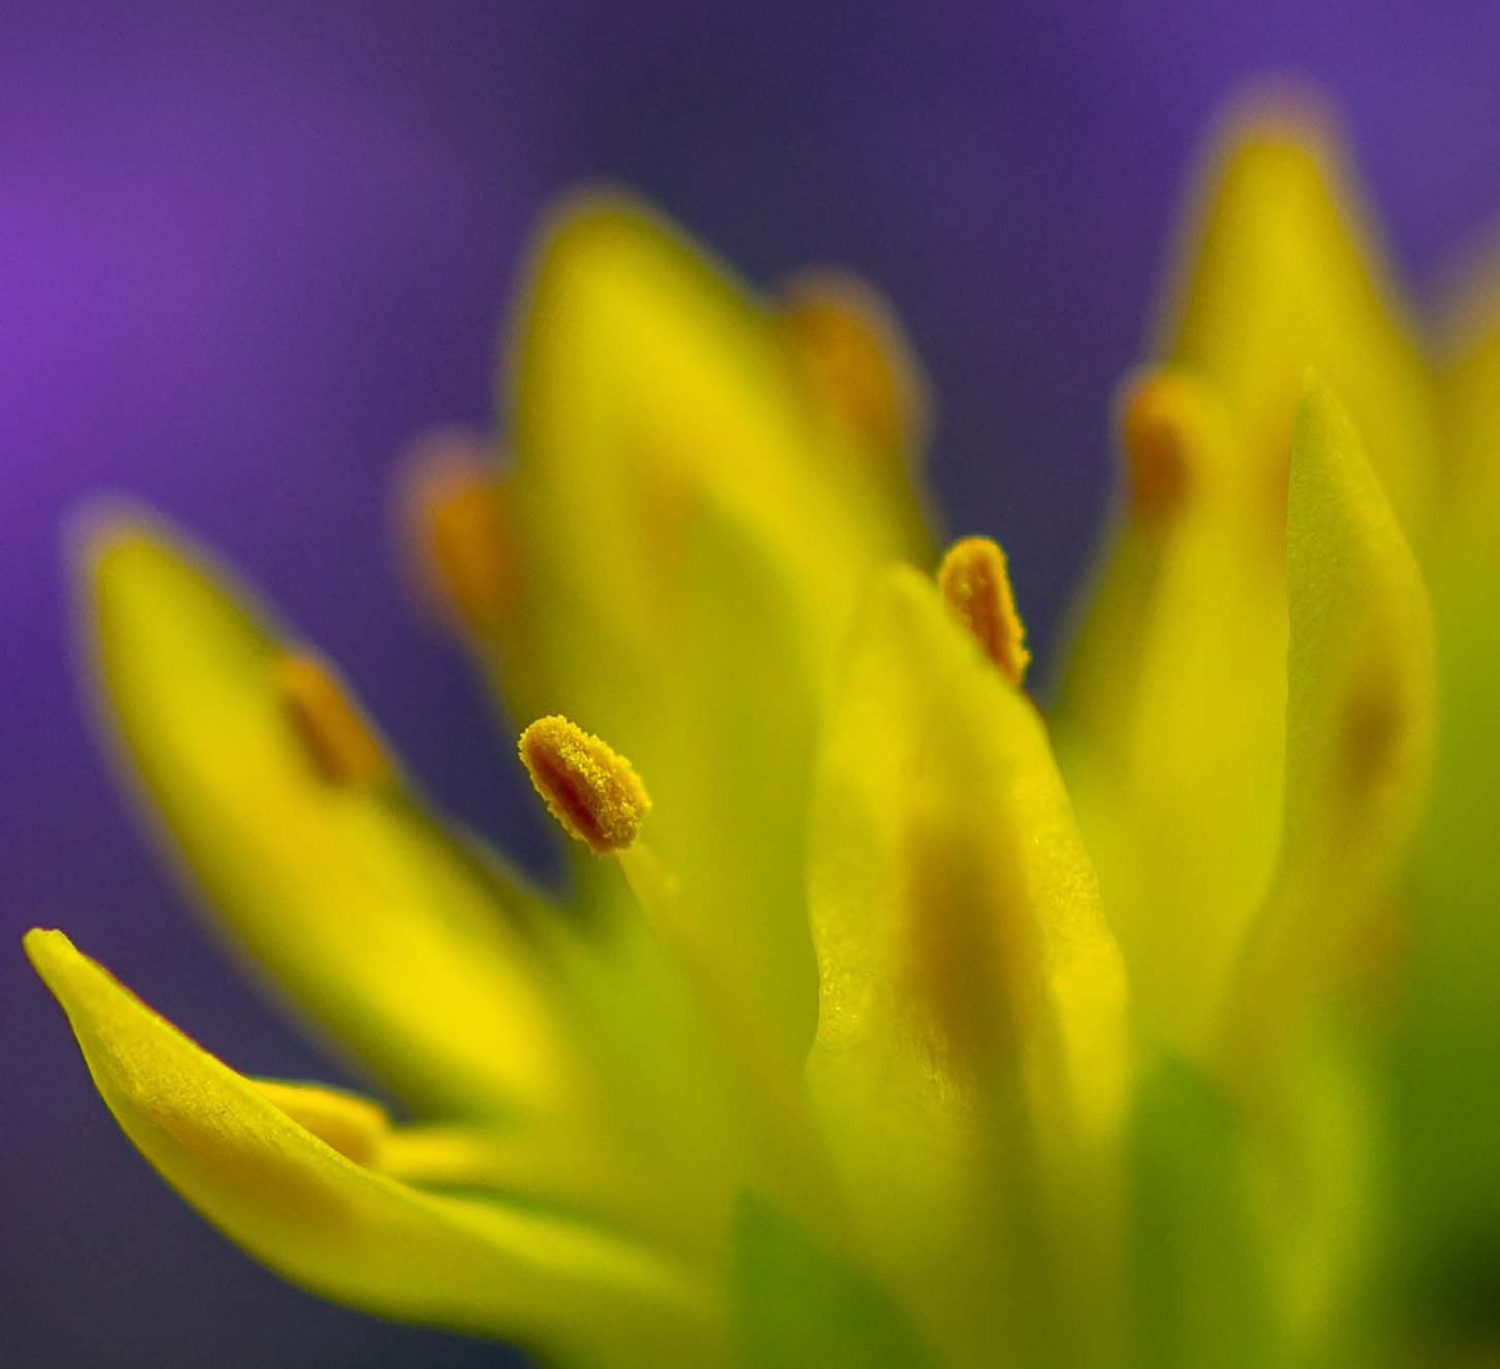
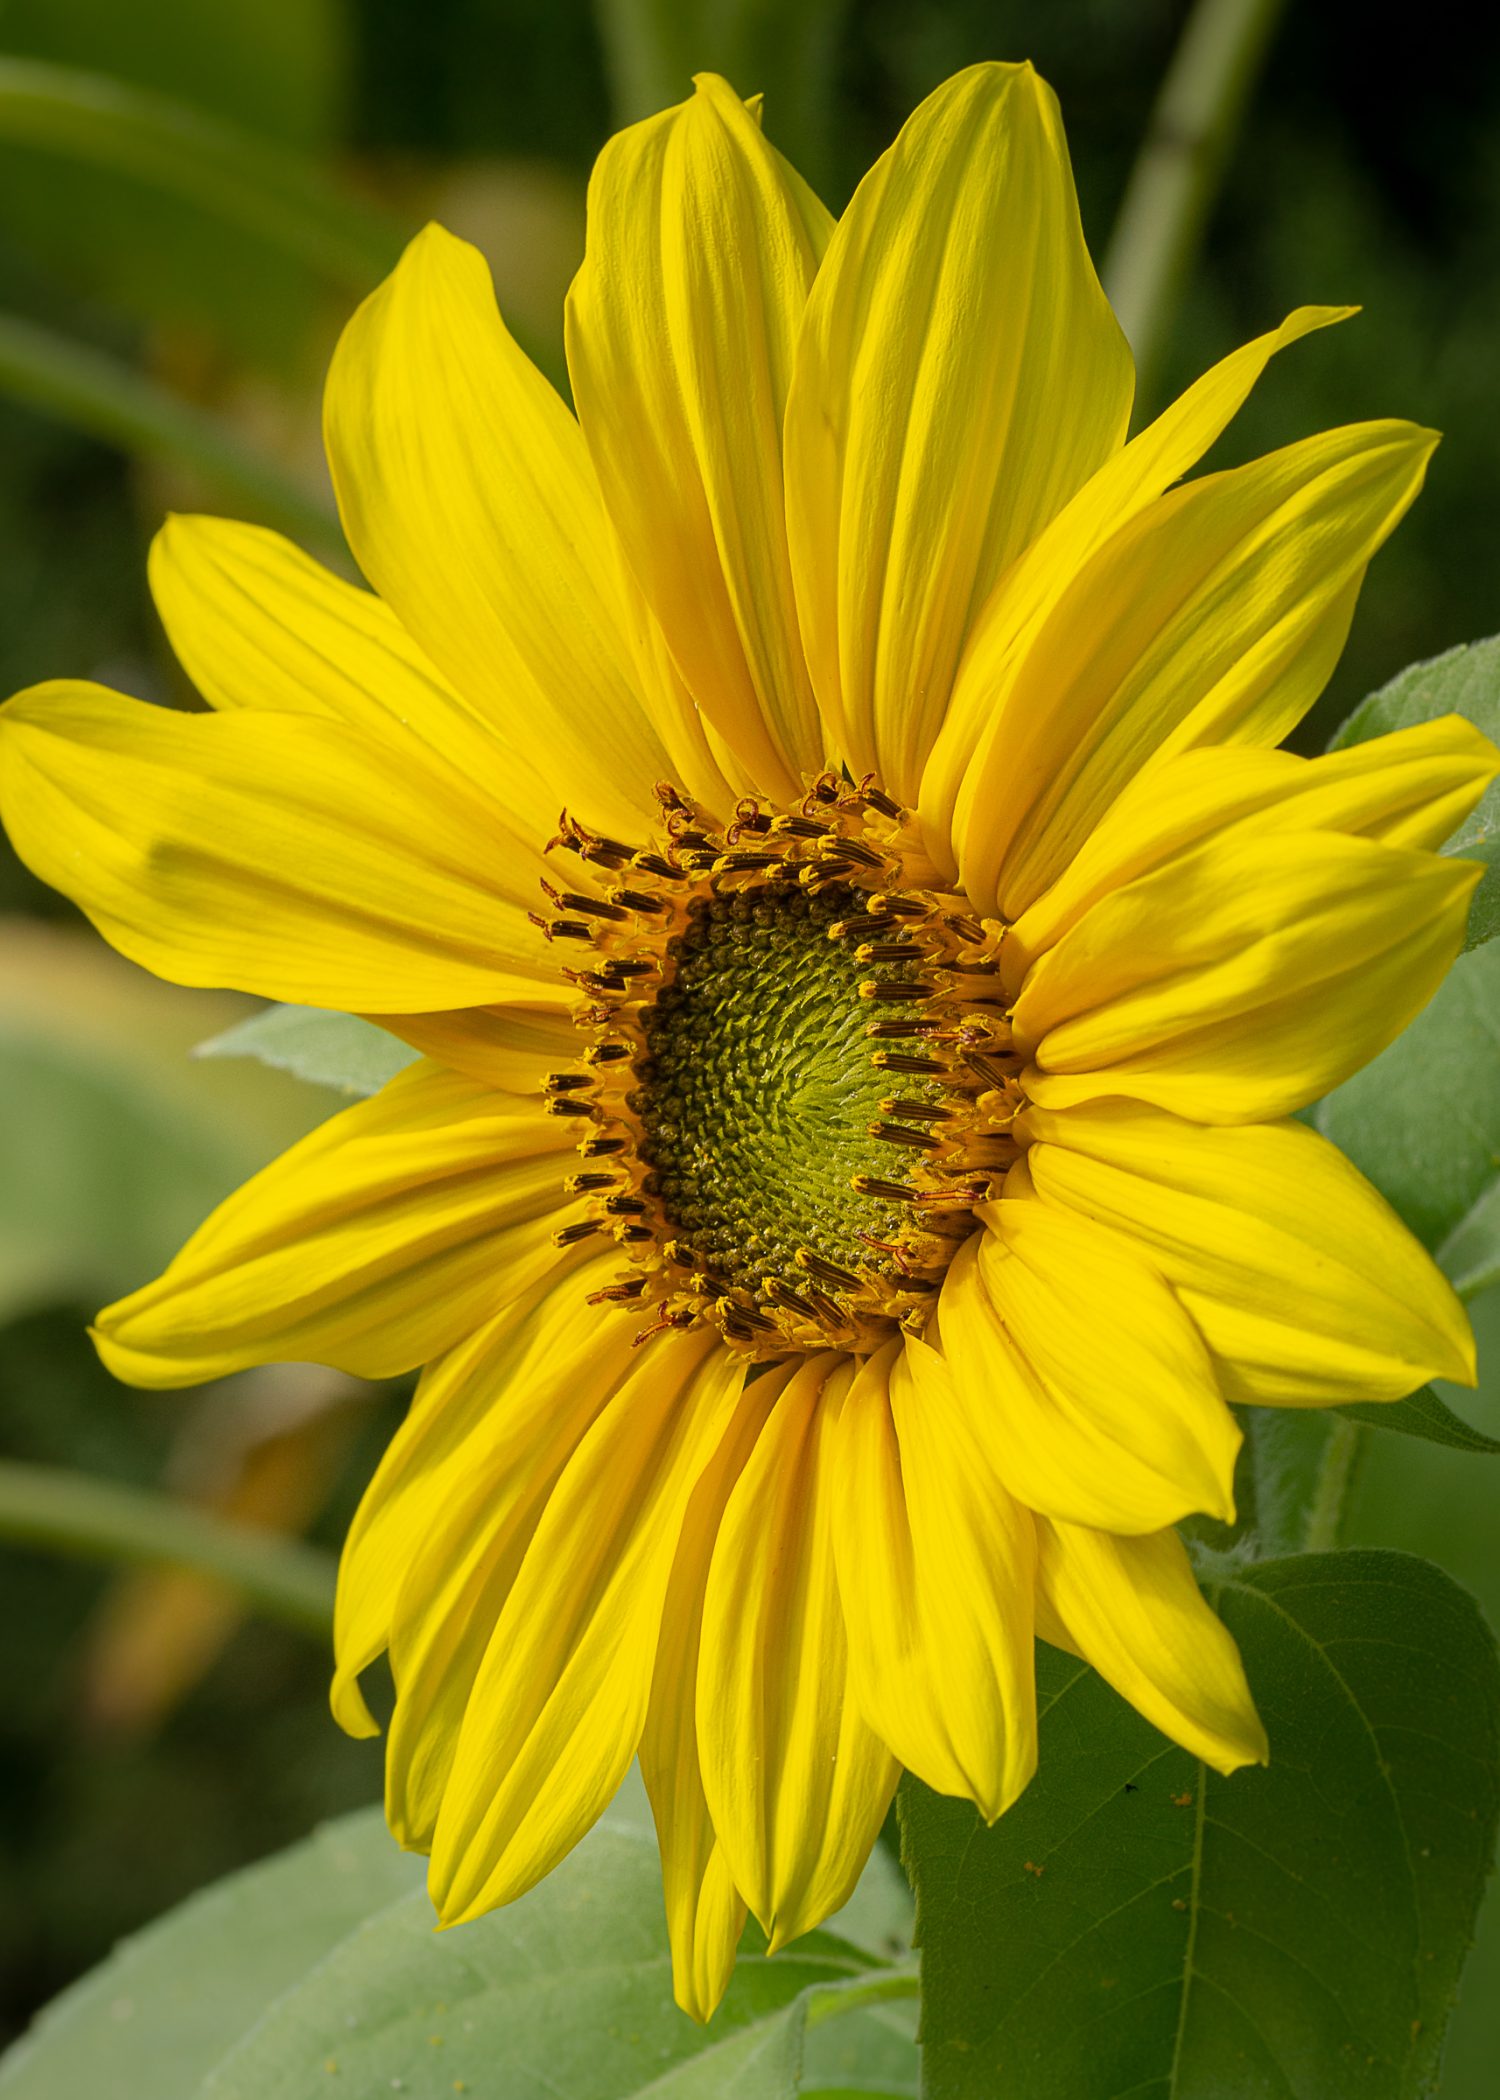
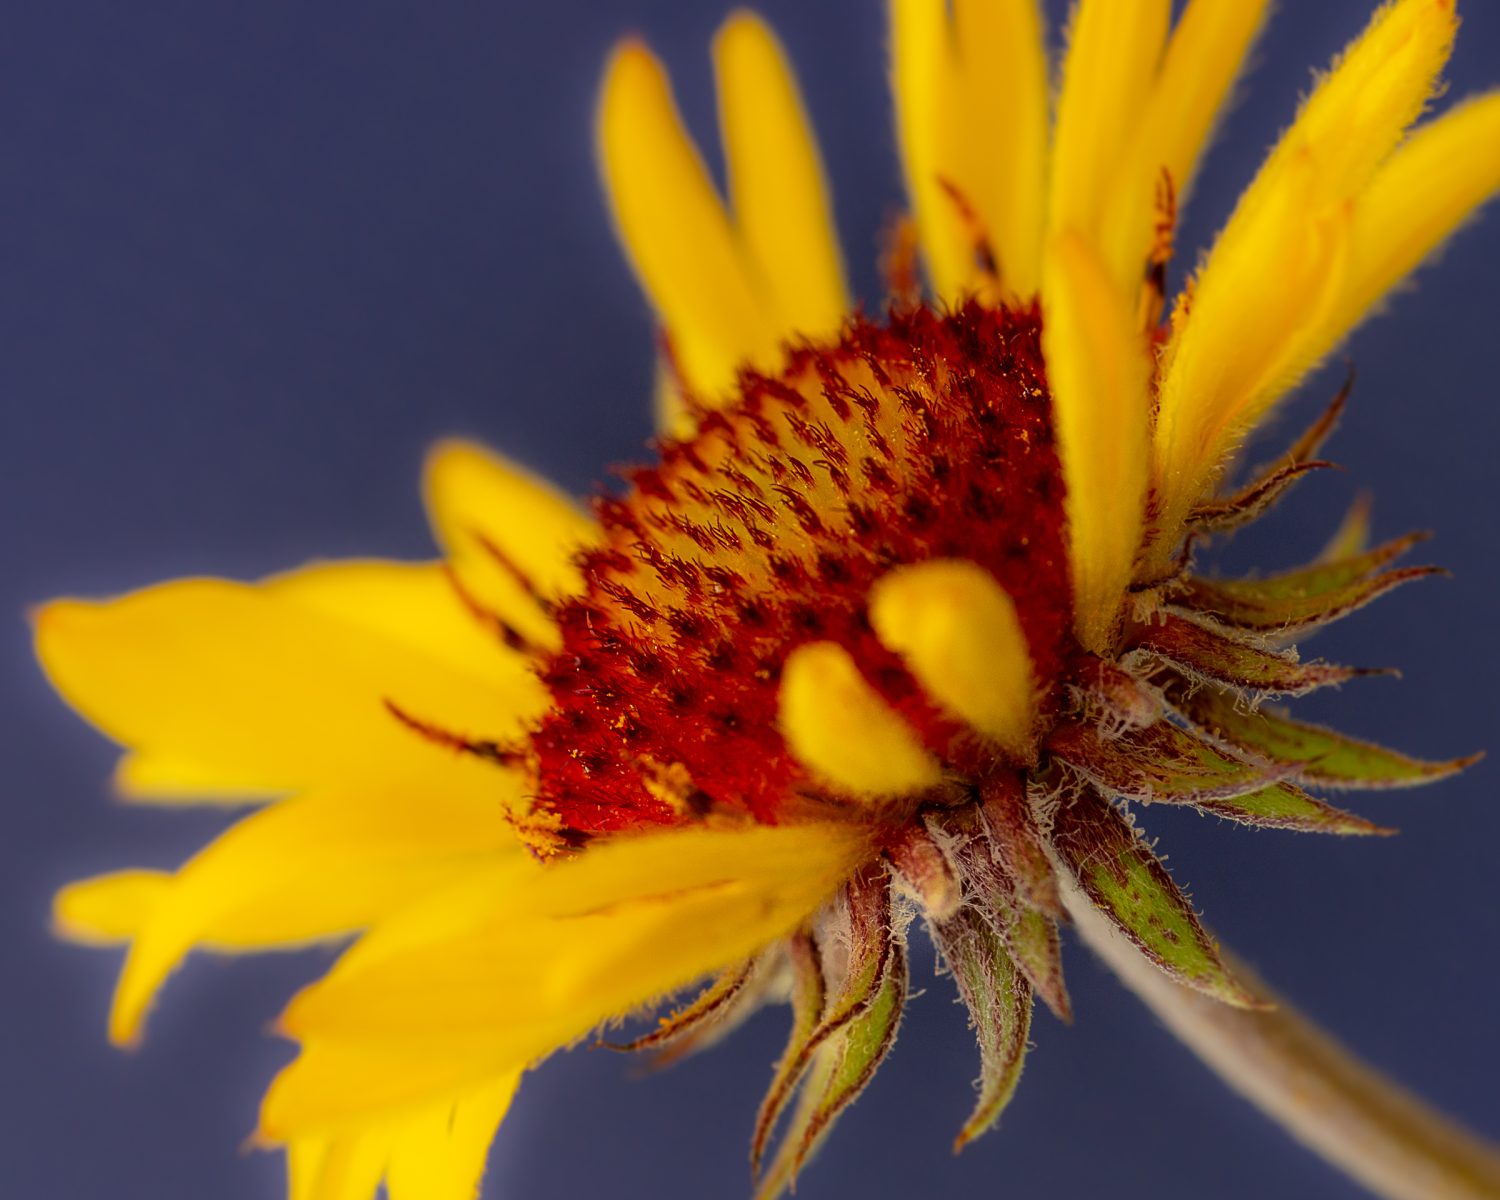
003 – Photograph by Leanne Cleaveley
Use a wider aperture to highlight a particular part of a flower, as demonstrated in image 003.
Tip #2 – The Camera Angle Counts
“Understanding the plane of focus can profoundly affect your flower shots.”
If the above quote from Leanne Cleaveley sounds foreign to you. You must pay attention to the next section of this post.
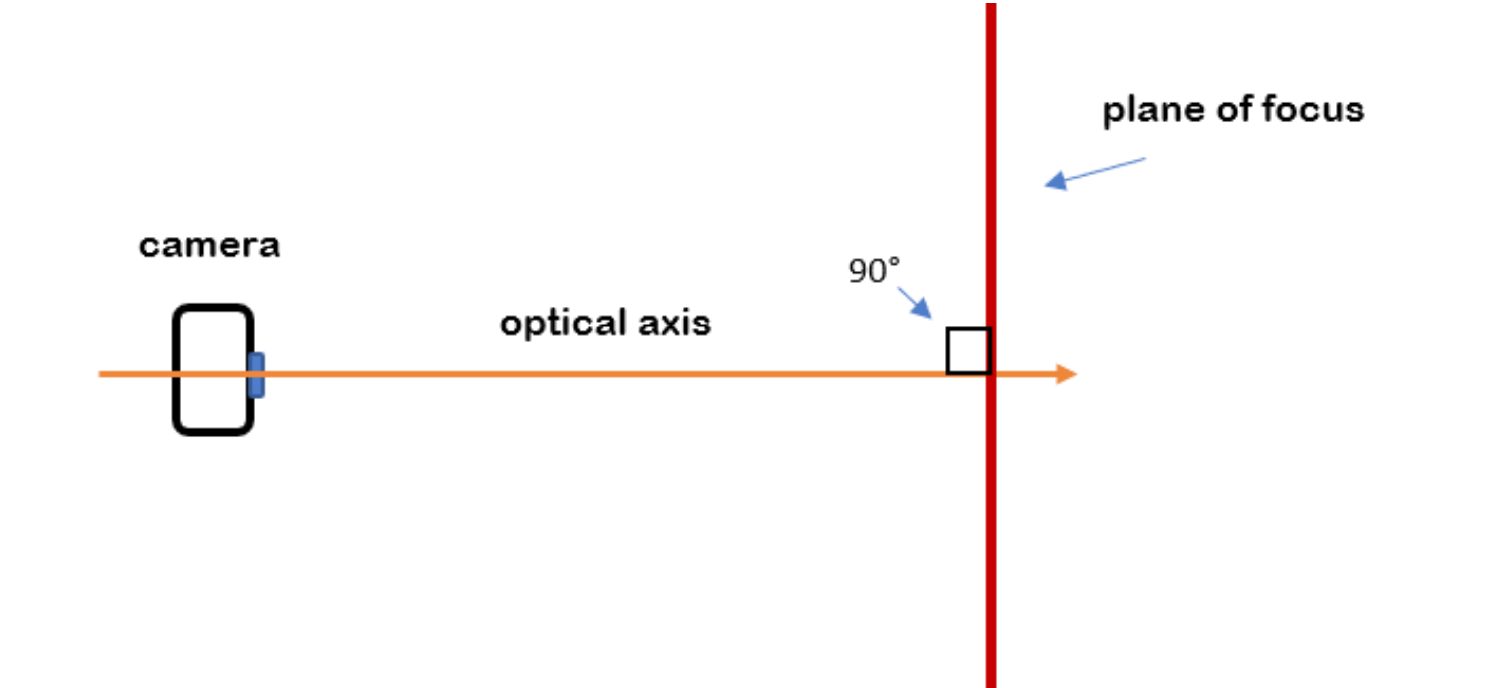
004
To understand the plane of focus, imagine a line passing straight through your camera. This imaginary line is called the optical axis. Your plane of focus is another imaginary line that intersects the first line at 90 degrees at the point of critical focus of the lens. If the camera is tilted, the plane of focus tilts too.
Check out this image comparison to easily digest why this is important.
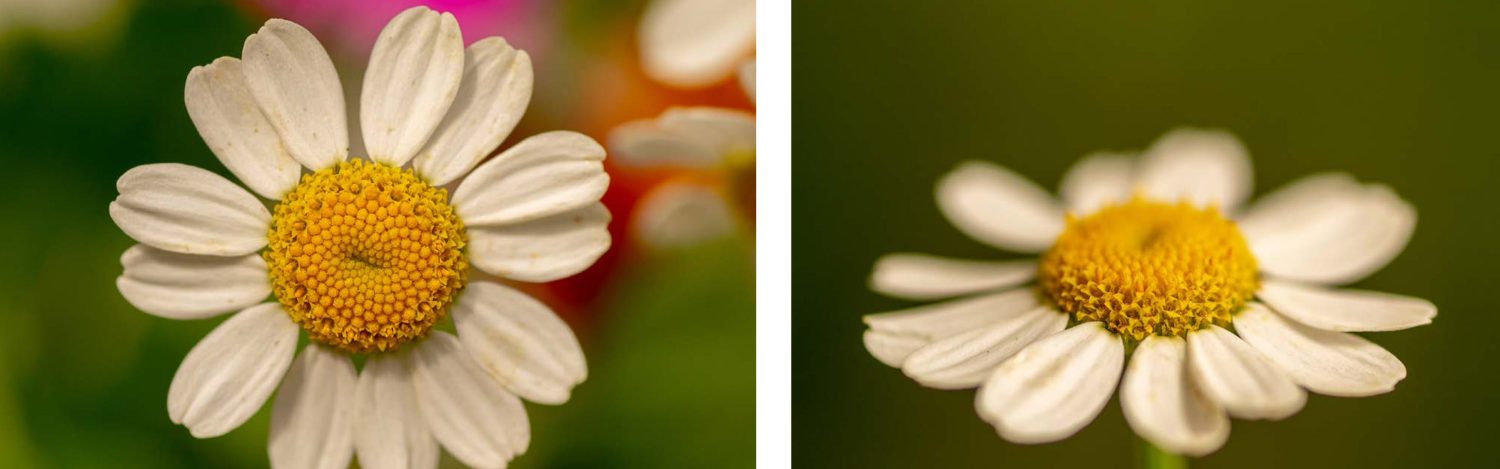
005 – Photographs by Leanne Cleaveley
If you created both photos (005) at f/8, and your goal was to keep the entire flower in focus, you must consider the plane of focus.
- When the flower (the plane of focus) is at a 90-degree angle to the optical axis- most of the flower will remain in focus at a given f/stop.
Suppose you created both photos (005) at f/8, and your goal was to pinpoint the focus onto a particular location of the flower. In that case, you must consider the plane of focus.
- When the flower (the plane of focus) is at an angle to the optical axis- more of the flower will quickly fall out of focus at a given f/stop.
Using the plane of focus allows you to adjust your photo. Your viewers will pay attention to sharp areas. Soft, out-of-focus areas help direct your viewer’s eye toward what is essential in your composition.
Tip #3 – Use Manual Lens Focusing and Not the Auto-Focus
006 – Photograph by Leanne Cleaveley
“Relying on auto-focus and allowing the camera to decide where the focus point is can often lead to disappointing results, especially when you are shooting with a narrow DOF.” – Leanne Cleaveley
Most flower photography is in the macro or close-focus category. This situation can be tricky for a flower photographer who uses auto-focus.
The focusing system can tend to ‘hunt around’ trying to lock onto a point of focus. This can be exasperating if the flower is moving, even in a slight breeze, or if the camera is moving, or both.
By manually setting your critical focus point and then concentrating on the image in your viewfinder, you can wait until the portion of the flower where you want critical focus falls into that space. Then, you release the shutter.
If you’re handholding the camera, another technique is to set the focus manually. Then frame your subject while tucking your arms in tight to your chest. Now gently rock your upper body back and forth while watching the focus change in the viewfinder. Begin to narrow your movement until the portion of the flower you want to focus on falls into that position. Gently release the shutter.
Take these tips and create fabulous flower photos! If you want to read more amazing tips and learn more about flower photography, then check out Leanne Cleaveley’s guide, Photographing Fabulous Flowers here.