Tips And Tricks For Shooting In Daytime Lighting Conditions
Great lighting is one of the most important aspects of photography. After the very name “photography” comes from combining two Greek words to write and light.
Photography is basically writing with light; story telling in its purest most simplistic form. It is brushing aside all details except for the ones that you, the photographer let in. The right use of lighting can help you tell your story, and it can even make the difference between an everyday photo, and something more special.
Here are a few ideas to help you with different daytime lighting conditions. Those are tips to help you capture the light—or lack thereof!

Direct Sunlight
Shooting in direct sun is something that many experienced photographers try to avoid, and for good reason. Full sun often causes harsh glare and shadows. This makes it tricky to do certain types of photography, like portraiture. Having your subjects face into the sun provides the right lighting, but also causes squinting. One idea is to simply wait until other hours of the day, however there’s no reason you have to pack up and go home during direct sun.
If you’re creative, and want to take some bold and daring shots, this time of day is perfect for you. Some of the elements that make this time of day tricky can also be used to your advantage. Shadows for example, are unwanted in some photos, especially in most portraits, but in the right context they add contrast and depth.
Let the shadows incorporate themselves into your scenic shots; even let them take center stage. If you are doing portraits, try to include scenery; the sunlight and shadows bring a certain beauty to an otherwise normal background. Be sure to bring along a fill flash so your subject’s face doesn’t turn out too dark, or have unflattering shadows. Using a flash in direct sun? You bet!

Try taking pictures in new settings; like a boardwalk for example. The light from the sun would make an interesting composition of lamp posts casting shadows on the wooden planks.
Full sun is also a perfect time to take ocean photographs, as the clear bright sun will penetrate the water in shallow areas, and allow you to photograph the ocean floor; something you couldn’t do in other light as you would usually just end up with reflection.
Shooting in black and white is another option; sunny conditions bring out these contrasting colors beautifully.
If you would like to adjust your settings manually, Sunny 16 is the way to go. Sunny 16 is a method of estimating the correct daylight exposures. This rule says to set your aperture to f/16 in full sun. The ISO should stay at around 100, and shutter speed to about 1/100 or 1/125. If you have a Nikon you’ll probably have to put the ISO at 200, and the shutter speed at about 1/200. This rule is a good starting point to work from, though you’ll likely have to adjust the settings to find which ones are best for your camera and conditions.
If you really want to eliminate shadows you can always make your own shade. Umbrellas are one way to help with this, especially for close-ups such as head shots. You could use a shoot through umbrella as they help create soft diffused lighting. Reflective umbrellas are another option; they tend to cast more of a glow. Alternatively, you could even try using a large piece of card if you don’t have an umbrella. Sometimes though you may need more coverage, in which case it might be easier to find an already shady place, like under the shadow of a building.
I love shooting in the sun, partly because sunny days are too special to pass up, and don’t forget one of the best things about sunlight: the bright blue sky makes for a great background. Just don’t do what I once did and stare directly into your viewfinder to look at the sun, no matter how tempting that is!
Shade and Overcast
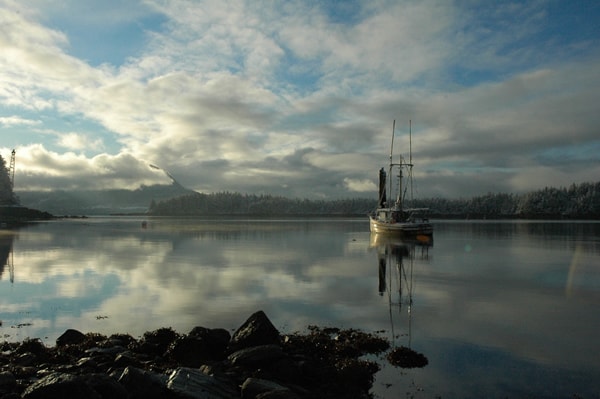
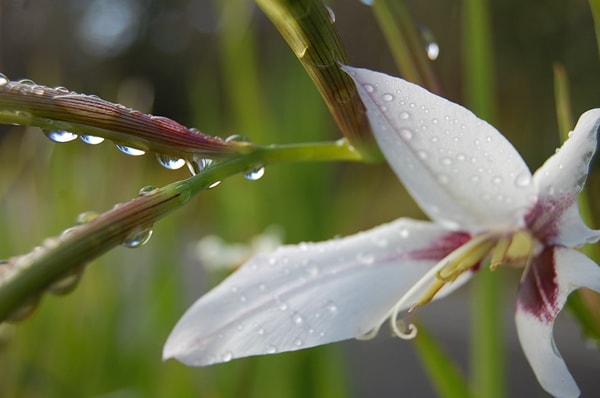
Cloudy conditions come with a bonus: their very own soft box. With bright sun come shadows, however overcast skies disperse the sunlight, creating full lighting—much like a soft box would do. This makes it ideal weather for taking many different kinds of photographs. Nature shots are ideal in these conditions, as the bright overcast sky allows you to get clear shots of details with less glare and shadows.

Inside portraits are also perfect in this weather. You can have your subject sit inside next to a wide window. The light spilling in through the window offers full lighting for portraits, without causing too many shadows.
Of course, cloudy conditions also offer a great time for scenic shots or stills, especially when trying to capture a composition of bright contrasting colors. The contrasting dark and light colors will lend themselves nicely together and make for a vibrant and colorful composition. Occasionally though, photos shot during this time will have a bluish tint, so one solution would be to shoot in RAW and then adjust the white balance later.
Golden Hour
Ah, the elusive golden hour: the time just after sunrise and before sunset.

During the golden hours the sun sends out more diffused light, and casts a soft glow over everything. There are fewer shadows during this time and often light appears somewhat golden. This gives an ethereal almost other-worldly appearance to photos, and can cause even the most mundane of objects to look stunning.
With a name like “golden hour” it may be easy to assume that it’s a perfect hour that allows you to capture great pictures every time. Of course, we know that it isn’t quite that simple!
The light during this time of day is helpful, but it is obviously not a guarantee that you will get amazing results every time. You must still make the light work for you. Is there a vantage point that you know of? Go there early, and find a unique angle to set your tripod up at. Get ready because often the golden hour doesn’t last very long. Light can change dramatically during this time of day. Also, make sure that your camera doesn’t make an error with its exposure as dramatic lighting often can cause this to happen. This is also another great time of day for portraits, as the glow helps lend its beauty to the subjects, and makes for more flattering shots.

For scenic shots, a small aperture is usually preferable, but one of the most effective ways to capture portraits and stills in this beautiful light is to use a wide aperture; something like f/1.4 or f/2.8, sometimes I even use f/5.6 depending on the light. This will give you a shallow depth of field, drawing the subject into focus. The background light from the setting -or rising- sun can even create bokeh, which makes for a wonderfully simplified background; with better focus on the subject.
Finally, just have fun
Don’t be afraid to experiment with different lighting conditions. I’ve found that I have ended up with some surprisingly good photos in lighting conditions I wouldn’t normally have considered ideal. Remember also, that with lighting and camera settings, rules are just there to help you.
Don’t be afraid to go against the grain and take some untypical shots. You just might surprise yourself, and will learn what works for you; eventually developing your own signature style.
