What is a 'Stop' in Photography?
 by
Jo Plumridge
by
Jo Plumridge

Ever heard a photographer use the word ‘stop’ and wondered what on earth they’re talking about?
If you’re just starting out in photography, understanding stops and their relation to the exposure triangle of ISO, shutter speed and aperture is really important, so this guide should help you along the way.
Here’s what we’ll cover:
- What is a stop?
- Shutter speed
- Aperture
- ISO
- Bringing the exposure triangle together
 Image 001 – Photo by Sandra Kaas
What is a stop?
Key Lesson: The definition of a stop is actually quite simple. A stop means doubling or halving the amount of light let in when taking a photo. So a one-stop increase means that the amount of light doubles, while a one-stop decrease means the amount of light is halved. You might also hear the term ‘opening up a stop’, which means letting more light into the camera or ‘stopping down’, which means letting less light in.
So a stop is referring to a stop of light – as we all know, light is everything in photography and without it there’s no image at all. When we’re taking a photograph the three elements of our exposure triangle (ISO, shutter speed, aperture) are what we use to capture said light. We’ll explore how each factor works in the following sections.
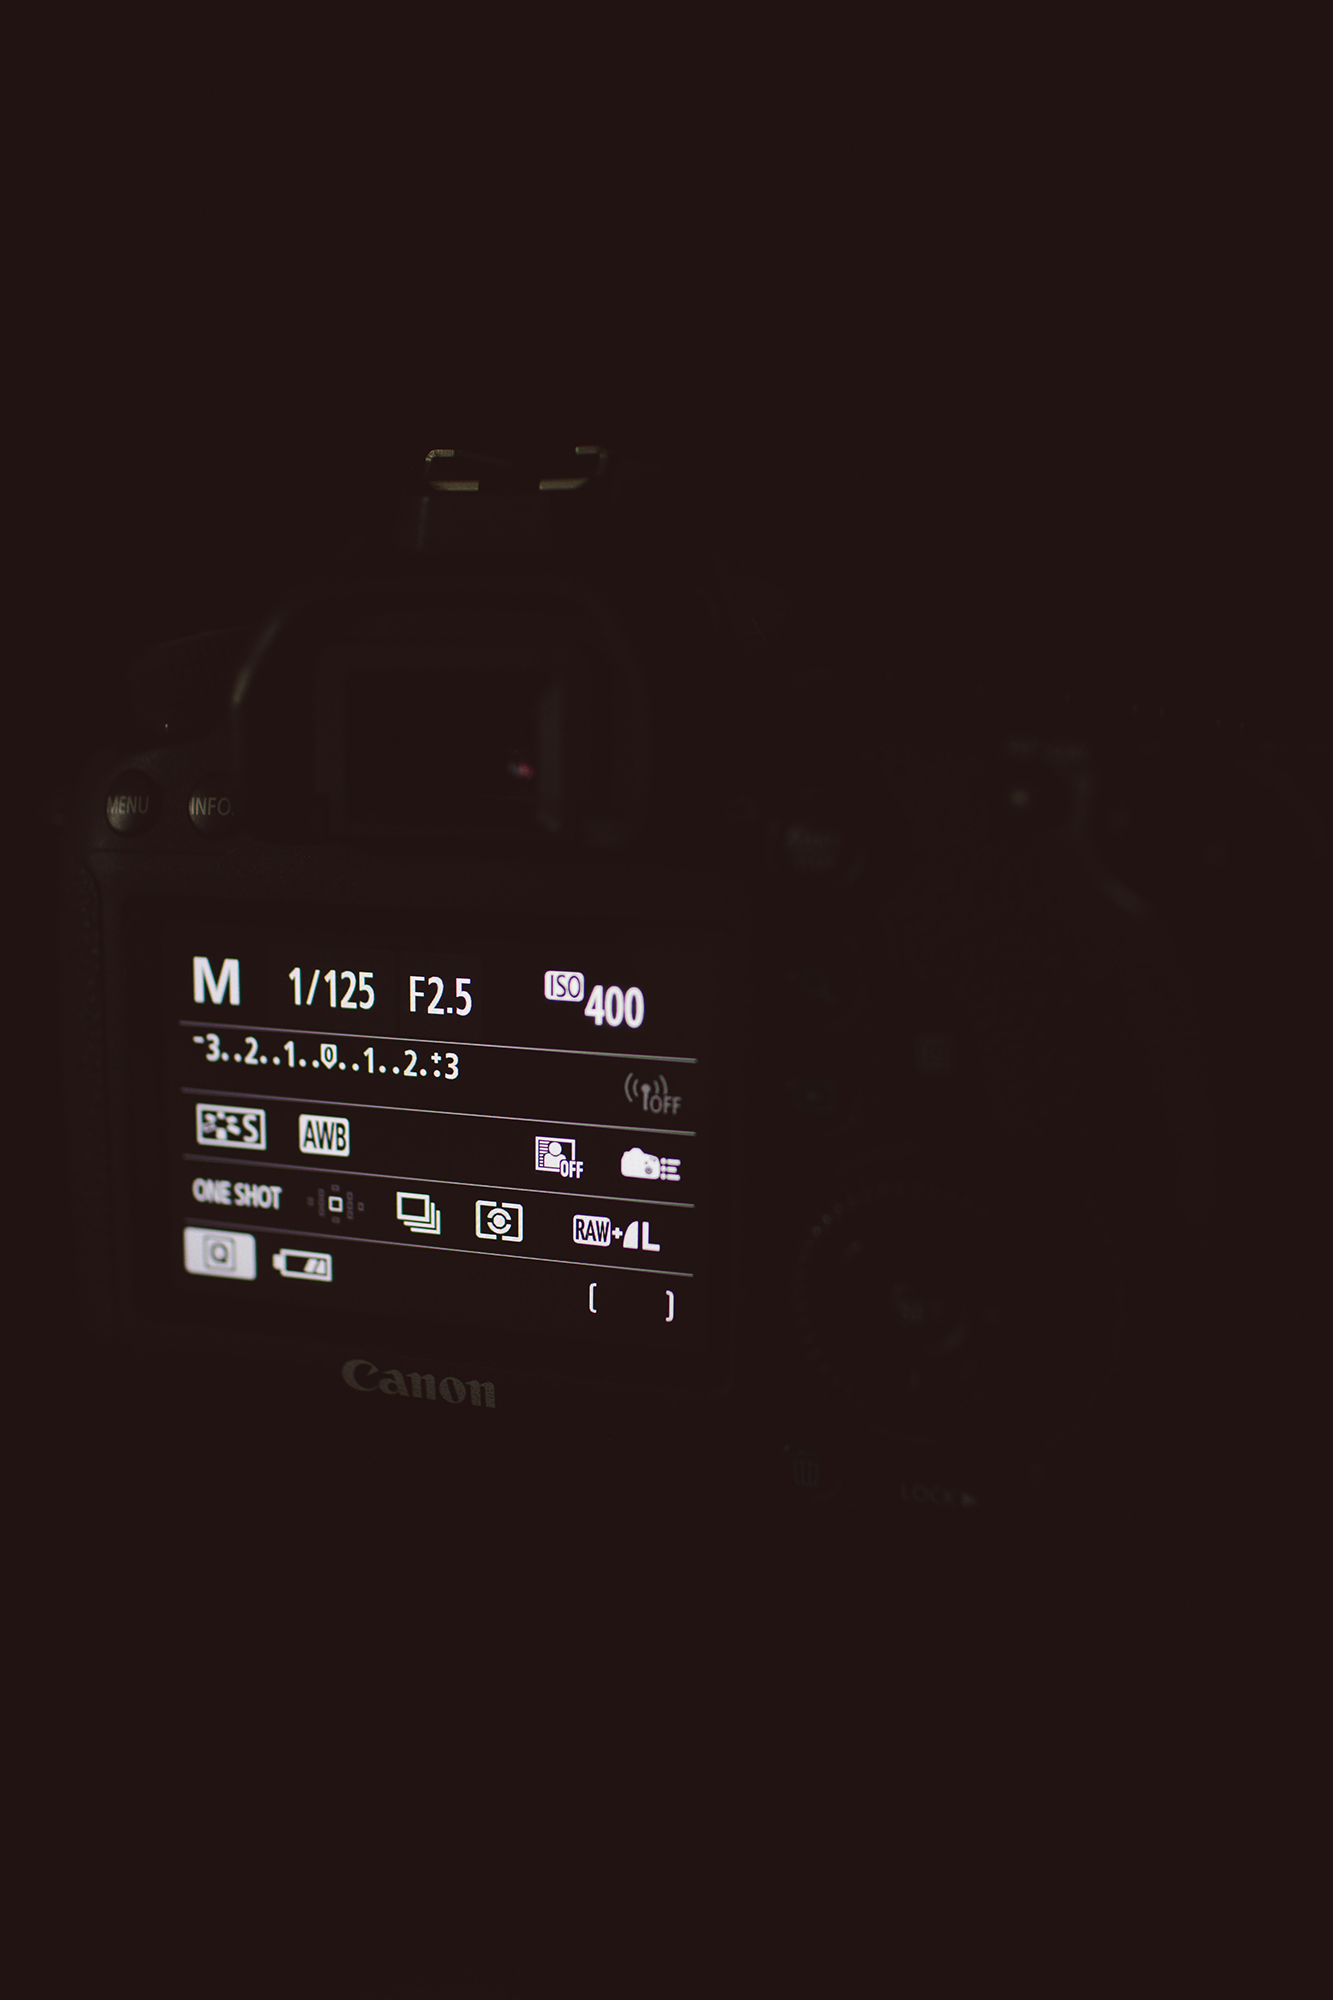 Image 002 – Photo by Smart.
The three elements of your exposure triangle are displayed along the top row in this image. Changing one will affect the other two.
Shutter Speed
The shutter speed on your camera controls how long the shutter is open for during a shot. As is logical, the longer the shutter is open, the more light is let into the camera and the greater the exposure will be. Shutter speed is measured in seconds and fractions of a second. So, doubling or halving your shutter speed gives an increase or decrease of one stop of exposure.
Let’s look at this in real terms. For example, altering your shutter speed from 1/60th to 1/125th lets in half the light, so you’re decreasing the exposure by a stop. Conversely, going from 1/60th to 1/30th lets in twice the light, meaning you’re increasing the exposure by a stop. Like apertures, most digital cameras allow you to increase the shutter speed in increments of one stop.
 Image 003 – Photo by Cathy Mü.
Although depth of field (and therefore aperture) is often the first consideration in the exposure triangle, a fast shutter speed takes precedence if you need to freeze action.
Aperture
Apertures are probably most commonly associated with the word ‘stop’, as they’re measured using the f-stop, which relates to the diameter of the aperture. Here’s the slightly confusing thing about apertures – the smaller the f-stop (or f-number) the wider the aperture (i.e. it lets in more light). A larger number means a narrower aperture (i.e. it’s letting in less light). So, for instance f2 is a wide aperture, whereas f22 is a narrow aperture.
Aperture stops aren’t an exact doubling or halving of the value, although you can obviously think of them as such for ease of use. In actual fact, each stop is a result of multiplying or dividing by 1.41, which is the square root of 2 (e.g. f2.8 to f4 is a decrease of one stop because 4=2.8 x 1.41).
With digital cameras, you have an even more finite control of apertures than used to be available on film cameras, as you can control it in 1/3-stop increments.
ISO
ISO describes how sensitive the camera’s sensor is to light. The higher the ISO number, the more sensitive the sensor is. And a more sensitive sensor will give you the same exposure from less light, allowing you more flexibility with your shutter speed and aperture settings.
ISO speeds are usually only alterable in one-stop increments, so ISO 100 to 200 doubles the sensor’s sensitivity for example. Do note though that a few cameras will allow you to alter the ISO speeds in increments of a stop. Of course, the downside of raising your ISO too high is that you’ll start to get noise and distortion in your images.
Bringing the Exposure Triangle together
We can use ‘stops’ to describe altering any of the three elements of the exposure triangle and it gives us an easy way to remember things. What this means overall is that you can achieve the same exposure in multiple ways and by adjusting and swapping the three elements around.
Key Lesson: The reason this is important is that the way you change your stops depends on what you’re photographing and what elements must be taken into consideration. If you’re photographing a fast-moving subject, for example, you’ll want a fast shutter speed to freeze the action. So this means you’ll need to let in more light using the stops of your aperture and your ISO. Conversely, you might be shooting a portrait where you want a small depth of field to create a blurred background. This means your aperture will be letting in a lot of light (as a large aperture equals a small depth of field). You may therefore need to use your stops to decrease the amount of light entering the camera via your shutter speed and ISO.
What this means is that you can get the same exposure with different settings, but you’ll want to take into account what you’re trying to achieve with your image and the look that you want it to have. The key thing is to remember that every time you alter one aspect of the three functions, you’re either gaining or losing a stop of light. So, for example, with a set ISO of 100, ¼ second at f8 will give you the same exposure as 1 second at f16. In this example, the shutter speed has been increased by two stops to let in more light, thus necessitating the aperture being reduced by two stops to balance out the extra light. Or, as another example using an ISO of 400 f5.6 at 1/125th will give the same exposure as f8 at 1/60th. Hopefully, you’re starting to get the idea of how this works.
One final note – I’d always recommend altering your shutter speed and aperture before ISO. Modern digital cameras, particularly those at the higher end of the price scale, are very good at coping with high ISOs and you’ll have to push them a long way before you notice any degradation. However, noise is always going to be visible to some extent, so try and keep your ISO as low as possible. For instance, you might have a reading of 1/50th at f5.6 with an ISO of 1600. Dropping your ISO to 400 will give you a cleaner image, although you’ll need to open your aperture to f2 to allow an equal amount of light into your image.
 Image 004 – Photo by Bulbul Ahmed.
Choosing the right combination of settings is vitally important – this shot wouldn’t be as successful if the background wasn’t blurred to draw attention to the subject.
Conclusion
It can be a delicate balancing act adjusting stops. Depth of field is crucial in a photograph, so making sure you can use the correct aperture is often the most important factor of the exposure triangle (unless you’re shooting a few things such as sports, which need a fast shutter speed). By learning how each element of the exposure triangle works and how each stop is calculated, you’ll find it far easier to control your images and the look you achieve.
Self-help quiz
- What does opening up mean?
- What does stopping down mean?
- Is f2 a wide or narrow aperture?
- What happens when you raise the ISO?
- If you have a set ISO of 400 and shoot at f5.6 at 1/125th, what’s another set of aperture and shutter speed readings that would give you the same exposure?
About the Author: Jo Plumridge
Jo Plumridge is a UK based photographer, writer and lecturer. She specializes in portrait, corporate and travel photography, and writes photography, travel and comedy pieces for magazines, websites and books. You can see some of her work at her website, or follow her on Twitter.