10 Simple & Inexpensive DIY Photography Gear Projects

Photography can be an expensive hobby. I know this all too well. Not only do you need a good camera and an assortment of lenses, there are so many other things you can add to your kit that it can get prohibitively expensive.
That’s why many photographers enjoy DIY photo gear projects that are cheap, useful, and fun to use. Many DIY photography projects are easy, and you can complete them within an hour or less, while others need a bit more time, patience, creativity, and energy. But they’re worth it.
Let’s go through ten simple DIY photography gear projects you can do at home.
DIY Diffuser
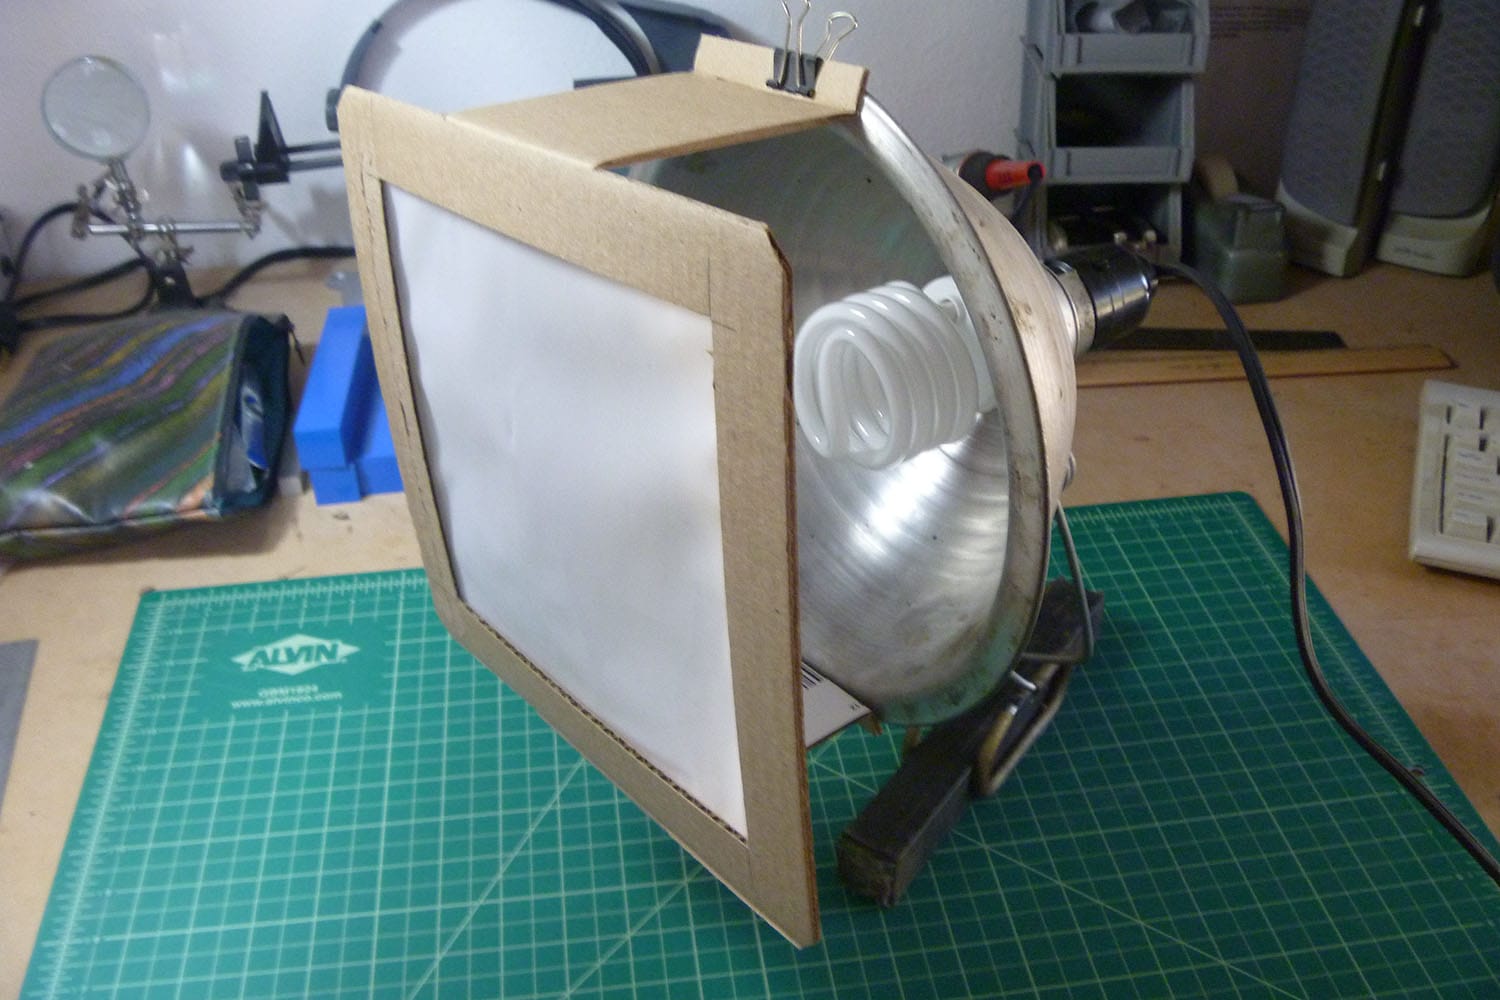
Photo by el cajon yacht club
A diffuser will help you create a softer light from any significant light source. Making a diffuser is not difficult. Take a large picture frame and remove its canvas from the back so you’re left with only the frame. You can also cut out a piece of cardboard to create a frame. You can even use PVC pipes with an elbow connector to create your frame.
Once you’ve done that, take a white sheet, spread it across your frame, and then staple or nail it. When you shine a light source through the frame, the white sheet will act as a diffuser and help achieve a more subtle glow and soften shadows. You can even take this a step further and create a more complete softbox by completing more sides and creating a cube.
DIY Ring Flash Adapter
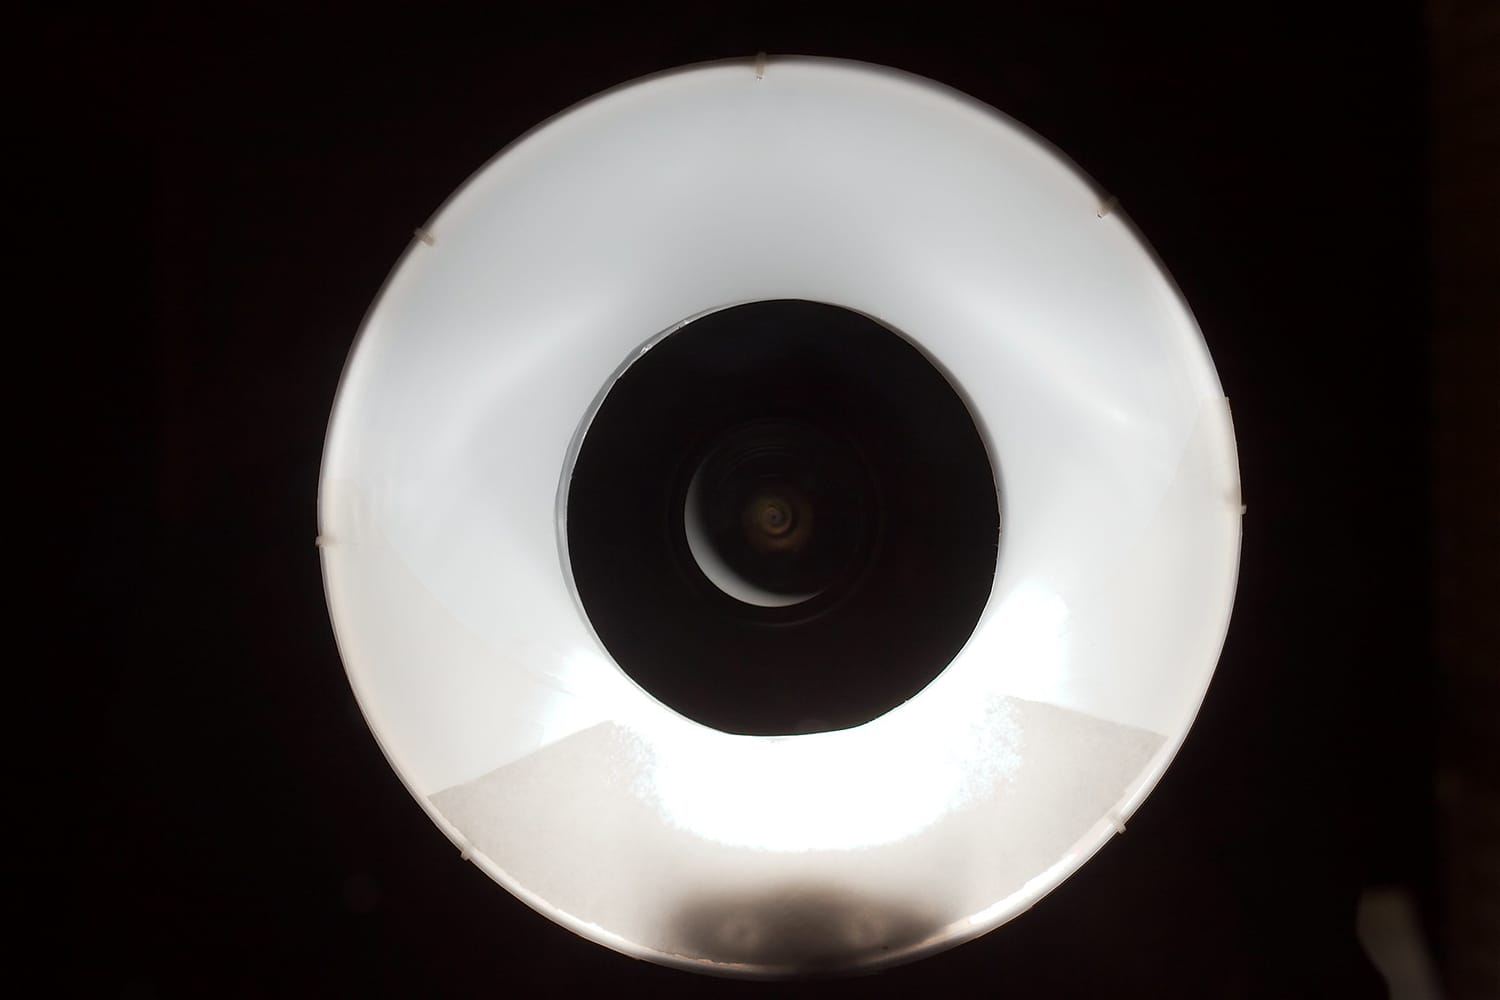
Photo by Roy Niswanger
A ring flash adapter creates a nice, even light. They produce a shadowless look to the front of subjects and encircles them with a halo type of glow. Ring flashes accessories can also crease ring-shaped catchlights in your subject’s eyes.
Although used mostly in fashion shoots, you can also use flash rings for macro photography and even portraits. To create a ring flash adapter, you can follow instructions from DIY Photography. You can also try making a more durable ring adapter using a flexible cutting board, black paint, and reflector tape.
Using instruction from fredmiranda.com, you can develop a fancy ring adapter that would have cost you over a hundred dollars!
Fairy Lights
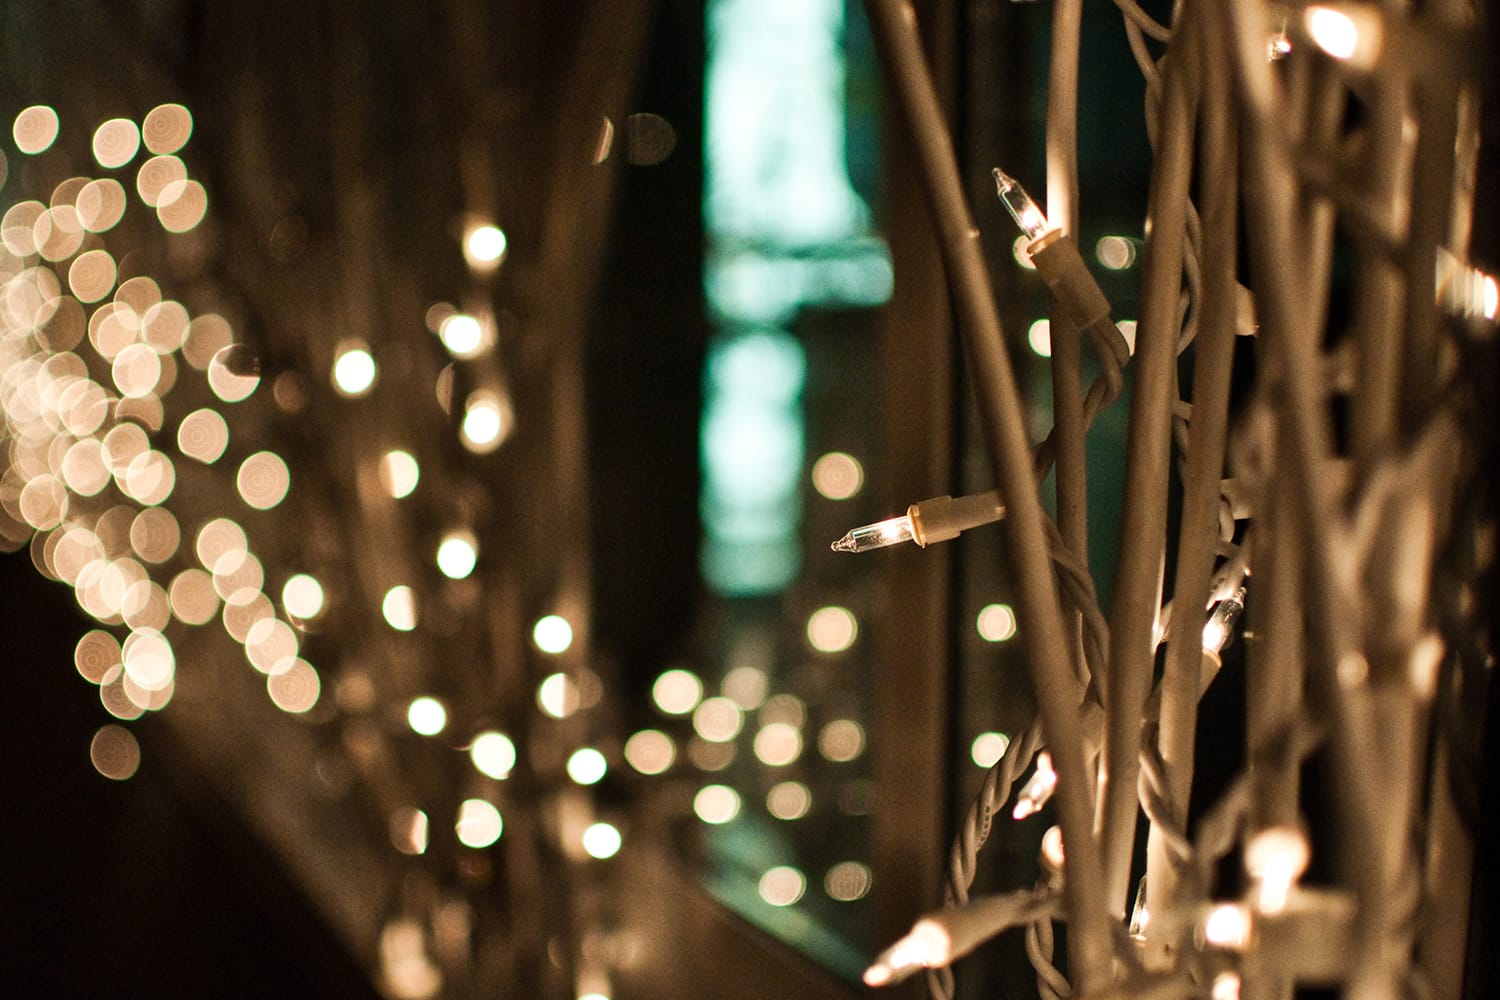
Photo by TMAB2003
Nothing makes fantastic DIY lighting like fairy lights. They’re all about making photos aesthetically pleasing. Creative photographers have turned fairy lighting into an excellent way to light their subjects.
Fairy lighting comes in a variety of shapes and colors. So, they’re perfect backdrops for any subject. You can use them to blur your images to create a pleasant bokeh effect. If you place fairy lights in front of your camera lens, it can create a dreamy foreground.
They’re also a perfect source of light for catchlights in portrait images. Apart from being visible and easy to use, fairy lights can be visible in many types of photos without looking out of place.
DIY Light Tent
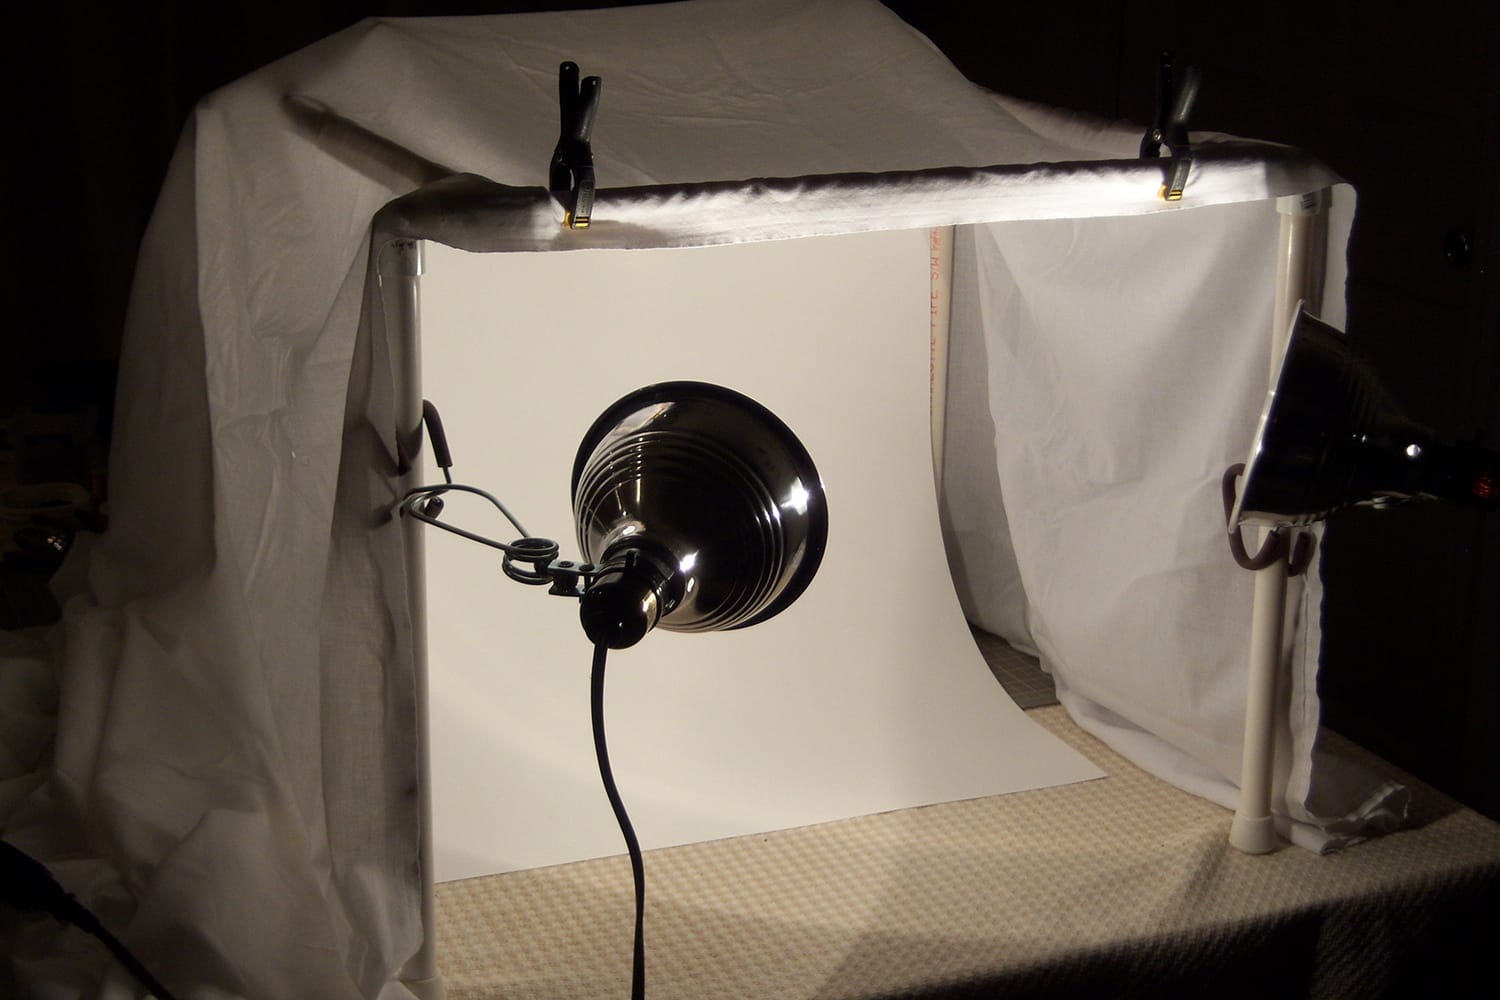
Photo by Deborah Lee Soltesz
Light tents are the best way to photograph objects and products faster. Once set up, you can swap products in and out and keep shooting. Light tents can also diffuse light, eliminate harsh shadows, and work perfectly when natural light is scarce.
Light tents cost little; you can order them online, but they take time to be delivered. So, instead of buying one, why not make it yourself?
First, take a large cardboard box for the frame (alternatively, any wood can work great). Slice off the sides of the cardboard box to remain with the supporting frame. Cover the side with a white sheet, leaving only the front end open.
To create a perfect background, hang a piece of a white sheet from the back of the light tent, allowing it to hang downwards toward the front to create a slight curve. The key reason for this is to create a perfectly smooth background with no crease.
Finally, you’ll need to light the tent. Good old table lamps can work well for this. Set two at each side of the box and one at the top to shine down through the top. To get the perfect lighting, simply adjust the light tent’s brightness by moving the lamps closer or away from the tent. It works great as long as a subject can get inside the tent.
Fiber Optics
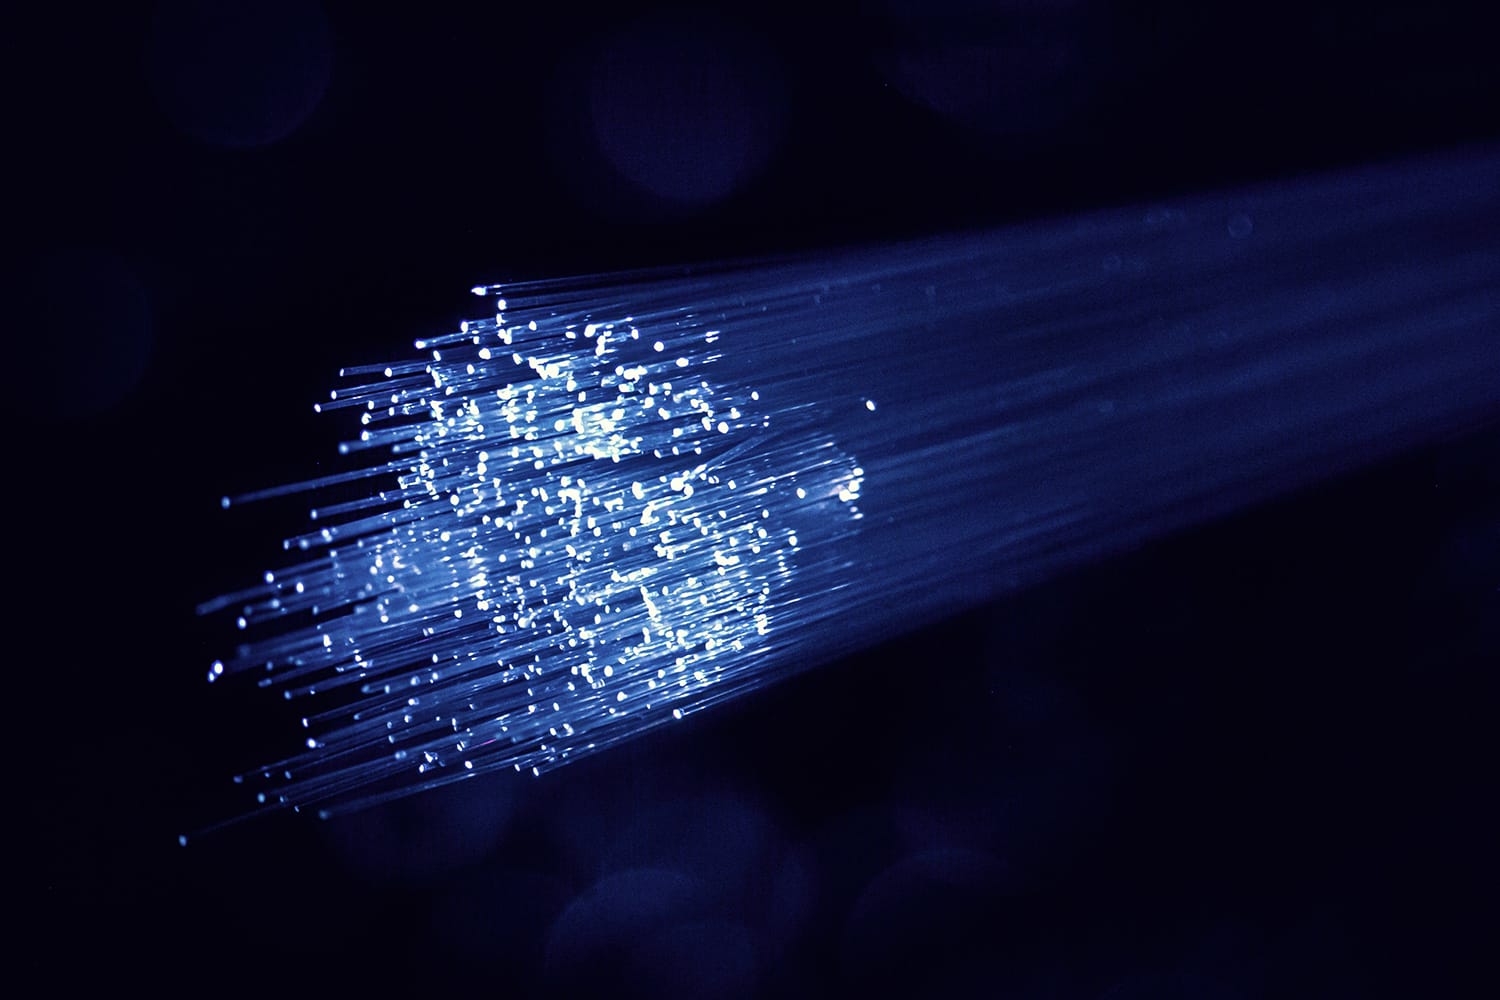
Creating great DIY photography lighting means using any gear available. The best lighting products are those made from fiber optics like a light brush. Anyone can make a light brush by buying a cheap fiber optic table lamp and attaching it to a flashlight using some black tape.
A light brush is the perfect light painting tool. You can create your own DIY photo lighting effect by exposing the light brush to light for 10 seconds, then set the white balance on your camera to tungsten and move the flash together with the fiber optics – perfect blue light ambiance.
DIY Bokeh Shapes

Photo by db Photography | Demi-Brooke
Using bokeh is the perfect way to create photos of lights molded into shapes. Bokeh is about how blurred the background of the image is.
Because the shape of the light is similar to your camera aperture’s shape, you can’t alter the shape of your camera bokeh. But instead of going inside your camera and physically changing how light enter the lens. You can create a bokeh-shaped filter and put it on the front of your camera.
First, cut a circle from black cardboard by tracing a lens cap. The circle size should match the size of your camera lens. Mark the center of the circle, draw a shape (a star, a heart, etc.) using a pencil in the center of the circle, then cut the shape with a craft knife.
The next step is quite simple and involves attaching your bokeh shape to the front of your lens to create the effect. If it doesn’t fit, use gaffer tape to fix it. Make sure you do not block the cutout shape with the tape. You can then use a fast aperture lens (f/1.2 to f/3.5 for example) and place Christmas lights in the background behind your subject to create your bokeh effect in the shape that you cut out.
Seamless Background
The seamless background is arguably one of the easiest DIY photography projects. This background is best for taking photos of small objects. Making a seamless background is easy and only needs a few items.
These items include a cardboard box or a chair, a tape, and a poster board. Tape the poster board to the back of the chair, letting the poster board slat onto the chair’s seat. Then, place your seamless background next to a wide window to allow plenty of light. This background is best for taking photos with a simple yet professional background.
Hazy Image Effect With a Sandwich Bag
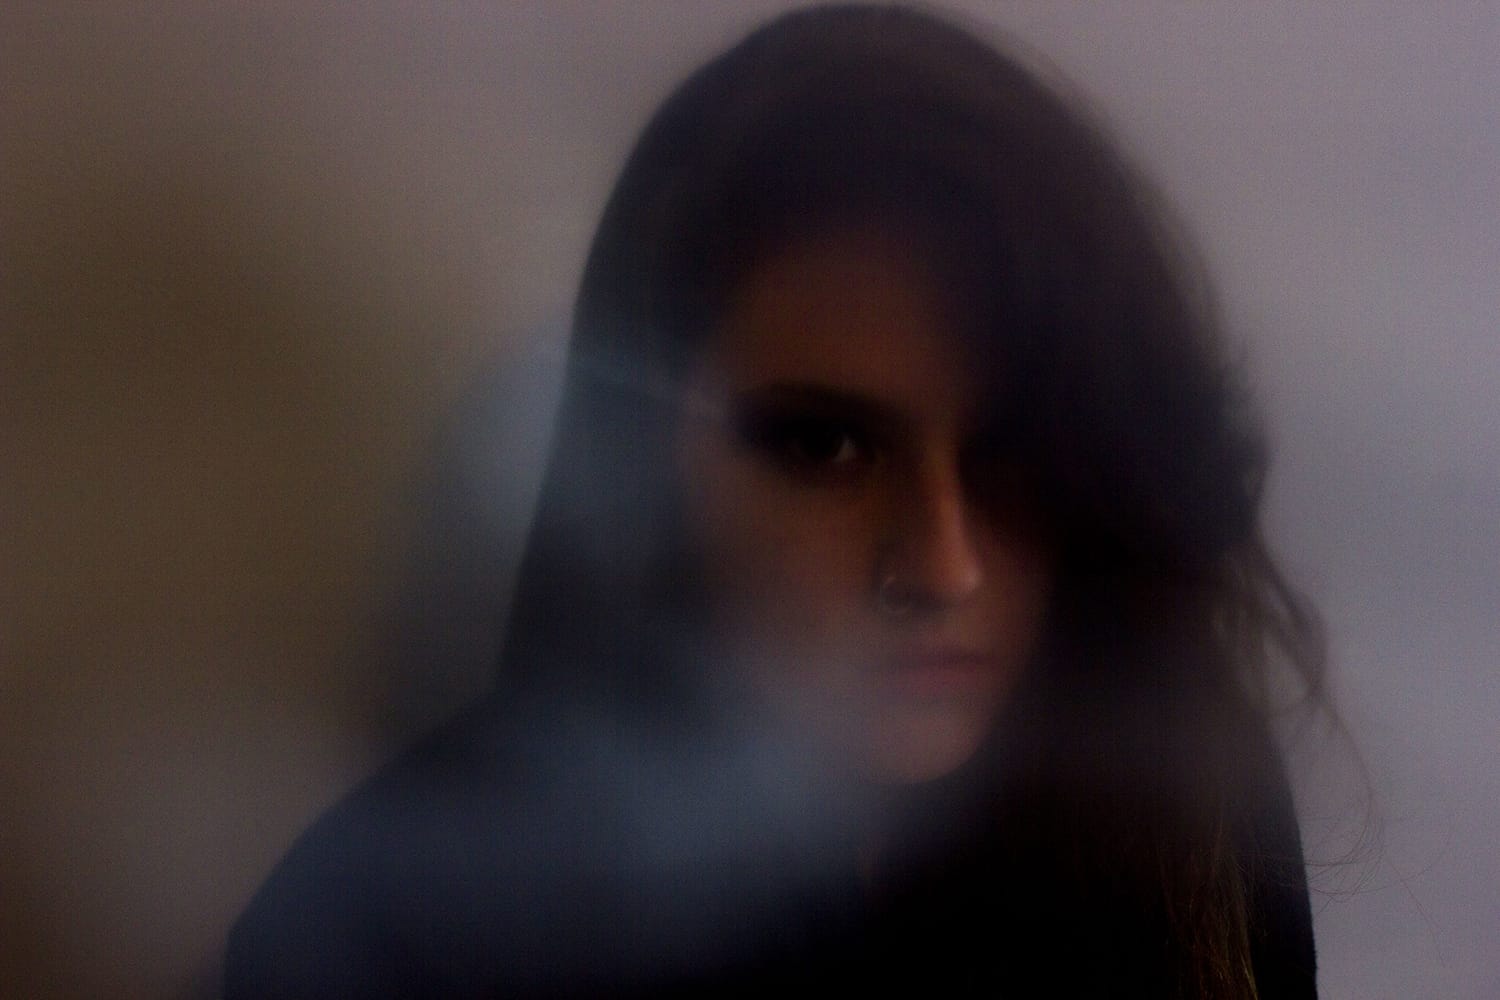
Photo by Chloe Muro
Wrapping a sandwich bag around your lens can result in photos with a hazy, ethereal effect. At first, it might sound silly, but once you try it, the result is astonishing.
Take a sandwich bag and tear a hole in the closed side of the bag using your hand. This will give you a rough, random, and uneven edge. After that, take the sandwich bag’s open end and slide it over your lens, such that it extends a little past it. Then, make sure it is visible through the viewfinder.
It’s best not to cover the middle part of the frame if you want to have a clear section so you can see your subject through. It’s as simple as that. Now you too can take hazy photos.
Beauty Dish

Photo by Kwame Nkansah
The beauty dish is a great lighting modifier. I recommend this to everyone who shoots portraits, but most beauty dishes are relatively expensive. Here are well-written instructions by Todd Owyoung @ ishootshows to help anyone who wants to create a DIY beauty Dish.
Balloons
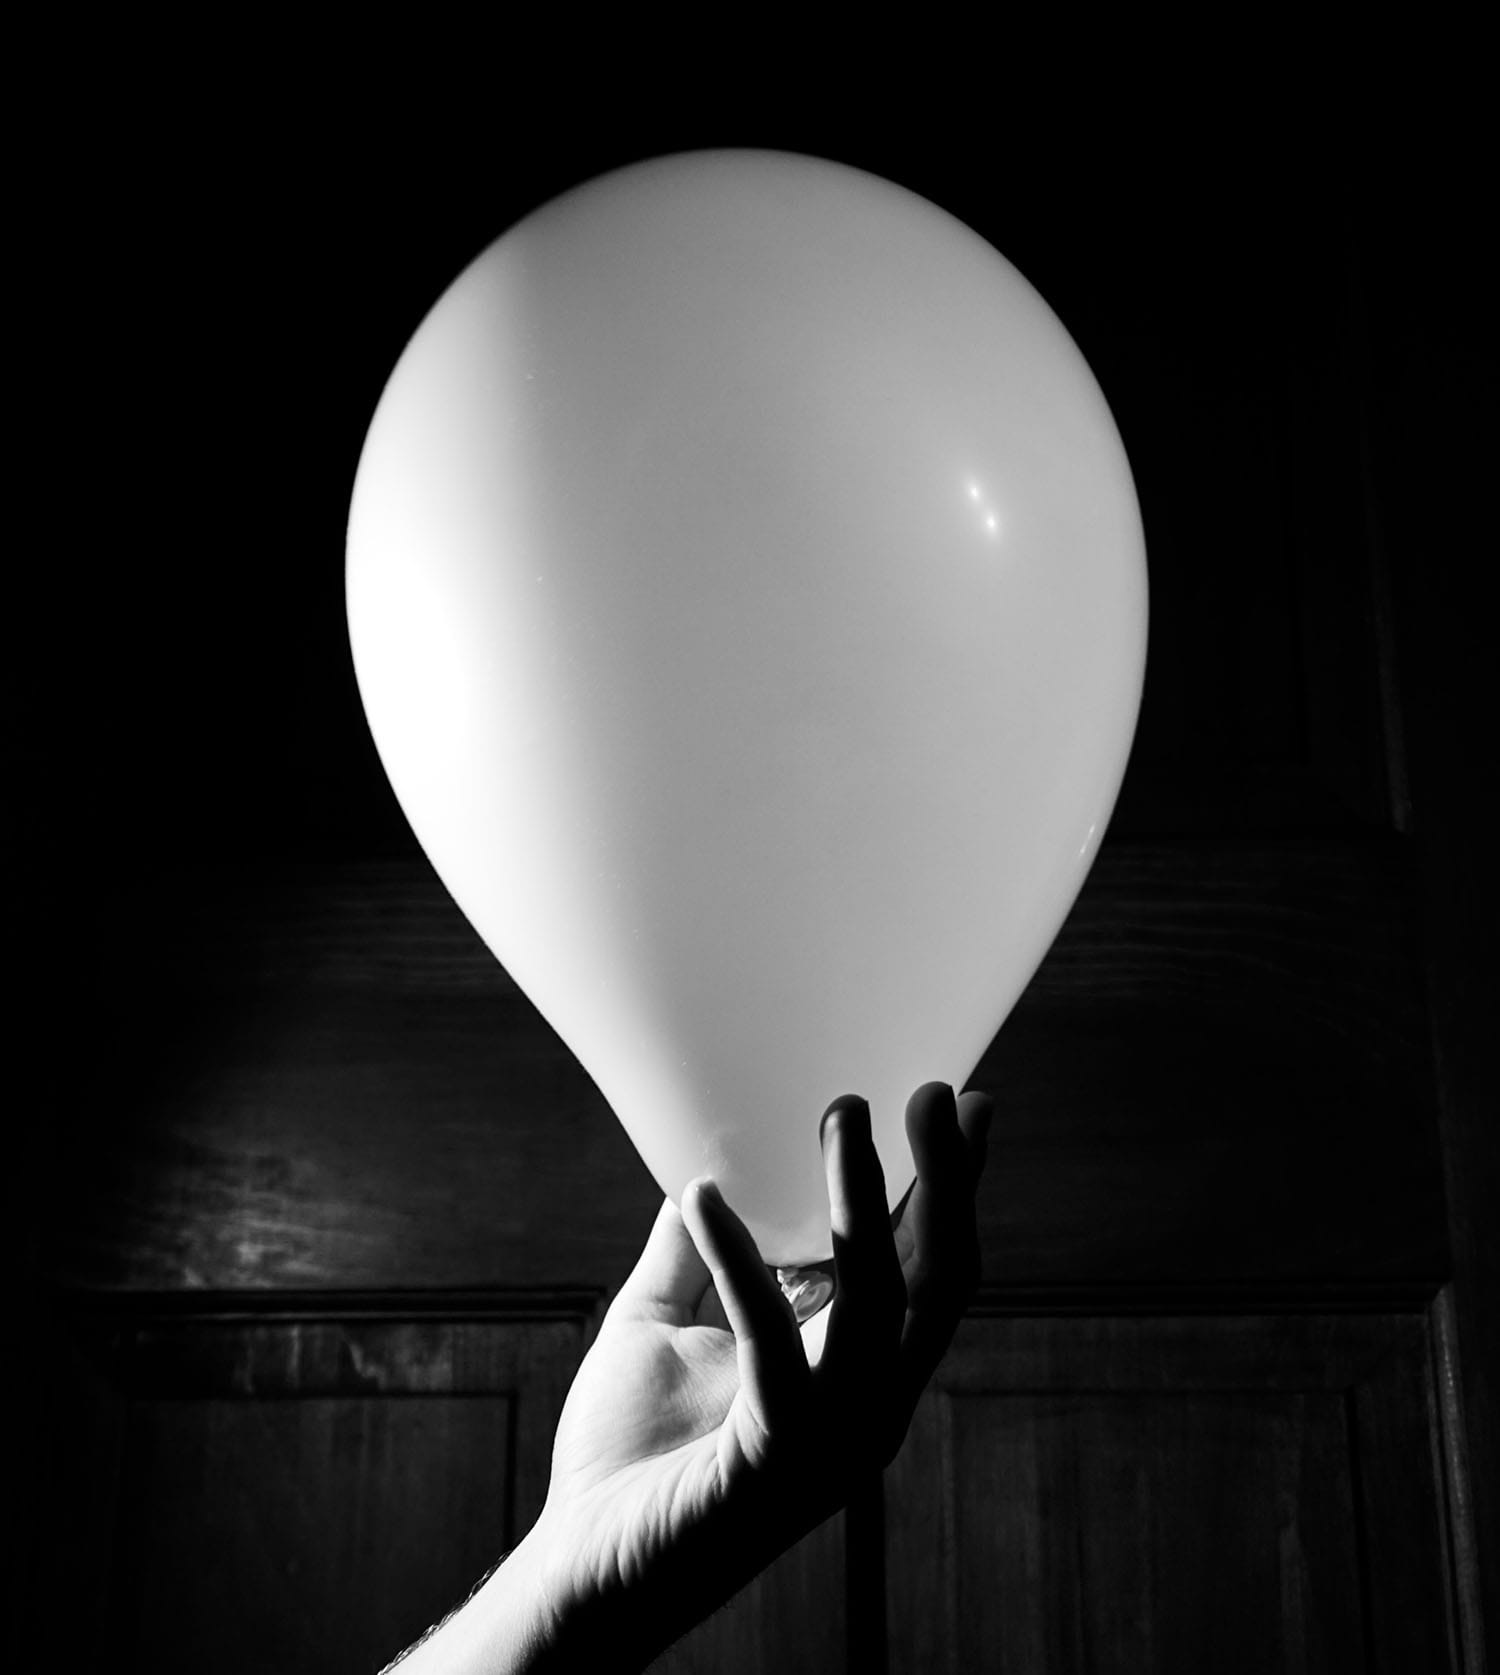
The most affordable way to create a DIY lightbox is to use balloons. You can control the size of the light effect by merely controlling the size of the balloon. A balloon can transform a small light beam into a big soft light source.
It’s as easy as using a flashlight and a big inflated white balloon. The best part with this DIY lighting box is it can cover more significant areas and even portrait images. You can even use colored balloons to change the color cast in your images and experiment with different colors. Of course make sure you don’t burn or melt the balloon with the light source and turn the light off frequently.
Conclusion
There you have it! Ten DIY photography gear projects you can do at home!
The materials to build these are readily available and usually quite cheap. But your journey doesn’t have to end here. Feel free to experiment and come up with your own DIY gear projects.
About the Author: Jon C. Phillips
 Jon C. Phillips is a photographer, watch lover, product developer/designer, guitarist & musician, and all-around web nerd. He's the founder of Contrastly which he launched in late-2012. He also co-founded DailyPhotoTips and TheDailyPreset.