12 Quick Lightroom Tricks Every Photographer Should Know
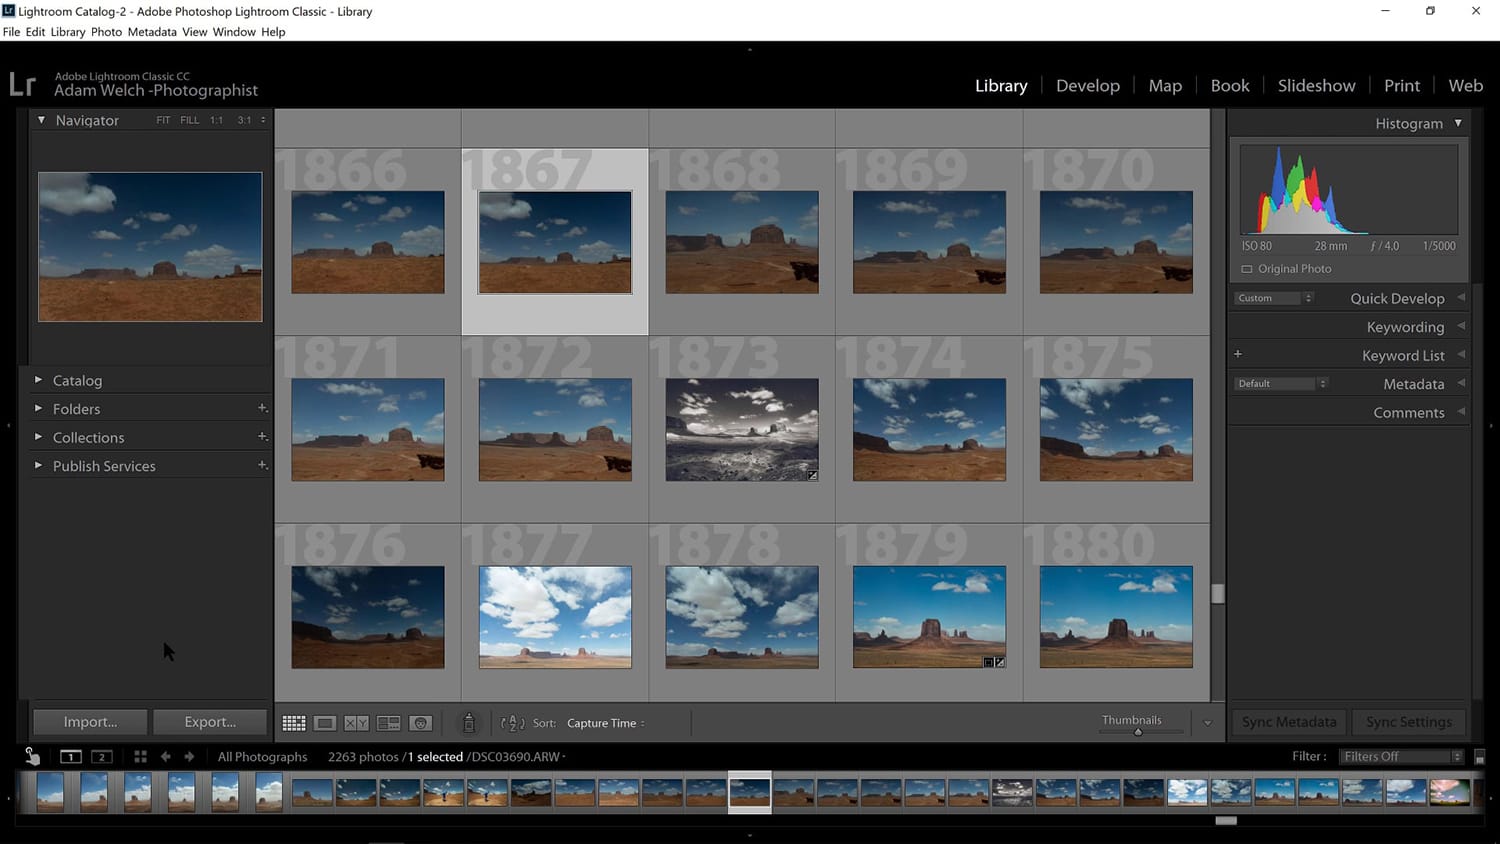
Lightroom is one really powerful piece of software, especially with Adobe releasing new features, improvements, and bug fixes on a regular basis now.
There are quite a few things you can do in Lightroom Classic to improve your experience and make your life easier when you’re working in the software. We’ve created 12 really quick tips along with short demo videos – you can use those right now in your Lightroom Classic workflow.
#1: Lights Out!
Did you know you can enter the “Lights Out” mode in Lightroom Classic CC by simply hitting the L key on your keyboard? It will effectively darken the whole Lightroom interface and keep the focus on the center pane – this works in every module. Hit L again to darken the interface even more, and L again to exit Lights Out mode.
#2: Importing Presets
Importing Presets into Lightroom has always been a little painful, but since Lightroom Classic 7.5, you can click the + sign in the Presets panel of the Develop module and import presets from there instead. You can even import a ZIP file and Lightroom will keep the folders and hierarchy. Easy, right?
#3: Copy Settings
Want to quickly copy the edits you’ve made to one photo to another image? That’s easy. Simply right-click on the image, select Settings > Copy Settings, then select your second image, right-click on it and go to Select > Paste Settings.
#4: Crop Overlays
Want an overlay of some pretty useful composition tools (like the rule of thirds, golden ration, golden spiral, etc…) on your image in the Develop module? Select the Crop tool, then go to Crop Guide Overlay > Choose Overlays to Cycle. Then simply hit the letter O on your keyboard to cycle through them! Hit Shift+O to rotate the overlays 90 degrees.
#5: Incremental Develop Sliders
You can move sliders in the Develop module by hovering your cursor over any of the sliders and pressing the Up and Down arrows on your keyboard for some fine tuning. If you hold Shift while pressing the Up and Down arrows, it’ll adjust the slider in larger increment.
#6: Show/Hide Side Panels
Need a little bit more room to work in Lightroom? Easy. Just hit the Tab key on your keyboard to hide the left and right panels in any of the modules. Hit Tab again to get the panels back.
#7: Virtual Copies
Want to create new virtual copies of an image (maybe you’d like to do completely different edits and then compare?) Select an image in the film strip and then right-click and select Create Virtual Copy. You’re then free to work on both the original and the copy independently. This does not create an actual copy of the original image file, it’s just a virtual copy.
#8: Increase Camera Raw Cache
Want to speed up Lightroom Classic a little bit? Increasing the Camera Raw Cache might help. Go to Lightroom’s Preferences and select the Performance tab at the top. Then, increase the Camera Raw Cache Settings to say 20 or 40 GB (by default it should be either 1 or 5 GB) depending on how many images you have and available space on your HD.
#9: Use Collections
Use Collections. Really. The Collections Panel is such a useful but underused feature of Lightroom. It is the only panel that’s accessible via any of the modules. By organizing your photos into Collections, you can easily find them no matter what module you’re in.
#10: The Paint Tool
Have you ever used the Paint tool in the Library module? It’s a great way to apply various settings to multiple images. Select the Paint can icon, then select what you’d like to “paint“, say Keywords, then enter a keyword in the field. Then simply click on all the images that are related to that keyword. Makes those repetitive tasks so much easier!
#11: Solo Mode
If you’re on a smaller monitor, you can enable Solo Mode in the Develop module to save some space and avoid scrolling up and down the panels while you’re editing. Right-click on one of the panel’s arrows and select Solo Mode. Now you can have only one panel open at once, no more scrolling endlessly and having all the panels open!
#12: Radial Filter Tool
Ever wanted to create a vignette using the radial filter tool in Lightroom Classic but had a hard time getting the radial filter to fit the whole image? Easy, hold CTRL (Win) or Command (Mac) and then double-click on the pin and it will make your radial filter extend to the edges of your image. Nice!
I hope you learned a few new tricks from this article. Of course there’s a lot more to Lightroom Classic than just those.

