5 Amazing Things You Can Do With Panning

Usually, photography is all about capturing tack sharp photos, preventing camera shake, freezing the action, and getting all the details.
Sometimes, though, it pays to be a bit creative, to break out of your comfort zone and use your camera to capture some blurry and abstract works of art. Enter: panning. Using intentional camera movement to create some amazing and unique images.
While most of us know that panning can be used to capture movement, this technique is also great for photographing stationary objects, or creating artistic, abstract images.

Photo by LadyDragonflyCC
If you’re looking for some new photography ideas, panning is a sure way to get your creativity flowing. Here are five different panning techniques that you can use to capture unique – and artistic shots.
1.Capture Motion
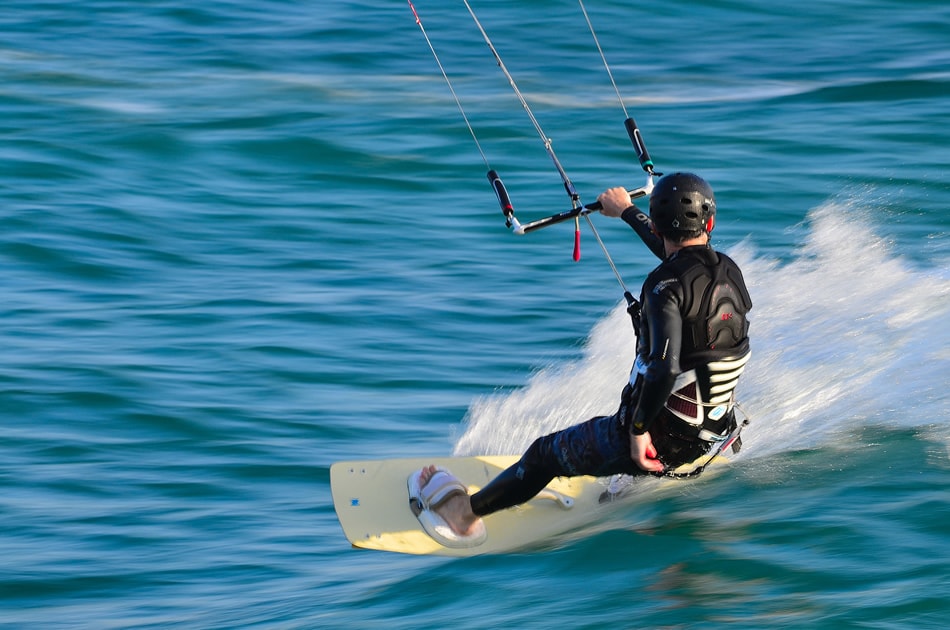
Photo by amira_a
Panning is often used to photograph sporting events, children on the go, pets that won’t hold still, and quickly moving bikes or vehicles. But you can also use this technique to capture someone on a merry-go-round, swing, or even an escalator. Panning allows you to keep the subject in focus, while rendering the background as blurry streaks, adding a sense of speed to the image.
How to do it: To get started, you’ll want to switch your camera to continuous shooting mode – also known as burst or bracket mode, to capture a series of photos in rapid succession. This will increase your chances of capturing the perfect shot. You’ll also want to use manual focus mode to ensure that the focus stays on the subject, not the background. Keep in mind that you may also want to use a tripod for added stability – one that’s fitted with a ball head will make it easier to swivel the camera. Next, put your camera in shutter priority mode. The shutter speed that you should use will depend on how fast your subject is moving, as well as how far away they are from you. Usually your speed will be between 1/100 and 1/4, but you may want to start with about 1/60, and work from there. Start panning by tracking the moving subject, keeping them in focus until they’re right in front of you before releasing the shutter. The longer the shutter speed, the longer the streaks in the background will be.
2.Create Abstract Landscape Images
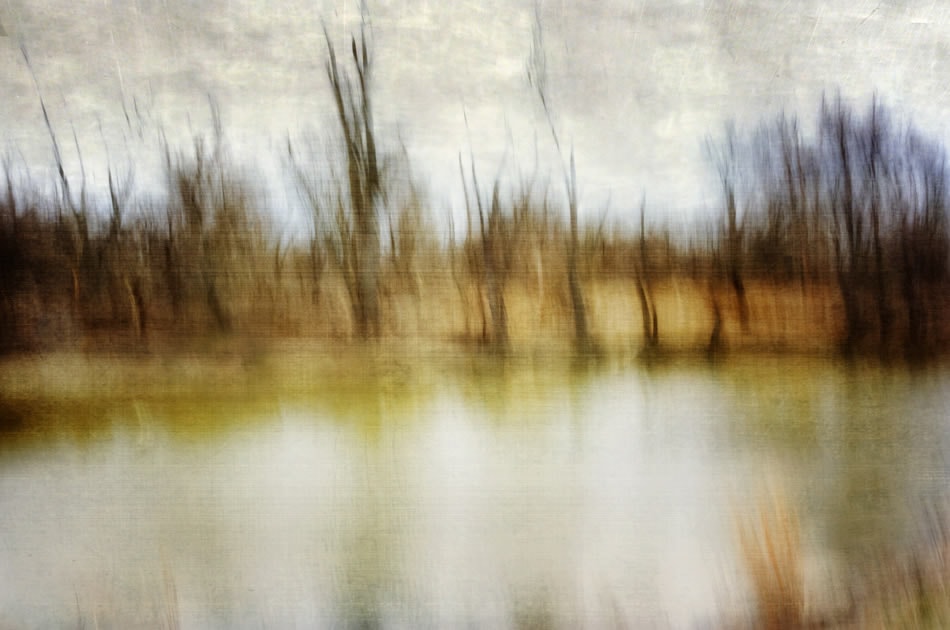
Photo by Bob Dilworth
Panning horizontally is a great way to create some amazingly abstract landscape photos. When done correctly, these images have an artistic quality, and often resemble paintings. Open fields, seascapes, or other settings that offer great contrast and color tone are ideal for horizontally panned landscapes.
How to do it: While panning is all about moving your camera, you’ll want to use a tripod to ensure that the movement is straight, rather than choppy. You’ll also want to use a slow shutter speed; somewhere between .5 seconds and 4 seconds usually works well. Start by focusing on a point on one side of the horizon, then slowly pan your camera horizontally, releasing the shutter just after you start the movement. You’ll want to continue this motion until just after the shutter closes. If your images are coming out overexposed, use a small aperture, like f/16, or a neutral density filter to block some of the light. You could also consider shooting in the late afternoon; there will be less light, allowing you to keep the shutter open for longer.
3.Capture Abstract Images of Trees
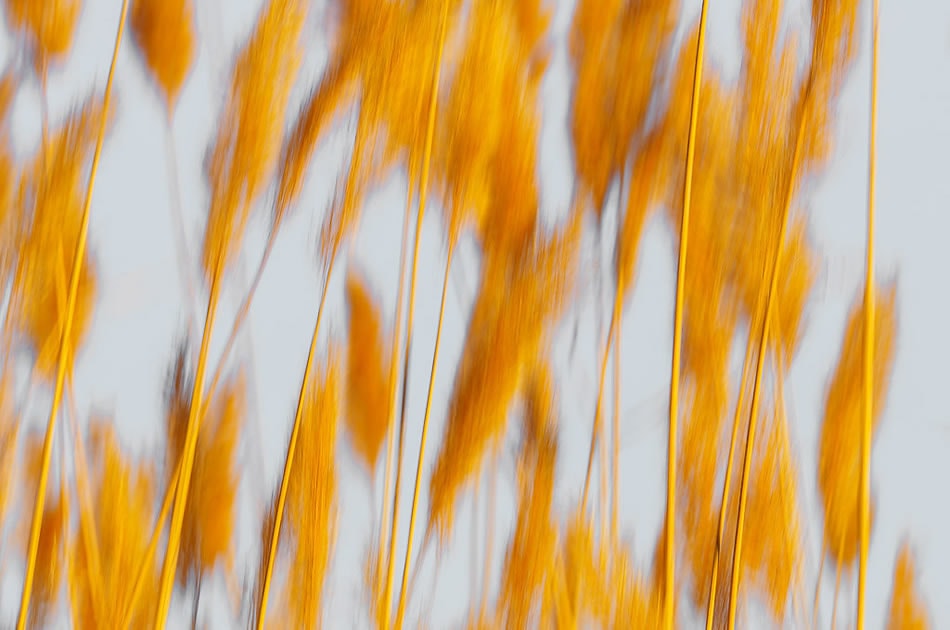
Photo by Oleg Afonin
While horizontal panning is usually ideal for landscapes, if you have a series of vertical objects – like trees or blades of grass, you may want to give vertical panning a try. Similar to the horizontal technique, vertical panning can leave you with images that look similar to paintings. This technique can help to lengthen objects, blurring them together for a wonderful masterpiece.
How to do it: For vertical panning, it’s usually best to use shutter priority mode and manual focus. In most cases, you’ll want to choose a shutter speed that’s around 1.5 to 2 seconds. Depending on the light, you may need to use a small aperture to allow for longer exposures. Start by focusing on an area at the base of the trees – or stalks of grass, and then slowly pan the camera up, releasing the shutter, stopping once you reach the top of the tree line.
4.Create Blurred Circular Images
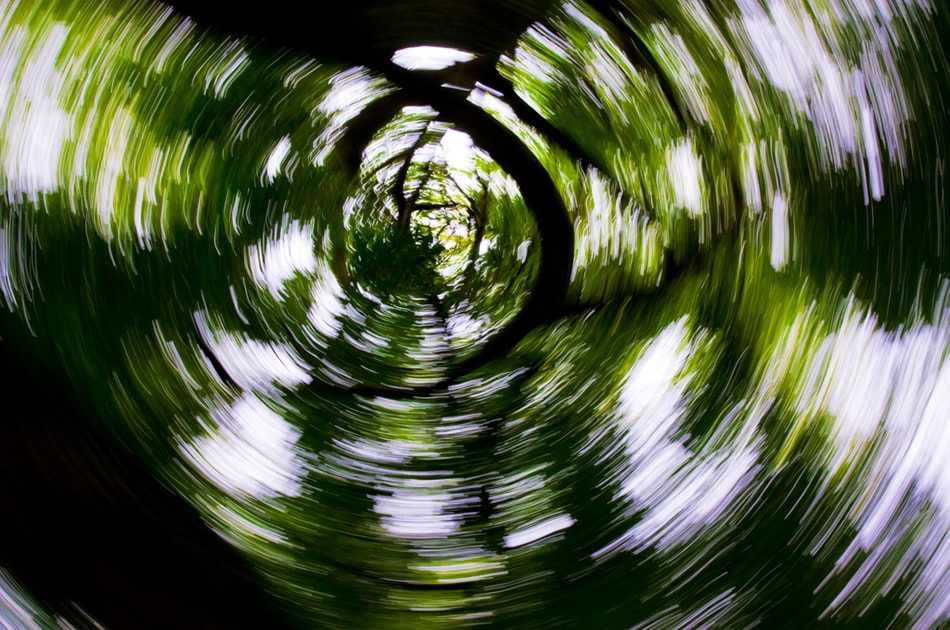
Photo by Paul Tomlin
Circular panning is a fun way to create eye-catching, circular images. This technique can be used to photograph a canopy of trees from the forest floor, or to capture a unique image that features a circular melding of colors. This is an especially good technique to use anytime you have great color contrast and light.
How to do it: Circular panning involves finding a focal point and rotating the camera slowly, twisting it from vertical to horizontal. For a unique spin on circular panning, you could also try zoom panning. This involves switching your camera to manual focus and twisting the lens, instead of rotating the camera. Rather than a circular blur, this technique will create more of a starburst effect, where movement seems to emanate from the center of the image.
5.Capture Abstract Waves
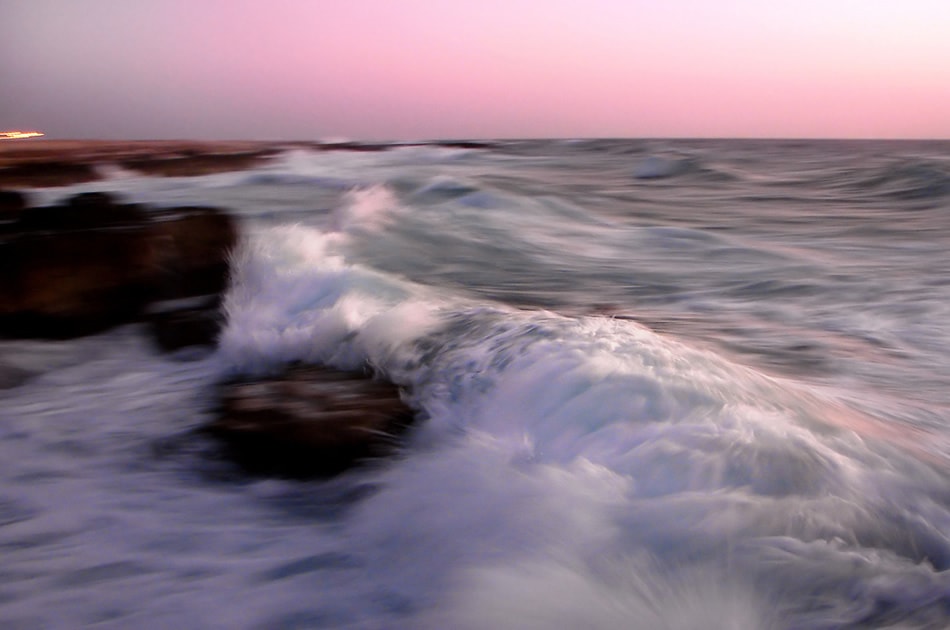
Photo by Hamed Saber
Have you ever tried panning a wave? Panned waves can make for some breathtaking, abstract images – with artistic flair.
How to do it: To get started, you’ll want to position yourself so that you can shoot the waves at an angle, rather than straight on, to capture the curl of the wave just before it breaks. For your camera settings, use a slow shutter speed – usually around 1/30 to 1/2 seconds – the slower the shutter speed, the more abstract the image will be. Then, find a wave to focus on and track it while it rolls in, releasing the shutter just before it breaks on the shore. If you get the opportunity, you may want to try panning some birds in flight against the backdrop of the waves, another excellent photo opportunity. For great results, consider shooting waves when the light is at its best, usually morning and early evening.
If you feel like you’re stuck in a creative rut, why not give panning a try? It may take some practice to get the hang of, but it’s not as difficult as it looks and you should be able to pick it up fairly quickly. With a little bit of practice, you’ll soon have this technique mastered, and will be able to use it to capture some unique and exciting images.
Have you done panning or intentional camera blur? We’d love to hear your tips, or see your results in the comments below!
About the Author: Christina Harman
 Christina is a part time blogger and full time photography enthusiast living in Southeast Alaska. She enjoys travel photography and has taken pictures in countries such as Mexico, England, France, and China. She likes sunny days, new lenses and drinking good coffee. You can visit her at Tangled Thoughts.