7 Great Tips for Upgrading Your Black & White Photos
In a world where every image seems to be packed to the brim with vibrant colors and saturated hues – let’s not forget that B&W photos can actually help tell a lot of stories.
They’re not easy to create. To come out with a good black and white photo means to summon all the creative streak in you. Sometimes, it will take hours to come up with the images you want. Other times, you may never be able to create the result or outcome you visualized. Nevertheless, you should not be discouraged. There are things you can do to improve or upgrade your black and white photos.
There are a lot of reasons why you’d want to upgrade your black and white photos. As previously mentioned, you’d want your photos to convey the story or message you intend for the audience. In addition to this, improving your B&W photos will also mean creating images that are more memorable and have stronger recall with your viewers. Lastly, upgrading your black and white photos will give you a chance to control the outcome of the images, so that they’ll be able to interpret reality better.
Here are some tips to keep in mind if you want more striking black and white photos.
1. Identify which scenes are better in black & white.
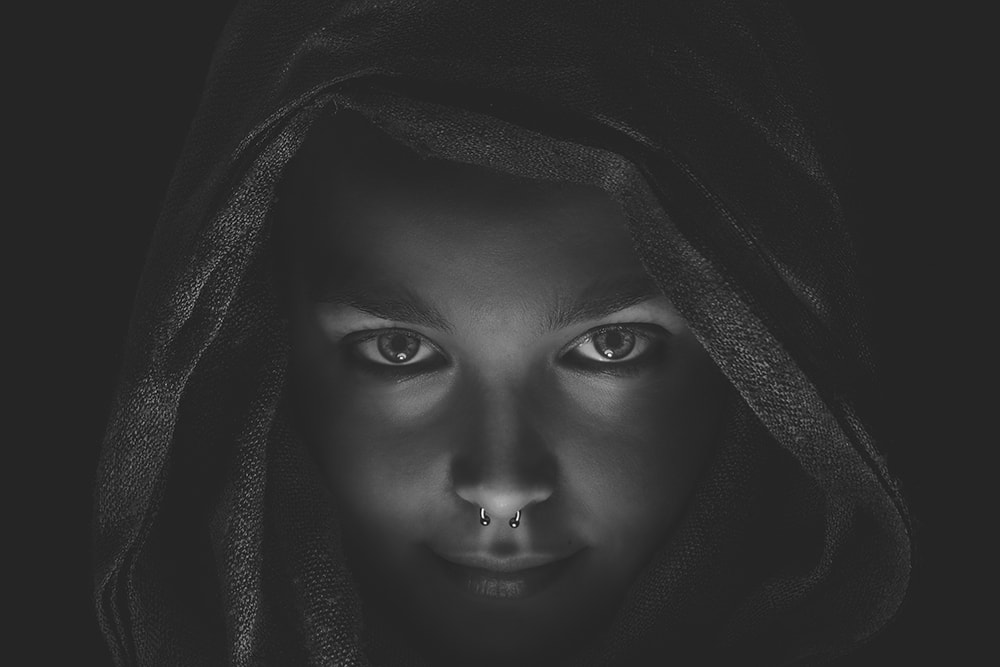
… and which ones are better in color. There are certain photos that will come out more effective if they are in black and white, and there are those that won’t have the same effect if they do not display colors. For example, would the photo of a rainbow create a similar effect if it were shot in black and white compared to when it is shot showing all its colors? This is something that every photographer should master. A creative mindset and days and hours of practice will help achieve this.
When practicing, try to picture the subject in black and white and visualize how it will look to you as a viewer. Additionally, if you are using a DSLR camera, shoot your photos in RAW format and in black and white mode. Your camera’s LCD screen will show the image in black and white but all the color details are retained and kept in the RAW file. If the image looks better with colors, you can always use the said information to develop your photo in color.
2. A wide tonal range is essential

You will want your black and white photos to be more defined, even if they do not display a lot of colors. If you utilize the tonal contrast, your images will come out with good highlights and shadows that help make the photos richer, livelier, and more captivating. As a result, viewers will not be seeing just one shade, but different tones – lighter tones and darker tones. This gives the photos more depth and meaning.
3. Highlight patterns and textures
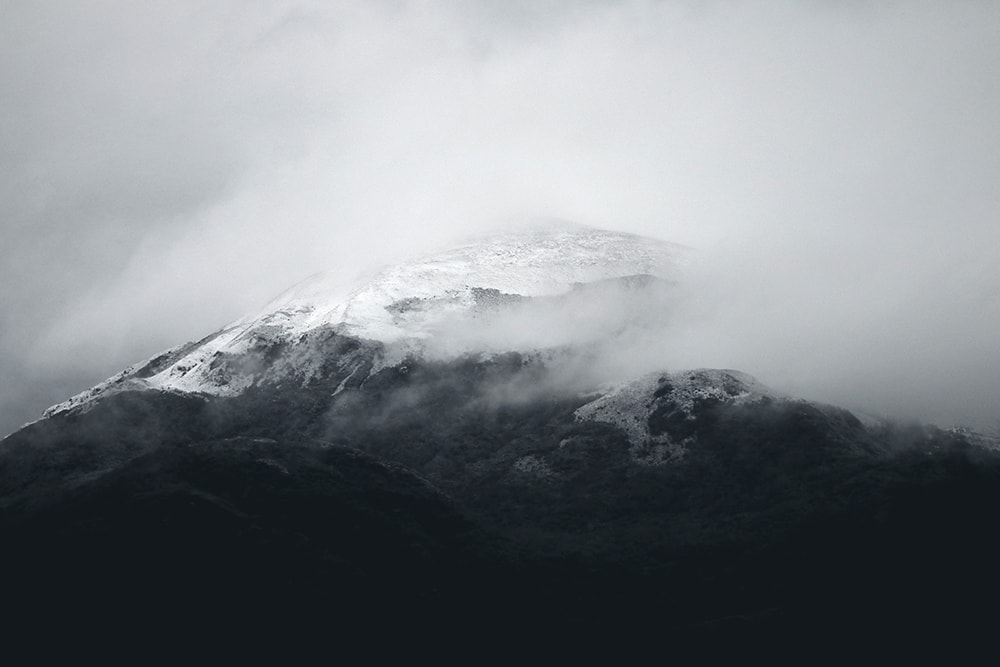
You can be more creative with your photos if you showcase a variety of textures. In other words, look for scenes that have some patterns or can add texture to your images. For example, instead of smooth white flooring, look for one that’s a little rough and has some patterns – squares, diamonds, and circles, among others. Old wood, a rusted staircase, or cracked and tainted walls; these will help give more composition to your black and white. Be mindful, however, of when you shoot these subjects as midday light can be harsh and can render your photos lifeless.
4. Pay attention to the shape & form of your subjects
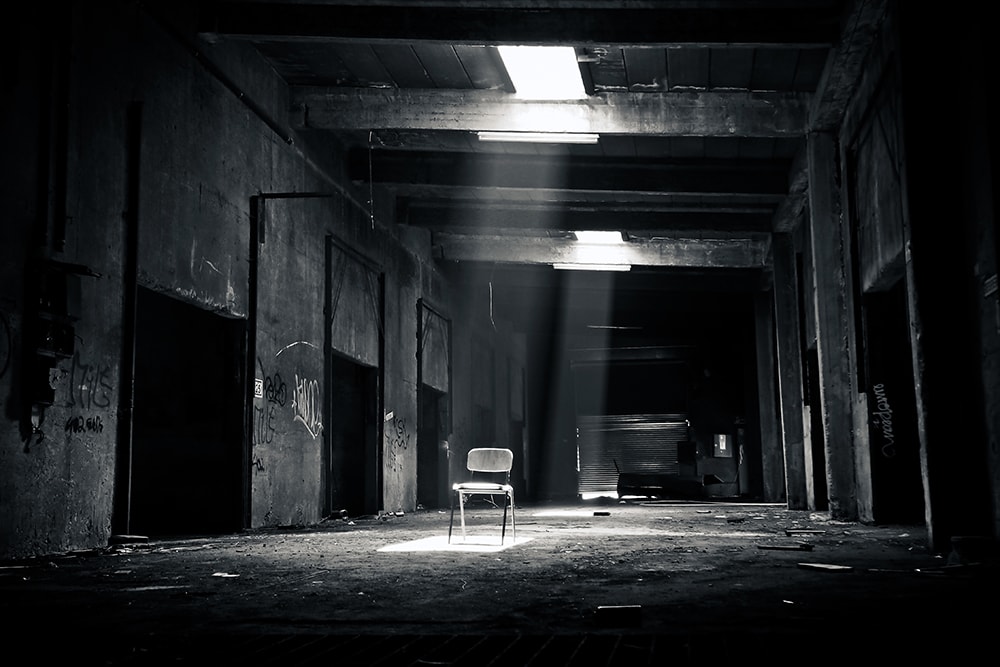
For this, you need to know how to use lighting to come up with images that will give a three dimensional look (form). Therefore, you need to learn the correct way of using side lighting (which can cast shadows) and front/back lighting (which is good in obscuring these shadows).
Likewise, pay attention to the two-dimension look of your photos, as this is what will help you create the right shape.
5. Filter, filter, and filter
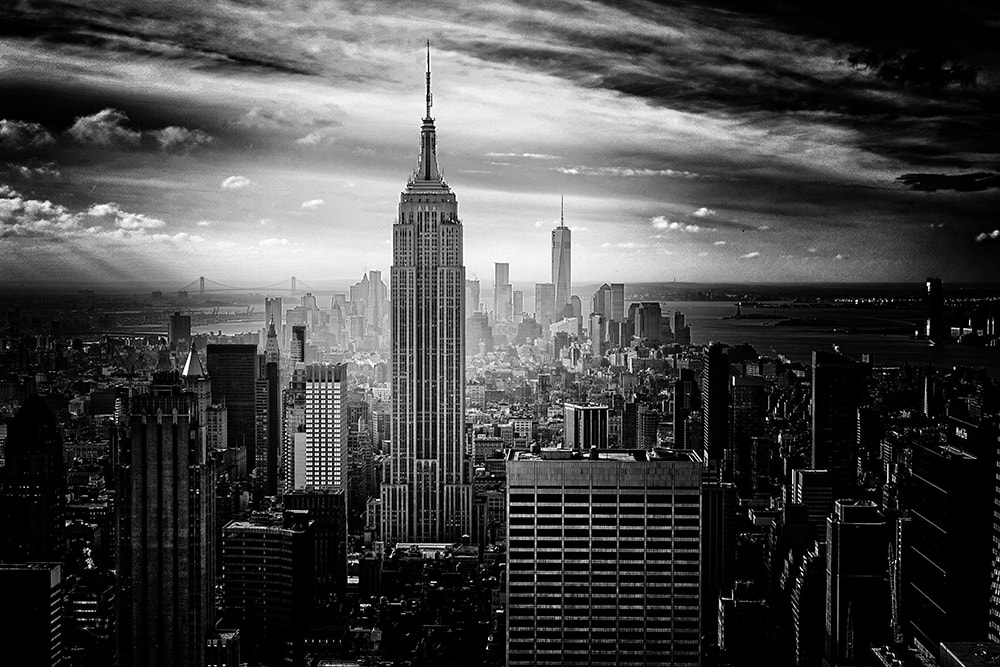
Use a polarizing filter so that you can effectively remove or lessen reflections, especially in shiny surfaces like water. If you do this, you’ll be able to keep the focus on the subject, not on the shiny object/area or reflection. Additionally, the polarizer can also be used to enhance the image, like darkening a spot or certain aspect of the image so that other elements can be highlighted (e.g. bright object against dark background), or so a more dramatic effect is achieved.
6. Take photos in colored mode
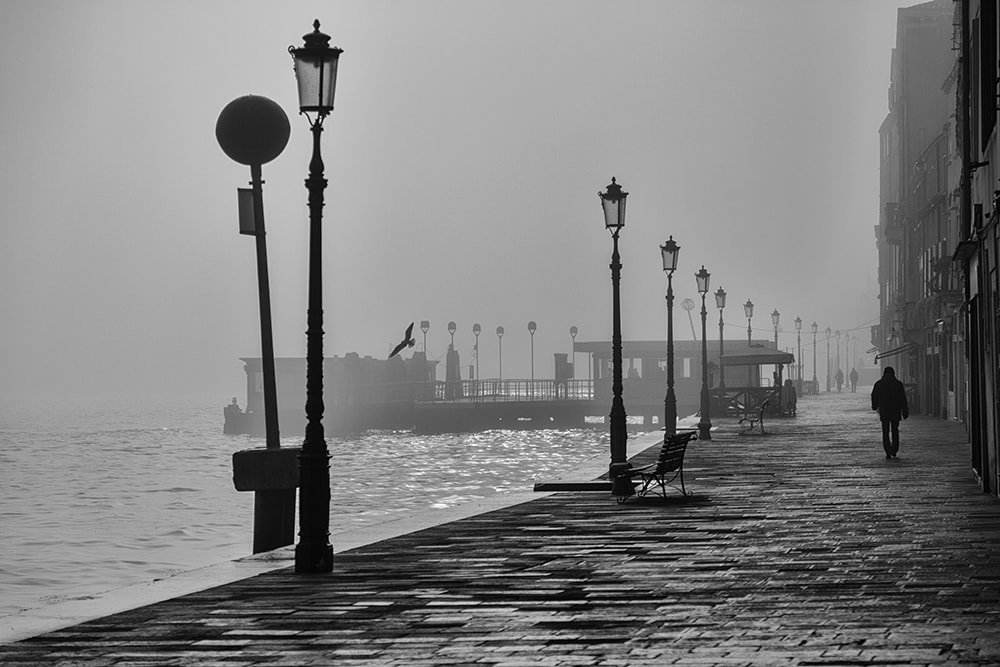
If you do this, you will be able to access all the color information you need so you can improve or upgrade the photo. You can control how you want your black and white photo to come out. You can then convert your colored photos to black and white using Lightroom.
7. Use Lightroom to improve your B&W photos
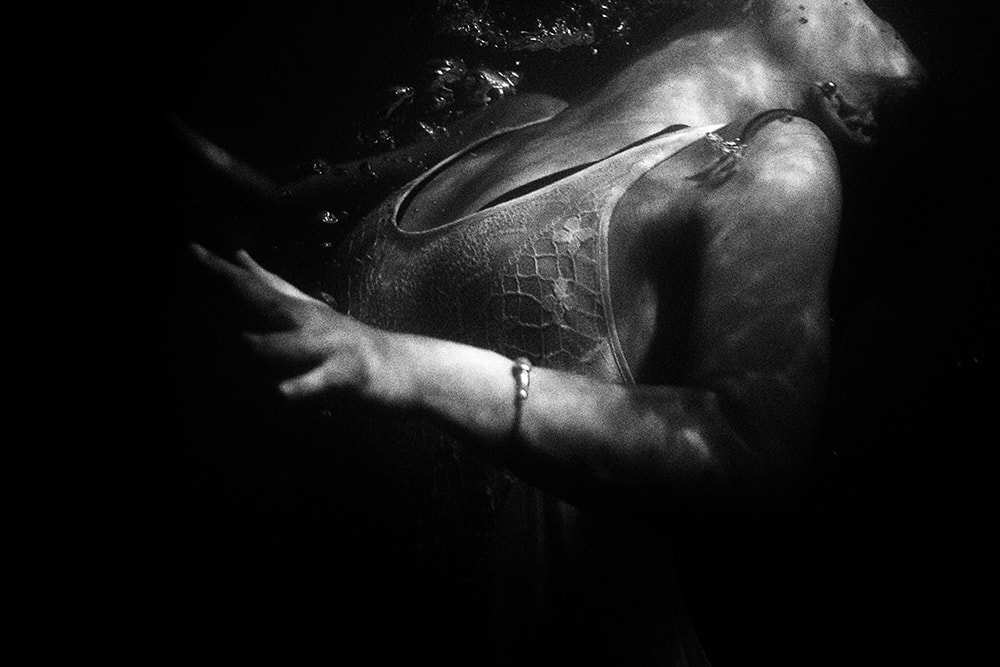
If the photo is in color, all you need to do is control the white balance and make sure that it is neutral. Then work on the gray area/s of the photo by using the White Balance eyedropper tool. In the Treatment section, click on the button that says Black & White, and the image will now be converted to black and white. You can then proceed with editing the photo.
For your black and white photos, there are of course Lightroom presets that you can use. We recommend the Noir & Blanc Presets. If Photoshop is your weapon of choice, the Monochromatic actions pack has a great selection of B&W conversion actions.
Using presets and actions can make your job easier. You’ll just have to click one command and you’ll already be off to a great start. And as previously mentioned, you will have better control, so coming up with the image you visualized will be simpler.
These tip and tricks, combined with your photography skills, determination, passion, and hard work (and the patience for practice), will help take your black and white photos to a higher level.
