8 Can't-Miss Tips for Getting Started With Macro Photography

Let’s talk macro photography. Don’t worry too much if you’re not familiar with the term—you’ve probably seen macro pictures around.
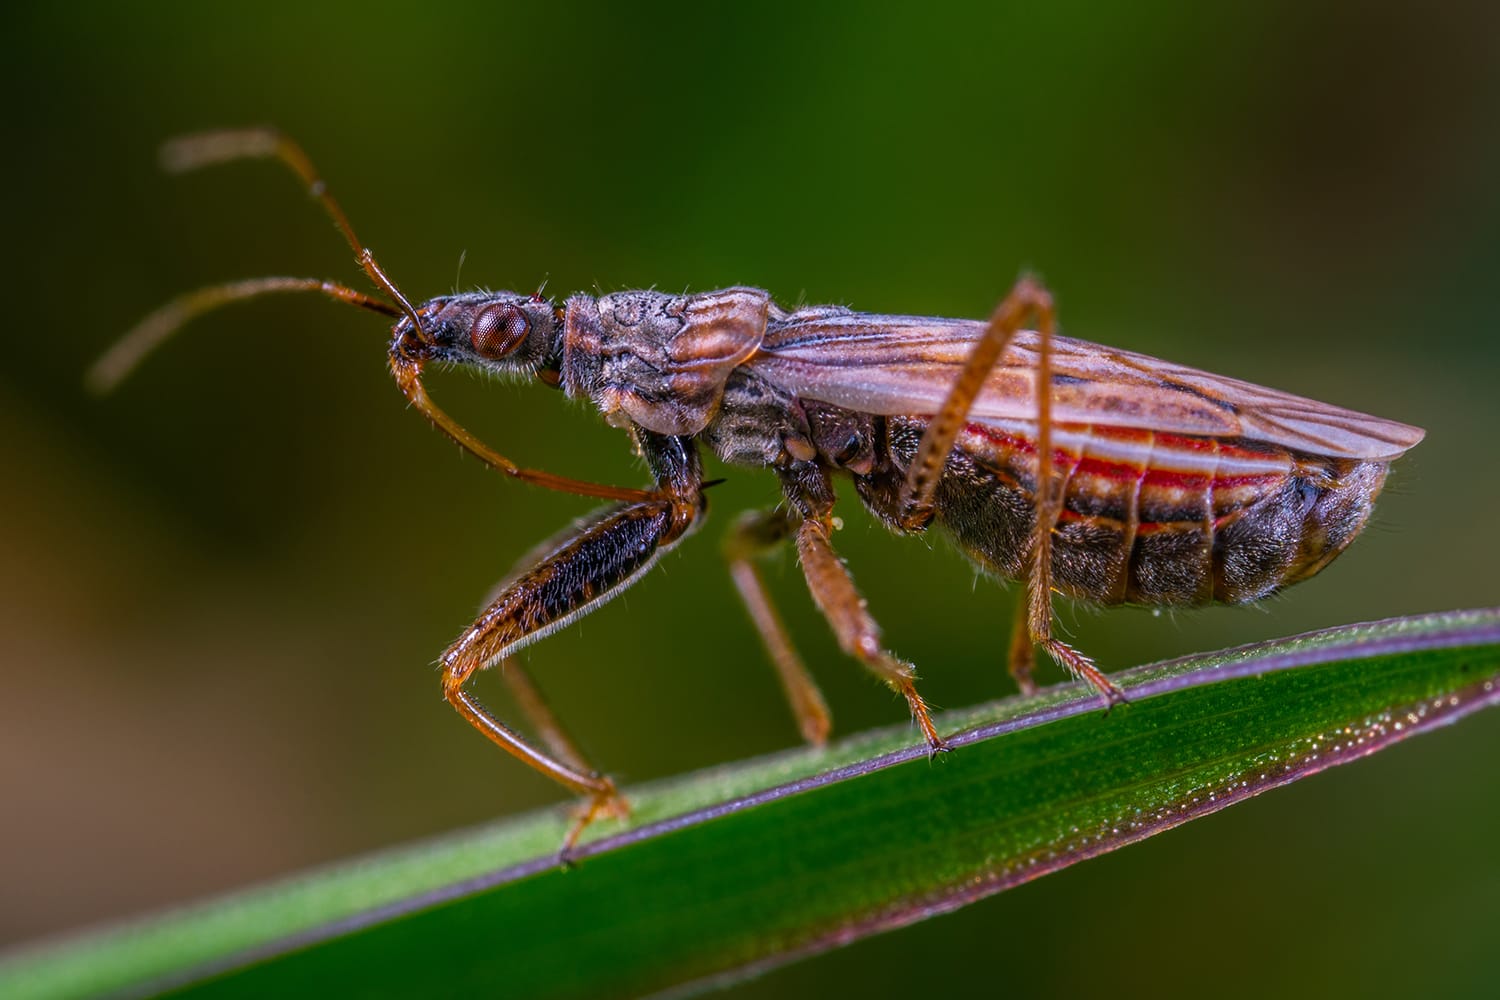
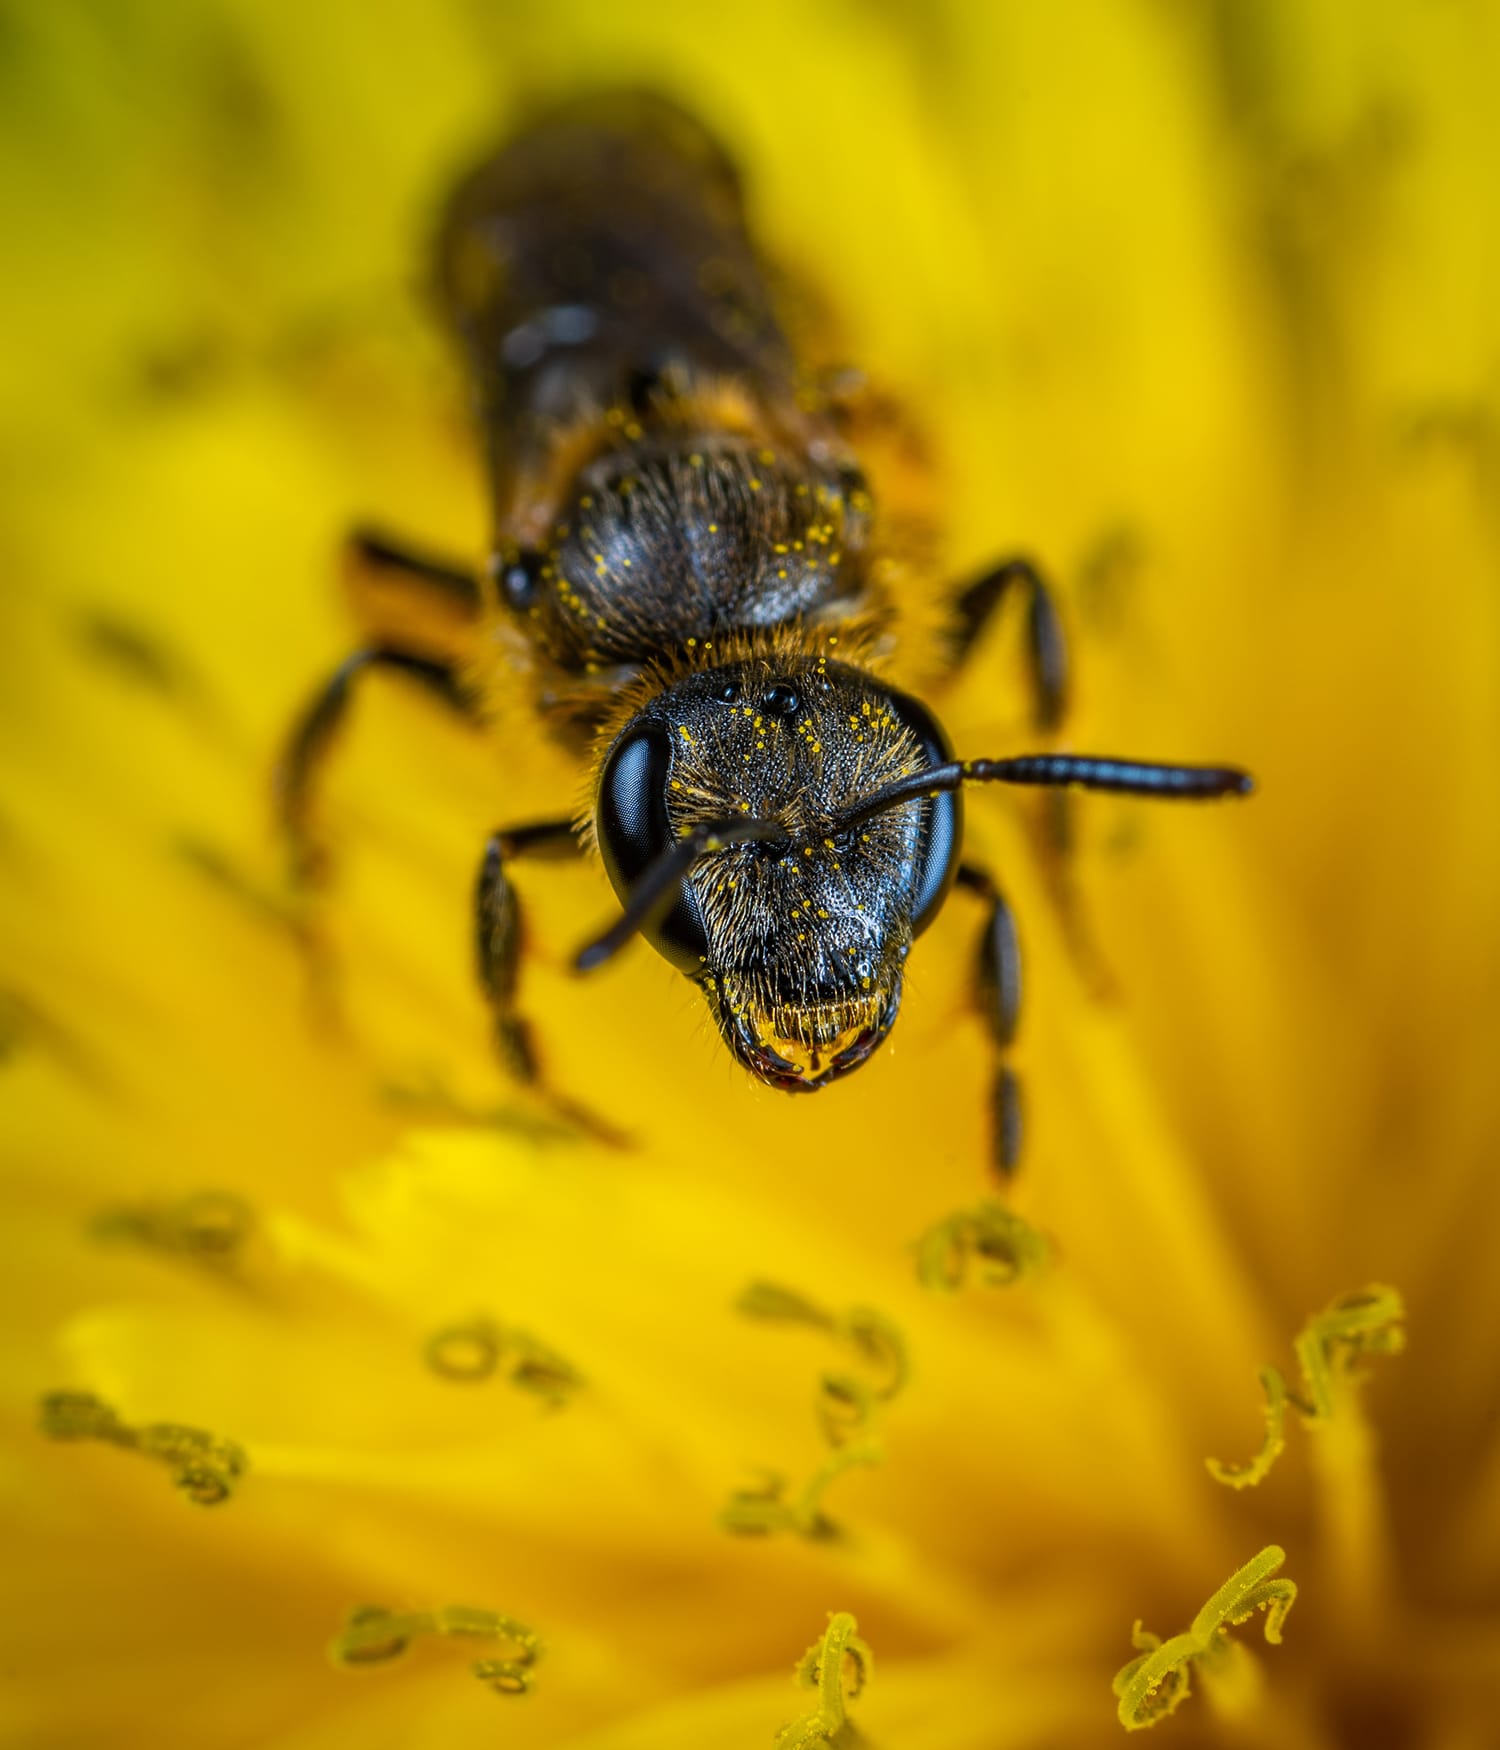
You know those gorgeous shots of dewdrops on rose petals or up-close pictures that capture the face of a grasshopper in excruciating detail? That’s macro photography!
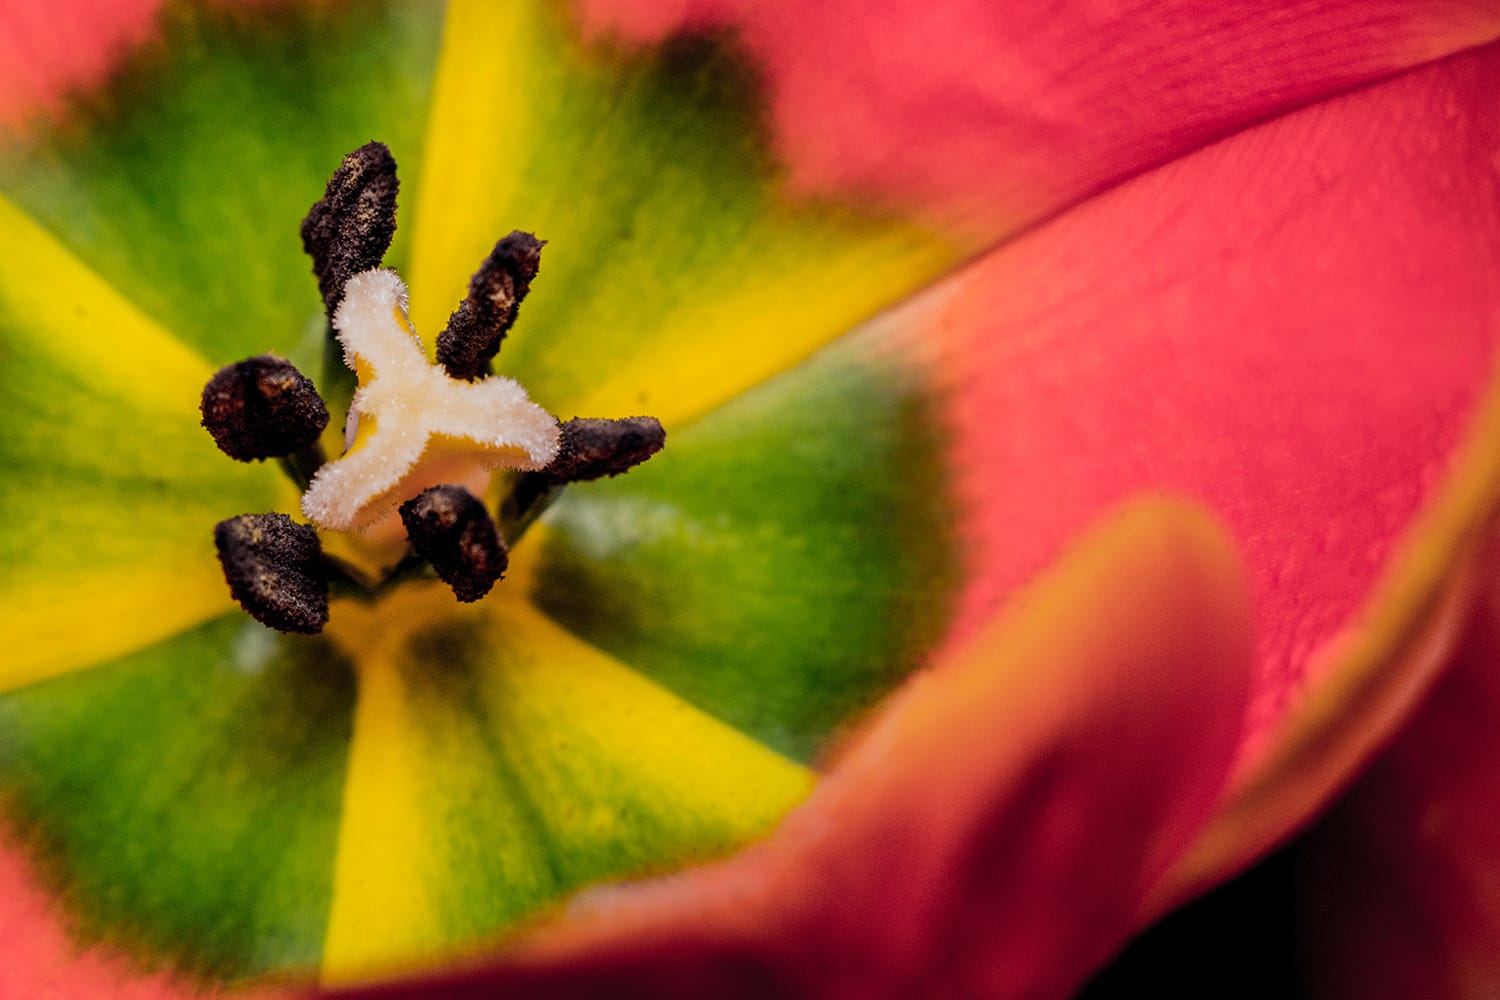
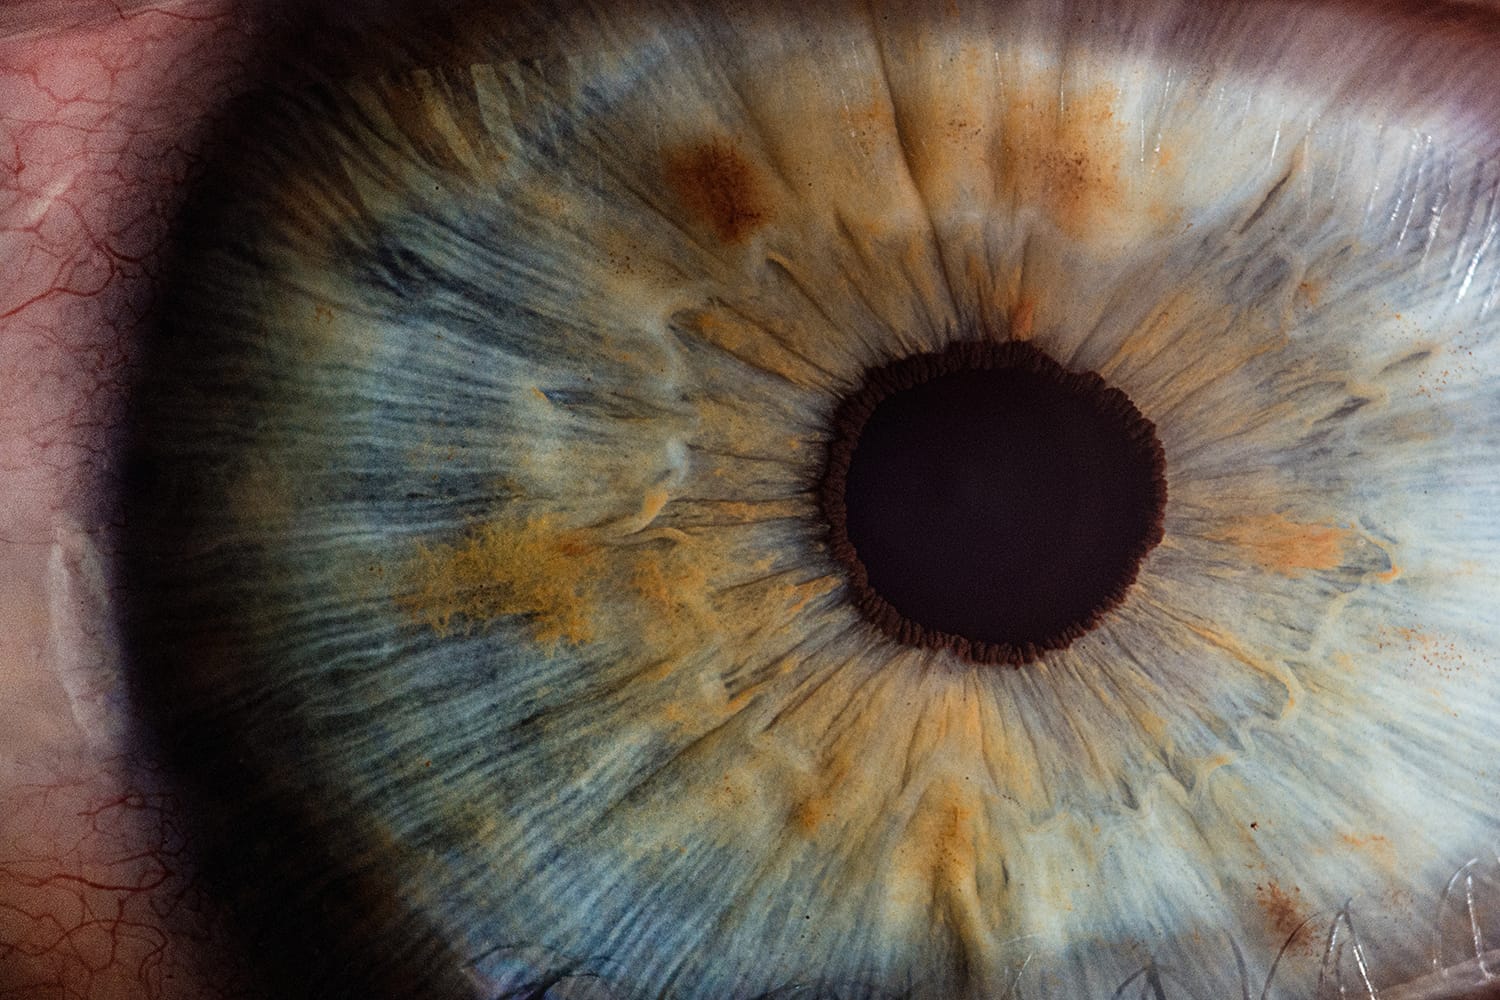
Macro photography is the art of shooting tiny subjects. Fondly, some people think of macro photography as “extreme close-up photography,” which is an accurate assessment! In addition to photographing small subjects, some macro photographers choose to focus on particular portions of larger objects as they zoom in to the extreme.
In this tutorial, we’ll break down a few techniques you can use to try macro photography for yourself.
1. Take time to learn about the best macro photography gear on the market
Macro photography lends itself to a select group of equipment. We highly recommend getting your hands on a macro lens, but we also know that those come with a hefty price tag. Alternatively, you can purchase a macro filter (also called close-up filters) to pair with your ordinary lens—this will imitate the effect of a macro lens!
Extension tubes are another staple of macro photography that you’ll want to try. These nifty pieces of equipment can be fitted between the camera and the lens. The added distance between the lens and sensor yields opportunities for even greater magnification and closer focus.
2. Choose your subjects wisely
There’s no such thing as a subject that’s not allowed in the world of macro photography. If you think you’ve found a suitable subject, shoot it!
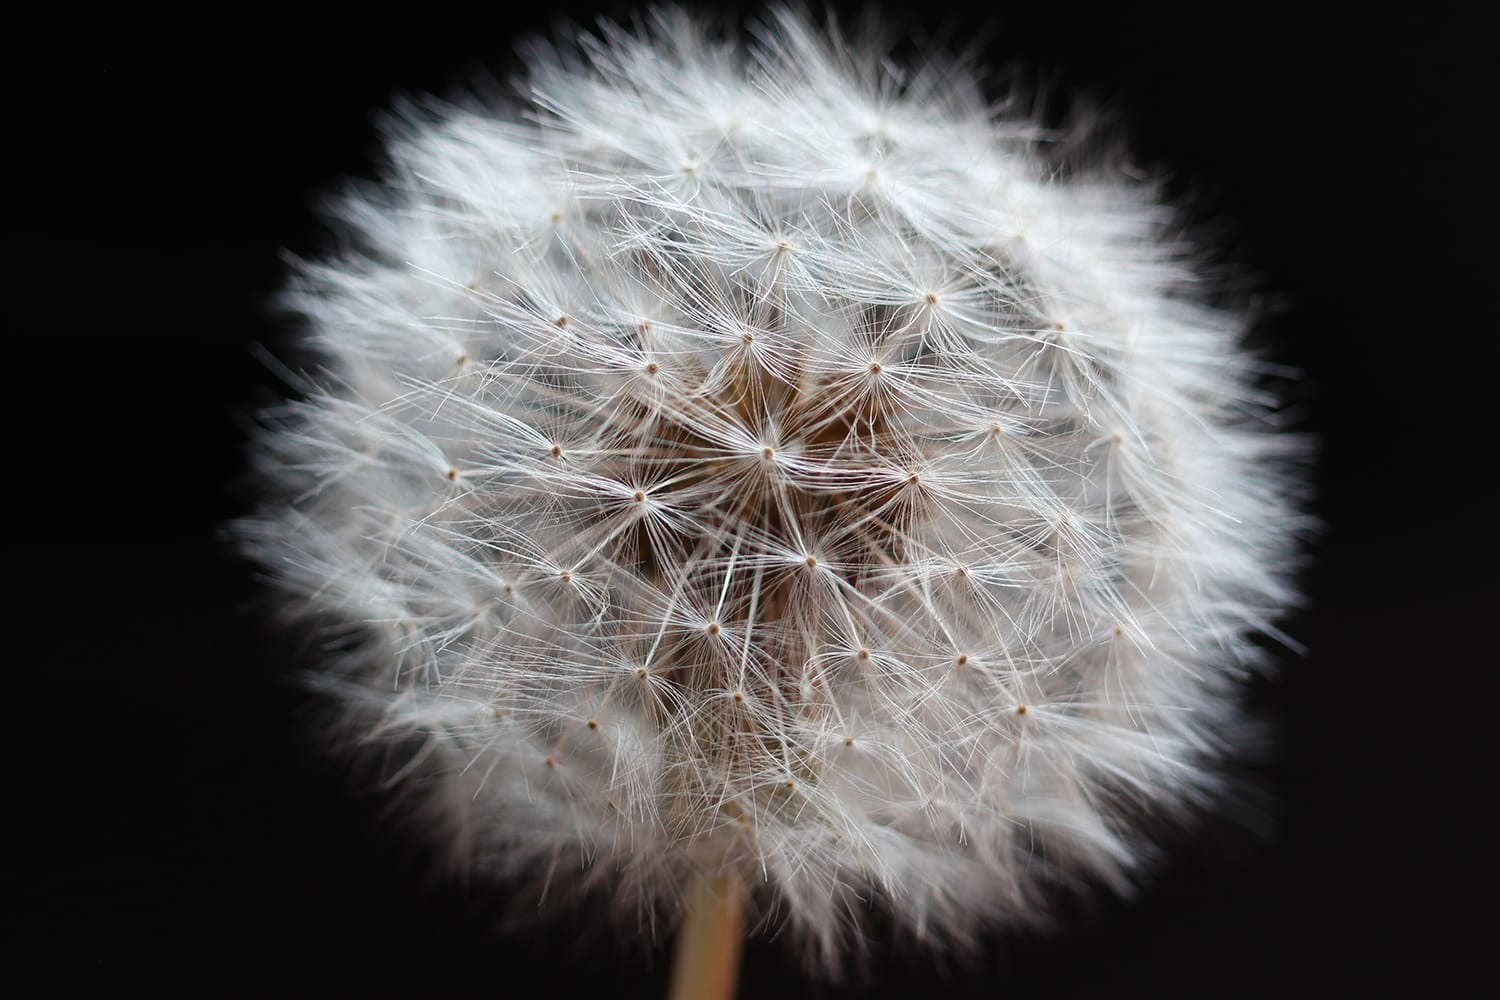
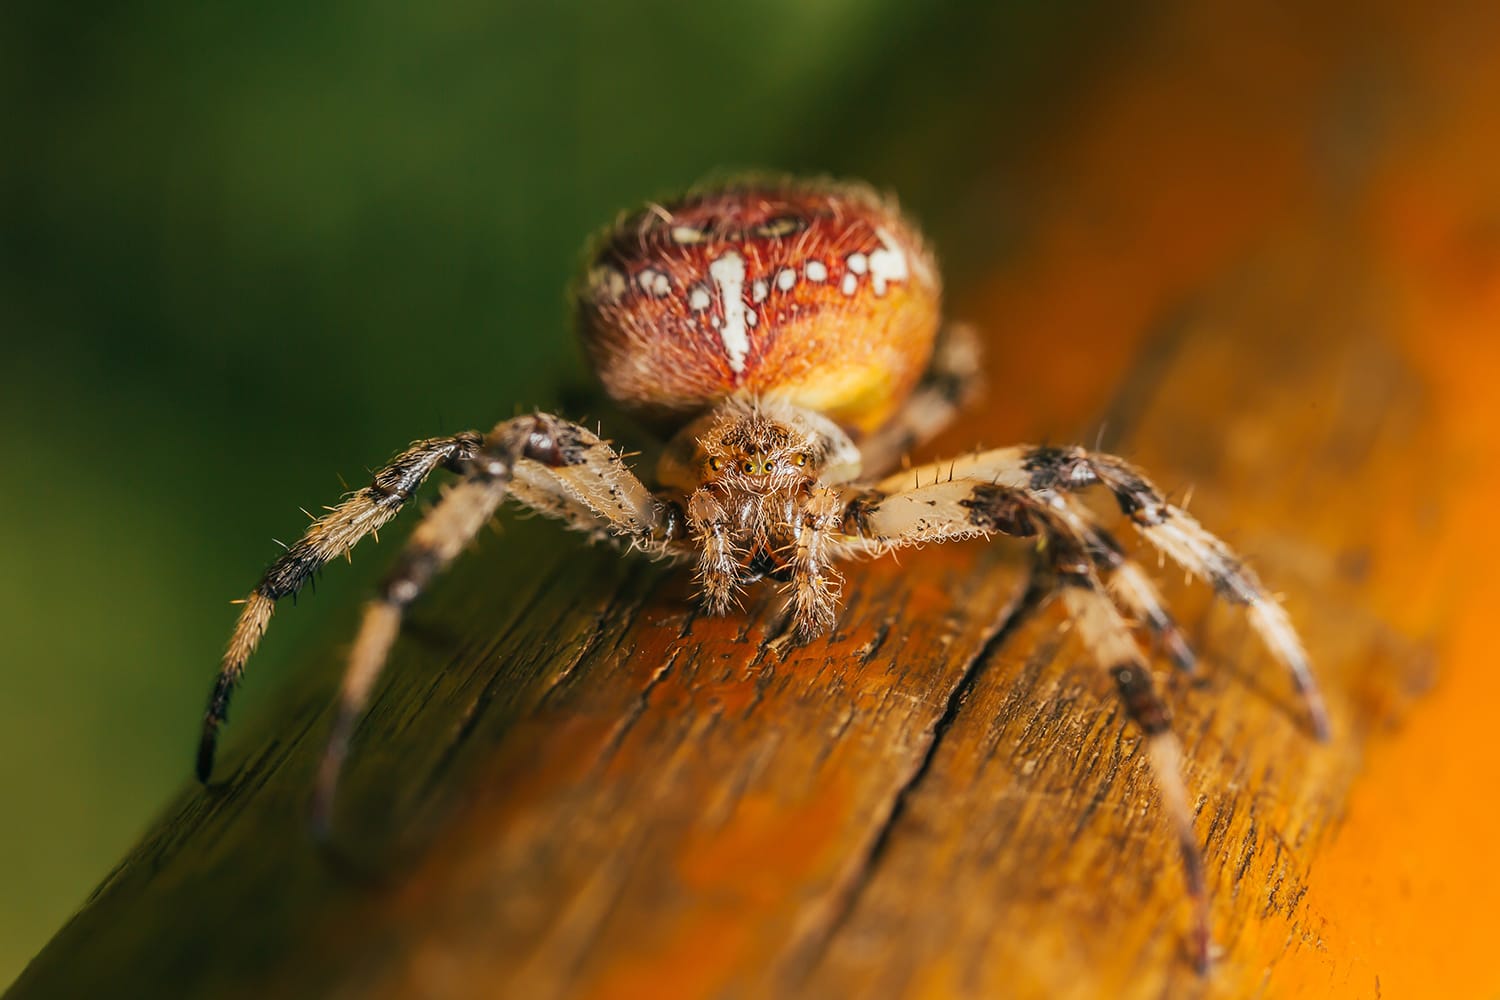
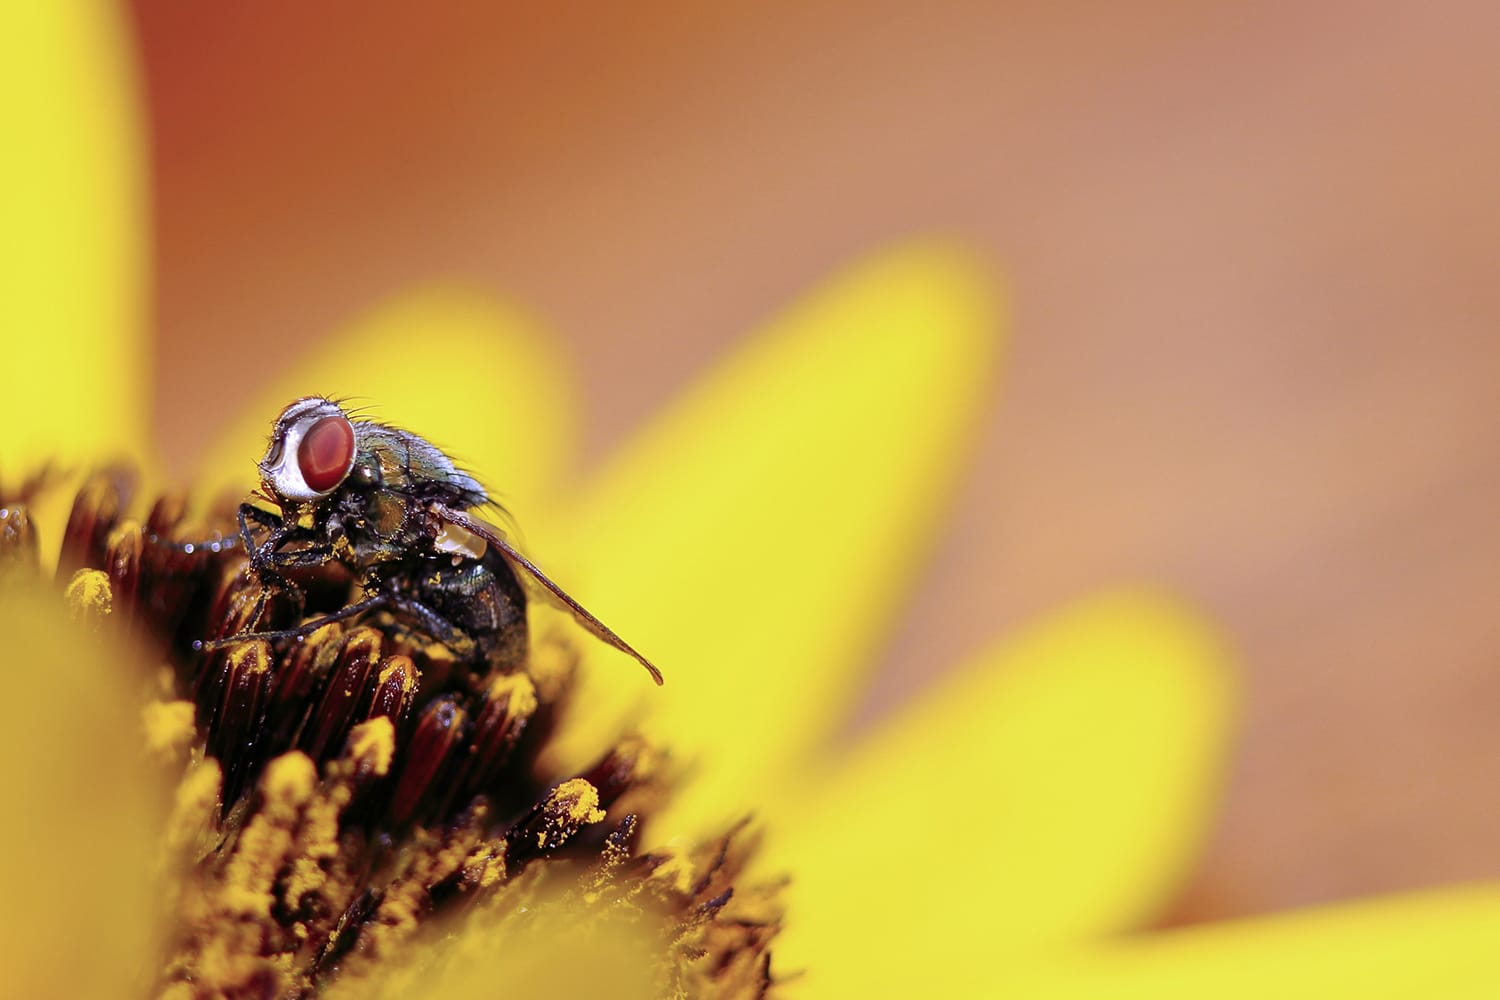
If you’re seeking some more classic subjects for practice, however, some subjects are wildly popular in macro photography portfolios—think dewdrops on flower petals, snowflakes, and all manner of insects.
Those newer to the study of macro photography may want to begin with stationary subjects such as flowers or other plants. Better yet, experimenting with still objects indoors where you have full control over the lighting and placement of your subject is a perfect way to learn the ins and outs of shooting macro.
Once you’ve got the basics down, getting good shots of moving subjects (such as insects) in nature will become a less frustrating experience.
3. Use a tripod, and minimize camera movement
Just as the tiniest details of your subject will be magnified, so too will the most minute movements of your camera. So much so, that we recommend holding your breath when taking these shots!
Whenever possible, use a tripod when you’re shooting macro photography, and pair this with a remote shutter release to further minimize camera shake from your hands when you press the shutter. If you don’t have a remote shutter release at your disposal, consider your breath. Pressing the shutter during your exhale is probably the best bet.
Additionally, consider investing in a “third hand,” or plamp. This clamp attaches to your camera and can be used to hold an object steady during a shot, just like having a third hand!
4. Get your timing right
Some of the best macro photography is shot outdoors, and you know what that means – there’s always going to be an ideal time of day, time of year, and type of weather for an outdoor shot.
If you’re hoping to shoot some more traditional macro images, filling up your memory cards with up-close shots of flora and tiny fauna, heading to a botanical garden is a great place to start.
Getting shots of insects is one of the trickiest things to accomplish – we can’t place these little critters wherever we want like we can with still life photography, and they certainly don’t stay still the same way that flowers do.
Heading out to shoot when it’s roughly 60-65 degrees Fahrenheit or warmer will ensure that the bugs come out to play and are at their most active.
On the other hand, colder weather may yield fewer insect sightings, but the ones you do find will be more still. For the best of both worlds, save your insect searches for mornings during the summer, when insects will often sleep out in the open.
5. Understand the right settings to use
Let’s talk about the magnification of camera movement again. Remember how we said that shooting macro will exaggerate each tiny motion and vibration? This applies not only to motion from your hands, but also to the effects of a mild summer breeze on the leaves you’re trying to shoot. To keep blur out of your shots, use a quick shutter speed (at least 1/250, but potentially even faster).
Next, set your aperture to f/16 or smaller. Shooting with the smallest possible aperture will keep the focus distance high. Finally, ditch autofocus and focus manually!
6. Experiment with flash
Because macro photography involves shooting with a small aperture and a fast shutter speed, there is very little opportunity for light to make its way to your camera’s sensor. As a result, shooting with flash is often necessary to bathe your subject in adequate light.
In general, you’ll want to pair your flash with a diffuser to soften the light and create a more natural look rather than something too harsh.
7. Use your camera’s LCD to the fullest
Few things can make your life easier when shooting macro photography than learning to utilize your camera’s live-view. By using the live-view screen, you give yourself a valuable opportunity to double-check the part of your subject that’s in focus and ensure that it is totally in focus. This will help you to maximize the sharpness of your photo and ensure that you’re picking up on the exact details you’re searching for.
Better yet, using the built-in zoom function when shooting with live-view will help you see in more minute detail and get the most out of every shot.
8. Use post-processing to your advantage
If you’re aiming to achieve an even greater depth of field but find yourself limited by what you’re able to accomplish while shooting, remember that you can stack photos in Photoshop or a similar photo editing program. To do this, take multiples of the same shot while only adjusting the focal length each time.
These identical shots with various focal lengths can then be layered during post to maximize the depth of field.
To Conclude
We won’t pretend that macro photography is easy, nor will we promise you that it will come naturally on your first try. The fact of the matter is that this genre of photography is tricky, and you may not get the shots you want right away!
That’s precisely why we encourage you to take plenty of photos so that you’re sure to find one you like. Have patience, experiment with settings, and practice your manual focusing skills. When all else fails, experiment further with your composition by minutely changing the angle or trying a different background.
Over time, making adjustments on the fly and mastering the techniques above will become second nature to you! Until then, practice makes perfect.
About the Author: Jon C. Phillips
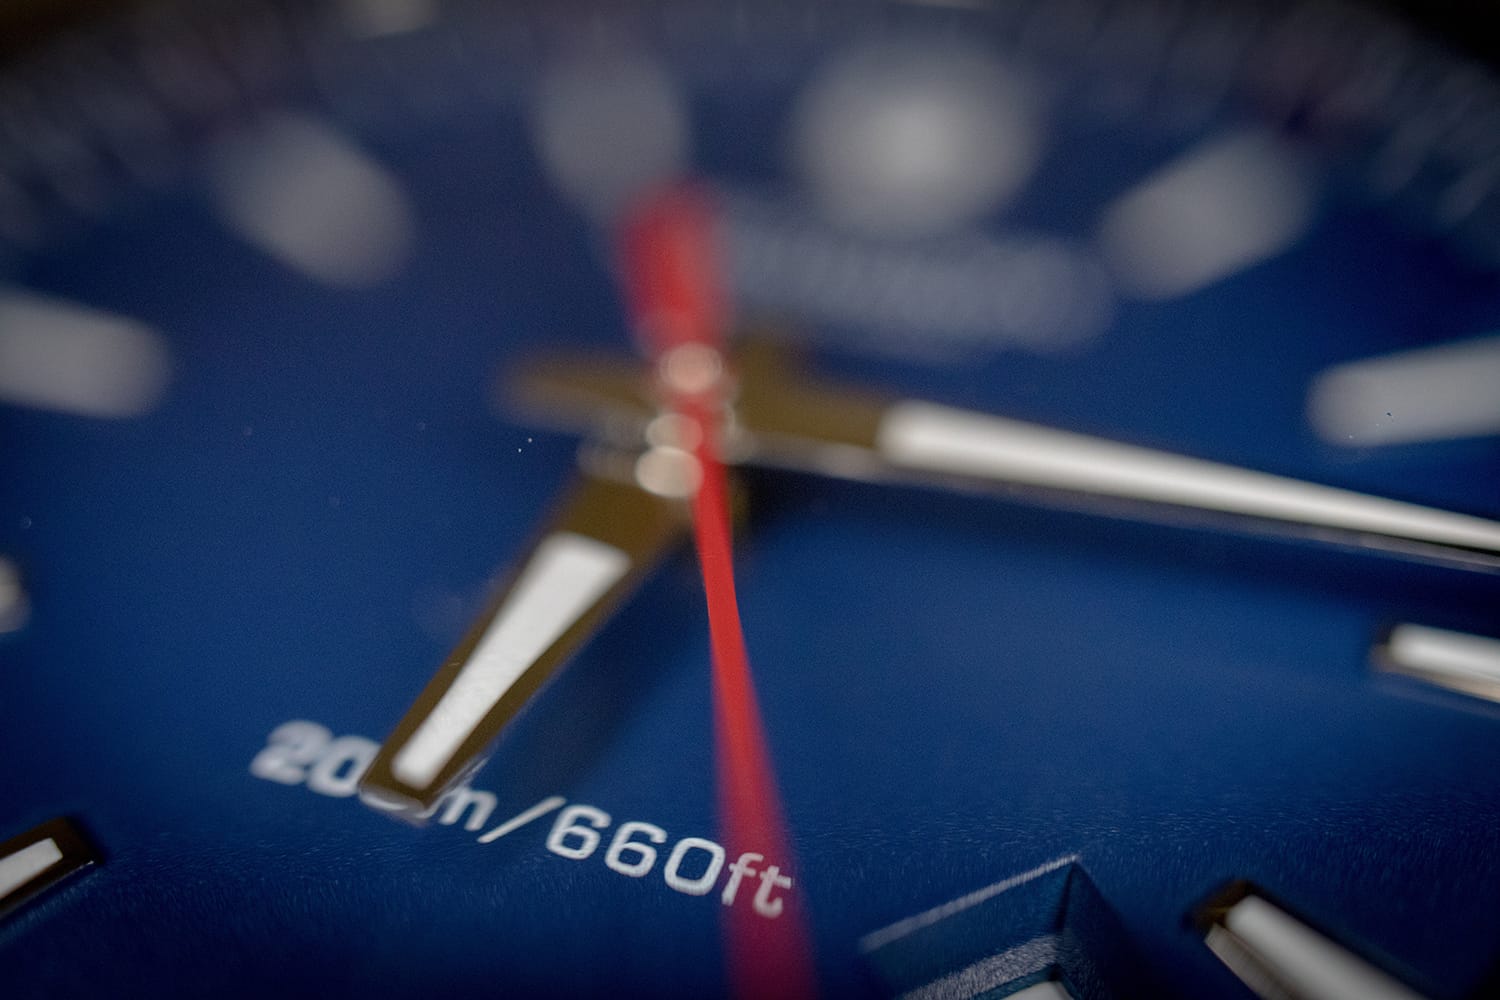
 Jon C. Phillips is a photographer, watch lover, product developer/designer, guitarist & musician, and all-around web nerd. He's the founder of Contrastly which he launched in late-2012. He also co-founded DailyPhotoTips and TheDailyPreset.