How to Shoot Spectacular Star Trail Photographs

If you’ve ever been lucky enough to wish upon a shooting star, you know just how rare it can be to catch one before they’ve shot out of eyesight.
“It’s hard enough to see a shooting star,” you might be thinking, “So how in the world am I going to photograph one?”
The good news is that you can capture the effect of a shooting star, complete with a gleaming trail behind it, without waiting with bated breath to see one in motion.
Star Trail Photography to the Rescue
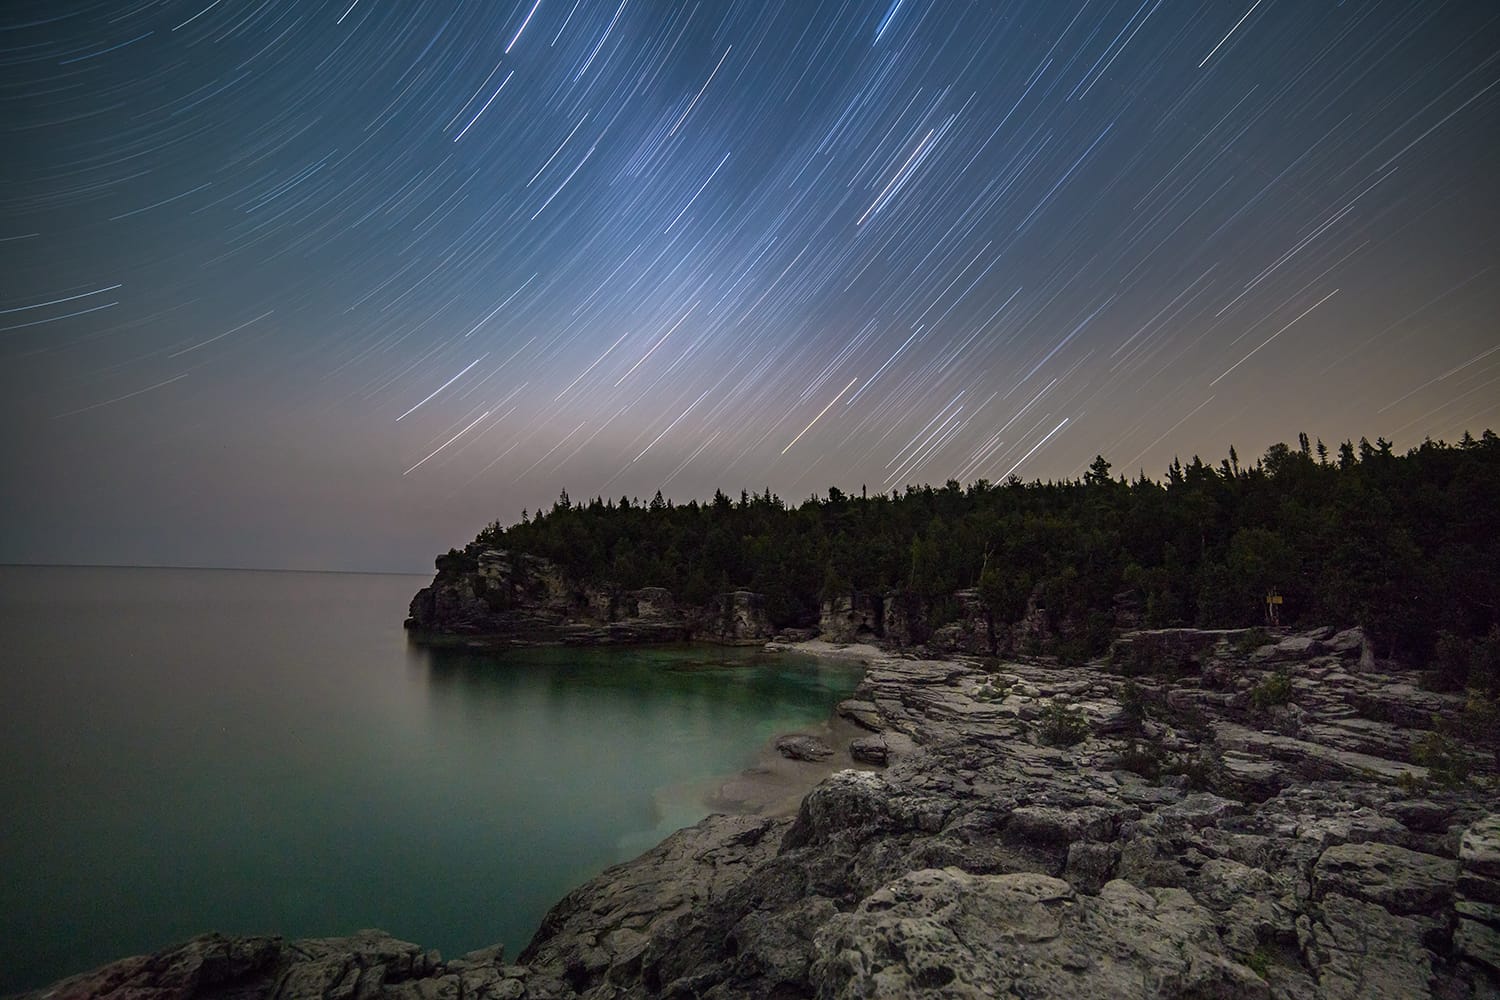
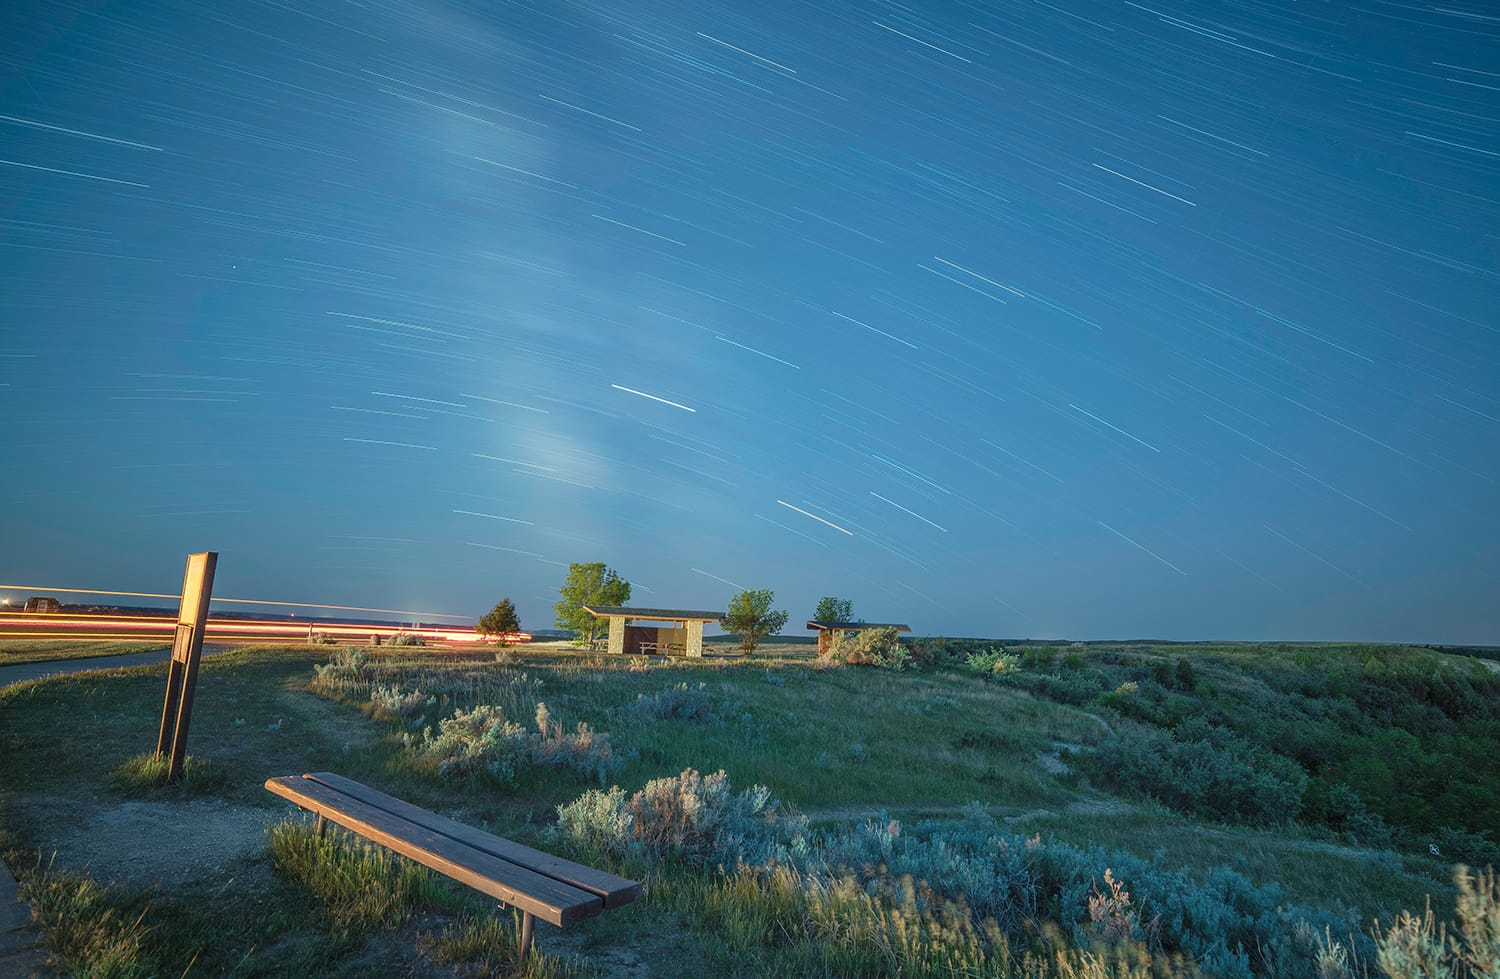
Star trail photography is the concept of photographing stars with a very long exposure time, capturing the star’s movement in the night sky.
This results as the earth rotates on its axis, and the illusion that it is the stars themselves which are moving can be even more stunning than seeing a shooting star in person (the closest the human eye might ever come to seeing a literal “star trail”).
Photographing star trails may be a challenge, but it’s certainly not impossible, and we’re here to help you out with a tutorial that can get you started.
Following the tips & tricks below may not guarantee a perfect star trail photograph on the first night you go out to shoot, but the fun is in the learning process, right?
For those of you who’ve managed to stumble into the glorious madness that is adventure and night sky photography, the Cameras in the Wild ebook is a must-read! Grab your copy today.
1. Become best friends with your tripod
If you’re hoping to catch long, impressive star trails, be prepared to hang out for a few hours. Yes, your total exposure will probably need to land somewhere between 1 and 5 hours! This makes using a tripod an absolute necessity, as any camera movement registered while the shutter is open will disrupt your shot.
You may want to consider using a remote shutter release, too, just in case the act of pressing the shutter jostles your camera at the beginning of your shot.
2. Get the timing and location right before you make the trip
To capture the best star trail and Milky Way shots, you’ll need to do a bit of research and planning beforehand. If astronomy isn’t your strong suit, take advantage of handy mobile apps to locate the stars you want to shoot in the night sky as you see it. This will help you to ensure you’re pointing your camera in the right direction, depending on where you live, and targeting the desired subject amongst a vast sea of stars in the night sky.
As always when shooting outdoors, timing is everything, too. Hunt for nights with the clearest skies, and find spots with as little light pollution as possible for the best results.
3. Don’t forget everything you know about composition
Star trail photography may be a beast entirely different from what you’re used to, but that doesn’t change the rules of composition you’re accustomed to! When shooting stars (see what we did there?) however, there are a few specific compositional tricks to keep in mind.
For example, do your best to compose your shot without the presence of lights that can distract from the sky’s darkness and the stars themselves.
Also, try taking a test shot to confirm your composition before you begin the arduous process of shooting for long exposures. To get this test shot, shoot at a high ISO and with a wide aperture for an exposure time of about 2 or 3 minutes. From this brief shot, you’ll be able to glean how the stars are moving and get an idea of what your end result will look like.
That’s the time to make any compositional adjustments!
4. Master the most advantageous camera settings
As you might expect, you’ll want to set up your camera optimized for low-light photography. This means you should be shooting in manual mode so that you can take full advantage of each and every necessary adjustment. To shoot star trails at night, you’ll also benefit from shooting in RAW format.
Using a particular aperture isn’t as important for star trail photography as for other kinds of night photography (shooting the Milky Way, for example), so you can start around f/2.8-f/4 and experiment.
5. Shoot consecutive frames
Still wondering about how to tackle that lengthy exposure?
While some prefer to use bulb mode to shoot star trails, there are some disadvantages (such as the possibility of overexposing your shot due to moonlight or finding artifacts in your photos due to an overheated sensor).
To avoid some of these potential problems, many star trail photographers prefer to shoot multiple consecutive frames at various exposure times, then stack the results together during post-processing. This gives you more flexibility to change the length of your star trails during editing, and it reduces the risk of problems that might arise from shooting in bulb mode for hours!
Following the tips above will do wonders to improve your star trail photography technique, but don’t despair if your results aren’t everything you wanted on the first couple of tries.
When it comes to shooting star trails, even imperfect shots can yield stunning results. No matter what, be proud of what you create, and think of each mistake as a learning experience for your next nighttime adventure.
Each one of us is uniquely unordinary. In the Cameras in the Wild ebook you will learn not only how to capture a strong photograph, but also how to develop your images so that they become polished manifestations of your unique vision.
About the Author: Jon C. Phillips
 Jon C. Phillips is a photographer, watch lover, product developer/designer, guitarist & musician, and all-around web nerd. He's the founder of Contrastly which he launched in late-2012. He also co-founded DailyPhotoTips and TheDailyPreset.