9 Expert Tips for Photographing Bridges & Capturing Architecture at Night
The city can be a truly captivating place to photograph, especially at night. The bright lights and throngs of life make for a rich canvas of color, contrast and motion to make your pictures spectacular. With this in mind, there is no feature more spectacular to capture in the twilight than the architectural design of a bridge.
But it’s not all that easy to get this shot right. Light, contrast and other important factors all play a key role on the image you are trying to capture.
Bridges come in all sorts of shapes and sizes from the quaint to truly remarkable feats of engineering. They also come in a host of different materials that can make photographing them even more radiant or thought evoking.
If you are going to try to capture one of these stunning vistas, then there are several considerations to take into account to get the best shot.

1. Safety
It should go without saying that keeping yourself and others safe should be your first concern. Make sure you park where you should, don’t leave kit lying where it may become a trip hazard and try to stick to pedestrian areas in order to make capturing an image as safe as possible.
2. Choose the right lens
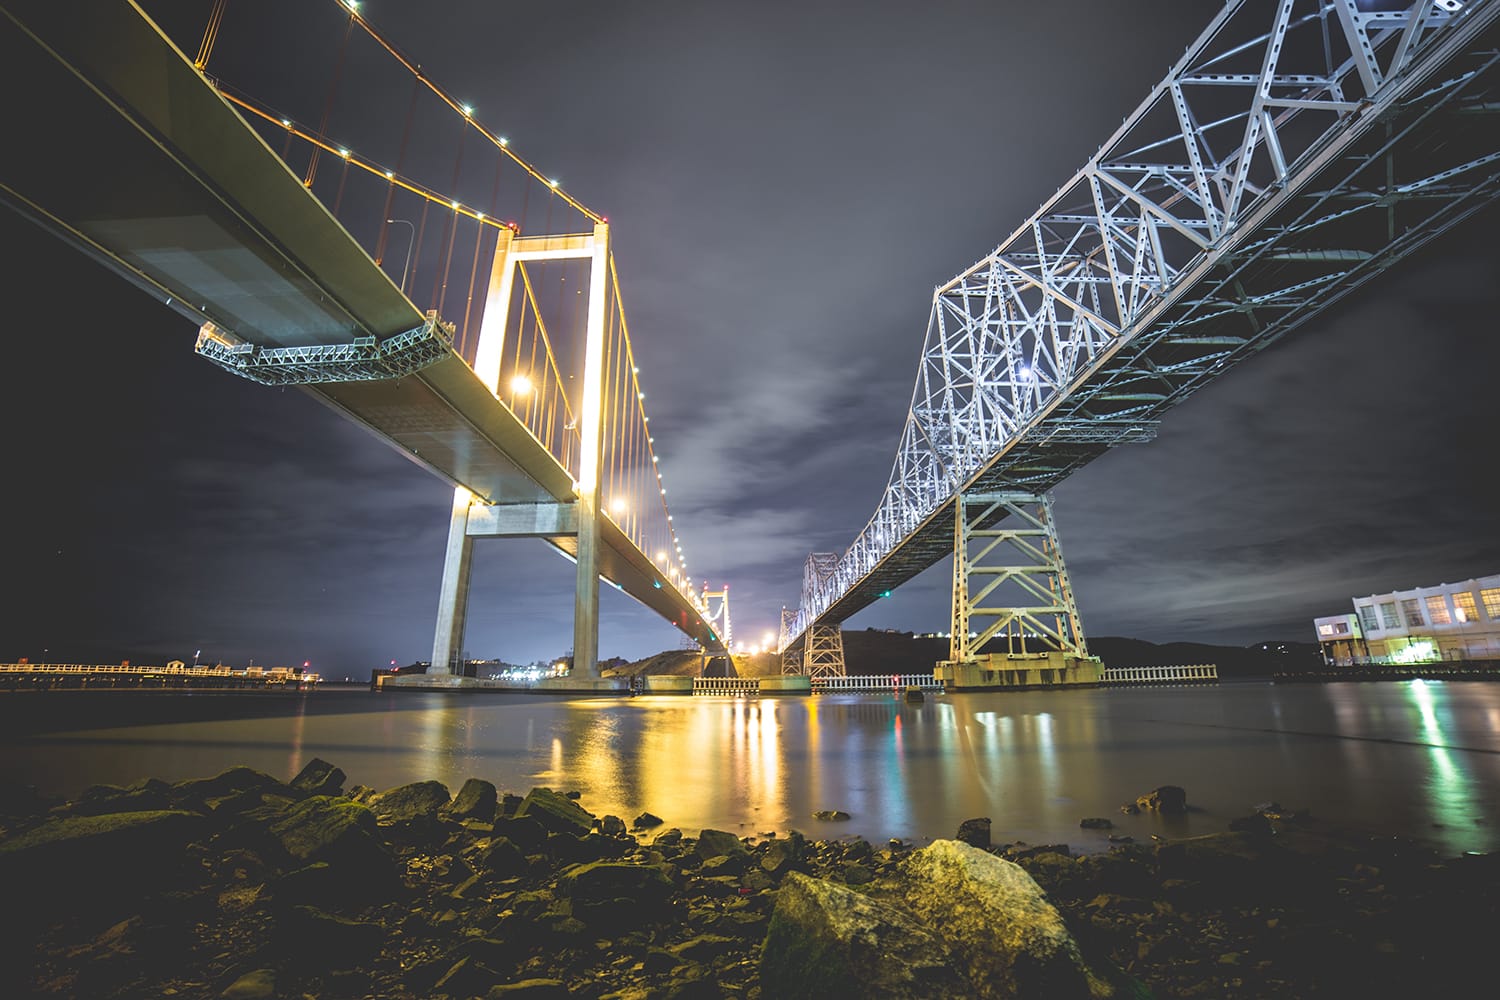
A wide-angle lens will give you more dramatic lines but tend to work better if you can get onto the bridge and find the foreground details you want.
Whereas, for a photo with more depth, set a small lens aperture. If you find there is too much land and sky in the photo, try using a panoramic format.
A telephoto lens, on the other hand, will give you a more compressed perspective and can be used to isolate certain details, while a longer lens will help if there are lots of lines you want to compress.
Remember that a wide aperture will restrict the image’s sharpness in the fore and background, which can be great depending on the look you are aiming for. Conversely, a narrow aperture will render the image sharp in the foreground and get more distant through the picture.
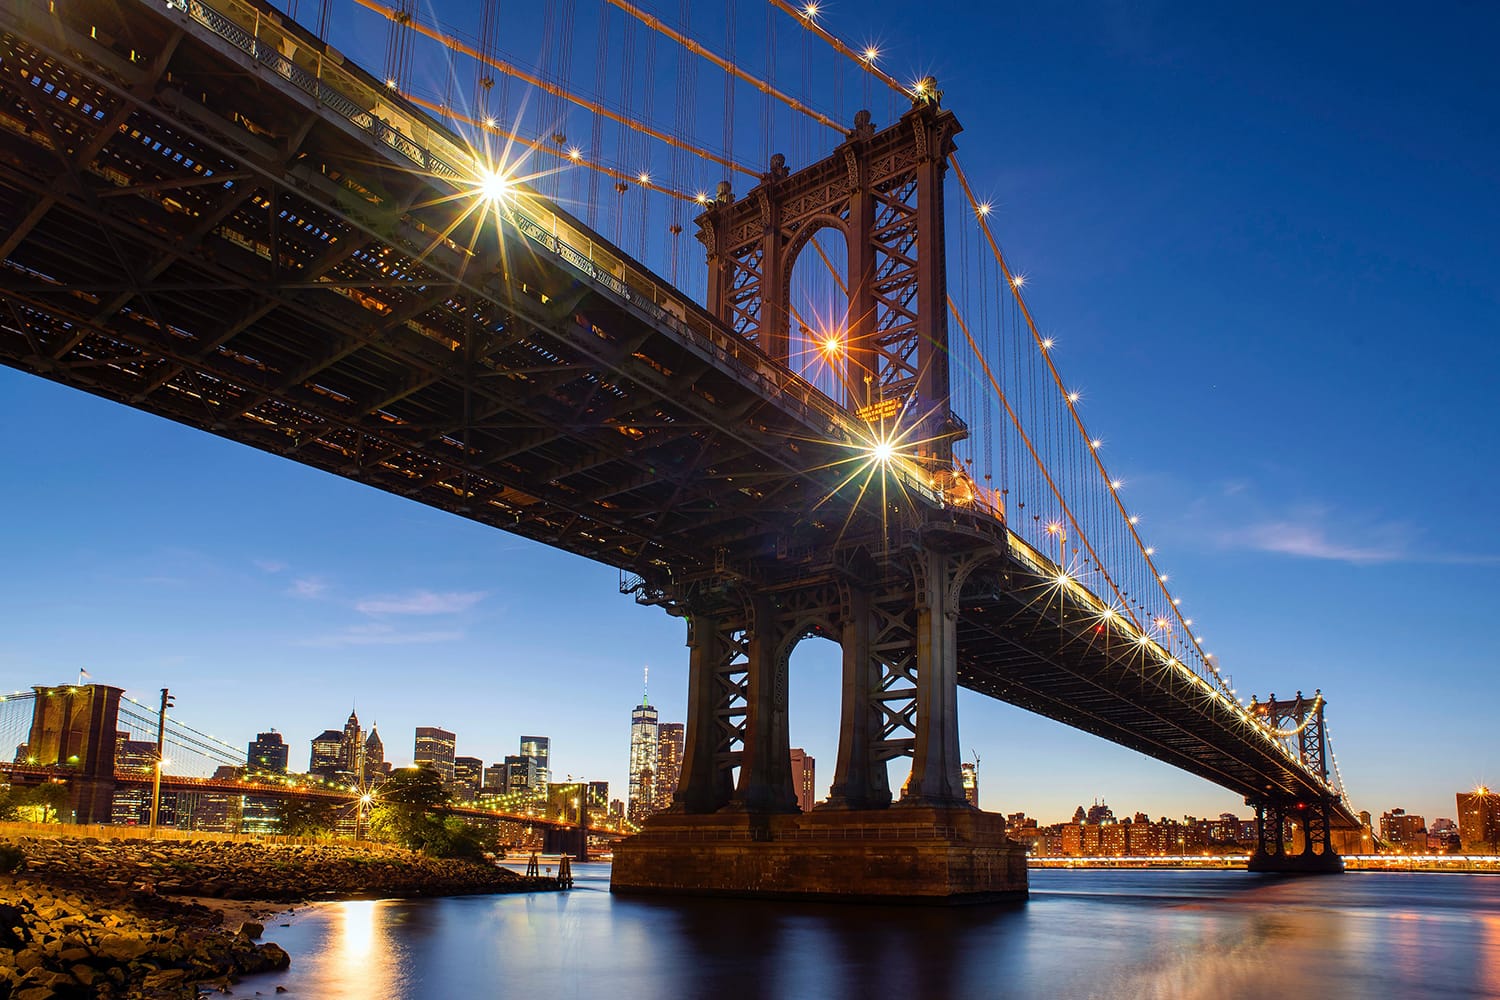
Another key consideration is that a narrow aperture will create a starburst effect around sources of light such as streetlights or traffic on the bridge which is one of the perks of night-time shooting.

3. Bring quality equipment
In times of low lighting a tripod is a necessity. If you are going to be using narrow apertures or looking for a long exposure time, then a tripod will keep the camera steady and focused.
In addition, a head torch will be invaluable for your night photography trip. Usually the best locations for shooting bridges have the lowest light sources, so you’ll be glad you came prepared to find your gear and footing with a torch.
A haze filter and a wireless shutter release tool can be useful accessories to consider as well.
4. Capturing architectural detail
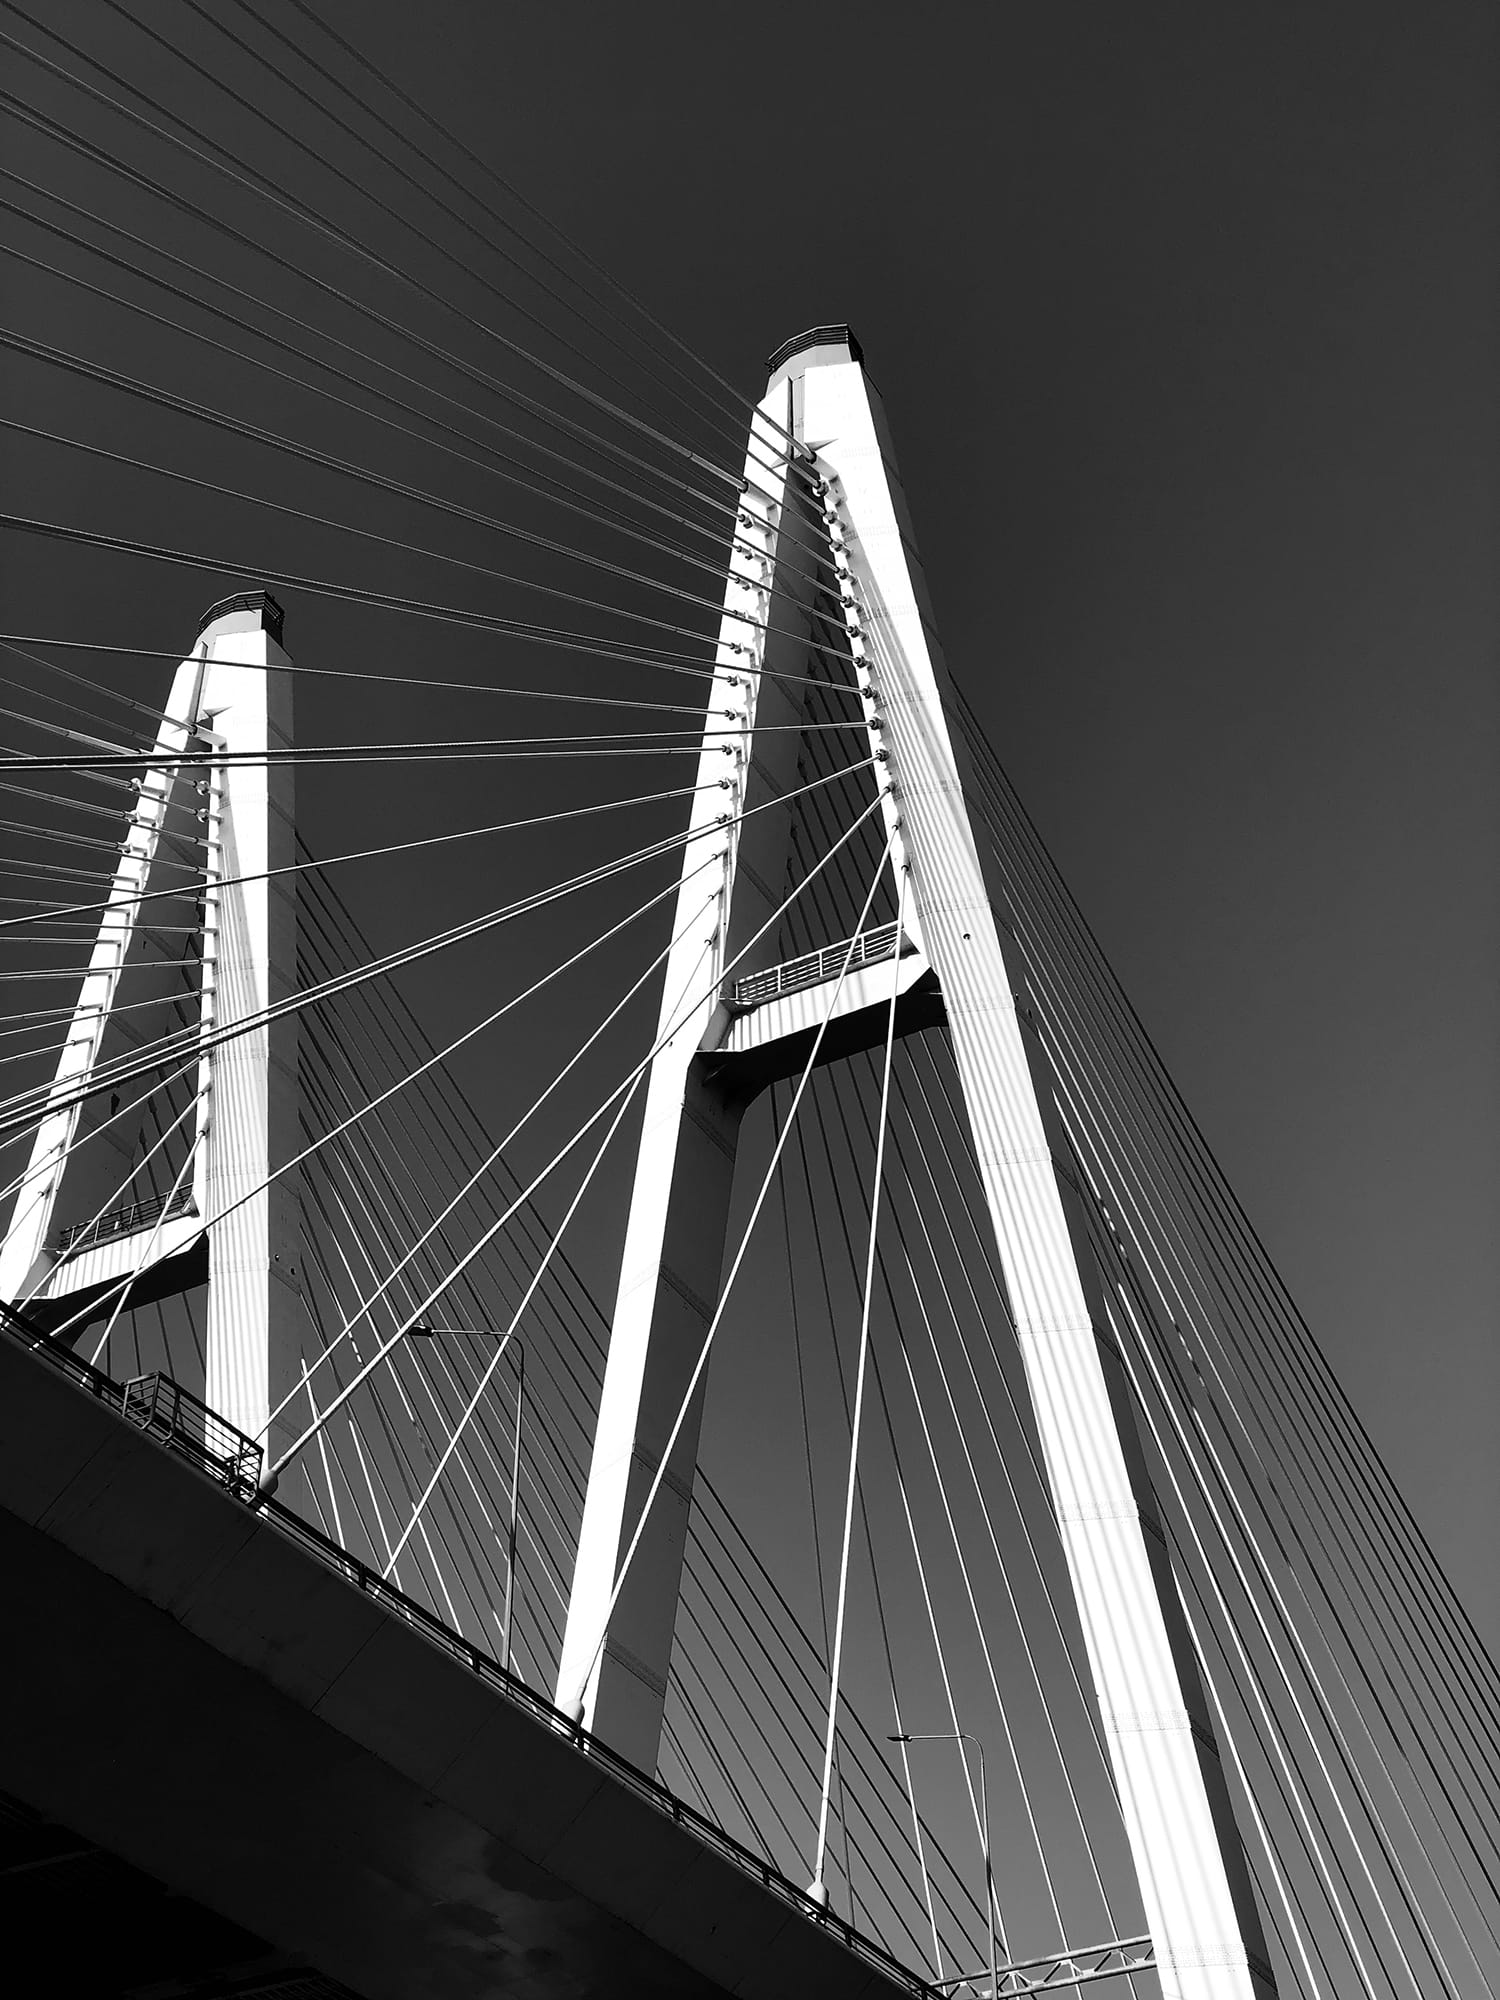
As impressive as whole photos of bridges can be, getting in close to the nuts and bolts of the bridge can be equally interesting. Suspension wires, supports and even bridge signs can make for some of the most interesting shots.
Take some time to find architectural details and patterns that make the bridge unique. This can easily be done by finding hard, contrasting lines or symmetry in the construction.
To bring out the architectural detail and make it the star of the shot, find a key source of light. Here are some ideas:
- A bright streetlight nearby
- Waiting for enough cars with headlights to pass
- Photographing on a full moon
- Finding a spot with roadworks (this one might be more difficult to plan)

5. Choose the right angle
The angle you choose can make the whole photo and make the bridge look more imposing and powerful. As a result, you should look around to see if you can safely alter the angles you capture the bridge.
Getting up close and under the bridge will make the bridge take up the entire shot, giving an imposing, powerful presence. This is the best angle for capturing architectural detail.
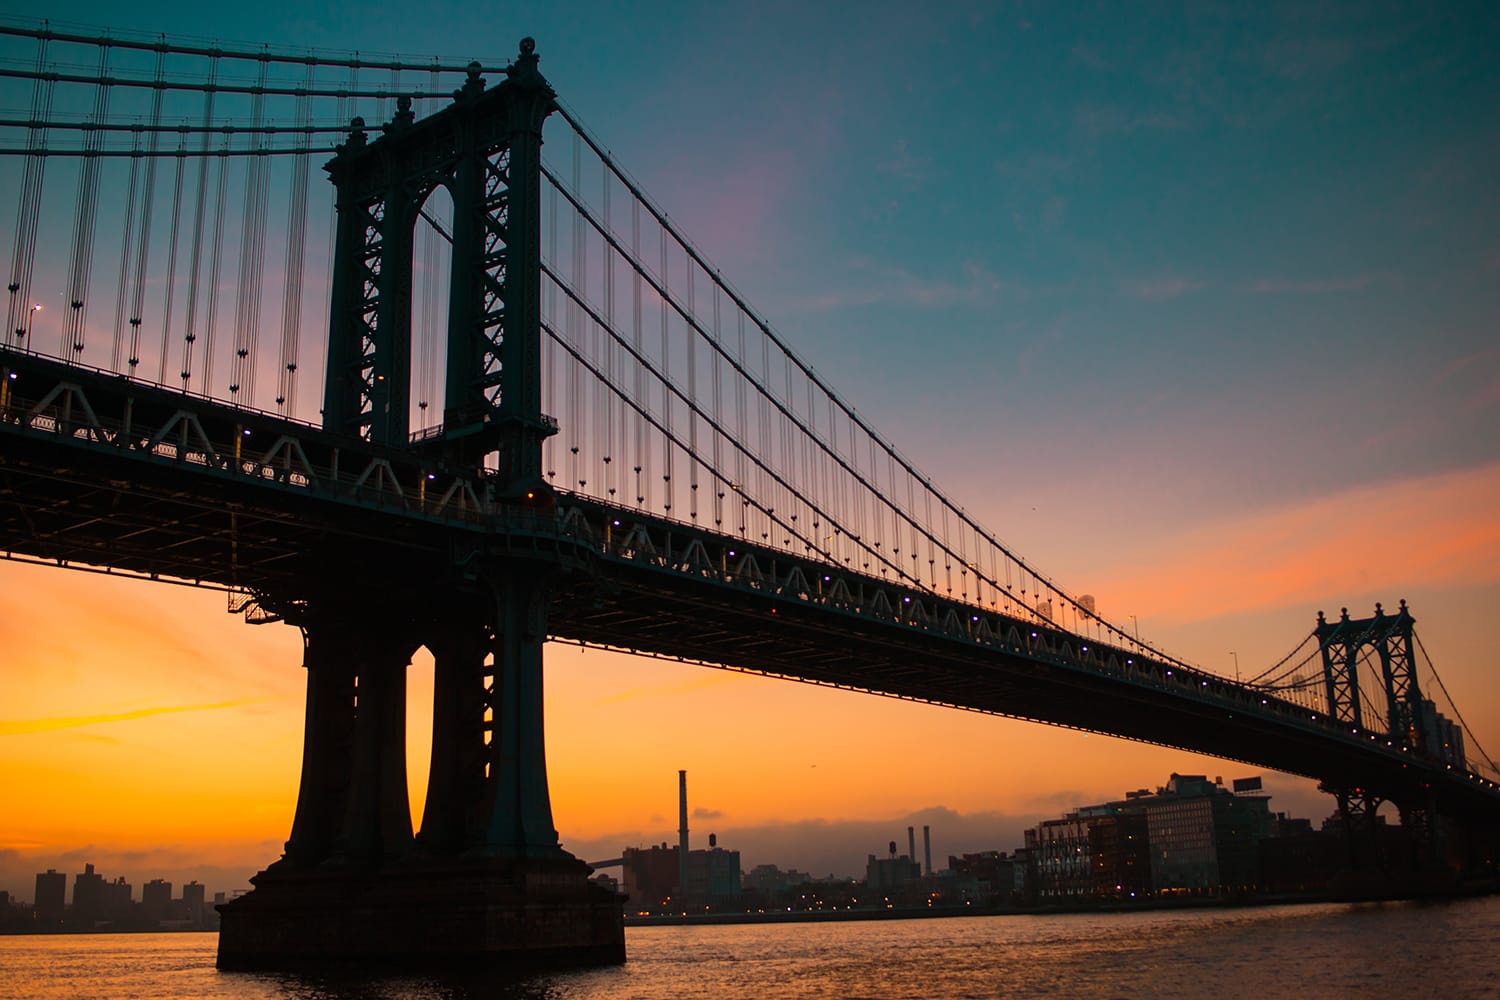
Whereas, a distant shot will capture more foreground, giving a softer, dream-like shot. This will give less detail but will show off the entire structure.
6. Longer shutter speeds
If you are shooting bridges in the twilight, then you are going to need to take advantage of longer shutter speeds. Most advanced cameras will now have lengthy shutter speed settings and using the B (bulb) setting will allow you to keep the shutter open as long as you have depressed the shutter button.
Shooting in the dark utilizing your cameras ISO settings is also a good way to enhance picture clarity. By boosting the camera’s ISO, you can negate some of the flair effects that light sources may cause when capturing bridges.
7. Draw the eye
Bridges can naturally guide the eye through the picture and can be used to frame interesting shots as well. Using a slower shutter speed to capture the moving lights of traffic on a bridge at night can also help to guide the eye through your photo.
This makes for a truly beautiful shot if you can capture traffic travelling over the bridge while using a slow shutter speed to get a streaking effect of lights.
Again, make sure you only choose safe locations for photographing. Many large bridges have walkovers which make excellent vantage points.

8. Use color and white balance
The palette of colors encountered at night can vary from the somber to the garish. This can be less obvious to the naked eye, but artificial light can come in a variety of color temperatures.
For this reason, it’s better to shoot in a raw file format that will allow you a greater degree of control over adjusting the white balance of the shot.
Night-time photography often utilizes a blue color cast that matches the cooler tones of night-time shooting. Switching your white balance to tungsten is an effective way to use this palette.
9. Use framing and bracketing to overcome contrast
Bridges generally have a wide range of contrasts between overhead lights, traffic, and shadowy areas. Therefore, framing and exposure settings are vital for photographing bridges at night.
Overcome some of the brightest glares by adjusting your camera angle. Or, where possible, use natural features to frame the image and obstruct glaring lights.
