A Guide to Understanding Exposure Value (EV)
 by
Jo Plumridge
by
Jo Plumridge

Put simply, EV (Exposure Value) allows you to underexpose or overexpose your image. In this article, we will look at understanding EV and learn how to use it to its full advantage.
However, in order to understand EV, it also helps to understand LV (Light Value). When you take a photograph, there are two main levels of light you need to work with. One is the very obvious amount of light in the area (usually just called brightness, or sometimes luminance).
The other less obvious one is the amount of light bouncing off your subject, and this is LV. There’s a common standard for measuring light in any given situation, known as the Light Value Chart. This ranges from -6 (a dim interior) to 18 (extremely bright), and these are set in the same way as measuring temperatures. So, bearing this in mind, we can now look at EV.
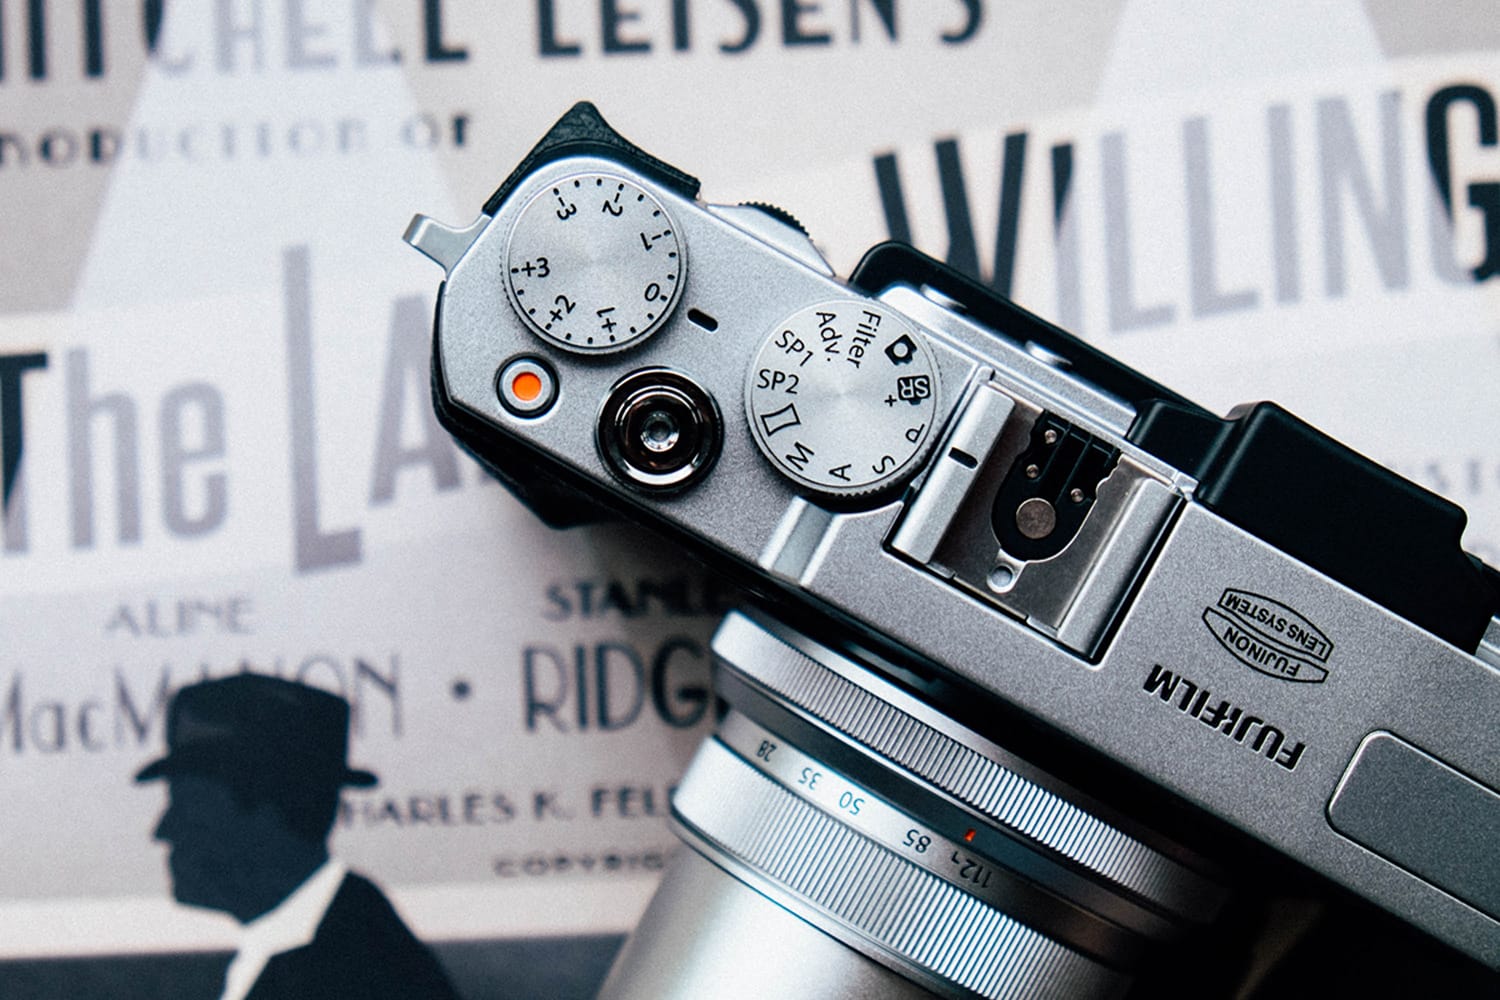
photo by Annie Spratt on Unsplash
If you shoot with your camera on automatic mode it will determine what your ISO, aperture and shutter speed should be so that the main subject in the photo is reproduced as a middle tone of grey. This is based on the Zone System, which goes from pure white to pure black. 18% grey is exactly midway between the two. This is what is known as Exposure Value.
The use of middle grey allows your camera to get as much of the light and dark tones as possible, whilst still keeping your subject visible and correctly exposed. Working with the trio of settings known as the Exposure Triangle (ISO, aperture and shutter speed) the camera works out the correct EV for your shot.
How does this work practically in different situations?
Well, let’s say for example that you’re shooting a photograph at sunset. Your camera will look at the lighting available, and work out that it’s at a lower LV. Therefore it is likely to set a slower shutter speed, open up your aperture and raise your ISO to let in more light, whilst still keeping its primary function of making the subject mid-grey.
Conversely, if you’re working in very bright sunlight, your camera will want to let less light in. So, it will increase the shutter speed, stop down your aperture and use a low ISO. While modern cameras are pretty accurate, they are not infallible. For this reason, they come with an EV button (donated by either these letters of a small +/- symbol). This allows you to quickly over or under expose your image.
Using this button brings up a line with number and marker indications along it, which are marked from -3 to +3 (or -2 to +2 on some mid and lower end models) at increments of 1/3 stops. These are your EV numbers which allow you to either dial in more light (positive EV, represented by the +) or less light (negative EV, represented by the -).
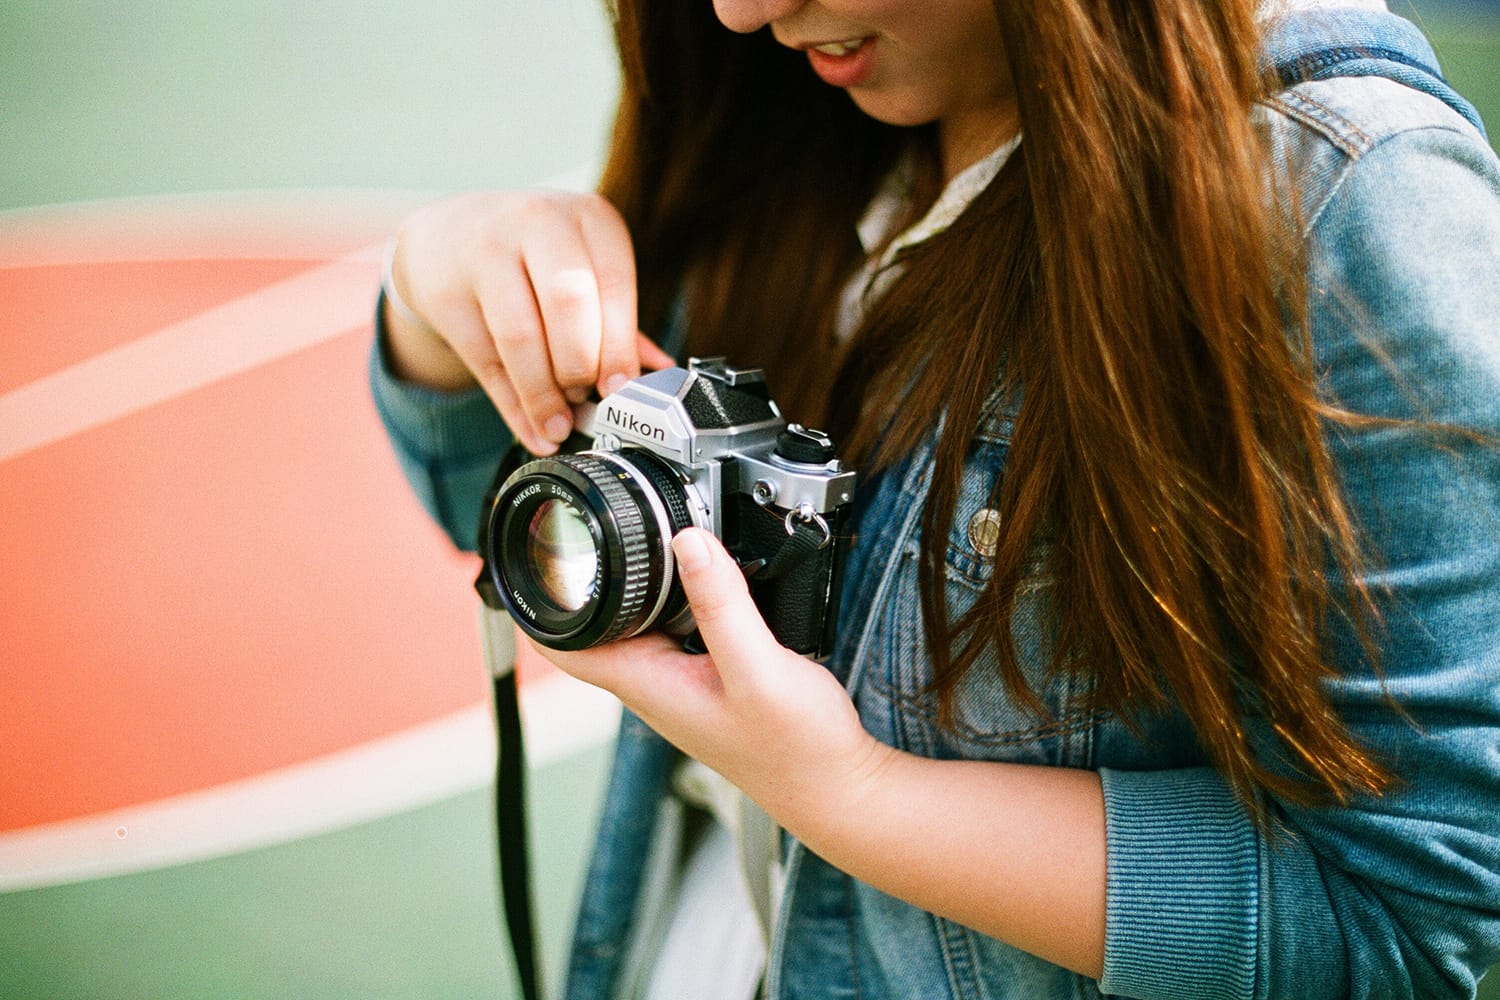
photo by Joseph Chan on Unsplash
So, when would you use your EV button? There are a variety of situations where understanding EV comes in useful, such as:
-
Your camera isn’t quite as accurate as you’d like
I’ve already mentioned how accurate modern cameras are, but even they aren’t perfect! As you get to know your own camera, you may find that it slightly under of over exposes images. A simple adjustment of a third of a stop either way usually corrects this.
-
Photographing Snow
Photographing snow is particularly problematic for cameras, as they will perceive there to simply be far too much white in the image. The camera sees the scene as overexposed and will compensate for this by underexposing the whole image. This can then lead to the classic situation of your nice white snow scene coming out as a murky grey image. This is most easily solved by dialling in positive EV, as you can control it more finitely in 1/3 stops.
-
The subject is brighter or darker than the background
This can be a particular problem if you’re shooting a small subject. As the camera takes a general metering of your frame and adjusts the EV accordingly, small objects can be lost. They may end up either under or over exposed. Using the EV button means that you can quickly dial in a little positive or negative compensation in order to adjust the scene to your liking.
Understanding EV and how to adjust it quickly means that you can make finite changes to your images and control your exposure, whilst understanding how it makes your camera work. It’s a useful tool to have control of!
About the Author: Jo Plumridge
Jo Plumridge is a UK based photographer, writer and lecturer. She specializes in portrait, corporate and travel photography, and writes photography, travel and comedy pieces for magazines, websites and books. You can see some of her work at her website, or follow her on Twitter.