How to Create Local Adjustment Presets in Adobe Lightroom Classic
 by
Adam Welch
by
Adam Welch

You probably understand by now that if you use Adobe Lightroom, using develop presets can save you loads of time during your post processing. Presets just make things easier and give you more consistent results with your editing. But did you know that presets aren’t limited to overall development in Lightroom?
I’m happy to tell you that you can actually make local adjustment presets for all the radial and graduated filter tools as well as the brush! Here’s how to do it!
Just as a quick refresher, we all know what the radial filter, graduated filter, and adjustment brush do for our editing. You can find all three of them located just above the Basic Adjustment Panel in the Develop module.
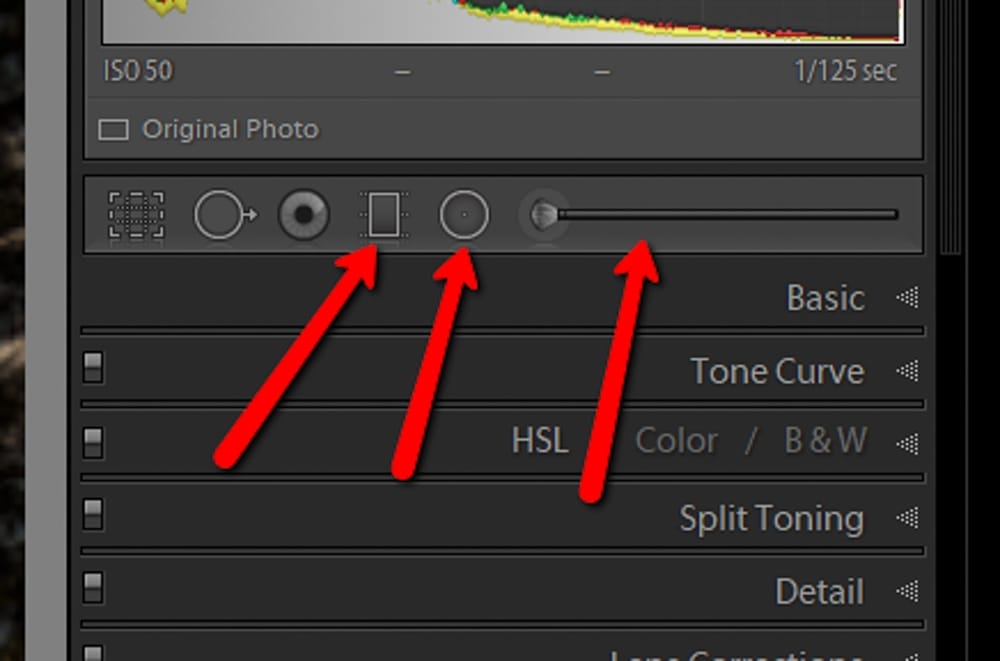
Instead of making global adjustments to the entire image, these tools allow us to make local adjustments to our photos much more effectively.

How to Save Local Adjustments as Presets
Making a local adjustment preset is extremely easy and rather straightforward once you know where to look to find them. Luckily, the all of local adjustment presets are located in the same place. Whether you’re using the radial or graduated filter or the brush tool you’ll only have one place to look for each.
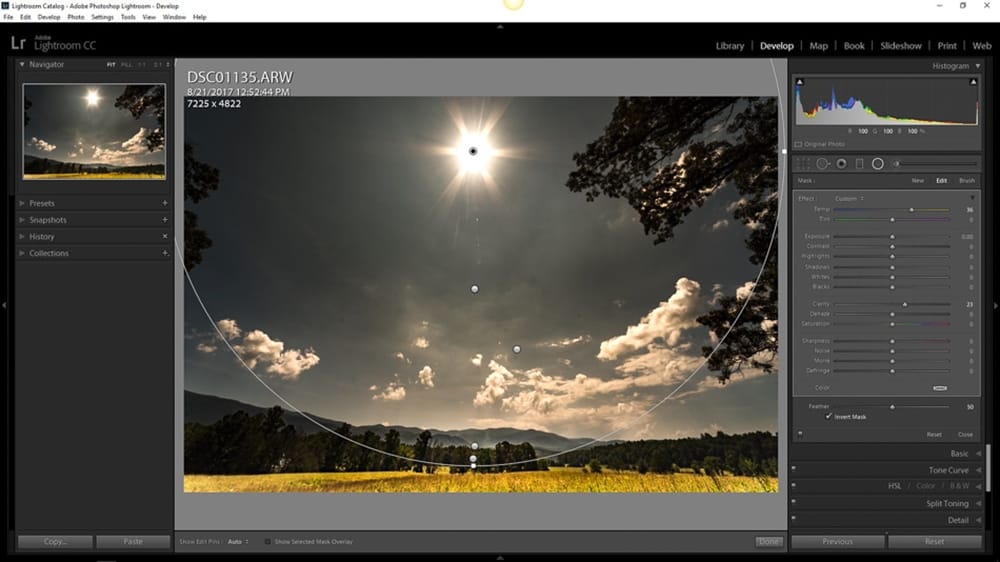
Let’s say you’ve made some adjustments using the adjustment brush or one of the filters we’ve mentioned above. You like the look of the edit so much that you’re sure that you’ll want to use that same filter again. In our case, it’s a radial filter that adds some nice warmth and clarity to the sunlight.
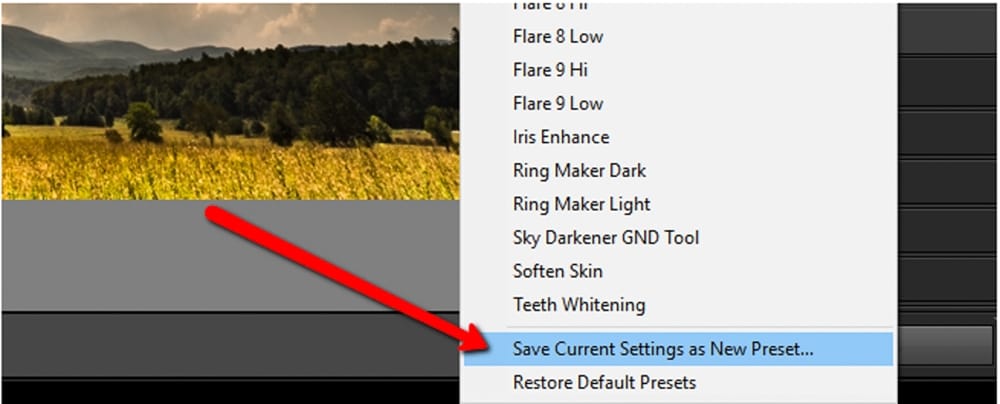
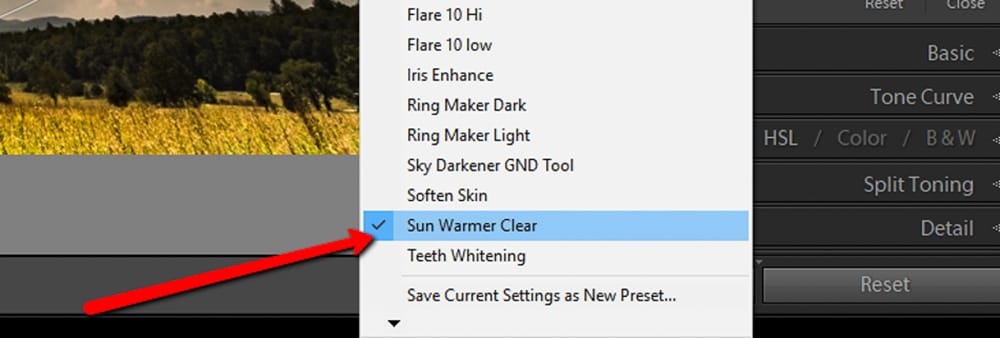
We can save that radial filter as a preset. Simply click on that “Custom” dropdown from earlier. Go to the very bottom of the list and click on “Save Current Settings as New Preset“.
This will bring up the naming box for your preset. Be sure to give it a name that is descriptive and will enable you to quickly discern between all your local adjustment presets. Since this preset increase the color temperature and adds a bit of clarity it will get the grand name of “Sun Warmer Clear“.
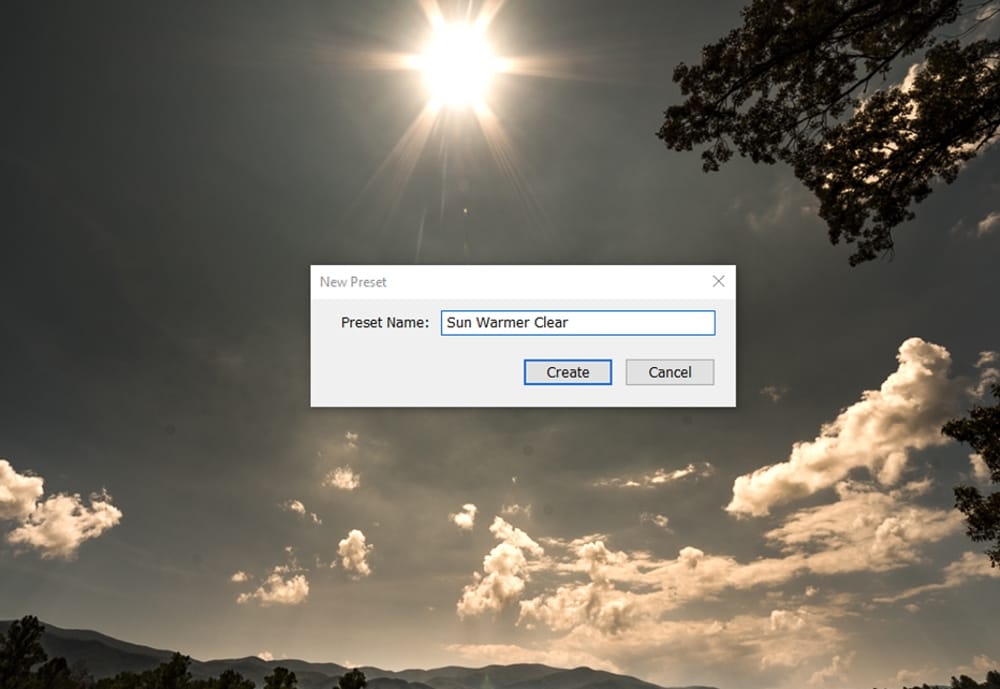
You might have noticed that there was no choices as to which adjustments you wanted to be saved within the preset. Keep in mind that unlike saving regular develop presets, local adjustment presets will save ALL your adjustments under one preset.
And now you’re finished! You’ve just saved a brand new local adjust preset. Again, the adjustments you applied with the radial filter and then saved with this preset are interchangeable with the gradient filters and adjustment brush as well. When you get ready to make use of your preset all you have to do is click the “Custom” dropdown once again and find the preset name.
Importing and Exporting Local Adjustment Presets
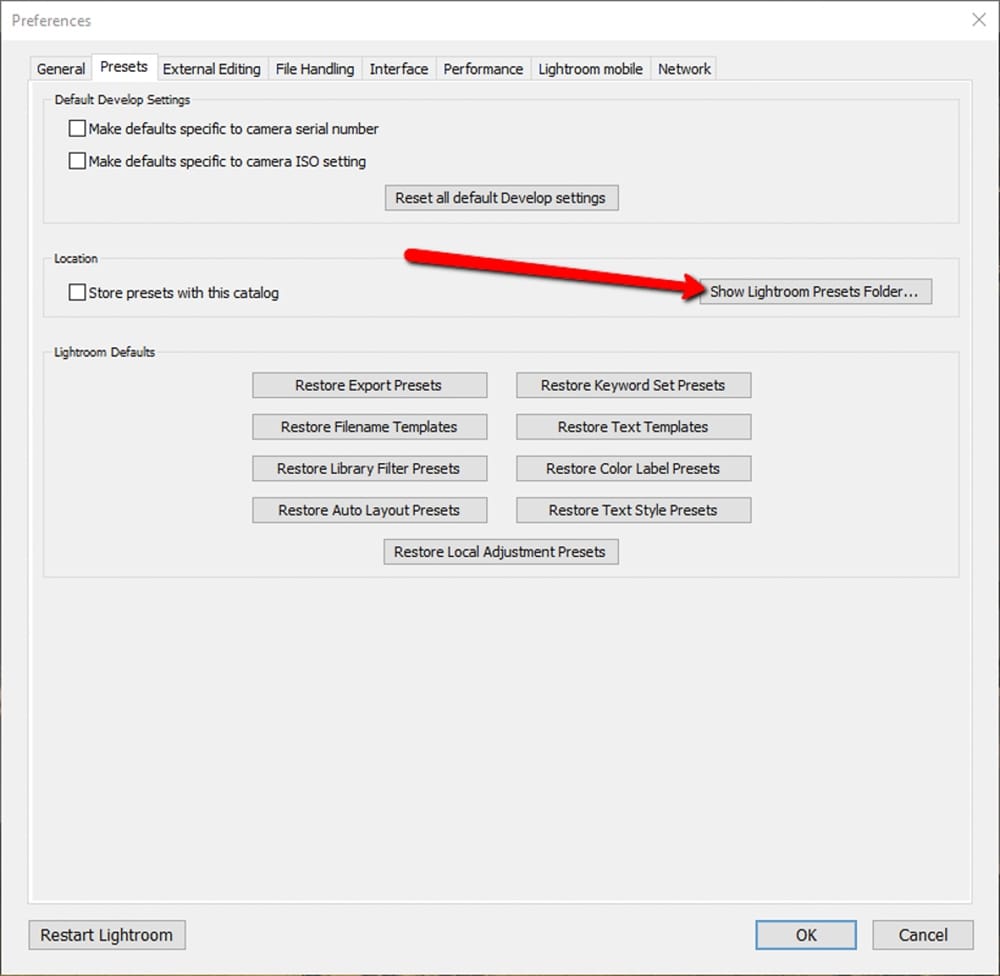
Local adjustment preset files are saved in the same “.lrtemplate” format as standard develop presets. You will import and export them in the exact same way as you would any other preset because they are housed in the same Lightroom presets folder. You can access this folder by the keyboard shortcut “Ctrl+,” (Command+, on Mac) [a] or by manually going up to the “Edit” tab and choosing “Preferences“. From here, click the “Presets” tab and then hit the “Show Lightroom Presets” folder.
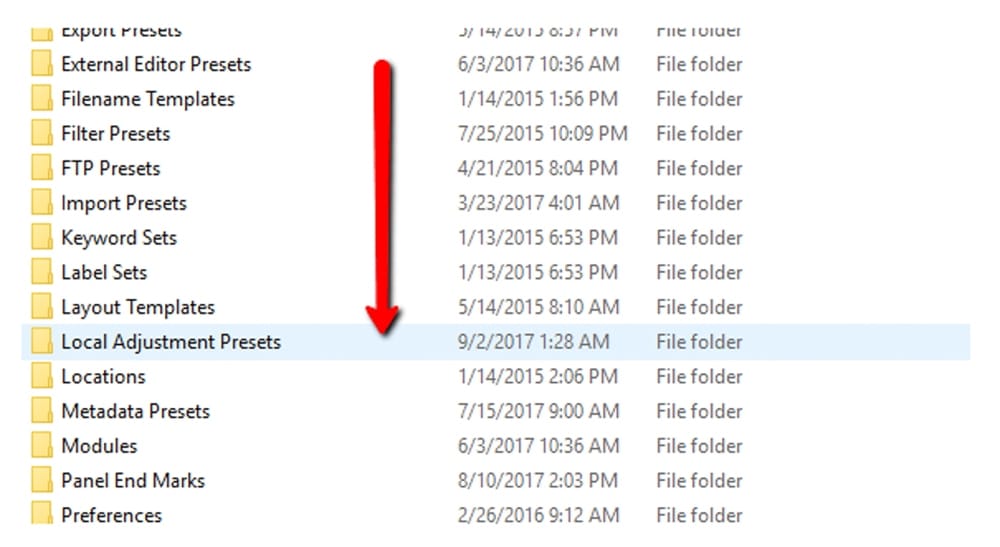
Your file folder arrangements could be slightly different than the ones shown here but locate and open the “Lightroom” folder.
Your local adjustment presets will be located in the folder named… you guessed it, “Local Adjustment Presets“.
And low and behold there is our newly made local adjustment preset which can be exported to other locations.
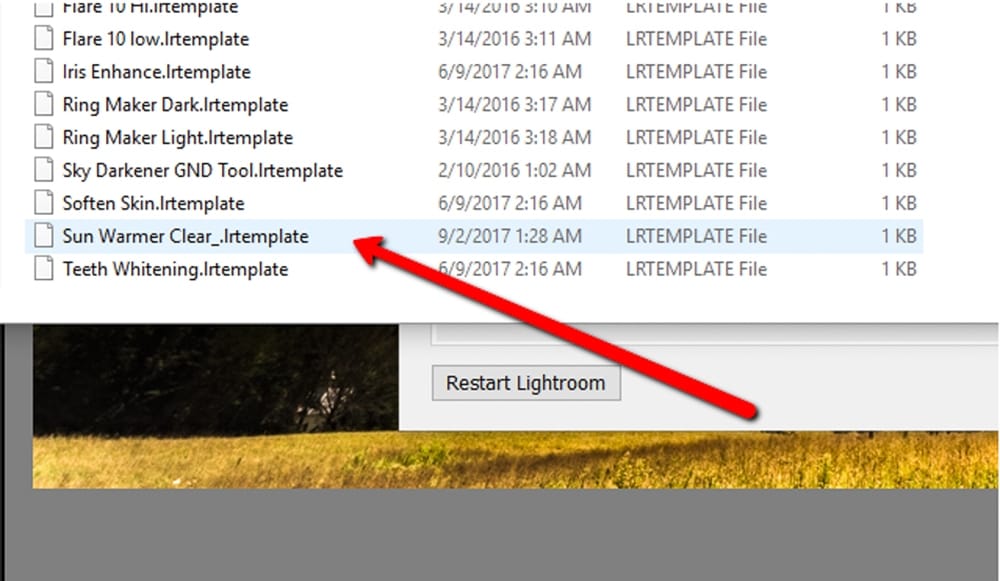
Just the same, when you download local adjustment presets from an external source they will be nested in this folder as well.
Final Thoughts…
Just as standard issue, develop presets work to save you time and energy during your editing, local adjustment presets do the same for your images by allowing you to save commonly used local adjustments for quick access later. This means that gradient filters for your landscapes can be pre-cooked and ready to go whenever you need them.
Radial filters can be saved for quick made custom vignettes and adjustments brushes can be ready to perform pinpoint sharpening; all without having to adjust a single adjustment slider on the front end. Try out creating your own local adjustment presets and see how awesome these lesser known gems of Lightroom can be!
[a] This looks slightly confusing but the actual shortcut is Ctrl and , an actual comma.
About the Author: Adam Welch
Adam is an author, adventurer, photographer and a jolly co-founder of Contrastly. You can usually find him on some distant trail making photographs, in his darkroom or at his computer writing and planning his next project. Follow his work over at his
website , Facebook, Instagram and YouTube .