Using Backlighting to Enhance Your Images

Backlighting, as the name suggests, is when the lighting is behind or in back of your subject.
It’s the lighting that can be seen in portraits as rim lighting, softly illuminating hair and clothing, and helping to separate the subjects from the background. It can also be found in landscape images – as the sun setting behind a mountain, dipping below the horizon – or partially obscured by a tree.
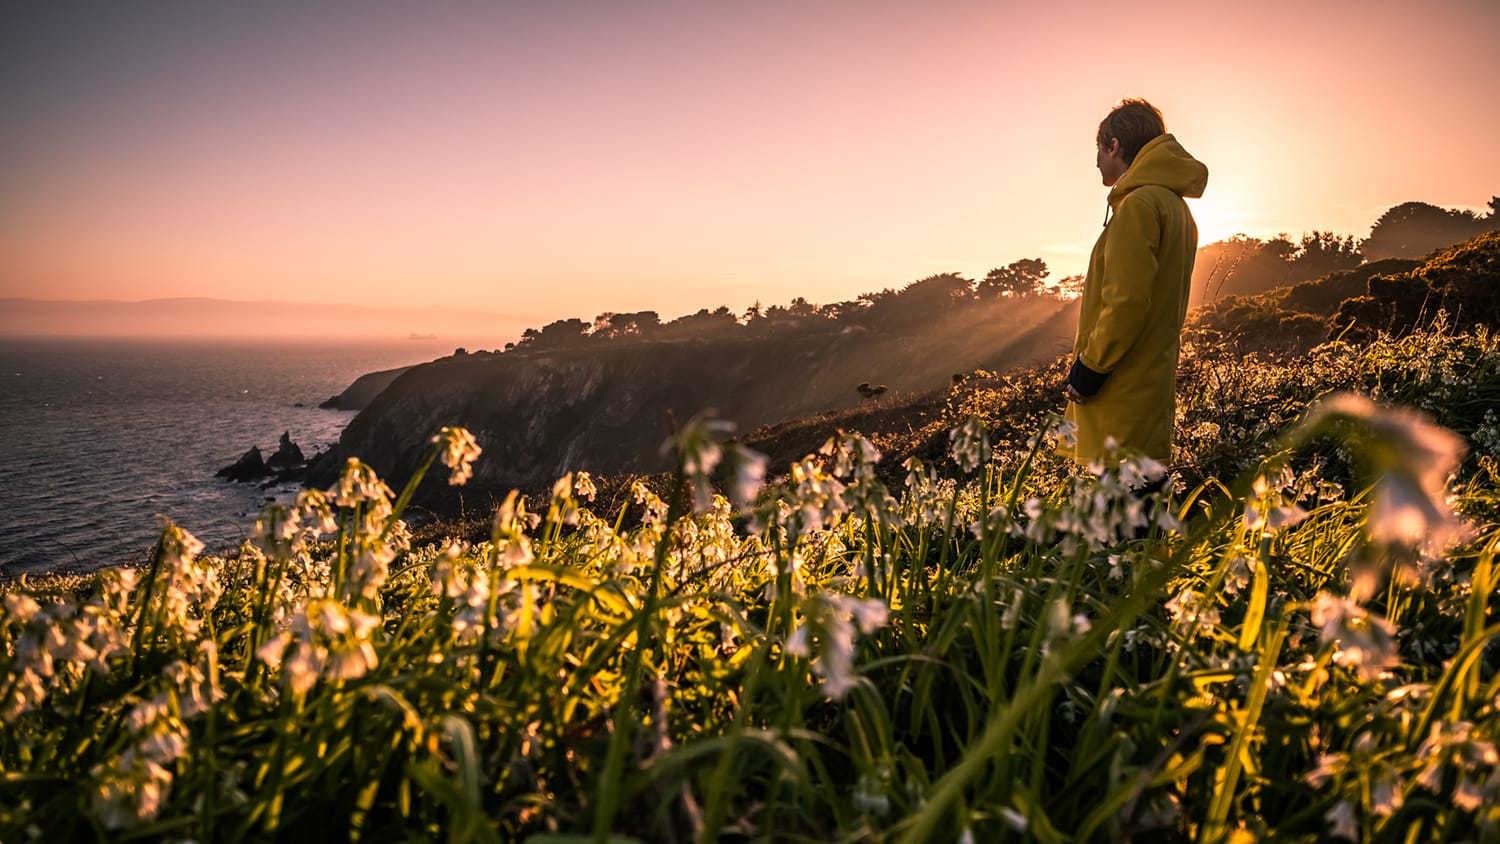
image by Giuseppe Milo
While it can be challenging to work with, when captured effectively, backlighting can be used to dramatically enhance your images, and add depth and visual interest to your compositions. In fact, many photographers consider it to be the best type of lighting; ideal for creating images that have a beautiful, ethereal look.
When captured properly, backlighting can result in some rewarding images. With this in mind, let’s take a look at how you can use backlighting to enhance your photos.
1. Know When to Go
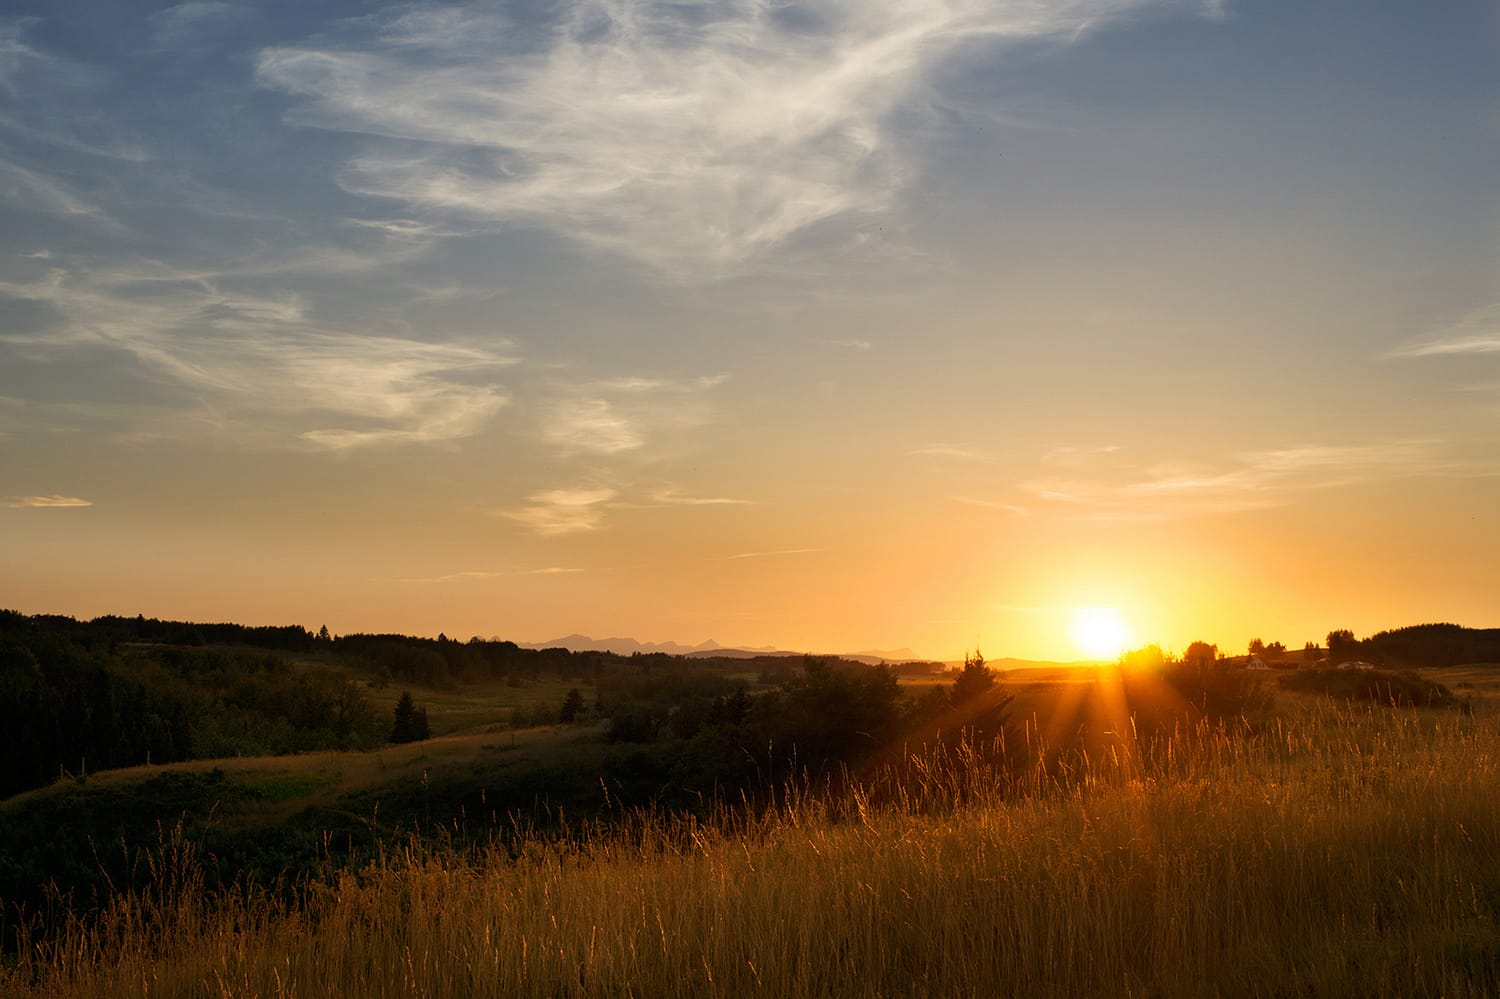
image by MattysFlicks
In order to capture beautiful backlighting, you’ll need to know when to find it. One of the best forms of backlighting is found during golden hour – morning and late evening – when everything is awash in a golden glow. During golden hour, the sun is at a lower angle in the sky, and the lighting is softer and far easier to worth with. Golden hour is ideal for capturing portraits, landscapes, and even nature and macro images.
2. Capture Beautiful Portraits

image by Matteo Paciotti
Perhaps one of the most common uses of backlighting is for portraiture; especially during golden hour, when the soft, late afternoon lighting produces beautiful, flattering light. Positioning your subjects with their backs to the sun can also help you to capture some gorgeous highlights.
With portraits, using a wide aperture will give you a shallow depth of field, allowing you to draw the subject into focus while softly blurring the background and foreground. You may want to consider purchasing a reflector, to help bounce some of the light back onto your subjects’ faces for a beautiful, more even exposure.
3. Photograph Amazing Landscapes
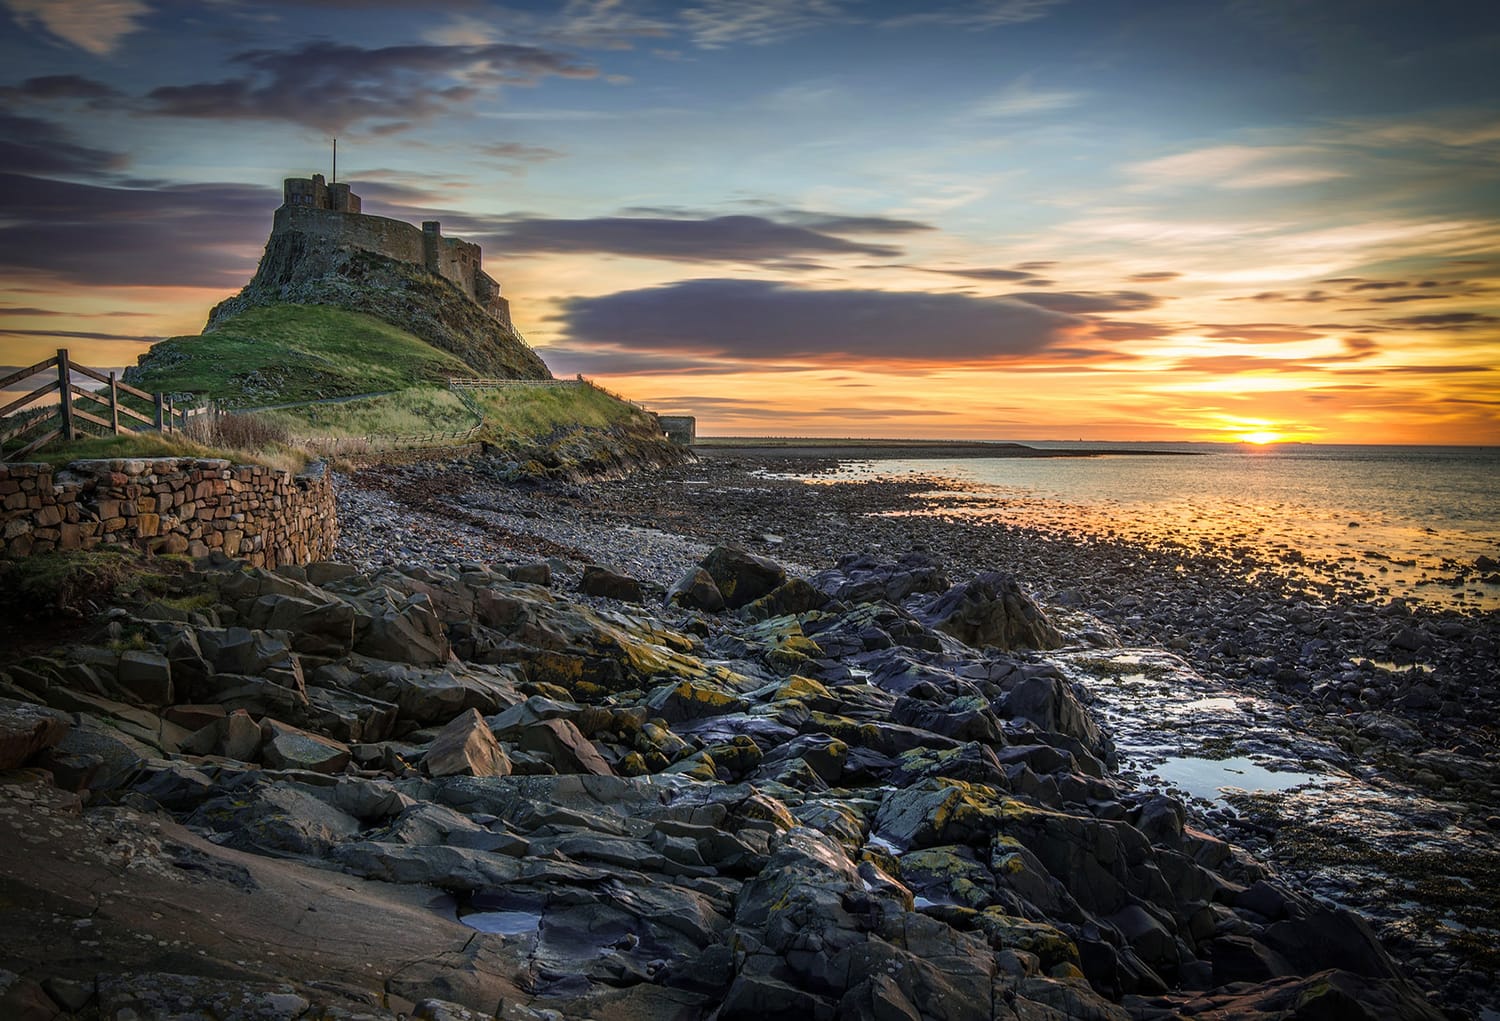
image by Lenny K Photography
Backlighting also works spectacularly well for landscape images. For landscapes, you’ll usually want to look for solid structures; such as a house, building, lighthouse, or tree to include in your composition, and depth and interest to your image. If the sun is especially bright, positioning something in front of it can help to block some of the bright light; resulting in a beautiful starburst effect.
Important: take care to protect your eyes. You’ll want to avoid looking directly at the bright sun through the lens.
4. Create Silhouettes
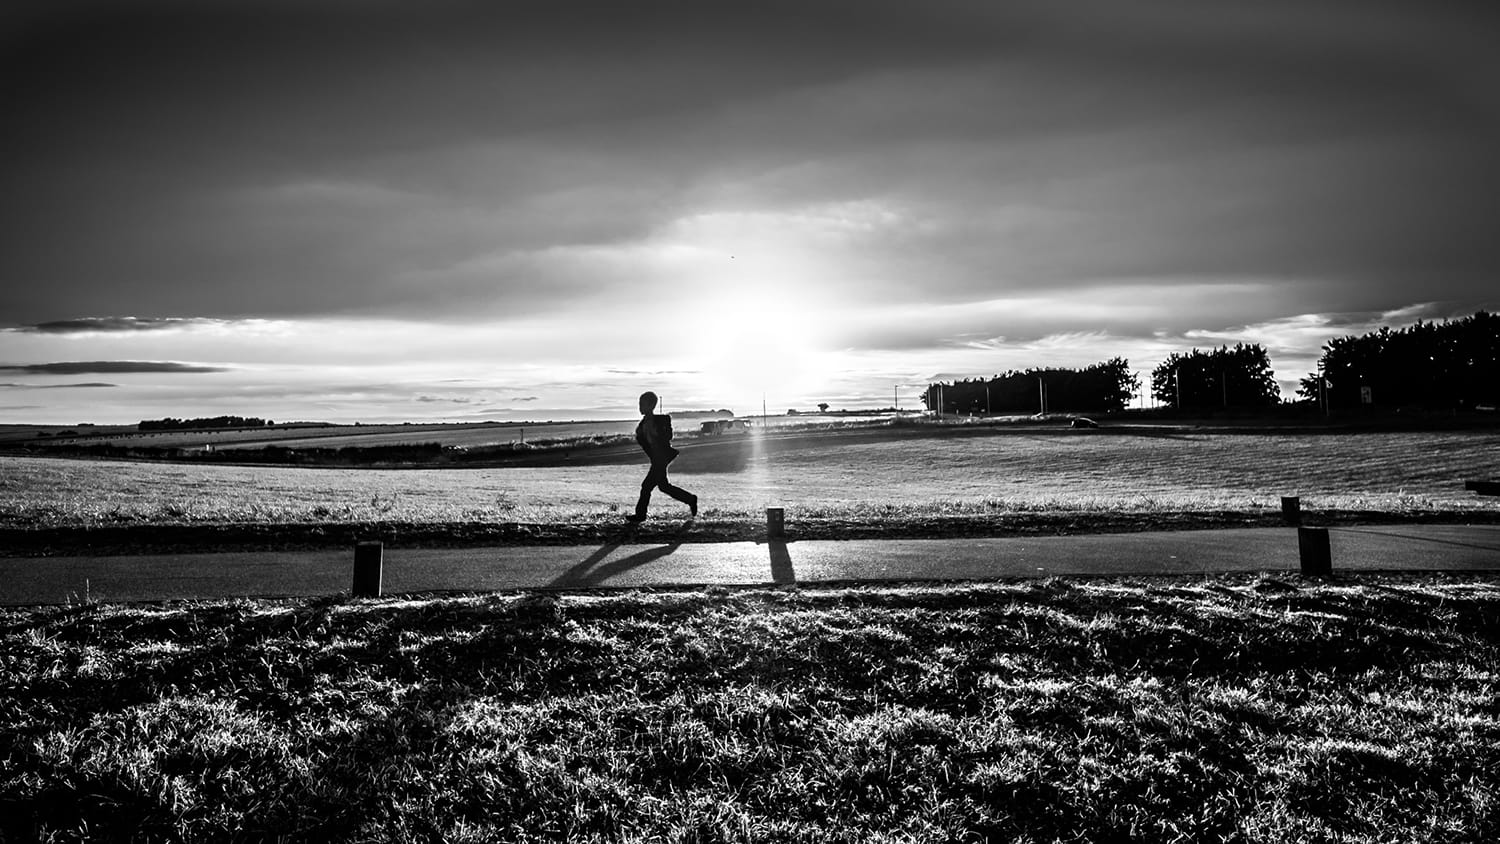
image by Giuseppe Milo
Another great thing about backlighting is the chance to create some silhouettes. Sunrise and sunset present especially good opportunities for silhouette photography. To capture silhouettes, position your subject in front of the sun, then use spot metering to meter on a bright part of the scene to create a silhouette effect. For a fun, starburst effect, try to position yourself so the sun is partially obscured behind an object and use a narrow aperture like f/22.
5. Consider Spot Metering

image by Jason Corey
Metering is how your camera determines how much light is in a scene. In most cases, your camera can accurately determine the correct exposure, but with backlighting, it often gets confused and underexposes the subject. To ensure the best exposure for your images, you may want to consider spot metering; which will allow you to focus on the area of your image that you would like to have properly exposed. If you don’t feel like switching your metering mode, adjusting your exposure compensation by +1.0 is often enough to expose your subject properly.
6. Adjust Your White Balance
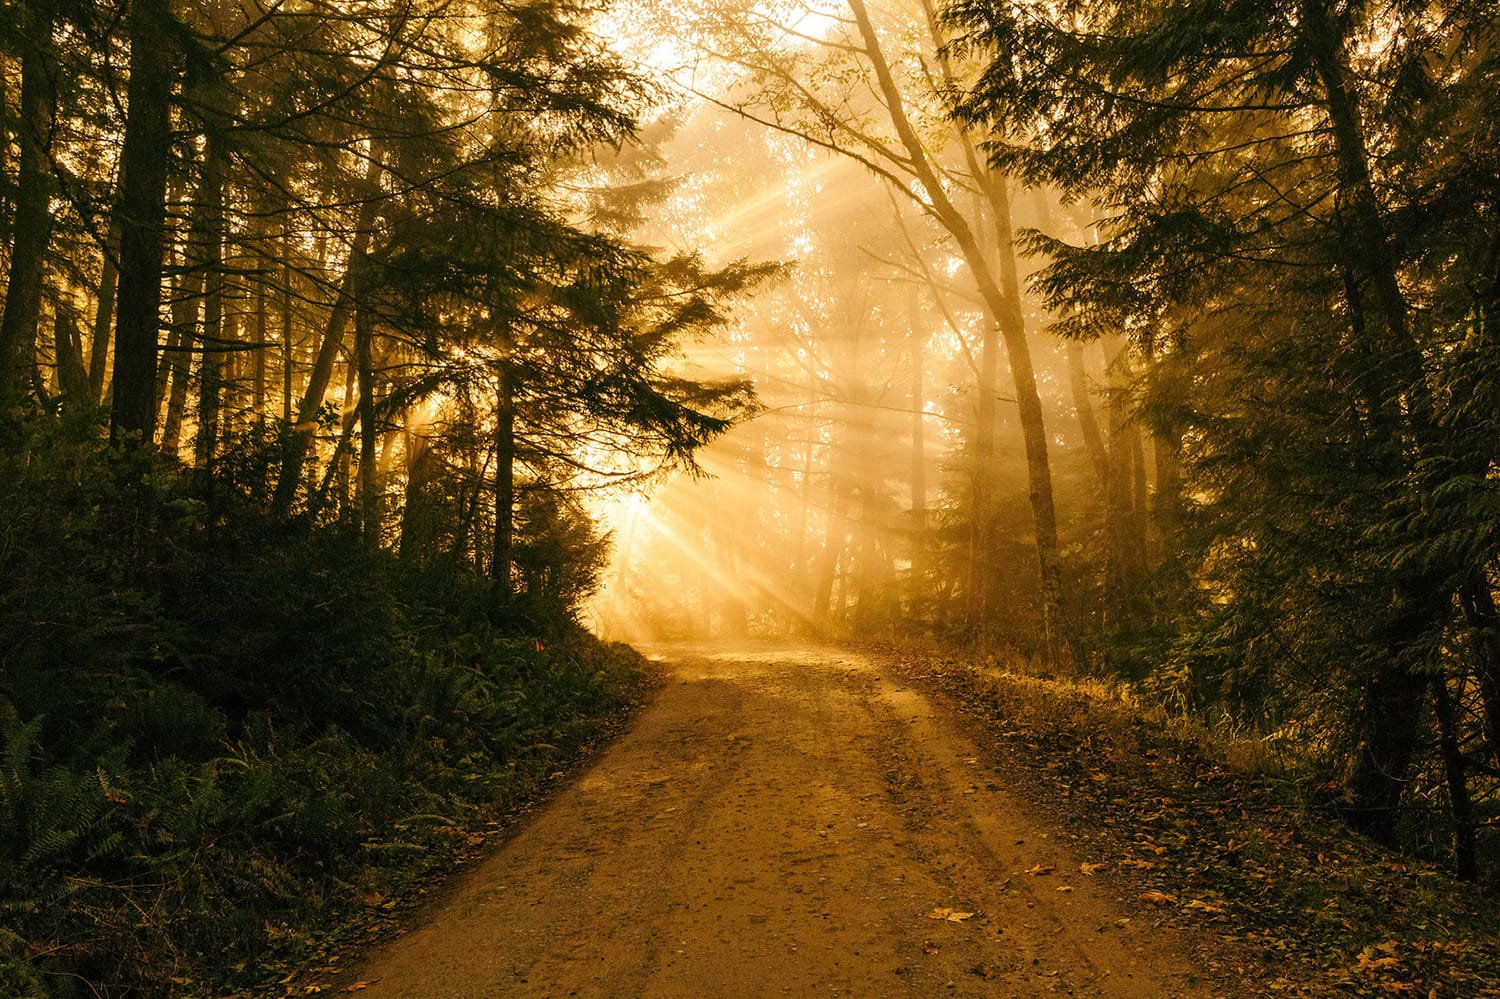
image by Lenny K Photography
Backlighting can also throw off your camera’s auto white balance. In some case, you may want to try setting a custom white balance setting, to save yourself some hassle when adjusting skin tones later on. Try using the “shade” or “cloudy” setting to accentuate the vibrant, warm tones found during golden hour.
7. Use a Lens Hood
image by Lordcolus
A lens hood is inexpensive and helpful when it comes to backlighting. Using a lens hood will help your camera to focus when shooting into the light, and can help to prevent lens flare as well. If you don’t have a lens hood, try shielding some of the light with your hand to help your camera focus.
8. Edit in Post
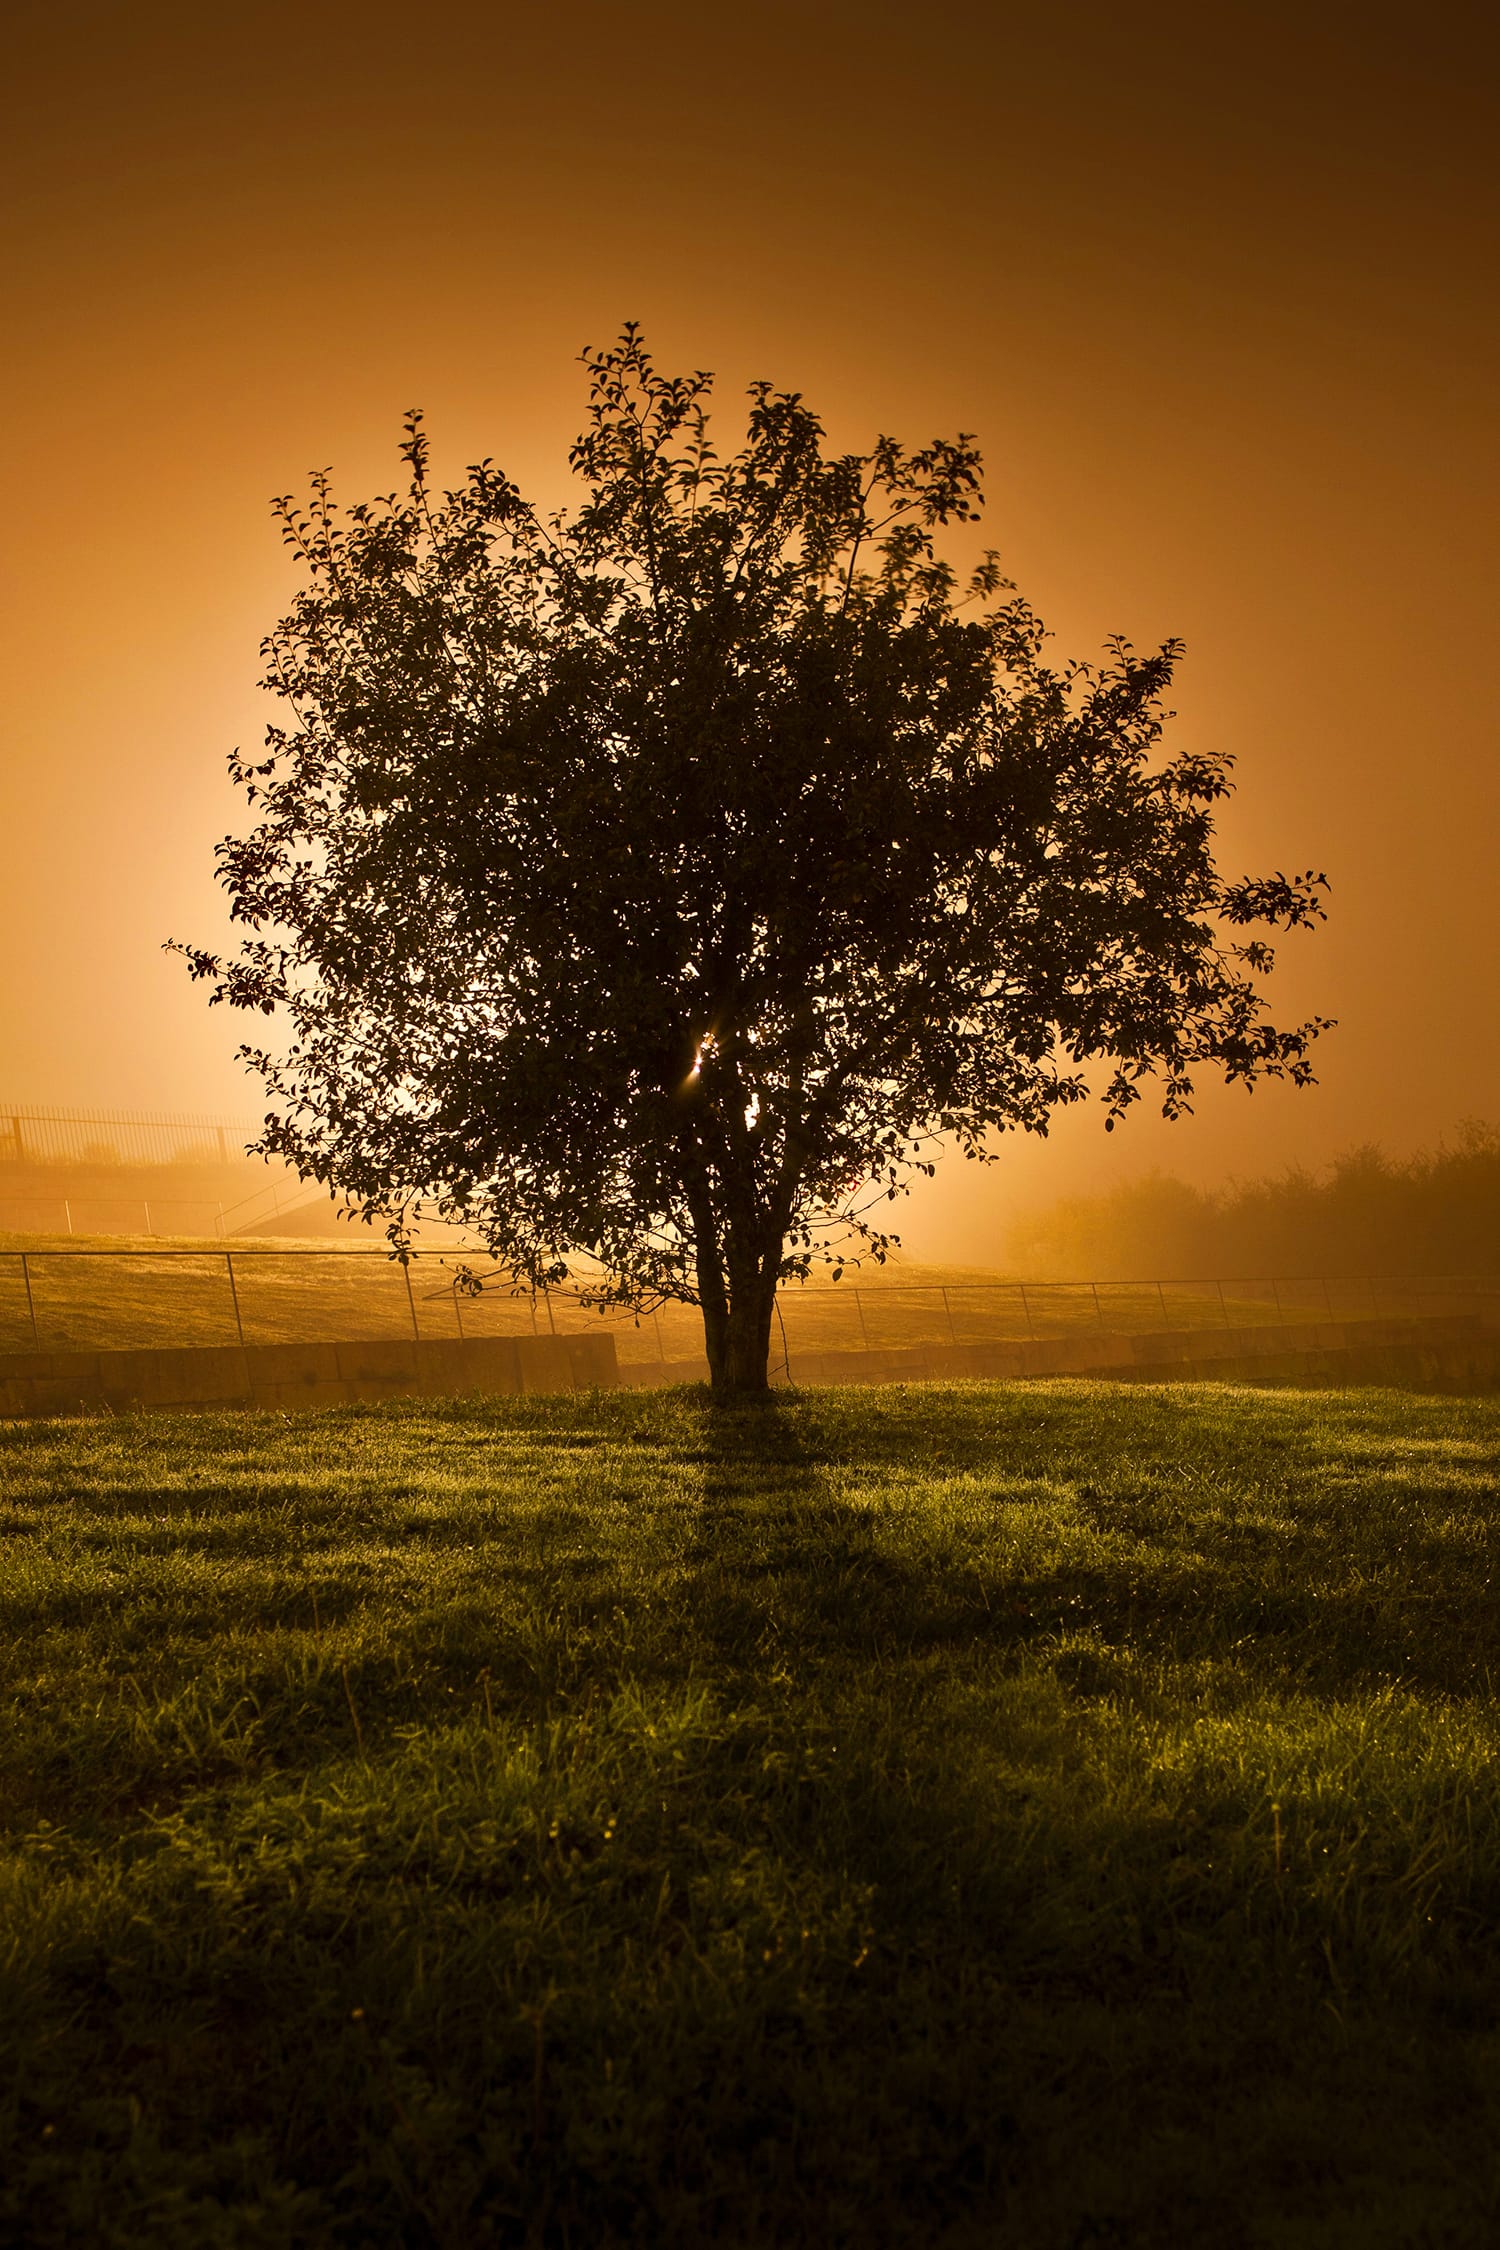
image by Lenny K Photography
Backlit images can often benefit from a few adjustments in post-processing to help enhance the end result. Often, details can be brought out of dark shadows. Other times, you may want to create a composite image by blending two images with different exposures together.
While backlighting can be a challenge, it’s a skill that’s worth having. Being able to work with backlighting can help you to showcase your subject, or composition at hand, in the best possible light, and will help you to capture some beautiful, striking images. It will also allow you to work during difficult lighting conditions; and give you the tools you need to create some truly amazing works of art.
Have you worked with backlighting before? We’d love to hear your tips for capturing amazing backlit images – share them with us on Facebook or Twitter!
About the Author: Christina Harman
 Christina is a part time blogger and full time photography enthusiast living in Southeast Alaska. She enjoys travel photography and has taken pictures in countries such as Mexico, England, France, and China. She likes sunny days, new lenses and drinking good coffee. You can visit her at Tangled Thoughts.