How To Effectively Use Backlighting In The Studio
 by
Jo Plumridge
by
Jo Plumridge

When we think of backlighting, we usually associate it with shooting portraits outside directly into the sun, using it as a backlight to create a rim light around your subject.
But this is an effect that can easily be created in the studio, where you have far more control and can modify things to your liking. Backlighting in the studio can also refer to lighting your background to create a high key look. So, let’s have a look at how you go about achieving backlighting in the studio.
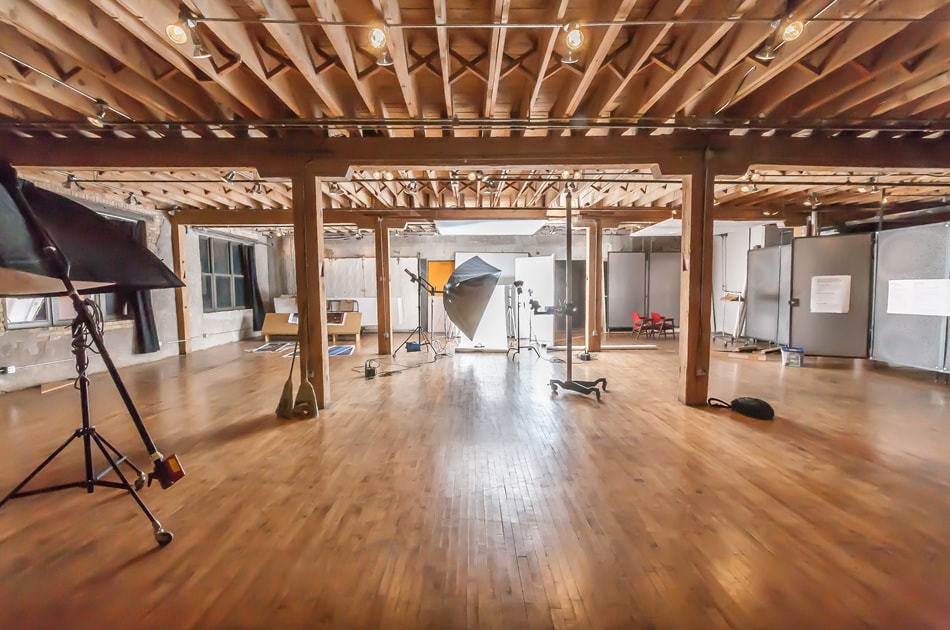
Photo by Tony Webster
Camera settings
Before you even start setting up your studio, it’s important to set up your camera properly. The most important thing you can attach to your camera is a lens hood. This helps prevent lens flare from your backlight and prevents any light spots appearing on your images.
As you’re working in the studio you can keep your ISO at 100 or the lowest setting your camera has, as there will be plenty of light from your studio lighting.
The other important factor to take into account is that, if you’re using backlighting, your camera is likely to try and meter for your entire shot and will therefore cause your subject to be underexposed. So, to make sure you get an accurate reading on your subject you either need to use a light meter or, if you don’t have one, switch your camera’s metering to spot meter. This means that your camera will meter for only the central 5% of your image, allowing you to get an accurate reading off your subject’s face (unless of course you want your subject in shadow).
Studio set up
The basic idea with backlighting in the studio is to create a clean white background as well as, if you wish, the highlighting that you get from shooting into the sun outside. The easiest way to create this look is by using a large softbox behind your subjects – pointing directly to the back of them.
Because softboxes have an internal baffle to help diffuse the light, it will be very even throughout the shot.
Alternatively, you can use a white sheet or muslin and shine light through this at your subject. Because sheets tend to be of a heavier material, you’ll probably find that you need two studio lights to diffuse the light successfully. If this is the case, put a reflector on each (usually supplied as standard with lights) to help angle your light. Try to make sure your sheet is as smooth as possible, as any large folds will create shadows on your background.
At this point, with no other lighting, your subject will be in shadow. But, before we deal with that, you need to ensure that your background is completely white and textureless. A good way to check this is to use the histogram on your camera and then adjust the power of the studio lights as necessary.
Illuminating your subject
At this point, you’ve got a few choices, depending on the final look you want to achieve. If you want to keep your subject partially shadowed, for a dramatic effect, you can look at using a simple portable reflector. These are usually circular and you need to choose a large enough reflector to cover the areas of your subject you wish to illuminate. A silver reflector will give enough reflection for a good shot and won’t colour your image. Angle your reflector so that it catches as much of your backlight as possible. This will then be reflected back onto your subject.
Alternatively, if you want to light your subject evenly along with the background, you’ll need to add in another studio light to do so. A smaller softbox on this light will help to keep the soft diffused feel of the shot and, if you angle the light up and down, it will illuminate your subject’s face nicely.
You could also experiment with creating a ‘rim’ style lighting effect to illuminate your subject’s hair as if sunlight is falling onto it. For this look, a honeycomb grid on your studio light is the best choice. Experiment with moving the light around to get the glow you want.
In conclusion
Backlighting in the studio tends to work best when you’re shooting head and shoulders shots, as the light will fall off quite sharply. As a final tip, make sure you use your secondary light or reflector to bring out catchlights in your subject’s eyes and keep them as the sharpest focus point in your image.
I hope you enjoy experimenting with these techniques and remember that the possibilities are endless!
About the Author: Jo Plumridge
Jo Plumridge is a UK based photographer, writer and lecturer. She specializes in portrait, corporate and travel photography, and writes photography, travel and comedy pieces for magazines, websites and books. You can see some of her work at her website, or follow her on Twitter.