A Primer on Environmental Portrait Photography

Many newspapers and magazines often come out with features of influential and inspiring people. These features come with photos that show the person profiled in their natural surroundings.
So, if the person being featured is a painter or artist, the photo will show them working in their studio, with their latest canvas or masterpiece also highlighted. This is what environmental portrait photography is all about.
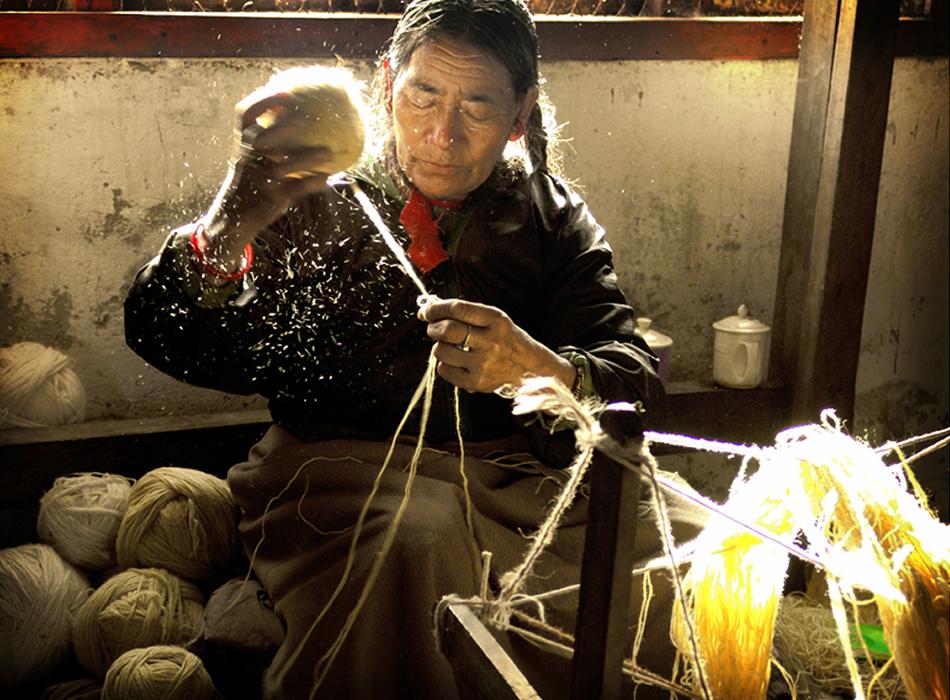
Image by Sukanto Debnath
What is Environmental Portrait Photography?
Environmental portraiture, or environmental portrait photography, is the practice of taking a photo of a person shown in their natural environment. In other words, you will not be using a blank or a white and/or neutral background for shooting the portrait.
As in the example given earlier, the subject will be shown surrounded by objects or symbols that you can relate with their natural environment. For a teacher, it can be a shot inside the classroom while they talk to their students. For a dancer, it can be a dance or ballet studio during a show or rehearsals. A politician can be depicted as an influential person by taking a photo of them inside their office, with books (or journals, or whatever you call them) or papers (bills or laws they passed).
Since your subject is in their natural environment, they will feel more relaxed and confident. There will be less (or none at all) stiffness once the camera clicks. It’s as natural as natural can get. When you do environmental portrait photography, you veer away from studio shots.
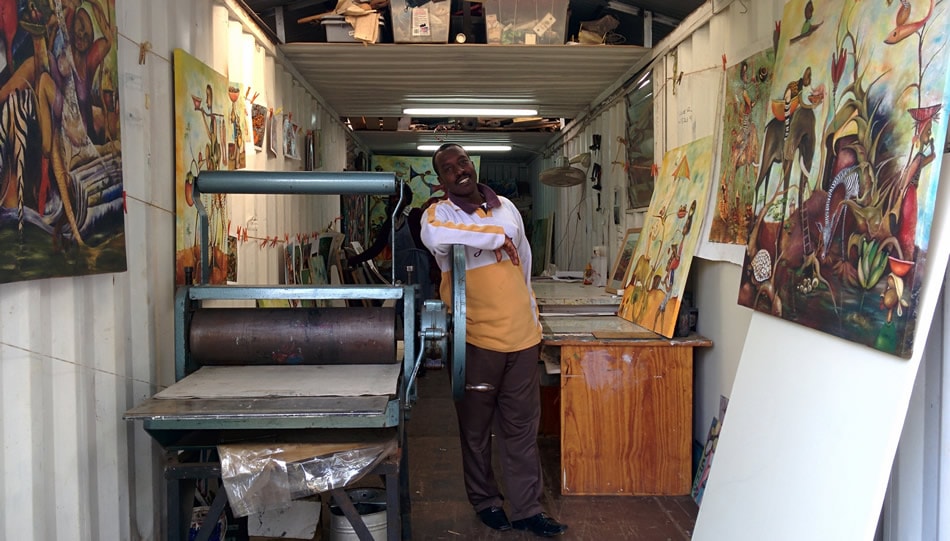
Image by datakid musicman
Tips and Tricks
To help you get started with environmental portrait photography, here are some tips and tricks that might prove useful.
- The first thing you need to do is determine or identify the purpose of the photo. Why are you taking the portrait? What is the objective of coming out with the photo? To do this, you need to know your subject well. You don’t have to be extra close to or buddy-buddies with him, you just need to know basic information about them, especially the purpose for doing the shoot.
If your subject is an athlete, for example; you can shoot them in the track in a casual pose. This will give viewers the message that he or she’s an athlete who loves doing what he or she does. If you position them beside their medals and other awards, the message would be about working hard to achieve success or that they’re winners.

Image by Sigfrid LundbergThus, it is important to talk to your subject first before you start shooting. You can ask them about what they love most about running; or which of their awards they treasure the most. If you do this, you will be able to capture their personality and you’ll know how to make it come out in the photos.
- Help your subject relax in front of the camera. Even if you’ve studied your subject well, if they do not feel comfortable in front of the camera, your photos won’t work. Talk to them as if you were having a simple conversation. This will make them feel at ease. Additionally, you can also use the information you’ve gathered from your pre-photoshoot talk with them. Getting to know your subject well will help you find ways to make them relax. They have to feel confident. Most of all, find something that will help keep your subject’s mind off the camera.
- Pay attention to your location and lighting. You have to study your location ahead of time, because you need to take note of details like the lighting, structures, background, and the angles, among others. For environmental portraits, natural light is always the best choice. But, if you find yourself in a situation where natural lighting is minimal, find a way to modify the light available. The best example for this is using a reflector or a flash with umbrella.
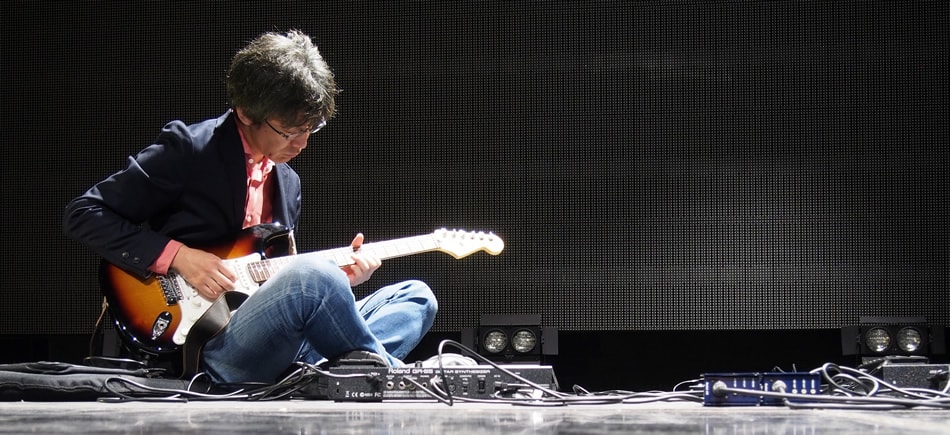
Image by Daniel DavisYou have to know how you can create your own light and make the artificial light appear as natural as possible.
Also, you need to shoot on the perfect time of day, no matter what day or season you choose. Whether you’re shooting in the summertime or as winter draws near, it is important to be mindful of the time of day. You should not shoot when the sun is at its peak or highest point (11 in the morning to 3 in the afternoon). The best times to shoot are a couple of hours before the sun sets, or an hour or so after sunrise.
- Remember that environmental portraits are all about the subject, but it is also important to show a related background. In order to do this without losing the main focus on the subject, your apertures should be from f2.8 to f4. This will make your subject stand out, while the background is a little bit out-of-focus.
- Finally, never be afraid to shoot tight. Environmental portraiture is all about showing your subject’s natural environment, but this does not mean you cannot shoot your subject up close. You can still show a person’s purpose or hobby even when you get close to them. This is why a 24mm or a 35mm wide-angle prime lens is perfect for environmental portrait photography.

Image by U.S. ArmyFor your athlete subject, for example; you can take a close up photo of them biting one of their medals. This will show people that they’re an achiever and a positive-thinking happy person.
If you do choose to take a close up shot, however, be sure that you focus on the most flattering feature/s of your subject. The key is to show something that will describe their character and that will show them in an inspiring way. Never place your subject on the very edge of the frame. Wide-angle lenses tend to distort faces and body parts when the subject is positioned on edges. The nose and arm will become larger.
On the day of your shoot, do not forget to check your gear. Make sure you have extra batteries, an extra power cord and an extension cord, flash and all other items you need to bring with you.
As usual, whether we’re talking about photography or any other activity, it is important to practice. When you practice, you are prepared. Your learning is continuous. And in photography, a person who is open to learning can never go wrong.
About the Author: Michael Gabriel
 Michael Gabriel L. Sumastre is an experienced writer who loves to take pictures of the countryside as well as aerial photographs. He maintains his professional writing portfolio at TheFinestWriter, and you can visit his photography portfolio at Sumastre Photography. Michael was hired by Booking.com to photograph 10 of the most beautiful beaches in Palawan, Philippines.