An Introduction To 3D Photography

Three dimensional or 3D photographs are visually appealing. They invoke interesting reactions. They make photos look real, as if they’re just right in front of you.
The concept of 3D photography has been around for years. It’s not something that was recently invented or created. 3D photography is rather old.
Looking Back
It was in 1839 when 3D photography first came into the spotlight. Also called stereo photography, it attracted attention along with the photographic science revolution. That was before the time when people were inquisitive and wanted to know why our vision of images and drawings were all flat. This gave way to the investigation that led to the conceptualization of stereoscope, which referred to the study of how the mind can merge two images or ideas that are different in a way that’s so natural, but makes us aware of our three dimensional spaces. Sir Charles Wheatstone is credited for the investigation on stereoscope or stereoscopy.
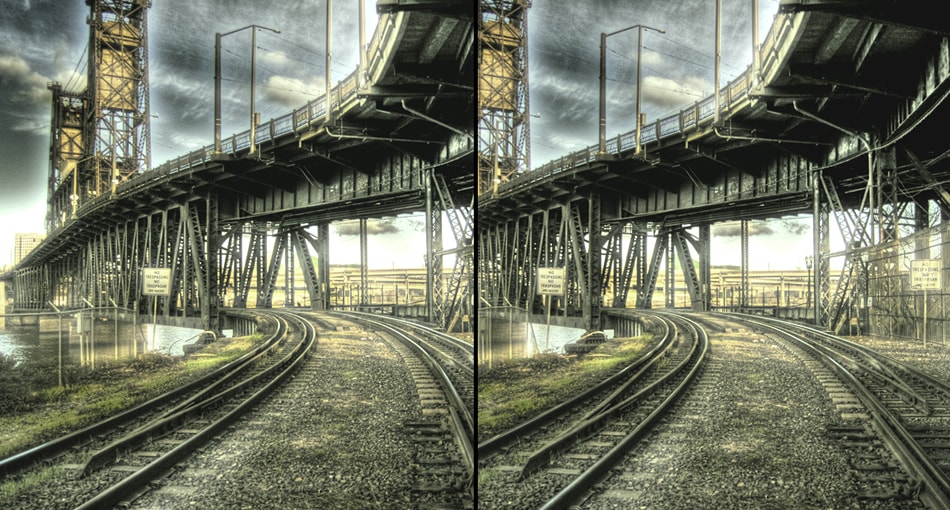
Photo by isaiah v
Wheatstone published his contributions about binocular vision, which was published before practical photography came into the limelight. In this publication, he showed “a series of paired drawings of mostly geometric shapes. The corresponding sides of each pair were drawn to mimic the slightly different perspective of the human eyes”. This indicated how the mind is made to believe that what the eye is seeing is a three dimensional object as “the left sees only the left side, and the right eye sees only the right side”.
The following year, in 1939, William Henry Fox Talbot came out with the first set of 3D photographic stereo images with the help of his own photographic process.
A lot of other developments in different places happened in the years that followed. These include the creation of products like the ViewMaster and cardboard glasses fitted with 3D films.
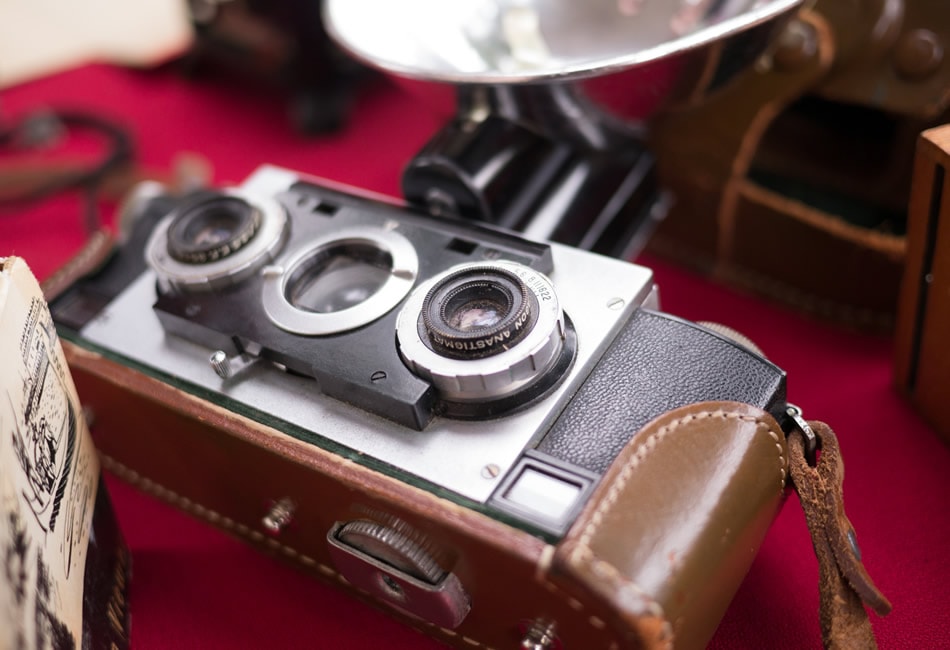
Photo by Rym DeCoster
3D Photography Defined
To fully understand the concept of 3D photography, it is important to know how it happens. The simplest way to define 3D photography is “it is a form of photography that captures and displays two offset images that are a little different from each other, so much so that they produce 3D images”. It’s pretty much like putting two images together in a distance similar to that of your eyes.
You can create 3D images in different ways using a variety of methods. For majority of photographers, the most ideal way is to take photos using any digital camera and then use a 3D image software for achieving the three-dimensional effect.
How Is It Done?
Here are the steps you need to follow to take 3D photos:
- First things first. You’ll need a good camera (point-and-shoot or DSLR).
- Prepare to take shots from different angles. However, make sure that you do not do this against a wall or anything similarly flat. This will defeat your purpose of creating a 3D image.
- Your main subject must be in the center. Once you are sure that it is properly positioned, take a photo of it. This is what taking a straight shot of the subject means.
- The next step is for you to move your camera or tripod carefully to around two or 2.5 inches to the left and once your main subject is in the center, take a shot of it. Then, slowly move the camera or tripod to the right and repeat what you did on the left side.
- Make sure you cover all the angles – up, down, left and right. Depending on your subject, you must be thorough in taking pictures so you won’t miss a part. If you’re making a human head 3D, make sure you cover the top of the head and bottom of the chin. If you want to 3D the whole body, also take photos of the underarms, sides of the body and the crotch. All these tips also apply to statues and toys. You are now ready to create your 3D photo.
- Next, transfer all the photos to your computer.
- Once the photos are saved into your computer, you can easily access and open them. Choose the software of your choice. In my case, I use the Agisoft Photoscan 3D software for three-dimensional photo editing needs. For a complete tutorial on how to use this software, click here. If you’re planning to use Photoshop, though, check out what you need to do: For best results, convert your photos to grayscale first. Then click on the images one by one and select RGB, which will keep the photos in their black and white mode. Click on Window and then choose Channels. Hold the shift key and choose Blue and Green. Understand that if you are using a different software, the procedure I defined might not apply to you. Take note, however, that the general instructions and goal are basically the same.
- To get the 3D effect, you should click on the right photo and select ALL (CTRL + A), and then click on the left photo and paste this on top of the right photo. Make sure that the photos are well aligned. Do the same procedure for your center photo.
- To view the 3D effect, print photo. To further enhance the experience, use 3D glasses.
If you want to experiment with moving subjects, you will need to use two cameras. You’ll have to have a two-camera rig that you can use and mount on your tripod. Your cameras should be positioned from center-to-center, with at least 2.5 inches separating them. When you are ready to take the photo, turn on both cameras and click them together.
If you do not have or cannot afford to use two cameras, find a splitter that you can utilize to help you achieve a split image even with only one camera.
You might not be able to get it right the first time, but with practice, anything is possible. Just keep taking photos and practice converting them to 3D images. You might have alignment problems for your first few tries, but you’ll eventually get used to it and be able to create visually appealing and thought-provoking 3D photos.
Although 3D photography is not extremely popular at the moment, there are quite a number of photographers willing to experiment on it because, as many have observed, the photos come out more vivid and interesting. It is an effective way of making sure that your photos stand out and experiment with various new techniques.
About the Author: Michael Gabriel
 Michael Gabriel L. Sumastre is an experienced writer who loves to take pictures of the countryside as well as aerial photographs. He maintains his professional writing portfolio at TheFinestWriter, and you can visit his photography portfolio at Sumastre Photography. Michael was hired by Booking.com to photograph 10 of the most beautiful beaches in Palawan, Philippines.