Beach Photography 101: Tips & Tricks for Capturing Stunning Beach Images

The beach. It’s basically the #1 travel destination in the world. No matter where you come from or what season of the year you are travelling, chances are the beach is on the list. Some even choose a particular destination because it has a beautiful beach.
However, it is not only travelers who are mesmerized by beaches. Today, more and more photographers are becoming drawn to the relaxing adventure that a beach offers.
A beach is like a sanctuary; an escape from the hustle and bustle of life. For some, it is where they can be themselves without worrying about what others will say about them. The beach is like the world swimming before your eyes – with all the people from different parts of the world gathered in one big paradise.
These are just some of the reasons why the beach makes for a good photography subject. The other reason, of course, is that looking at photos of beaches can be extremely relaxing. A lot of photographers, however, take beach photos because they know the images they capture can help audiences worldwide want to go to that particular place.
Tips and Tricks for Taking Beach Photos
As an enthusiast photographer, you should know how to take photos of different beaches. These photos are supposed to entice people to visit them. They should not only give an idea of what a beach looks like – but what makes it different from others as well.
Here are some tips you need to keep in mind when taking beach photos.
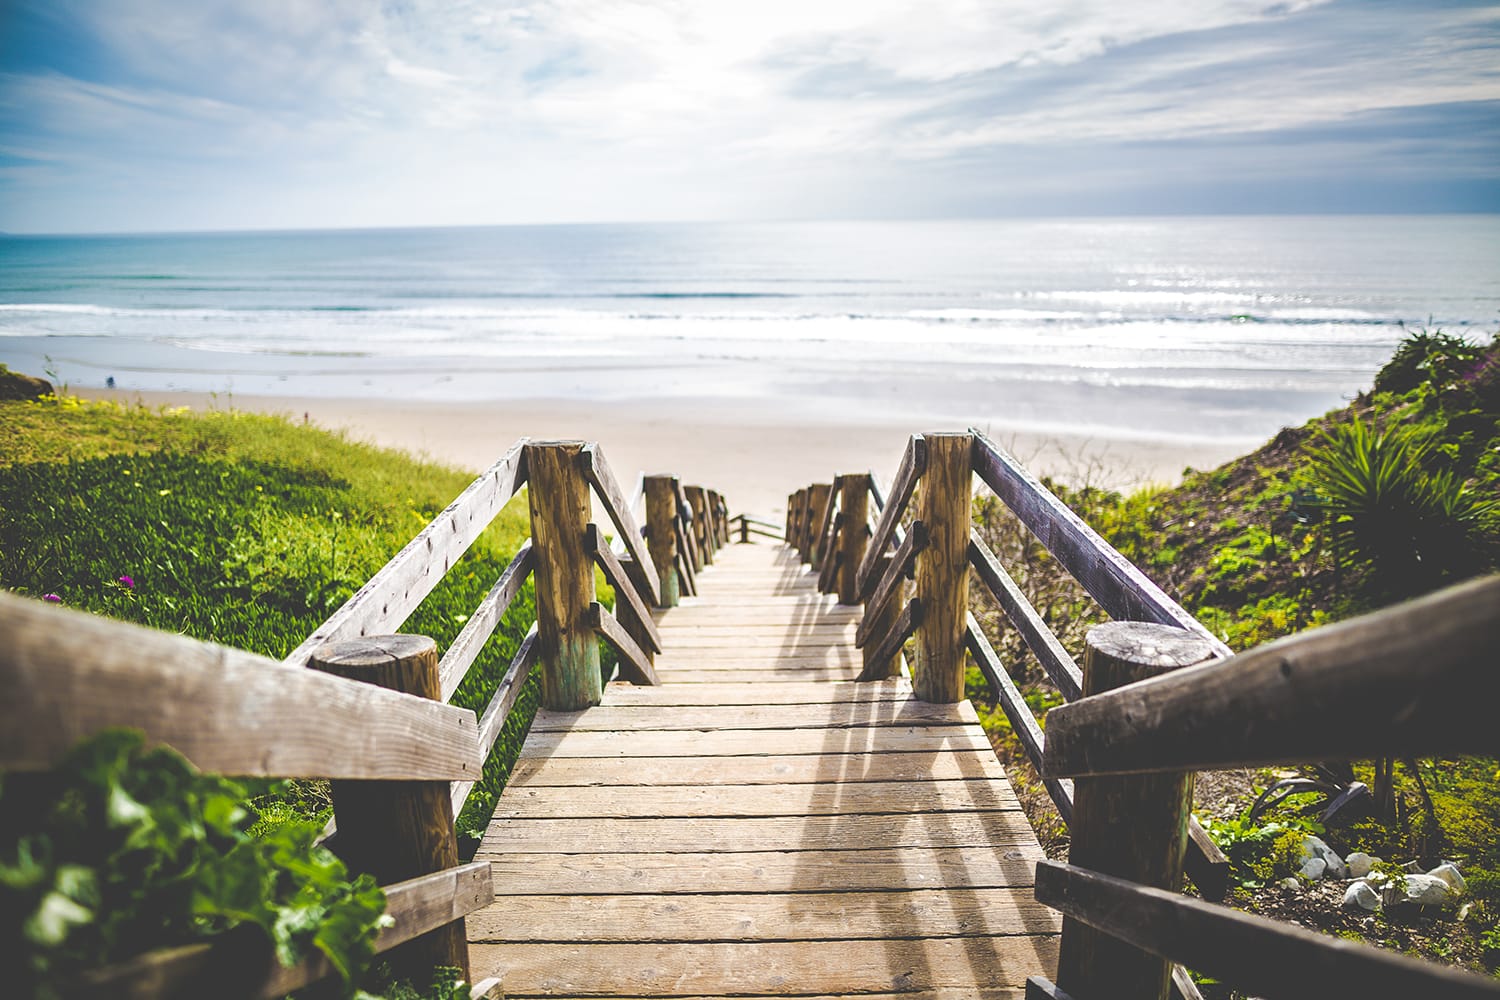
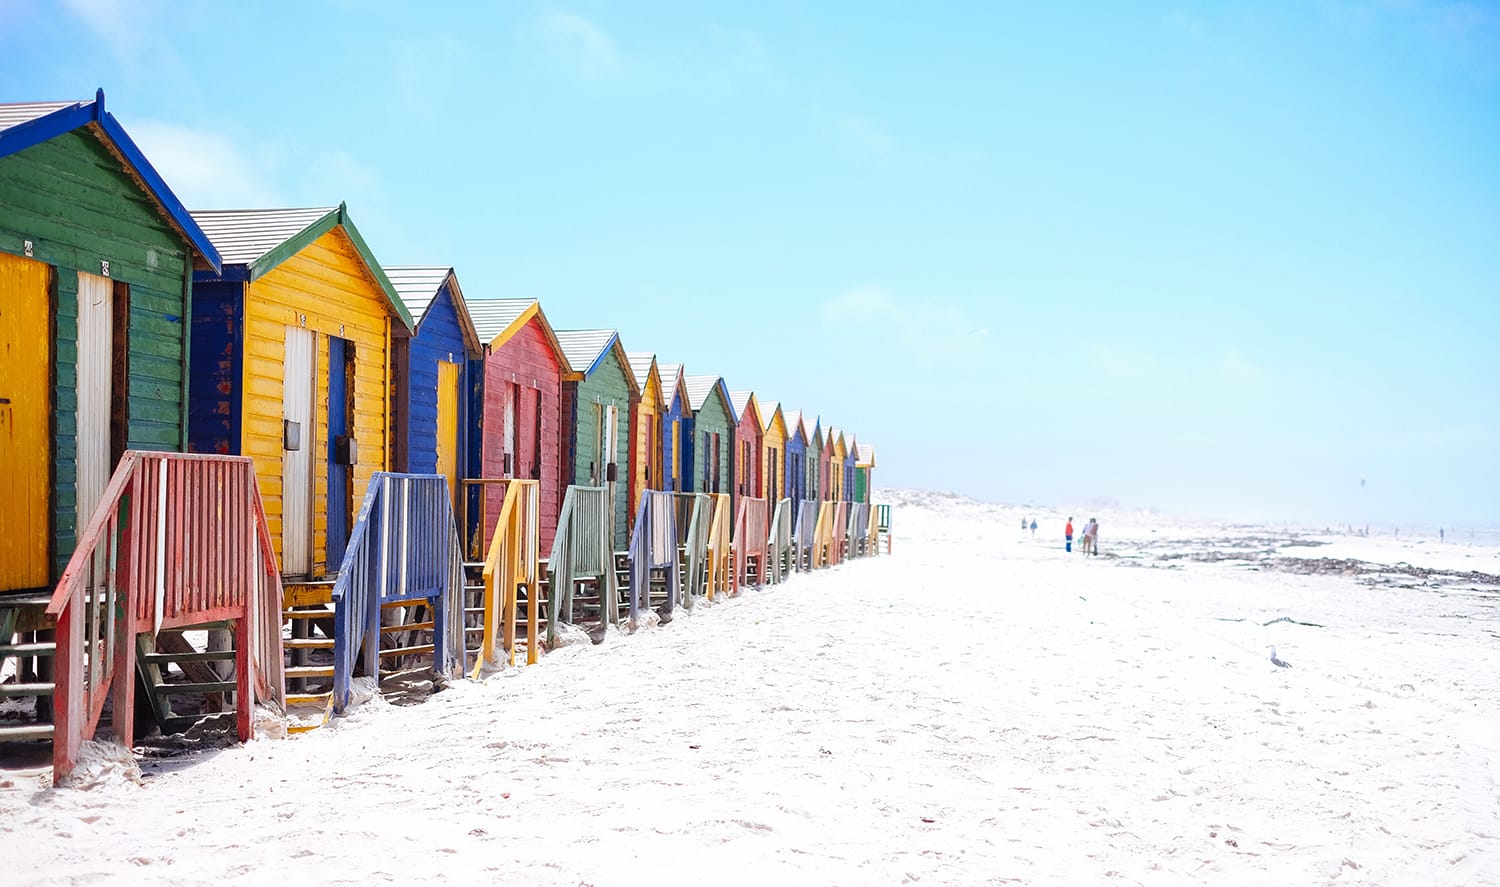
1. Before shooting, look for good focal points
Some people say beach photos all look the same because they usually show people swimming or sunbathing. Some photos simply show the photographer’s point of view while looking out to the sea. But if you look around and allow your creative juices to flow, you’ll find more than enough interesting scenes to shoot.
Look for good focal points that can draw in the interest and curiosity of your audience. For example, instead of just showing a photo of sunbathers, why not take a shot of footprints in the sand or a person picking up shells? This will not only present a unique view of the beach, it will also give your audience valuable details like how fine and white the sand is in that particular destination.
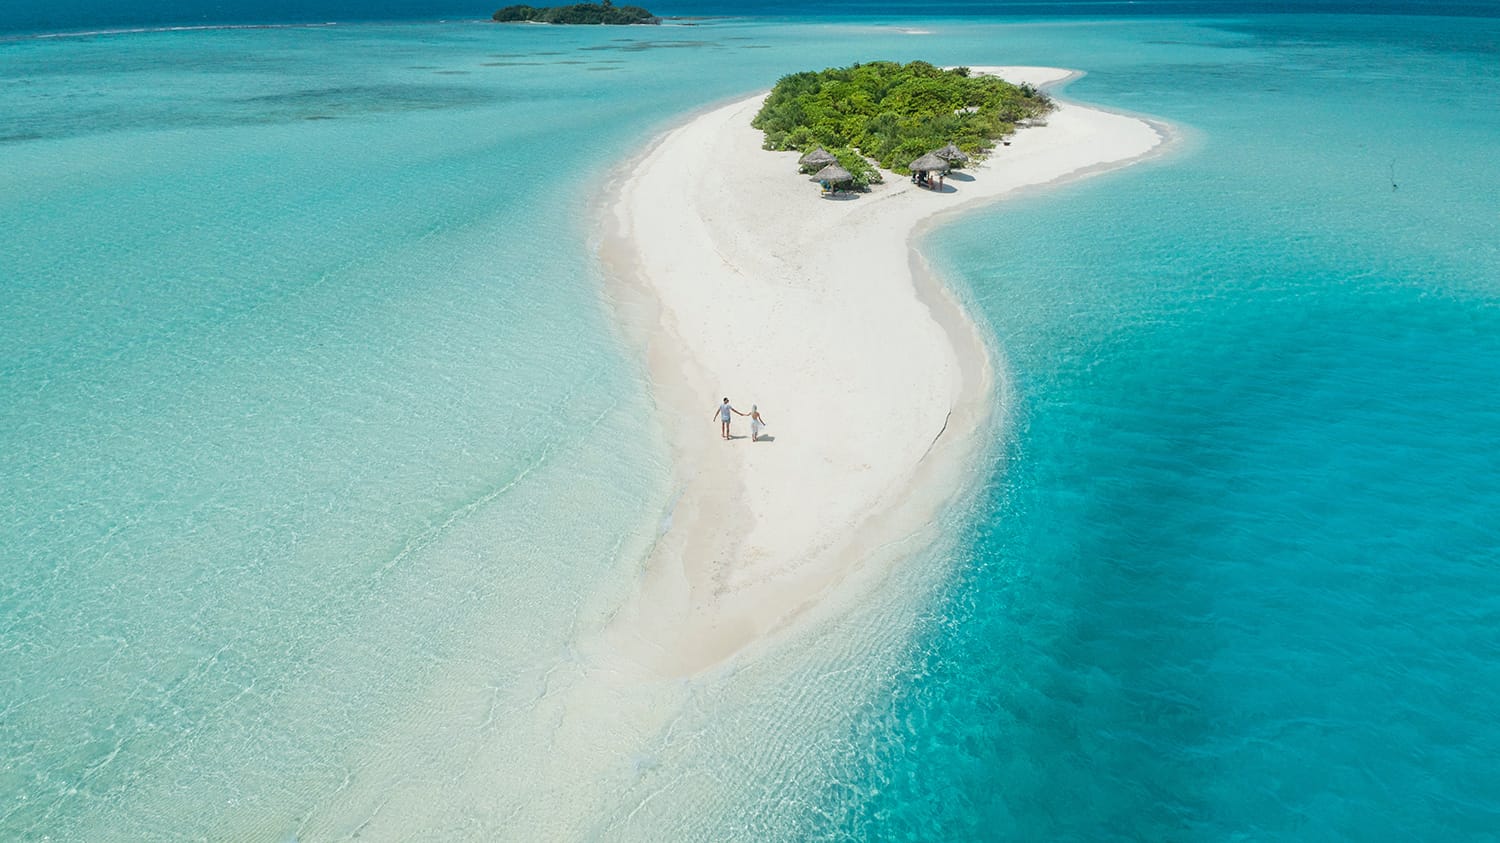
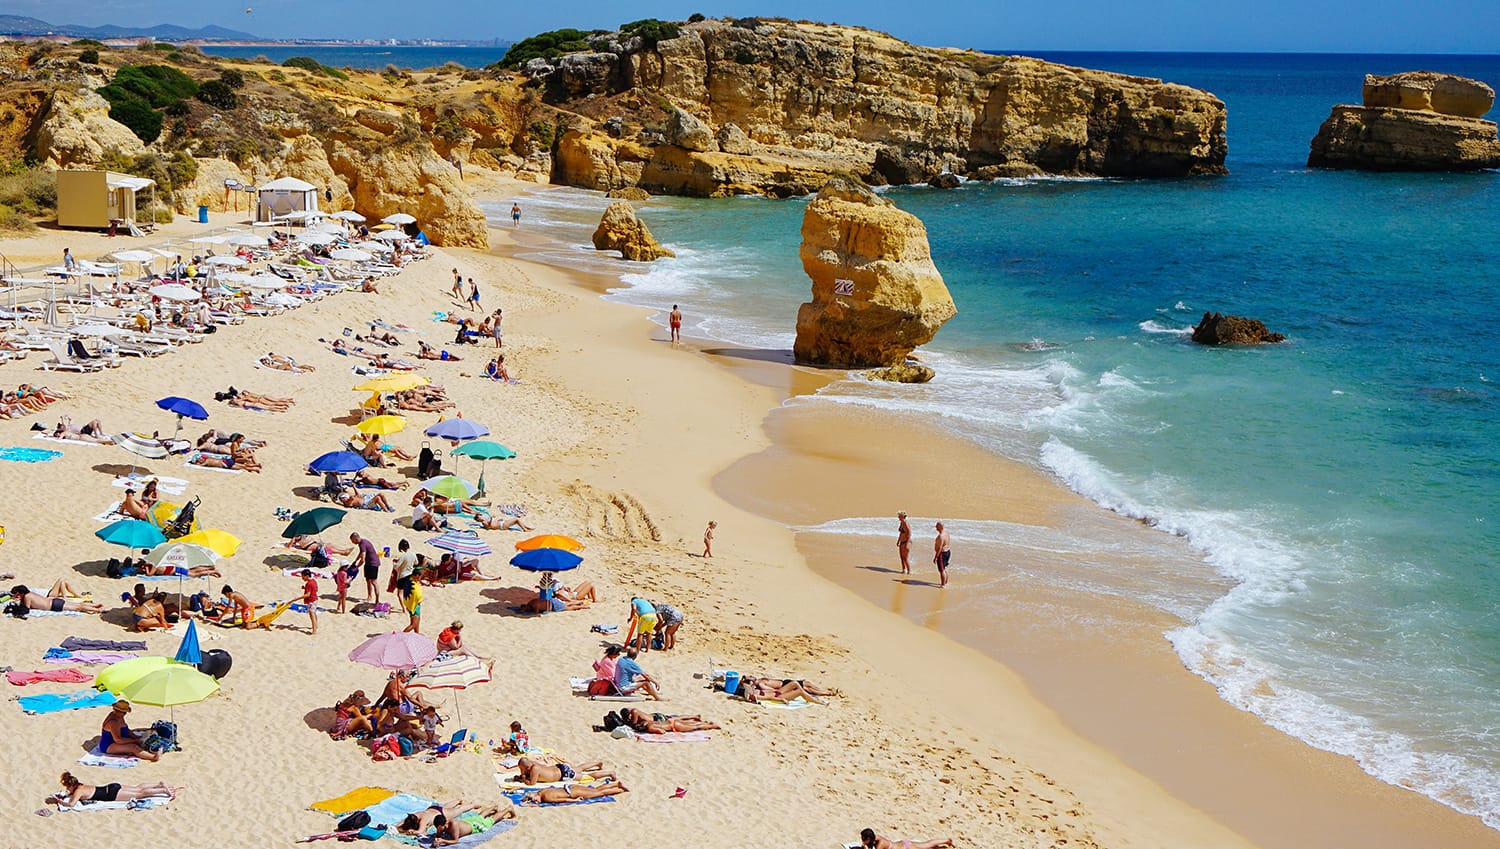
However, it is also important to show the beach in its entirety and from various angles. A good example is the hero image. This is the shot that gives the viewer an overview of the beach. It is usually a wide-angle view that shows the key elements of the beach. It is more detailed than a landscape shot.
The main focus of the hero image is the beach and the beach alone. If there are people, they should be limited to a minimum number and should not be the main focus. And the shot should show what type of terrain, sand, and water the beach has.
Another example is a shot that shows human element – in other words, an image that shows a traveler or group of people interacting and communing with their surroundings. This should show real scenes, not ones that are staged.
Even if you’ve added a human element to your shot, though, it is still essential to show the beach in its full context. The purpose of human element images is to inspire people to visit the place. Two good examples would be a couple walking by the shore at sunset and people sunbathing.
You also need to take photos that show activities people can relate with. These are called experiential shots. These are images that somewhat narrate what one can do on the beach. Some examples: friends playing volleyball, a family putting sunblock on each others’ backs, a couple riding a kayak, a little boy flying a kite, and someone on a jet ski.
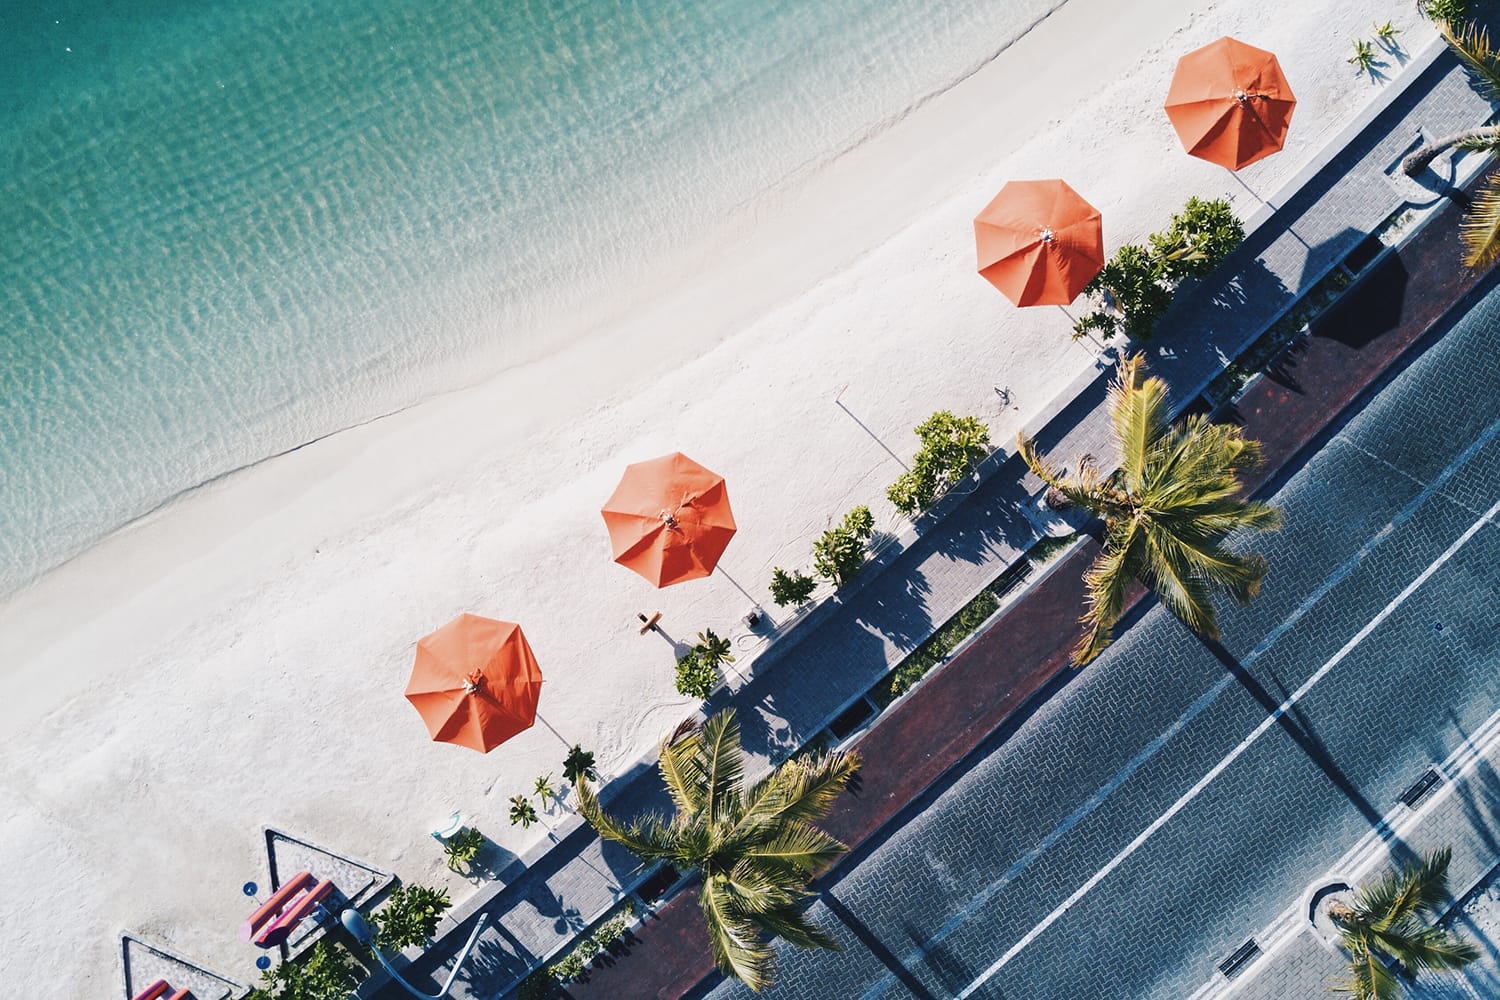
2. Include an observational image or two
An observational photo is something that shows the traveler what a beach has to offer, particularly in terms of amenities. This is also where you show images that provide viewers or travelers more details that make the beach different from all the others.
Before taking observational shots, ask yourself first what you – as a viewer or audience – would want to see. What are the amenities that come with the beach? Is the sand fine and white? Does the sand sparkle like diamonds? Is the water cool and crystal clear? Are there daybeds and umbrellas for sunbathing? Where is it best to view the sunset? The purpose of this photo is to help set people’s expectations properly.
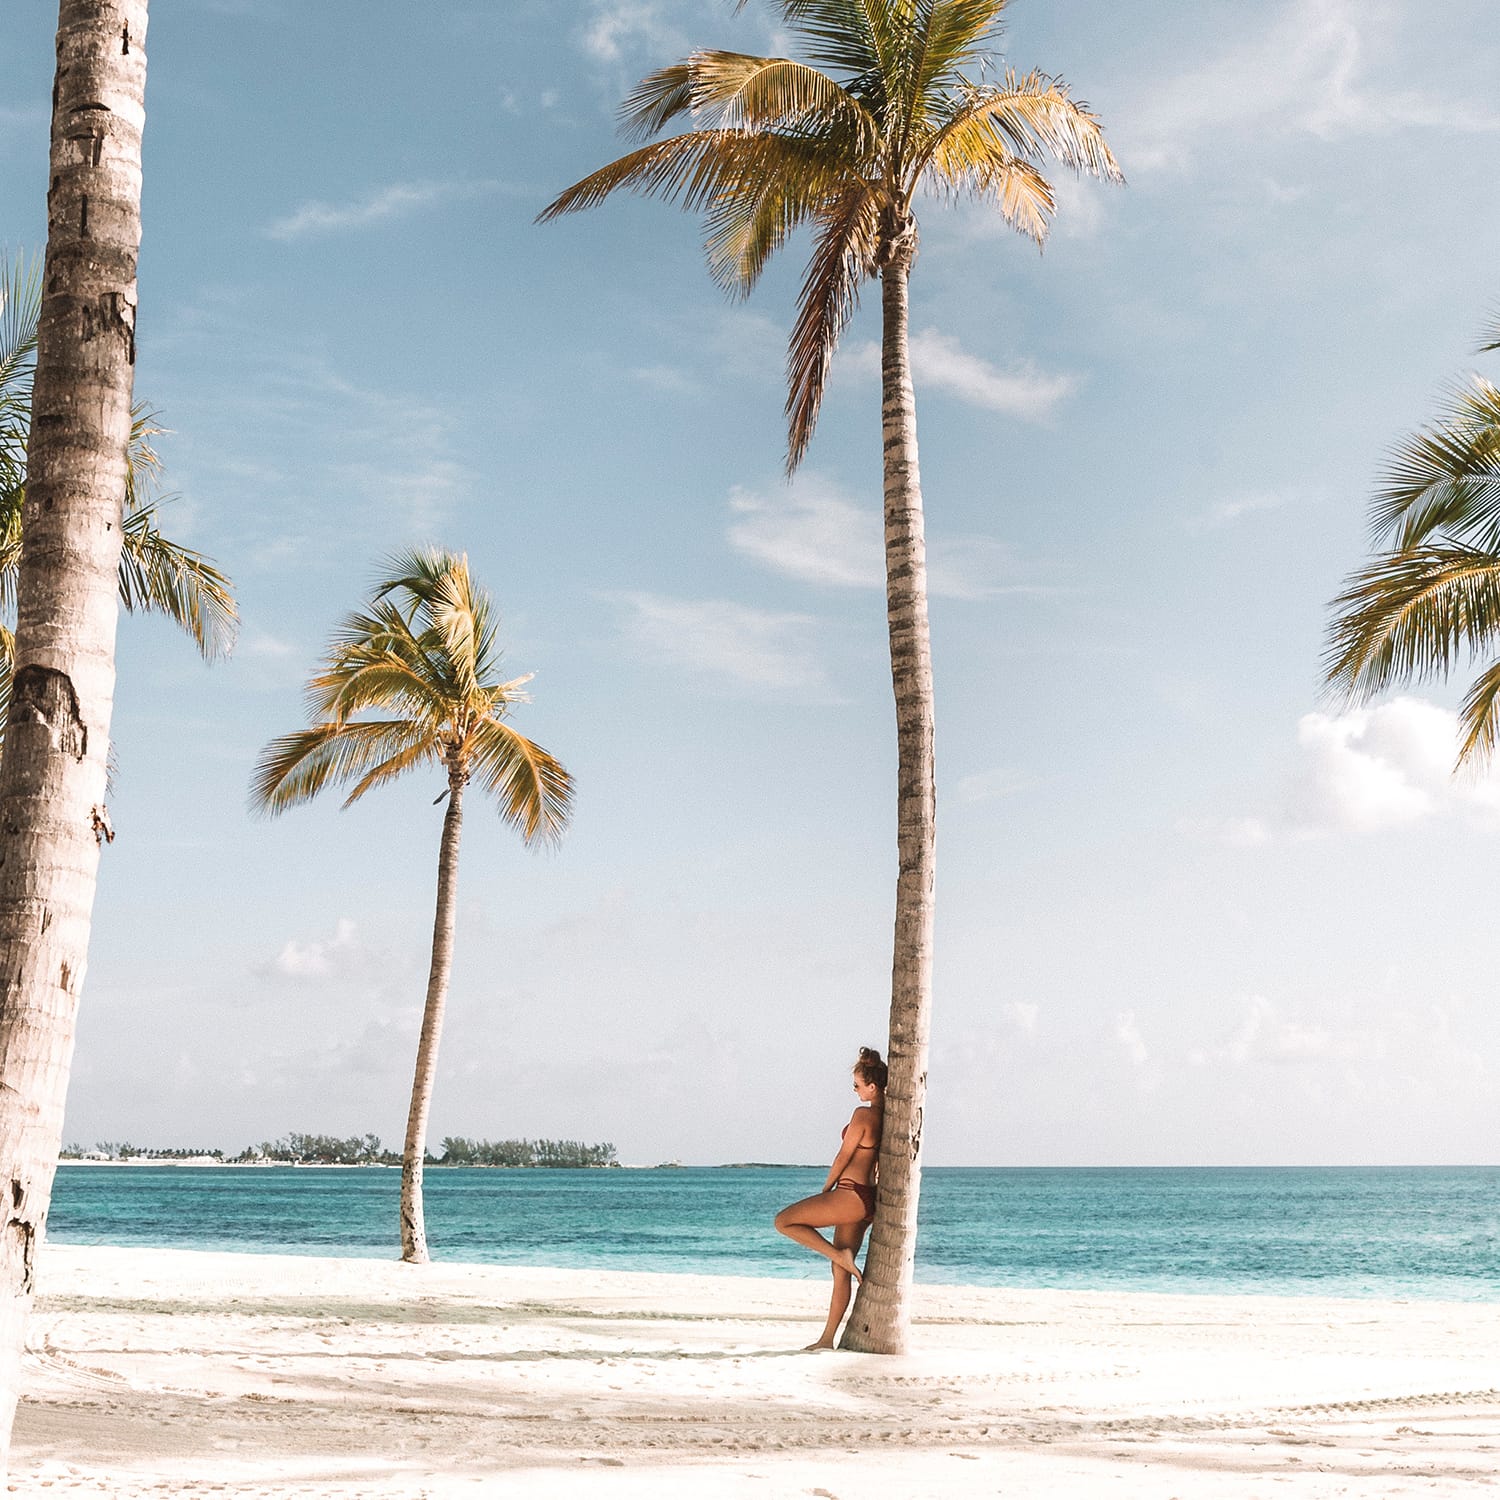
3. Shoot during the golden hour
If you want a magical yellow-orange/gold-tinted effect for your beach photo, shoot during the golden hour. You can choose to shoot minutes after sunrise or one hour before sunset to get the best effect. The soft, warm light projected by the golden hour is easier to work with, especially when your other option is the midday sun. It’s the best time to shoot if you want images that are soft and warm.
4. Shutter speed is important
Creating different effects will add a lot of aesthetic and technical interest to your photos. For example, you can adjust your shutter speed higher if you want to capture the waves and make them appear as if they are frozen. This is what you normally see in photos that show waves splashing on big rocks.
5. Switch on your flash or use anything that bounces / reflects light
If you want to eliminate shadows on the faces of your human subjects (especially when they’re wearing hats and glasses), use your flash – or force yourself to use the flash – as you are shooting. This will make your subject well-exposed so the shadows are eliminated and you’ll get the effect you want.
The best time to use this technique is when you are shooting into the sun. Experiment with several shots first before taking the final one to know which effect is best for you.
If you don’t have a flash, you can use a white cloth, a reflector, or anything that bounces off light coming from the sun. If you want to create silhouettes, however, turn off your flash and shoot into the sun (although this can be a bit tricky).
6. Use filters
Use UV and polarizing filters. The UV ones can help correct unwanted bluish tinge while also filtering ultraviolet (UV) light. Polarizing filters, on the other hand, help improve contrasts, reduce reflections, and allow you to get the effect you want for blue skies (they can become bluer and richer; more alive).
Taking photos of the beach is an adventure and experience you would not want to miss. So, if you are given the opportunity, grab and make it the best. You can prepare by going to the beaches in your area and taking all the photos you want. Enjoy!
About the Author: Michael Gabriel
 Michael Gabriel L. Sumastre is an experienced writer who loves to take pictures of the countryside as well as aerial photographs. He maintains his professional writing portfolio at TheFinestWriter, and you can visit his photography portfolio at Sumastre Photography. Michael was hired by Booking.com to photograph 10 of the most beautiful beaches in Palawan, Philippines.