Learn How To Photograph Silhouettes The Easy Way

Silhouettes are not only gorgeous to look at, but they’re also relatively simple to shoot properly. This makes them an easy and straightforward subject that can give you extra mileage and impact with your audience.
All you need are the right conditions, and you’re all set. A great tool that you should incorporate into your photography for that extra, creative touch, a silhouette can look very mesmerizing in a photo. This is because you’re often going to be using strong and well-defined shapes, along with striking colors. Silhouettes also convey a sense of moodiness, making them appealing and evocative at the same time.
Here’s how you can quickly get started with capturing silhouettes.
Choose the Time of Day
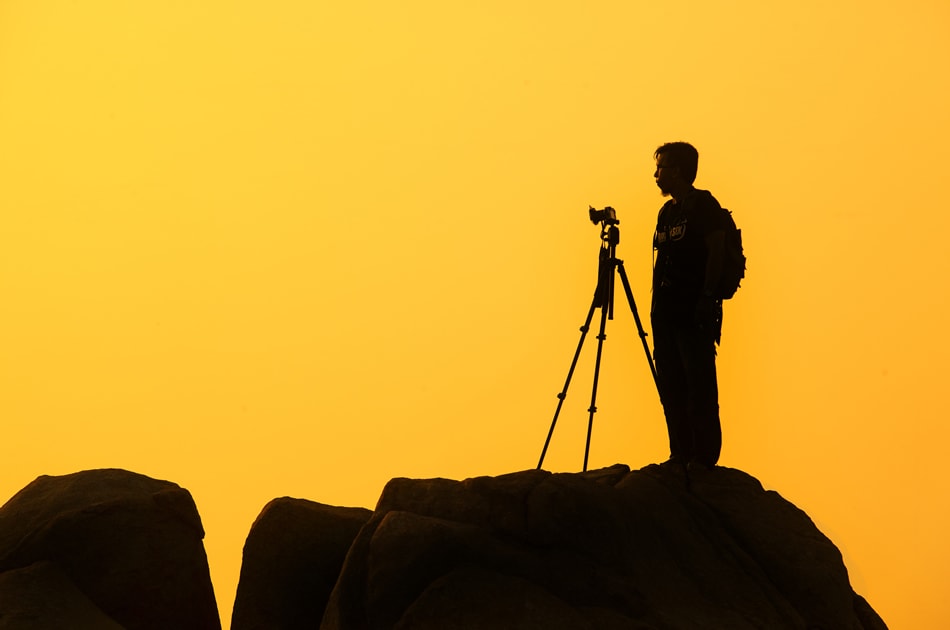
There are only two times in the day when shooting silhouettes will give you optimal results: That’s either when the day starts or ends. The reason for that is the sun being low in the sky. So choose either dusk or dawn, and get out there with your camera!
Get Yourself Into the Best Position for the Shot
The silhouette is your subject, so you want to place the object – whether that’s a tree, building, car, etc. – right in front of a source of light. You’ll consequently force your camera to set its exposure on the lightest area of your image, which will be the background, instead of the subject of your image.
Now, position yourself to find the very best outline of your subject. It’s not really necessary to have the sun right behind your subject. It just has to be directly in front of you.
The end result of this careful arrangement should be an underexposed subject in your image that appears very dark or black – a silhouette!
How to Pick the Subject

Some objects look better as silhouettes than others, so how do you decide what to choose? You can turn any object into a silhouette, but you’ll have much more attractive results if you choose stronger subjects.
Your chosen shape should be distinct, as in people should be able to make it out by looking at it. Ideally, you’ll want to go with a shape that’s instantly recognizable; this avoids the problem for viewers of scratching their heads and trying to figure out what they’re looking at instead of being drawn in by the powerful mystique of a well-chosen shape.
Remember that a silhouette isn’t capable of using attributes like a subject’s colors, tones and textures to make it aesthetic. You can really only rely on the strong shape to sell your silhouette – so make your decision a solid one!
Adjust Your Camera Settings Accordingly
Choose Aperture Priority mode for your silhouette shots. You’ll want to prevent noise, too, so ensure a low ISO setting of 100 to 200. After all, having too much grain in your shots can be an issue when you want your viewers to focus on the beautiful silhouette you’ve just shot.
You’ll also want a mid-aperture – something like f/8. This will ensure that the quantity of chromatic aberration – a fancy way of saying color fringing – is kept to a minimum. Since you’re potentially shooting into the sun for certain silhouette shots, and you don’t want additional issues popping up.
Shut Down Your Flash

Flash is the enemy during your silhouette photography. This will be an issue if you have your camera in automatic mode. Flash wrecks silhouettes because it puts a lot of light right in front of your subject.
You would be forgiven for thinking this approach is appropriate for silhouettes since lighting your subject in the front is a mainstay of photography 101. However, when you’re dealing with silhouettes, this has to go out the window, as things get reversed.
Successful silhouette shots will have more light at the back of the subject. That’s why the perfect light for a silhouette shot is presented when you position your subject either in front of a sunrise or sunset. Nonetheless, any type of bright light behind your subject will suffice.
While it’s technically possible to still get something of a silhouette when your flash is on, it’s really more trouble than it’s worth. Turn off your flash, and ensure good silhouettes each and every time you click on the shutter button.
How to Frame Your Shot Properly
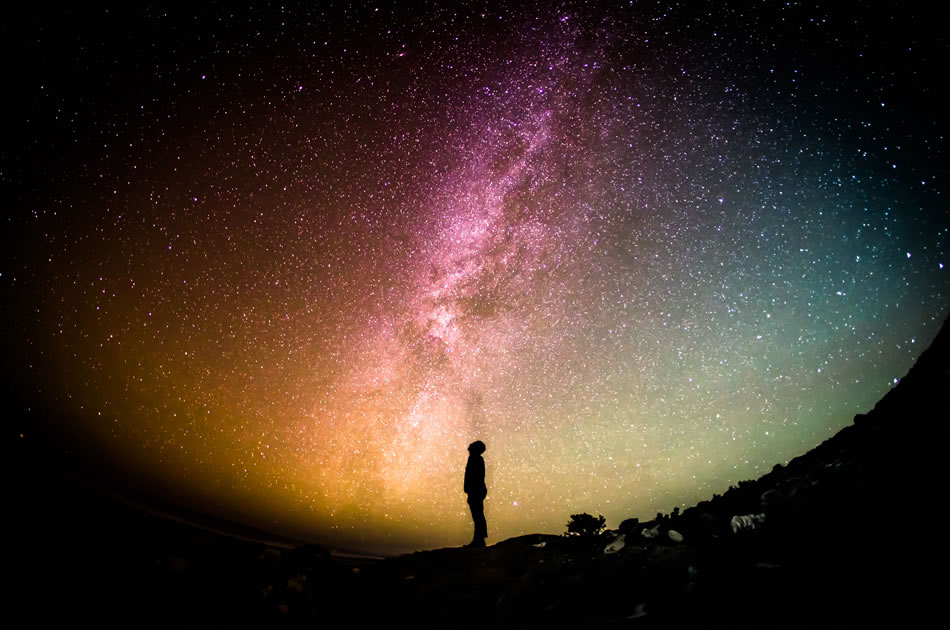
Framing silhouette shots properly can be a bit tricky, but ultimately achievable. The big focus here should be the kind of background you select. Ideally, you should go with a bright and plain background for your subject. Ensure that the background is also visually appealing like, let’s say, the horizon line at sunrise or sunset, for instance.
When placing your subject in front of the background light source, you have two options: you can either make your subject completely block out the light source, or you can have the light source (sun, etc.) appear somewhere within the background. Either way, the light source always has to stay behind your subject!
Inspiration

Here are some subject ideas that will make it easier than ever to get started with photographing silhouettes:
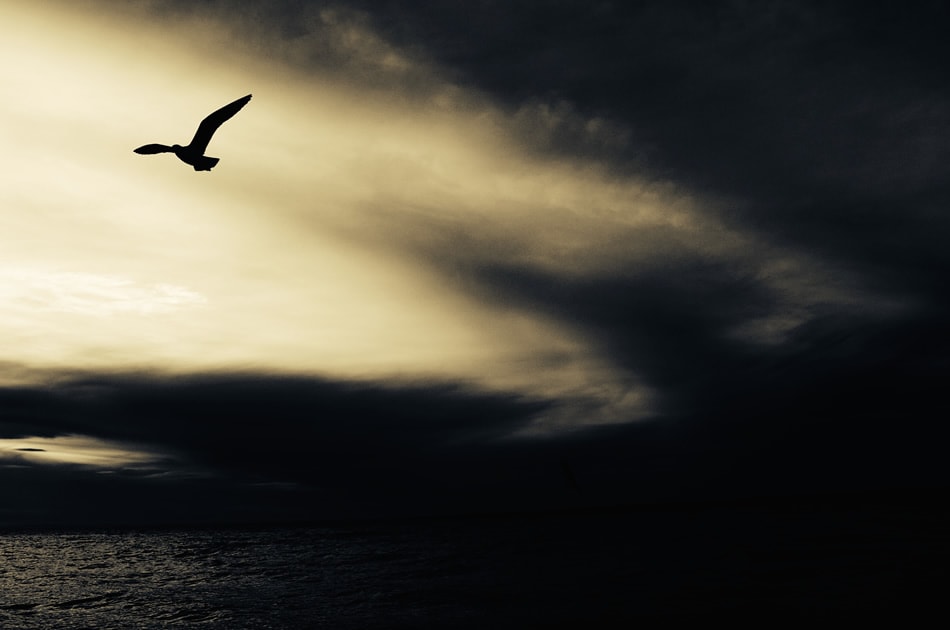
- Birds in flight
- Manmade structures such as bridges and interesting-looking buildings
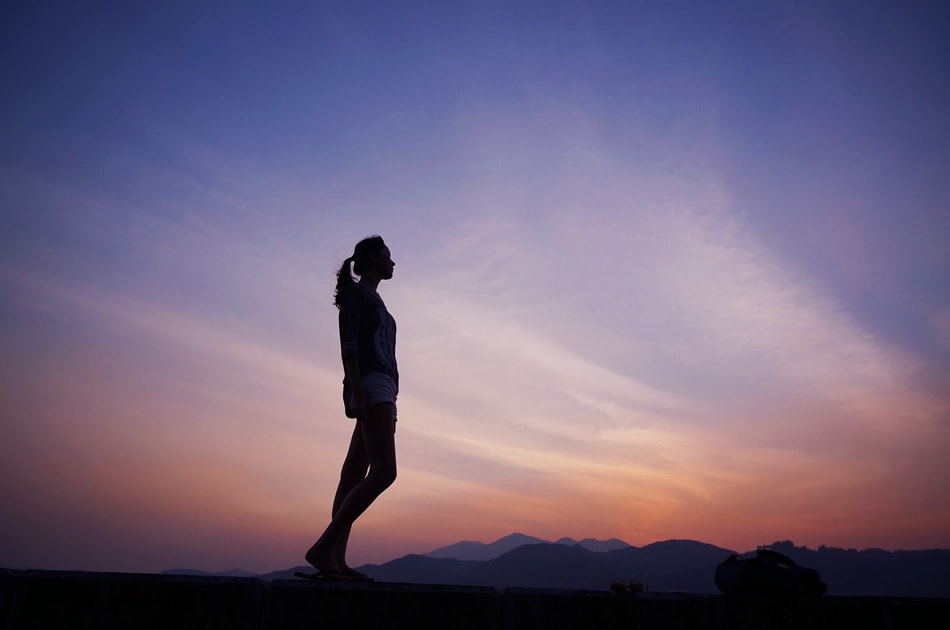
- Profiles of people
- Common objects that are easy to identify, such as trees
Mastering Silhouettes
Silhouette photography is a very neat genre to get into because the learning curve isn’t that steep. You don’t need to be super-proficient with technical shooting skills, and you can still obtain some really amazing results. The other advantage to photographing silhouettes is the wow factor that can often accompany photographs of this style.
Silhouettes, when shot properly, can communicate a certain, evocative quality to viewers that’s both dramatic and appealing. And just think – all you did was put the light source behind your subject instead of in front of it! One easy adjustment can really go a long way in photography.
So the next time that you’re up early in the morning, think about taking your camera outside with you just before dawn is breaking. You’ll be treated to some spectacular lighting conditions that will make shooting silhouettes easier than ever.
About the Author: Marc Schenker
 Marc is a copywriter and content marketer who covered photography. These days, he runs The Glorious Company, a content marketing agency.