Challenging Lighting: How To Capture Amazing Bird & Nature Photos

Wildlife photography in and of itself can be challenging – but add in difficult lighting conditions and you have yourself a situation that will separate the devoted photographers from the rest.
Committed photographers know that there are still great photo opportunities to be had – even in challenging conditions. Just because the weather is less than ideal doesn’t mean that you have to call it a day. The ability to overcome common challenges will give you a unique advantage: you won’t have to miss out on amazing photo opportunities just because the lighting’s not ideal.
Birds are often found in situations with difficult lighting. Being comfortable with photographing them in their natural habitats, even in dark woodlands or during mid-day when the light may not be at its best will open up a world of photo opportunities for you.
Here are some tips and tricks for handling difficult lighting conditions. See how you can capture amazing photos – no matter what the lighting is like.
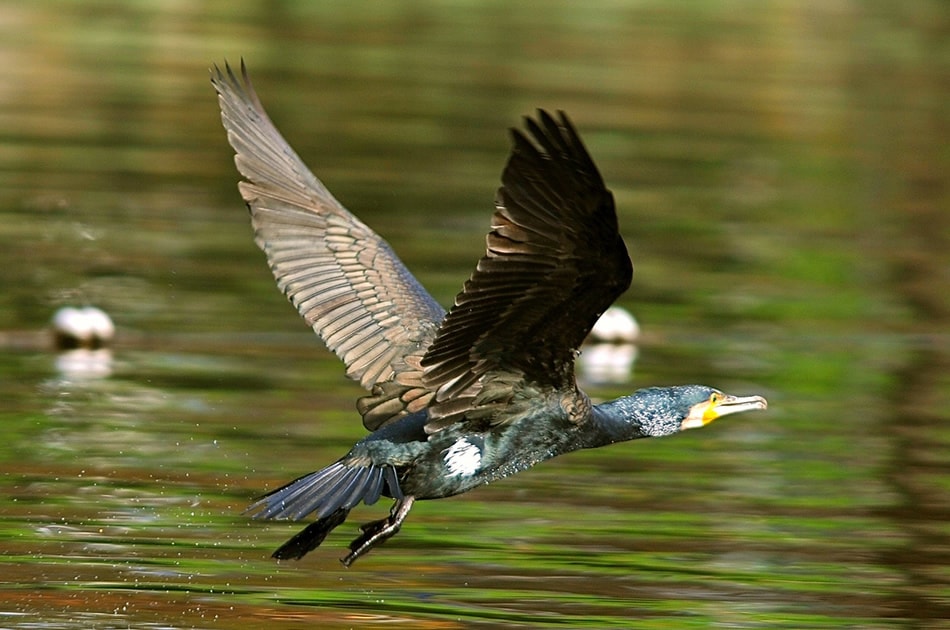
Photo by Claudio Gennari
What Is Challenging Light?
First, it is important to remember – there is no such thing as bad light. Just challenging light! Overcast conditions and harsh mid-day lighting are two difficult yet common lighting conditions that photographers are often faced with.
-
Cloudy and Overcast
Photographers tend to shy away from cloudy or overcast days – and understandably so. Limited lighting and overexposed backgrounds are two challenges that come with overcast days. But there are still plenty of opportunities for great wildlife photos when the skies are gray.
Solution: Cloudy conditions, or dark woodlands, call for wide apertures and slow shutter speeds. In some cases, they may even require a higher ISO. They also require paying special attention to the backgrounds to prevent overexposure.
-
Harsh Mid-Day Lighting
Harsh mid-day lighting can make for tricky photography. The harsh sun can cause dark, unwanted shadows to appear in your images, and can result in washed out colors.
Solution: Mid-day sun also has a good side: it’s a great time to capture birds in flight. Since there’s plenty of light, you’ll be able to use a fast shutter speed to freeze the action.
So How Do You Photograph Birds & Wildlife in Challenging Light?
Photographing birds can be quite challenging, especially when lighting conditions are challenging. Here are 7 great tips & tricks to help take your bird and nature photography to the next level and capture some amazing bird and nature photos.
-
Use a Telephoto Lens
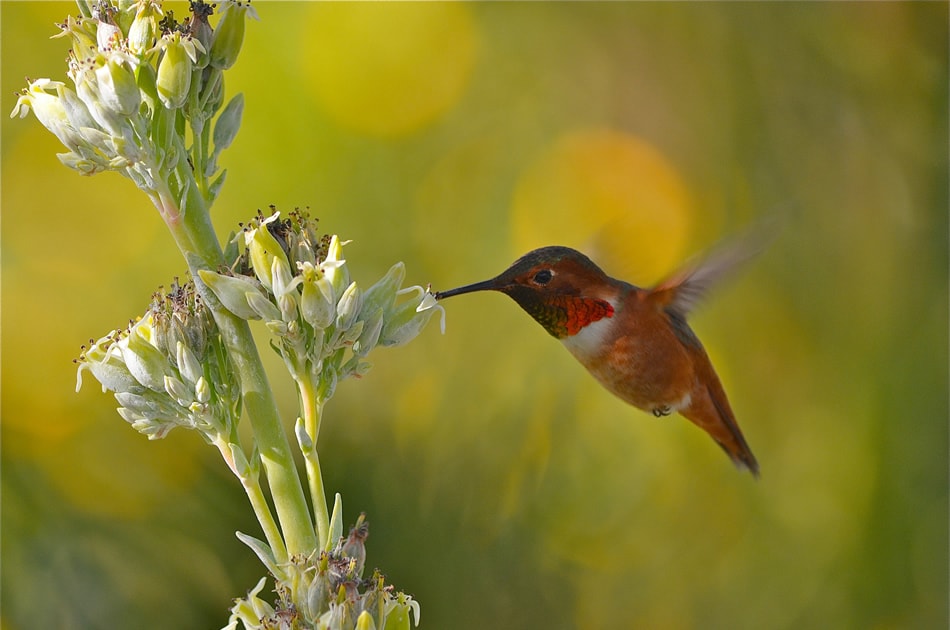
Photo by B GarrettA telephoto lens is your best bet when photographing birds – no matter what the lighting is like. Since most birds won’t let you get too close to them – the exception being pigeons or seagulls, you’ll want to use a zoom lens to get as close as you can. A telephoto will provide the magnification that you need.
-
Consider Black and White
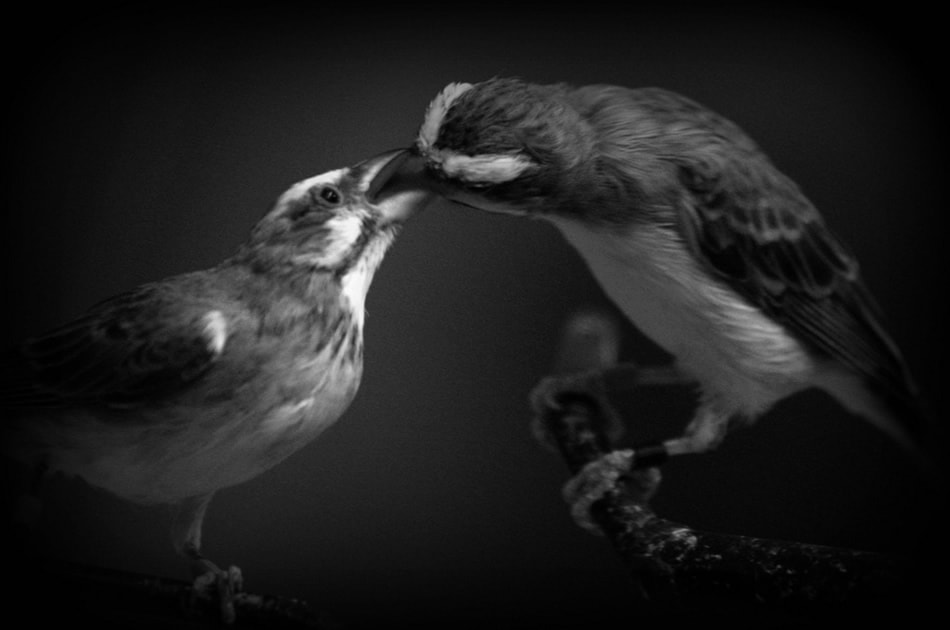
Photo by GollyGforceBlack and white can mask a world of troubles, and many photographers resort to using black and white when the lighting is less than ideal. When photographing in black and white, you’ll want to pay close attention to your other compositional details. Instead of color, you’ll want to use leading lines, texture, contrast, shape and form, and subject placement, to create a solid composition.
Of course, you can always convert a photo to black and white later – but keep in mind that there’s more that goes into creating a high quality a black and white than just clicking the “convert to black and white” button. You’ll want to carefully adjust the contrast and ensure that the composition is one that would be best suited to black and white. Silver Efex Pro is a great piece of post processing software for black and white images.
-
Consider Using Aperture Priority
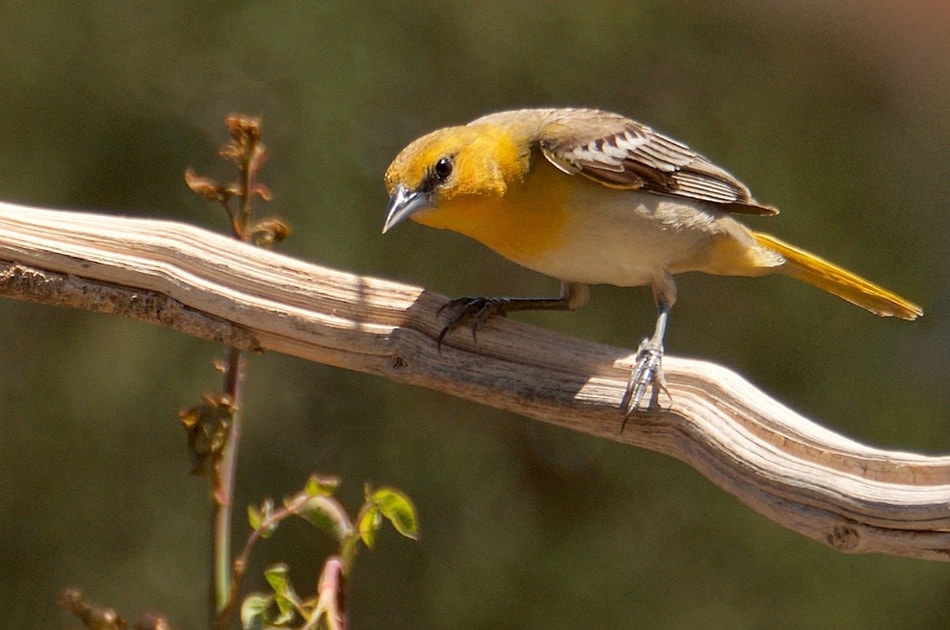
Photo by Linda TannerIn low light conditions, you’ll need as much light as possible to reach the sensor. Especially if you’re trying to capture tiny birds that tend to move quite quickly. In this case, you may want to use Aperture Priority mode on your camera. This allows you to get the subject in focus, while blurring out the background, and if there’s not enough light, the shutter speed will automatically compensate.
-
Adjust Your Angle
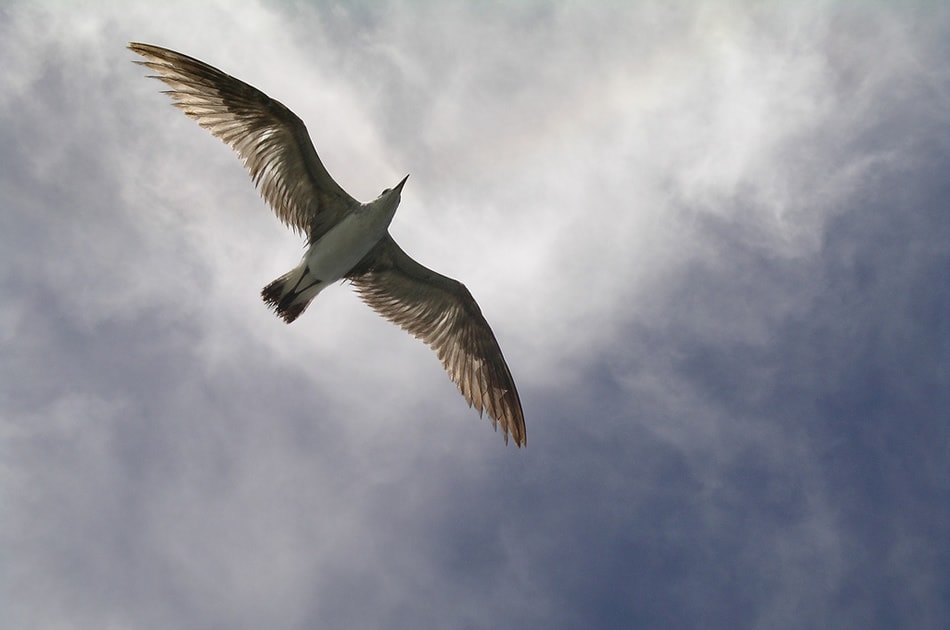
Photo by NBphotostreamWhile it isn’t as easy as repositioning your subject, you can adjust your angle to help the lighting work for you. For instance – if the sun is shining directly behind your subject, you can move – adjusting your angle so the light doesn’t flood the lens.
-
Watch the Background
Photo by uditha wickramanayakaOvercast days present the problem of overexposed backgrounds, since the bright white sky is easily overexposed. There’s also the chance that you’ll underexpose the bird. If you’re photographing on an overcast day, consider taking photos of low flying birds so as to include some darker background – like trees or the water, in your shots.
-
Bring a Neutral Density Filter
Photo by J LabradorA neutral density (ND) filter is a great option – especially for a bright day. An ND filter acts like sunglasses for your camera, allowing you to use longer exposures without flooding the sensor with light. This is especially good if you’re trying to capture the blurred movement of a flock of birds, or when panning. It will also help if you’re capturing images using a wide aperture, allowing you to get creative with your compositions.
-
Use Lens Stabilization (For Handheld Shots) or a Tripod (For Other Situations)
Photo by See-ming LeeWhile a tripod is the best way to capture in-focus images – especially if you’re using a long exposure, for photographing birds, a tripod isn’t always practical – especially birds in flight. If you’re capturing flying subjects, you may want to use lens stabilization can help you to create shots with less blur.
Finally, when photographing birds and other wildlife, it’s important to understand their behavior. It’s usually best to set up in a discreet location, out of sight, and wait for the birds to come to you. If you approach them, they’ll fly away. And remember – when photographing birds, take special care not to disrupt their environment.
The next time you’re tempted to leave your camera at home because the weather isn’t ideal, think again. Great shots are all around you – no matter what the weather is. Have fun, and remember, by being able to capture images in any type of weather, you’ll be able to capture some unique images that you would have otherwise missed.
What about you? Which lighting conditions do you find challenging? Please share your own tips & tricks on Twitter or Facebook!
About the Author: Christina Harman
 Christina is a part time blogger and full time photography enthusiast living in Southeast Alaska. She enjoys travel photography and has taken pictures in countries such as Mexico, England, France, and China. She likes sunny days, new lenses and drinking good coffee. You can visit her at Tangled Thoughts.