Dance Photography 101: How to Take Dance Photos

Dancing is one of the finest arts ever known to man. The graceful movements, the poetry in motion and the music. Everything about dancing is a feast for the senses – especially for the eyes. The lure of dancing is simply irresistible, which is why a lot of photographers love making it their central subject.
But, like anything that’s in motion, taking photos of the dance or dancers is not easy. Owning and using a DSLR camera does not guarantee you great dance photos. You have to consider a lot of factors before shooting even one scene.
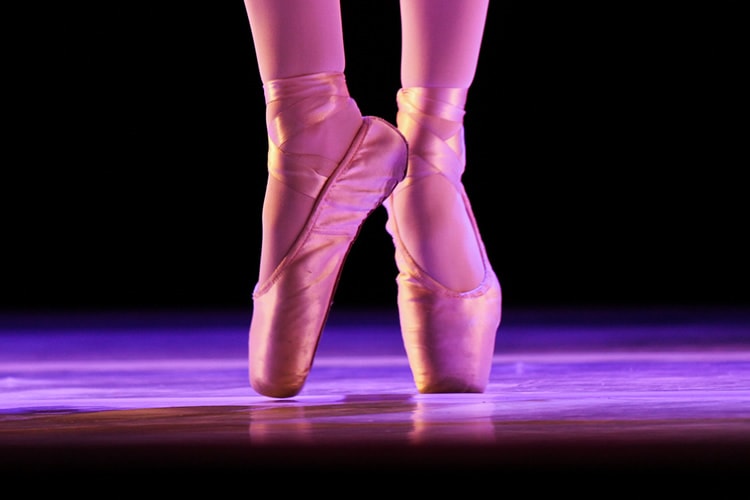
image by Felipe Cardoso Moreira de Oliveira
Things to Consider Before Shooting
Here are some important things you need to think about before you go taking dance photos.
- Dancing is moving. Therefore, your subjects move around most of the time. You need to know how to focus well. And for this, you need to have a fast shutter speed – at least 1/1000 second.
- Since your subjects are always on the move, it will be difficult to get a photo showing their faces. But, you need to show the dancers’ faces because your story will be incomplete without them. Plus, who would want to look at a photo of someone’s back? You need to know how to get the right angles and catch the interesting poses.
- Next, you need to have a good grasp of proper photography lighting. Even if you’re photographing a dance concert, the lights won’t be good. There’ll be a lot of reds, greens and blues. Your aperture should be at least f2.8 – in most cases. If you’re shooting a dance class inside a small dance studio with a proper lighting, though; that’s an altogether different story! With this environment, you can get away with f3.5 to f4.
There are several tips and techniques that you can use to address the above-mentioned issues.
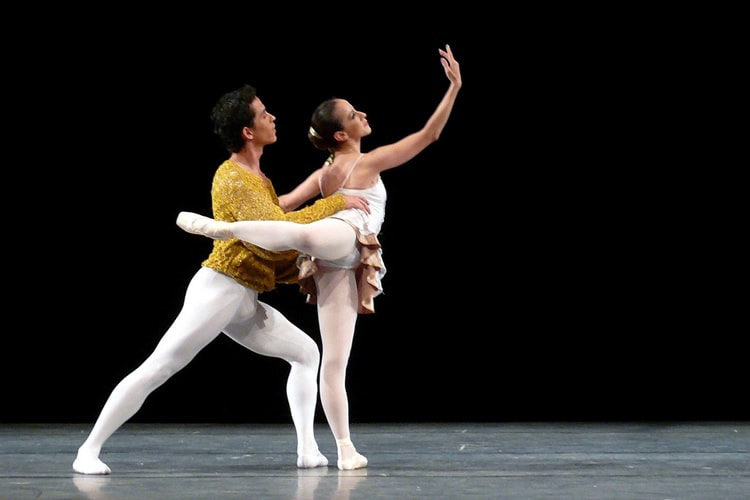
image by OrniCosa
Tips and Techniques for Taking Dance Photos
- Let’s focus first on focusing. You will need to have the proper settings for your camera to get the focus you want to achieve. Here are some simple suggestions:
- Use Autofocus. Don’t try to be Superman or Wonder Woman. You should not do all the focusing yourself. Don’t fall too deeply in love with manual focusing (or do – some people much prefer manual focusing).
- Use Continuous Shooting Mode or Burst Mode. Be sure, however, to hold or press down the shutter while doing so. This is useful when the performance is at its peak and the excitement is building.
- Since you’re in the Autofocus Mode, you should also set your camera to Continuous Autofocus (AI Servo AF for Canon and AF-C for Nikon cameras) so you’ll be able to easily adjust as the dancer moves. This should be done while the shutter is half-pressed.
- Use a monopod (or tripod if it’s allowed). This is the best way to keep your shots still. It is also a good technique for keeping your photos in good focus. You won’t have to worry about shaky photos because you’ve been holding your camera far too long. This is true especially if you have a heavy lens. A monopod or tripod will also allow you to pan across the room or location.
- If possible and if it’s allowed, use a flash so that your subject/s will freeze and look good at the same time. Combine your flash with slow shutter speed and your dance photo is good to go! With a slow shutter speed, you’ll get some blurriness into the background of your photo, but your subject is clear. This is known as the “blurry but sharp effect”.
- Use the widest aperture available, as this will allow more light to come in to your sensor. In sports and other action photography, an f2.8 aperture is the norm.
- If you want to show the faces of the dancers, you have to be willing to move around and experiment on different angles. Aside from giving you dynamic shots, moving around will also help you explore different backgrounds you might want to include in your photos. For example, your primary focus is a couple on the dance floor; you shouldn’t isolate them from the rest of the crowd by taking their photo from just one side of the room. Move around so that you can show their background – the other dancers and judges, probably. This will make the photo more dynamic and interesting. Taking photos from different angles will also help you yield good results. You’ll be surprised with how dynamic your photos will look. If your camera has a rotating screen, try to place it over your head, look down on the dance floor or dancers, and take the photo. You can also try shooting from a low angle. To get the best results when you’re shooting a crowded dance floor or studio, stand in the middle of the crowd and shoot from different angles. Be like a dancer or choreographer so that you’ll be able to visualize the sequence of shots you’re going to take.
- If you want to make your photos look really alive, set your camera to the longest focal length. Doing this will light your subject while blurring ambient light. To add more life and color to the photo, tilt your camera up and down and make it go from left to right. This will give you light trails that will make the image “move”. It’s the best way to capture dancers in action.
- For photos that come out with a dark background and those with very little (unnoticeable) blur, you’ll need to get more ambient lighting into the picture. To do this, you should use longer shutter speeds, a higher ISO and/or a wider aperture.
- Know how to use your flash properly. If you use too little of it, your images will not come out sharp. If you use too much of it, you’ll get overexposed and non-blurry photos of faces. To correct this problem, reduce the ISO, narrow the aperture and/or slow down the shutter speed.
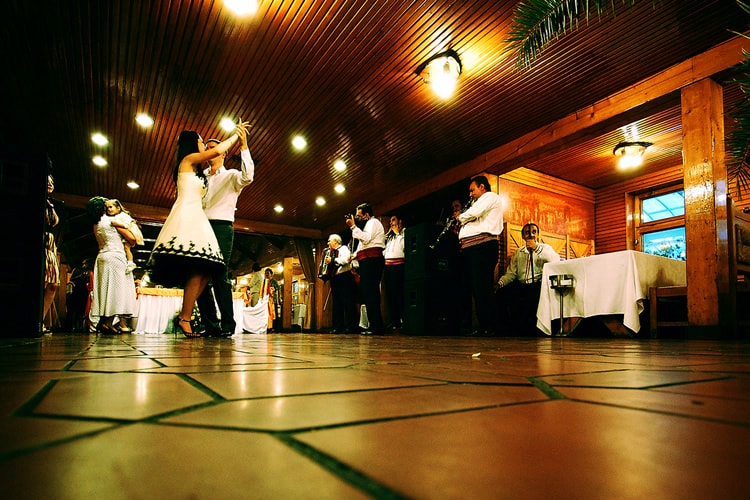
image by Luke Addison
These are just some tips and techniques that you can use in taking photos of dances and dancers. Remember, though, that all these won’t work if you don’t practice. Practice, practice and practice. Try and try again. It’s the best way to learn and become good at what you love to do.
About the Author: Michael Gabriel
 Michael Gabriel L. Sumastre is an experienced writer who loves to take pictures of the countryside as well as aerial photographs. He maintains his professional writing portfolio at TheFinestWriter, and you can visit his photography portfolio at Sumastre Photography. Michael was hired by Booking.com to photograph 10 of the most beautiful beaches in Palawan, Philippines.