Five Secrets to Creating Better Black & White Images

Learning and mastering the art of black & white photography can be very challenging but oh so rewarding. It’s not just about using a black & white filter – there’s a lot more to it.
In this tutorial, we’ll discuss the best tips & tricks that will allow you to improve your black and white photography greatly. So, let’s dive right into it.
Black & White vs. Monochrome Photography
Many people think that black & white and monochrome refer to the same thing. Although B&W photos can be monochromatic, the two terms have slightly different meanings.
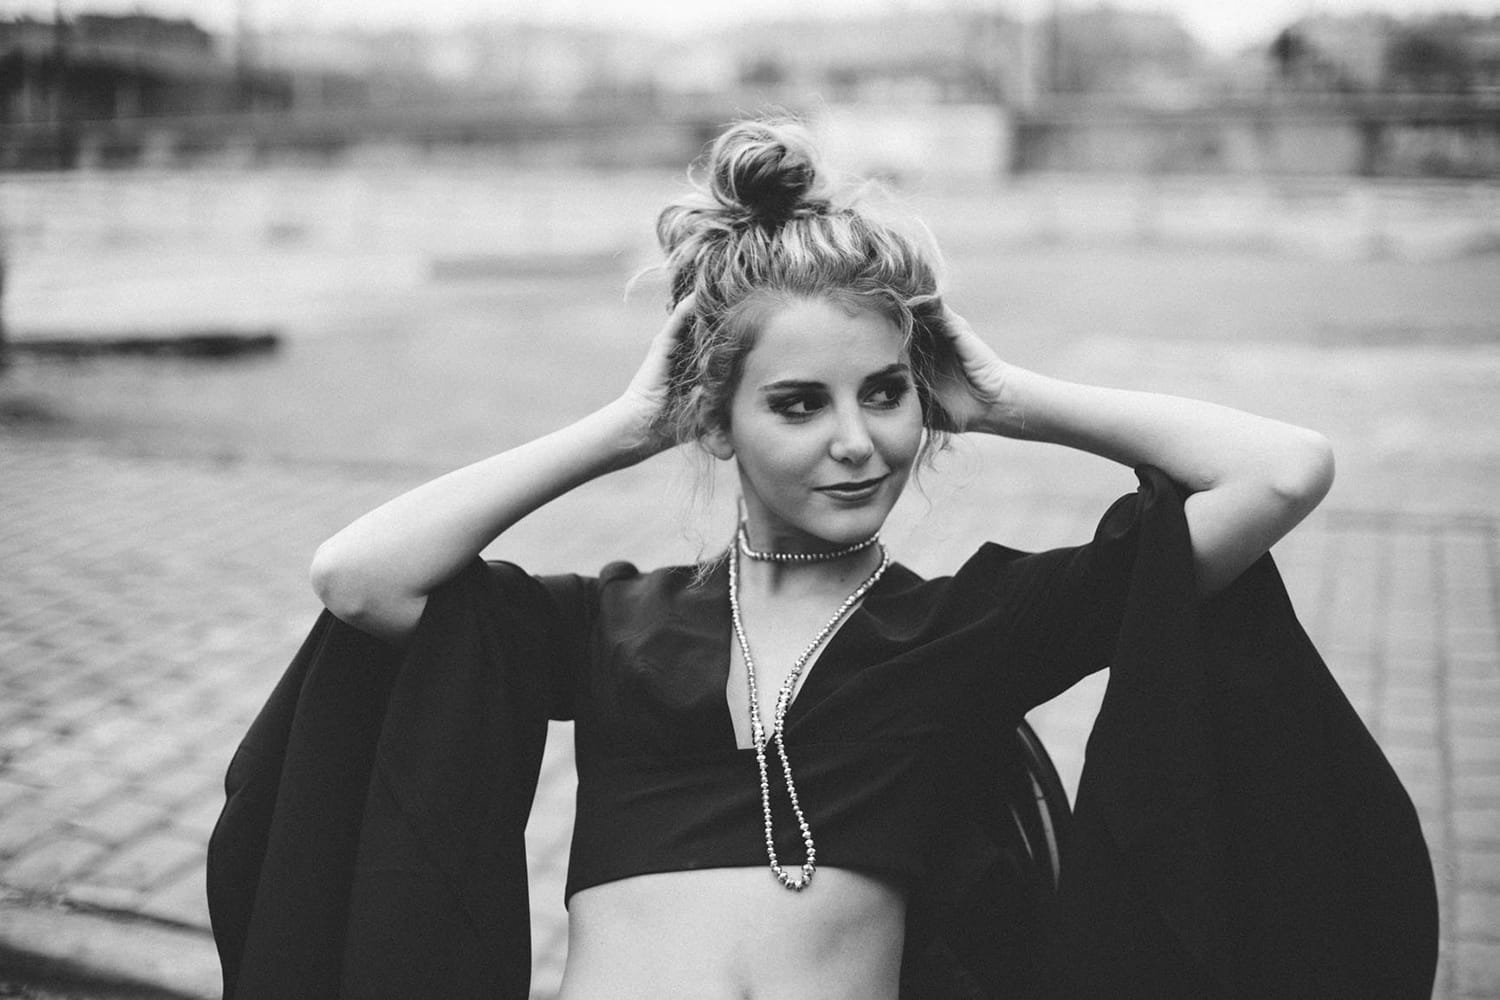
Black and white photography refers to the art of capturing photos that incorporate different tones of grey that range from black to white.
On the other hand, monochromatic refers to images with a color tone. It can be red, blue, green, or any other. But as the name suggests, black and white photographs can’t have any other color except shades of grey.
Secrets to Create Stunning B&W Photos
Using black and white film was the only possible way to create black and white photos before digital photography. There are still a few ways to either capture or convert images to black and white.
You can either use the black & white mode on your camera (if it’s equipped with one), or use post-processing or photo editing tools such as Photoshop or Lightroom to convert your images to black and white.
If you want to view the possible black and white results that your photo will generate even before capturing, then consider using your camera’s black & white mode. It’ll allow you to preview your image through the Live View mode of the camera.
1. Capture in RAW Format
The best black and white photos start with a solid RAW file. The RAW format contains a lot more information about colors, tones, and details, but they do need to be developed in post-processing. Additionally, you can also capture photos in RAW + JPEG formats at the same time after setting your camera to a black & white Film Simulation or Picture Style mode. This way, the camera will give you some indication about how the photos might appear when it’s in B&W.
Depending upon your camera, it can also produce amazing black & white images with its black & white mode. You can also perform experiments to generate better results by changing the parameters such as toning, filter effects, sharpness, and contrast.
We recommend you use the electronic viewfinder (EVF) if your camera is equipped with one, to visualize the frame before capturing the shot. On the other hand, if you’re a DSLR user and your camera has a pentaprism, you can achieve the same by activating its live view mode. But it’s important to note that live view mode usually slows down the response. If that’s a bit concerning for you, then you always have the choice to view your captured photo on your camera’s screen.
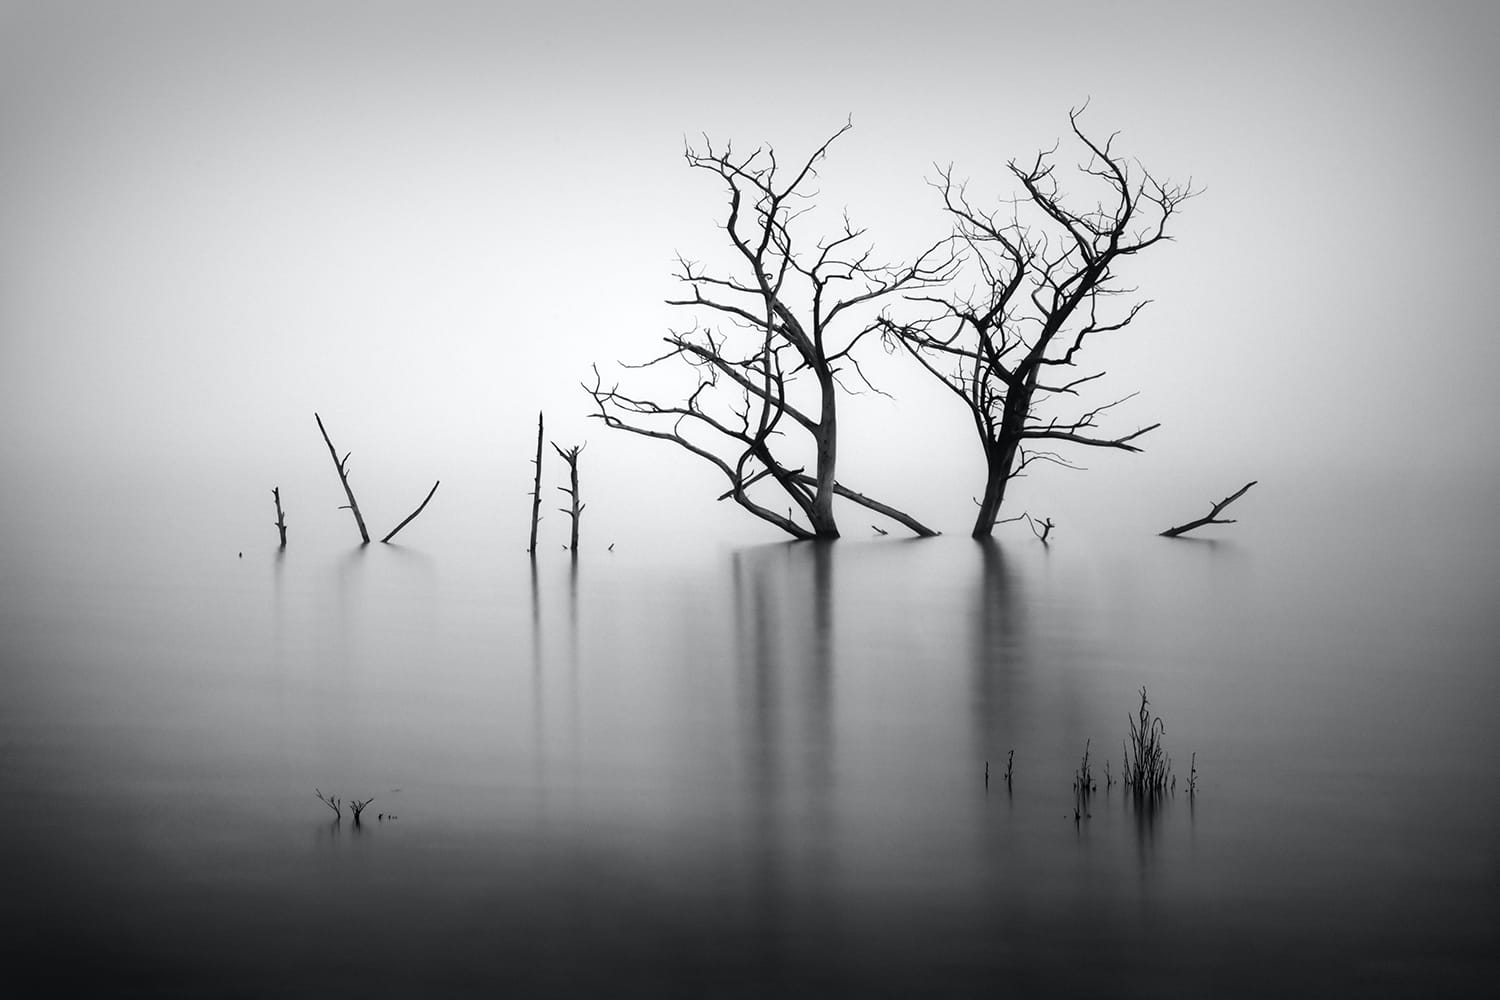
2. Long Exposure Also Helps
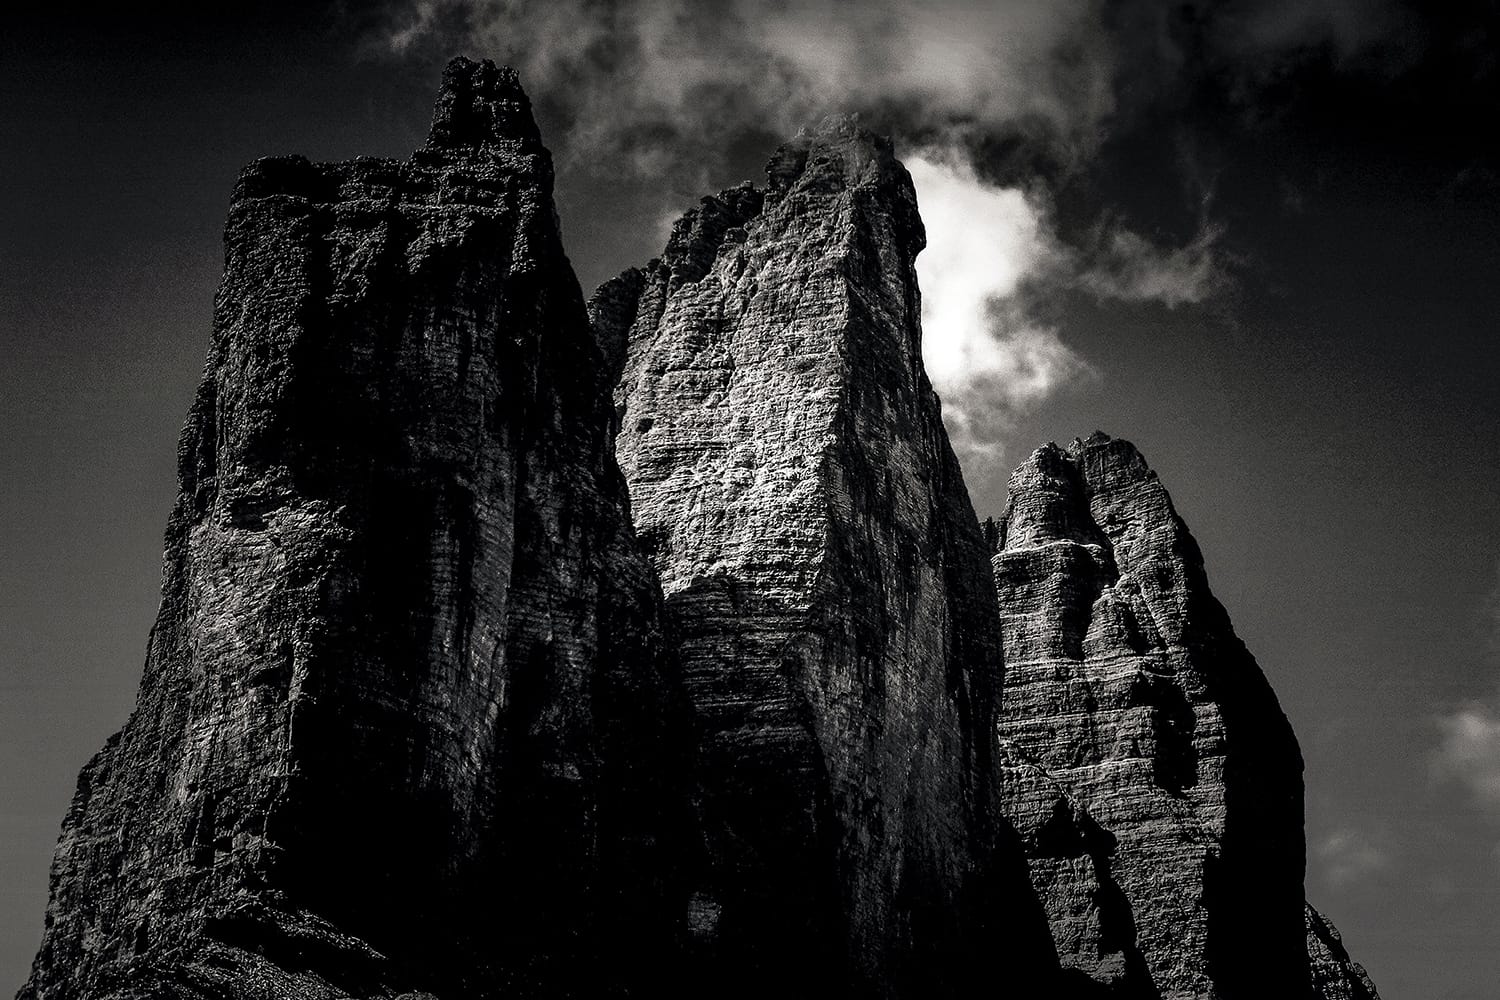
Long exposure can work wonders when it comes to black and white photography, especially if you’re capturing moving clouds or water. Long exposure allows you to record more light which can not only improve the tonal contrast and add more character to your photos, but also make moving things blurry (e.g. soft streaks of cloud, or dreamy body of water).
It can help to have some solid non-moving objects in your frame while capturing black and white photos with long exposure. It will allow you to incorporate textures and contrast because of the blurring of the movement. You can also extend the shutter speed and reduce exposure using an ND (Neutral Density) filter.
One important factor that you must keep in mind about long exposure photography is that it requires a tripod. It’ll allow you to avoid shaky and blurred photos that long exposure causes. Moreover, consider using mirror lock-up and a remote release to create sharp images by mitigating vibration.
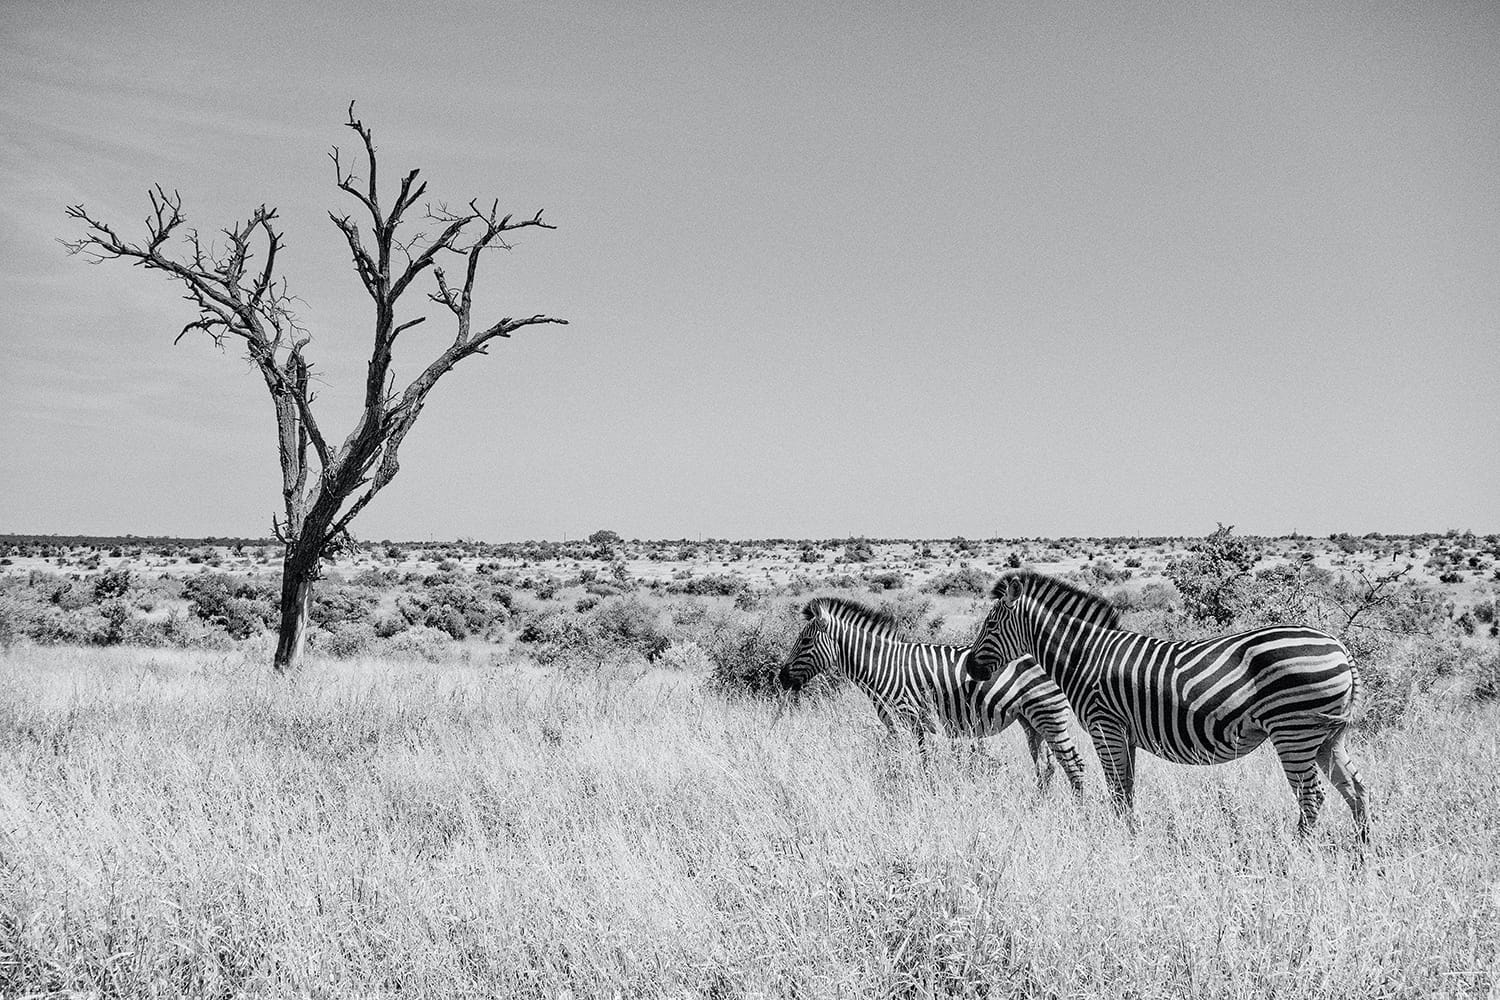
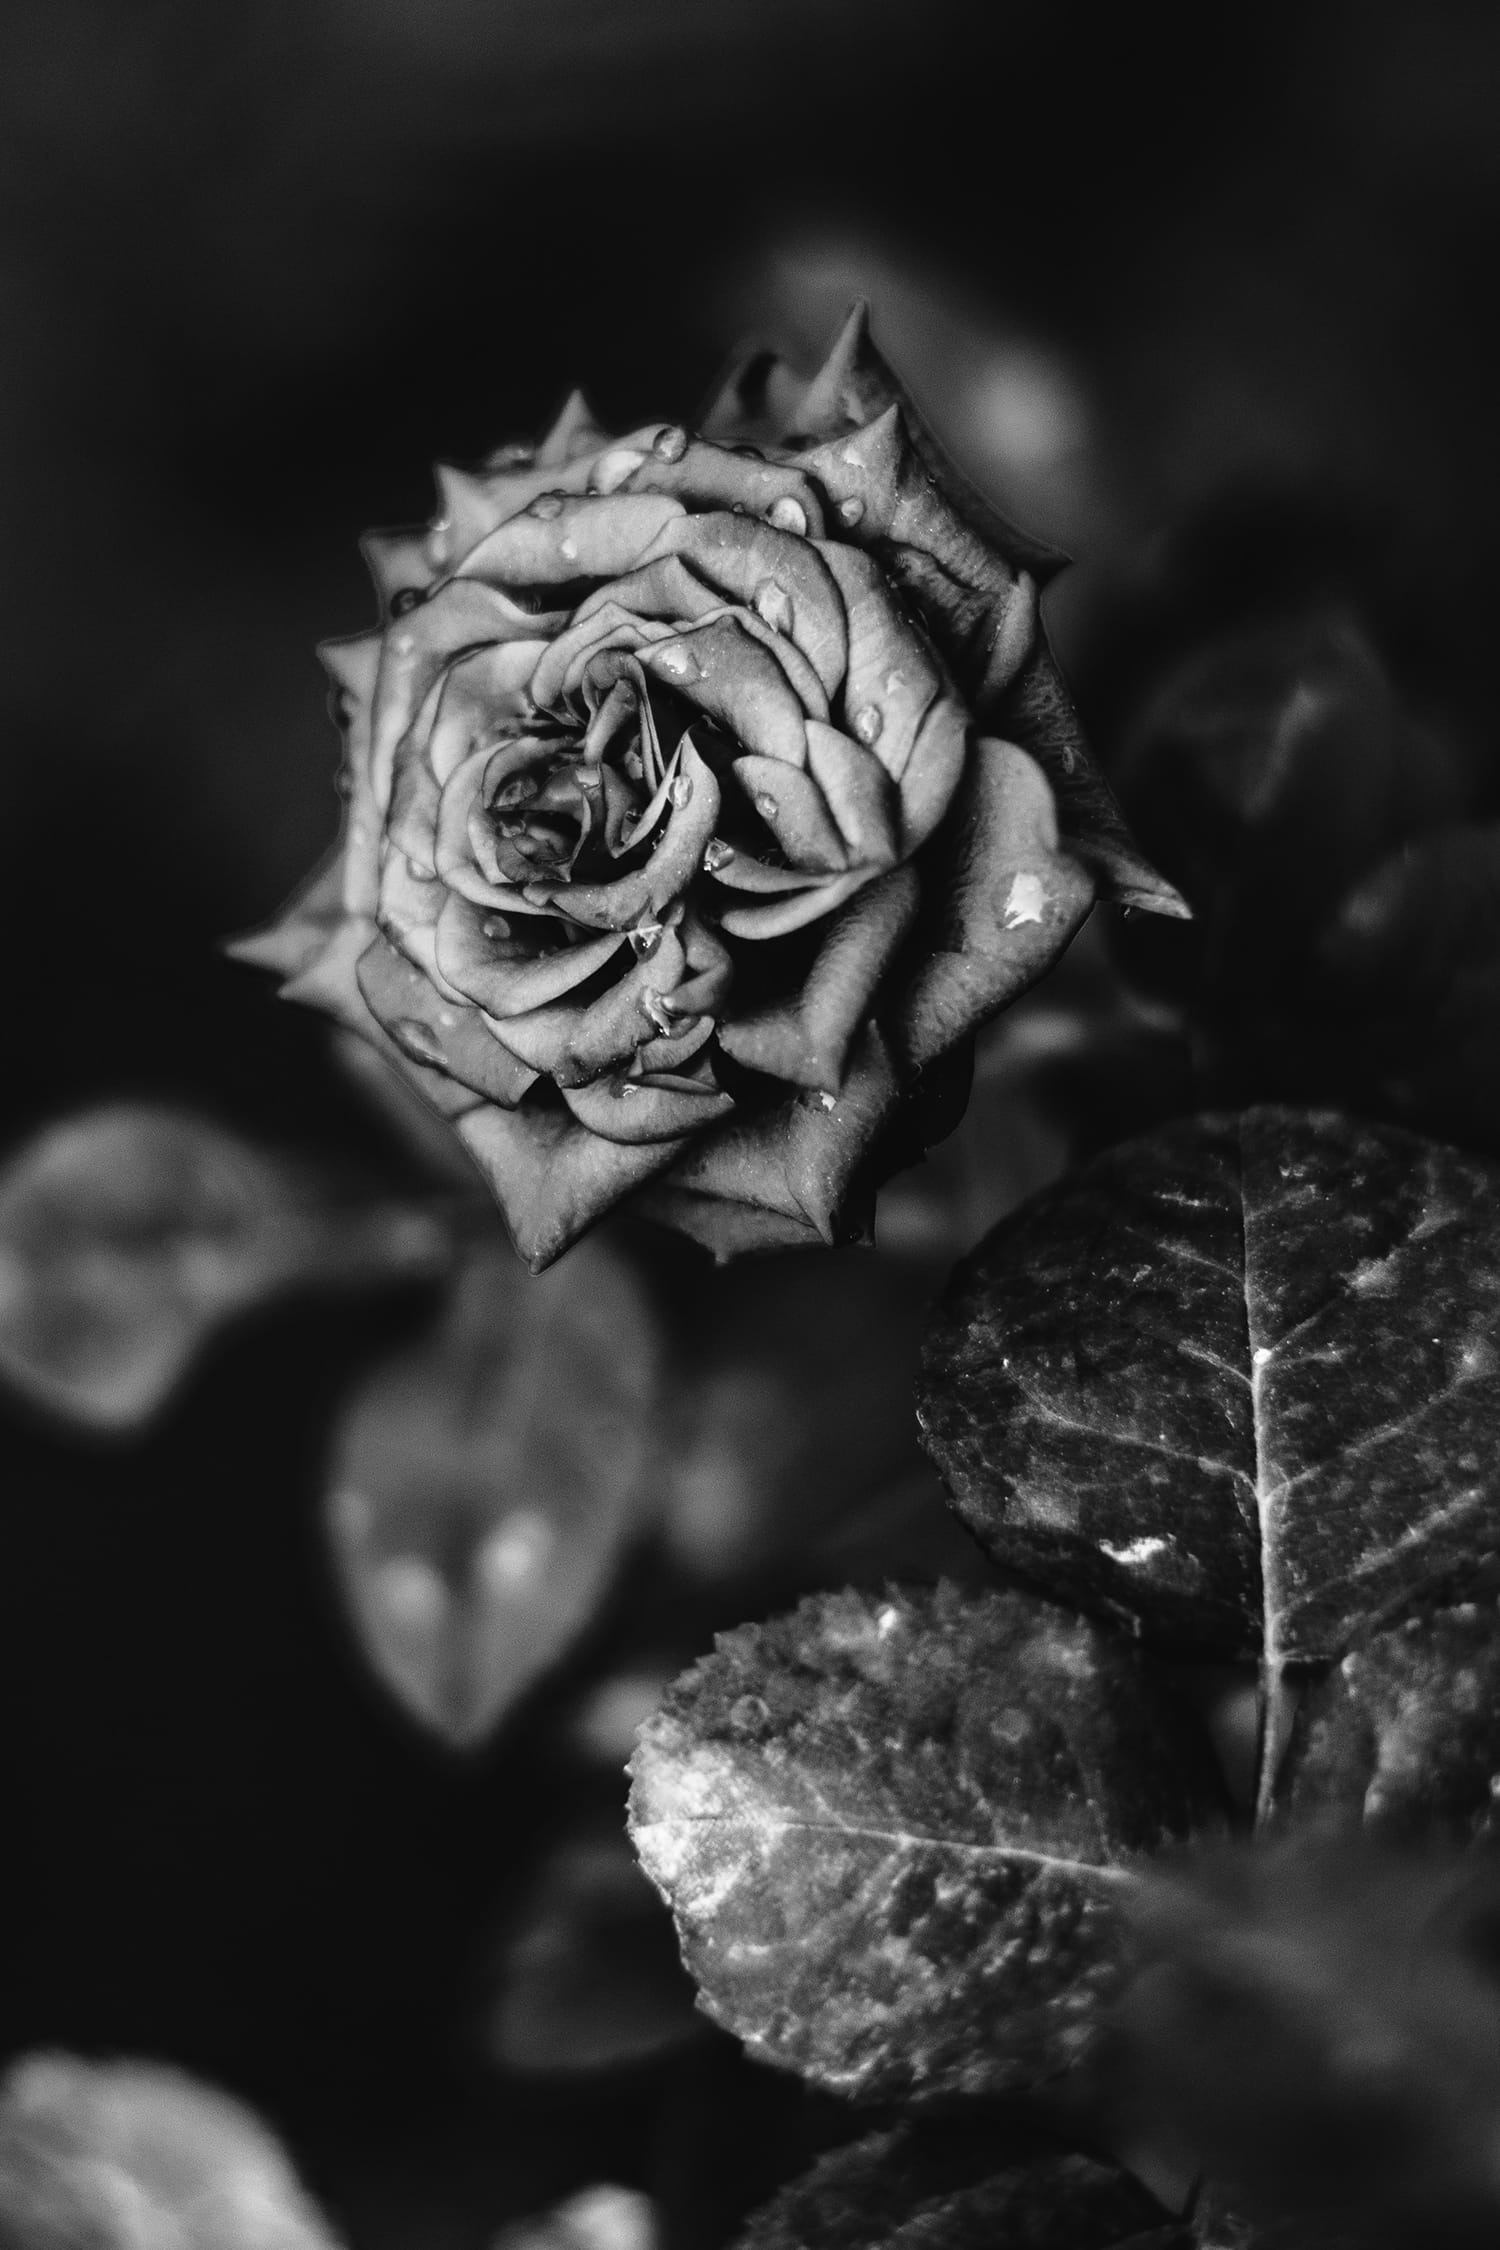
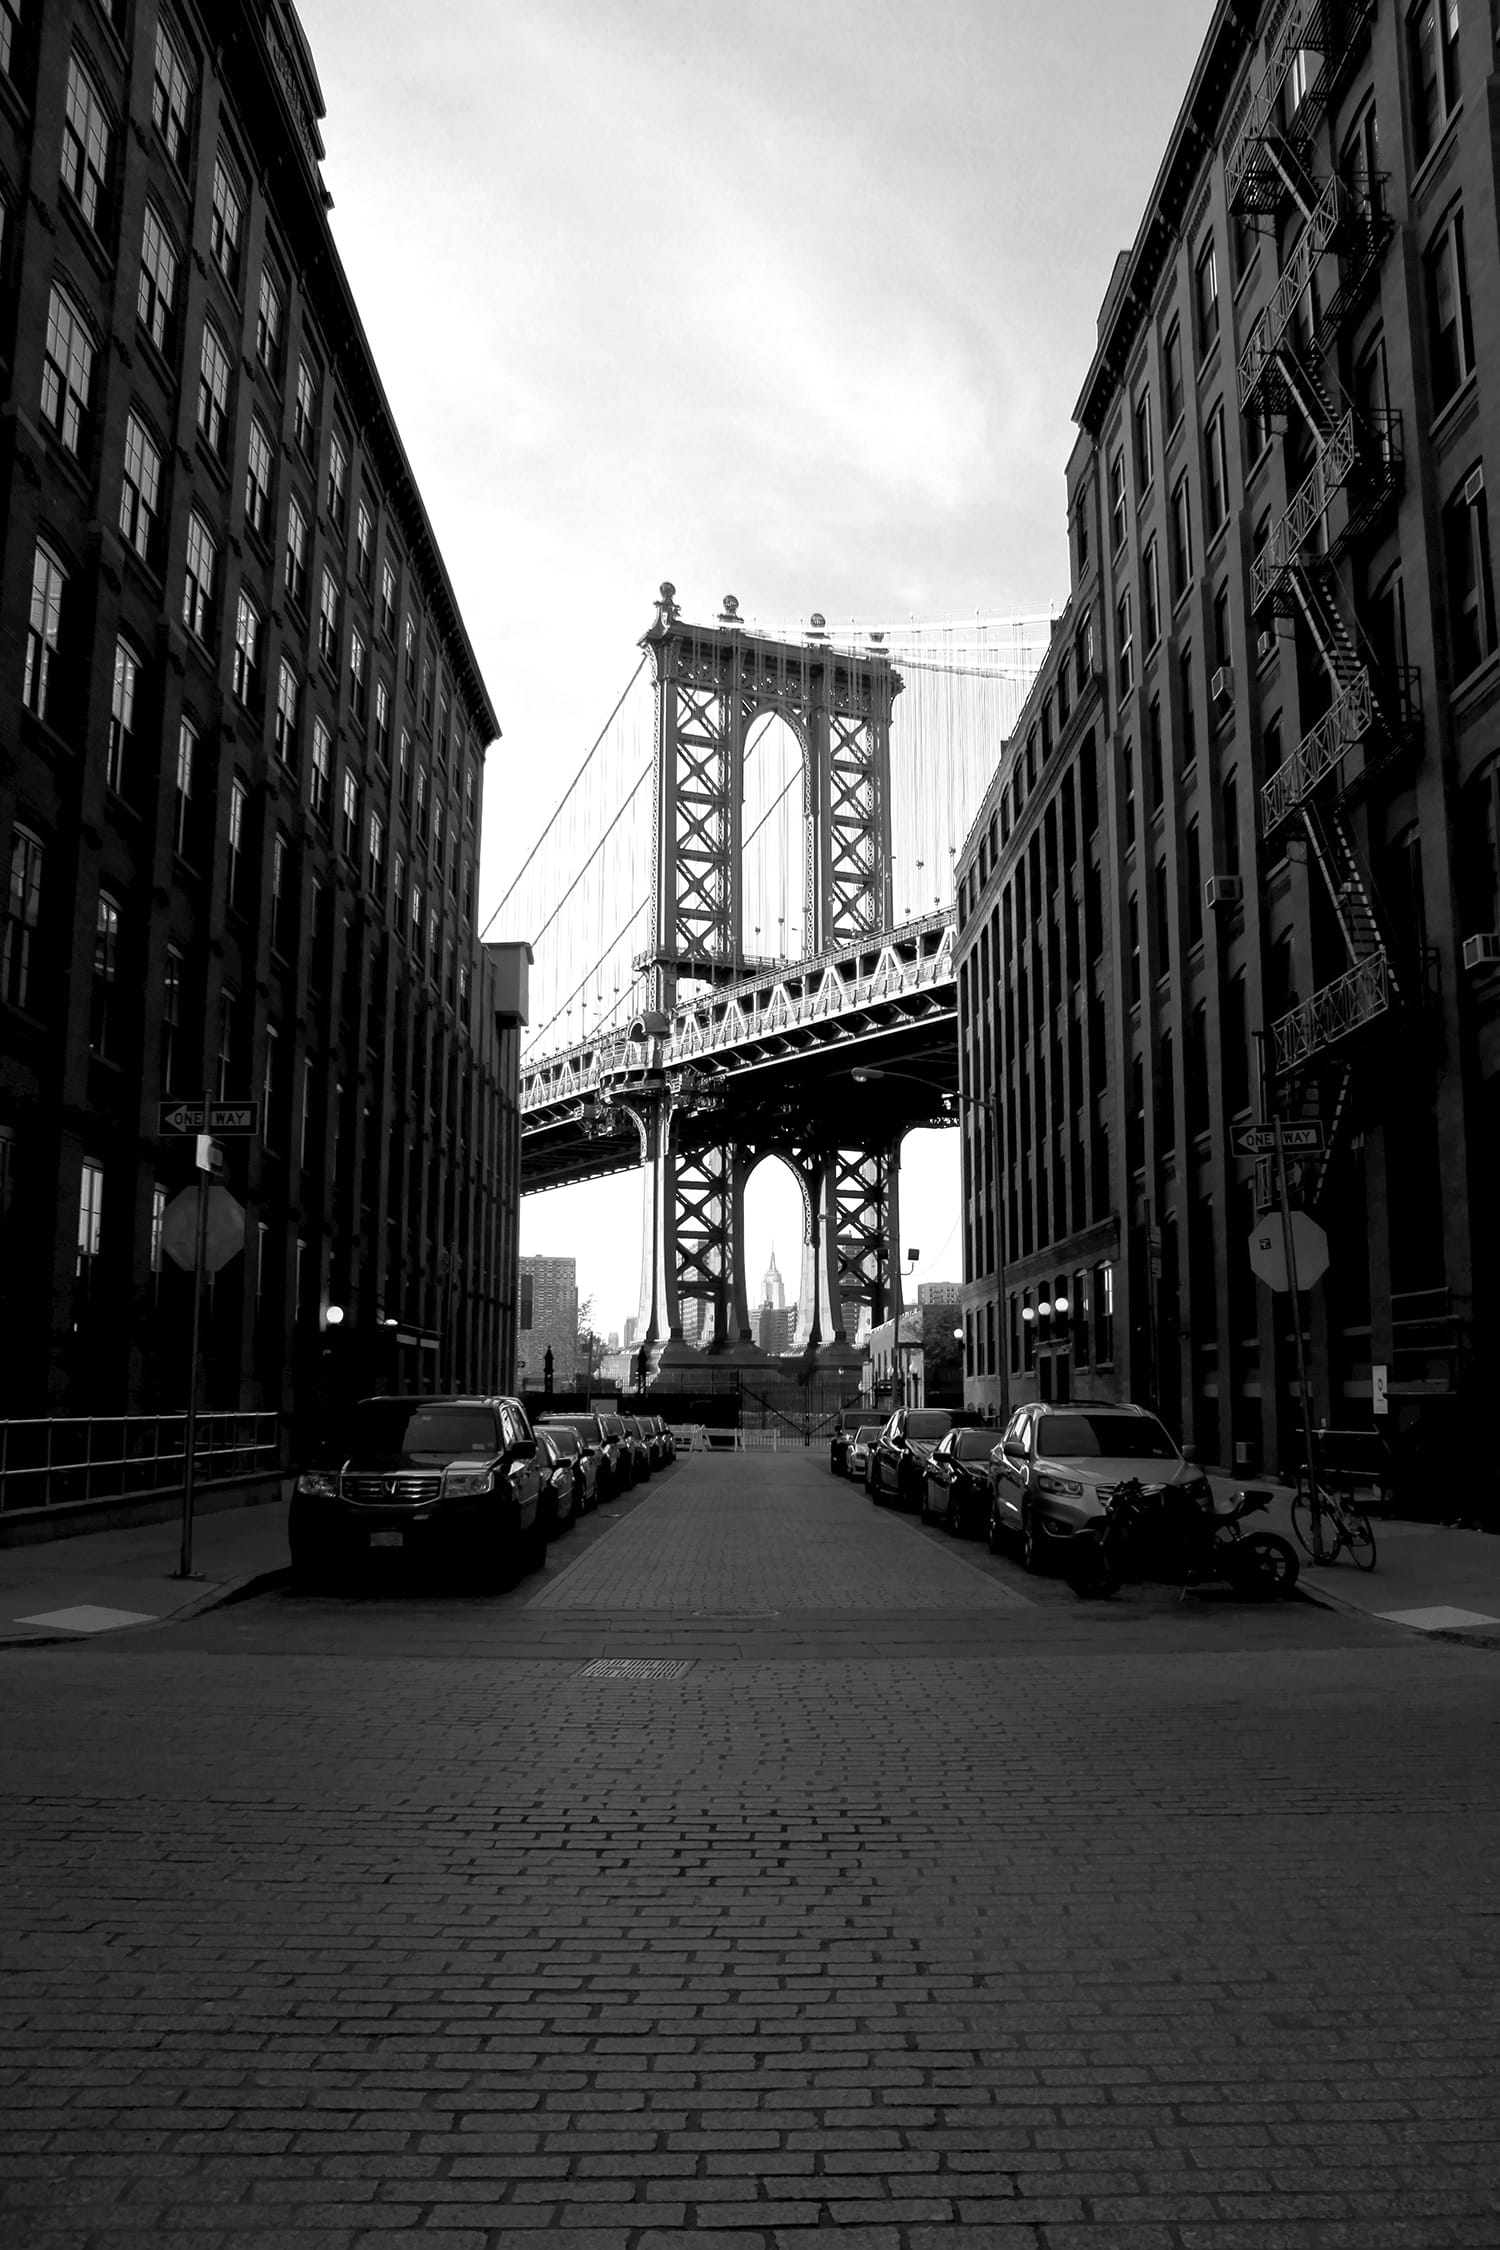
3. Texture, Shape, and Contrast
In black and white photography, the contrasting and complementary colors are reduced to different shades of grey. That’s why it’s important to work on the tonal contrast of your photo to make it stand out. For example, if you capture a colored image with green background and red subject matter, your viewers’ attention will automatically be drawn towards the red color.
Whereas in black and white photography, both colors will have somewhat the same brightness (grey tone). In other words, the image will appear a bit dull and flat. To make such a picture appealing, you’ll need to change the brightness level separately to incorporate contrast.
It’s advisable to capture scenes that offer tonal contrast naturally if you’re just getting started with B&W photography. As a general rule, capture scenes with strong black and white contrasts but bear in mind, there are always exceptions. You can achieve it by experimenting with your camera’s exposure settings and the object’s tone or brightness.
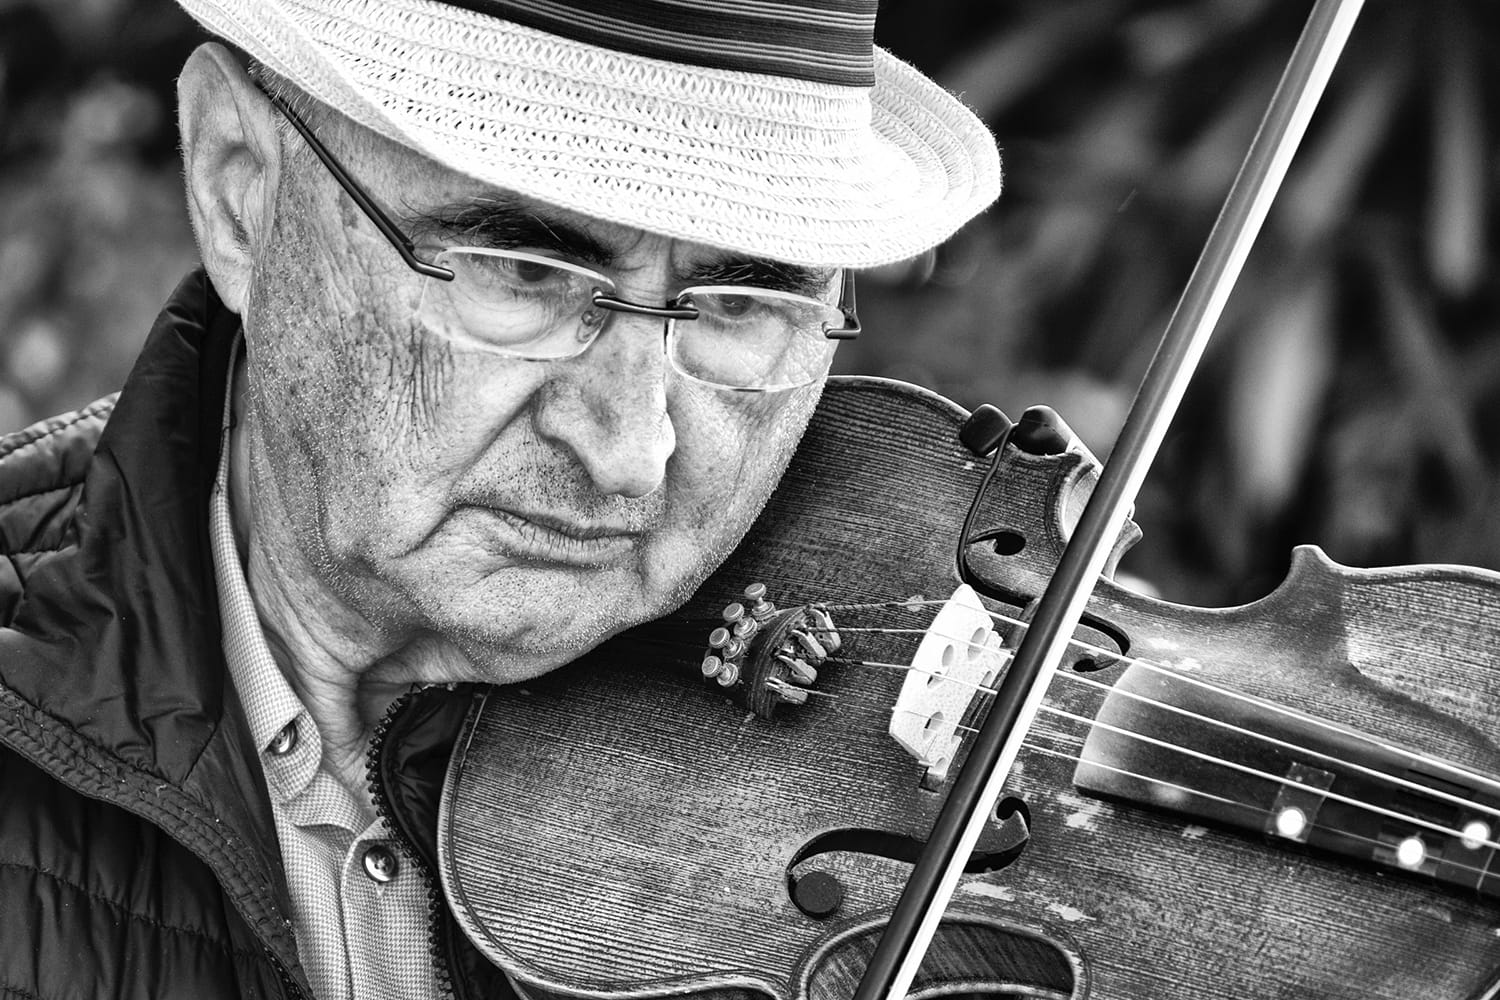
We also highly recommend you move around and look for textures, patterns, and shapes in a scene to find the best possible composition.
4. Use Filters
Polarizing and ND Grad or graduated neutral density filters can help you equally in colored and black and white photography. Moreover, they also manipulate the contrast of your images which makes them even more valuable. To boost contrast and reduce reflections and glare, a polarizing filter can help you a great deal. On the other hand, if you want to capture the bright sky with better details, consider using the ND grad filter.
It’s important to play around and perform experiments by capturing multiple photos with different camera settings, especially exposure. Not only will it help you to learn more about your environment and how light works, but it’ll also allow you to come up with a better composition. For example, if you feel that the sky is brighter than your frame’s foreground, don’t hesitate to use a standard ND filter and ND grad while capturing a long exposure photo.
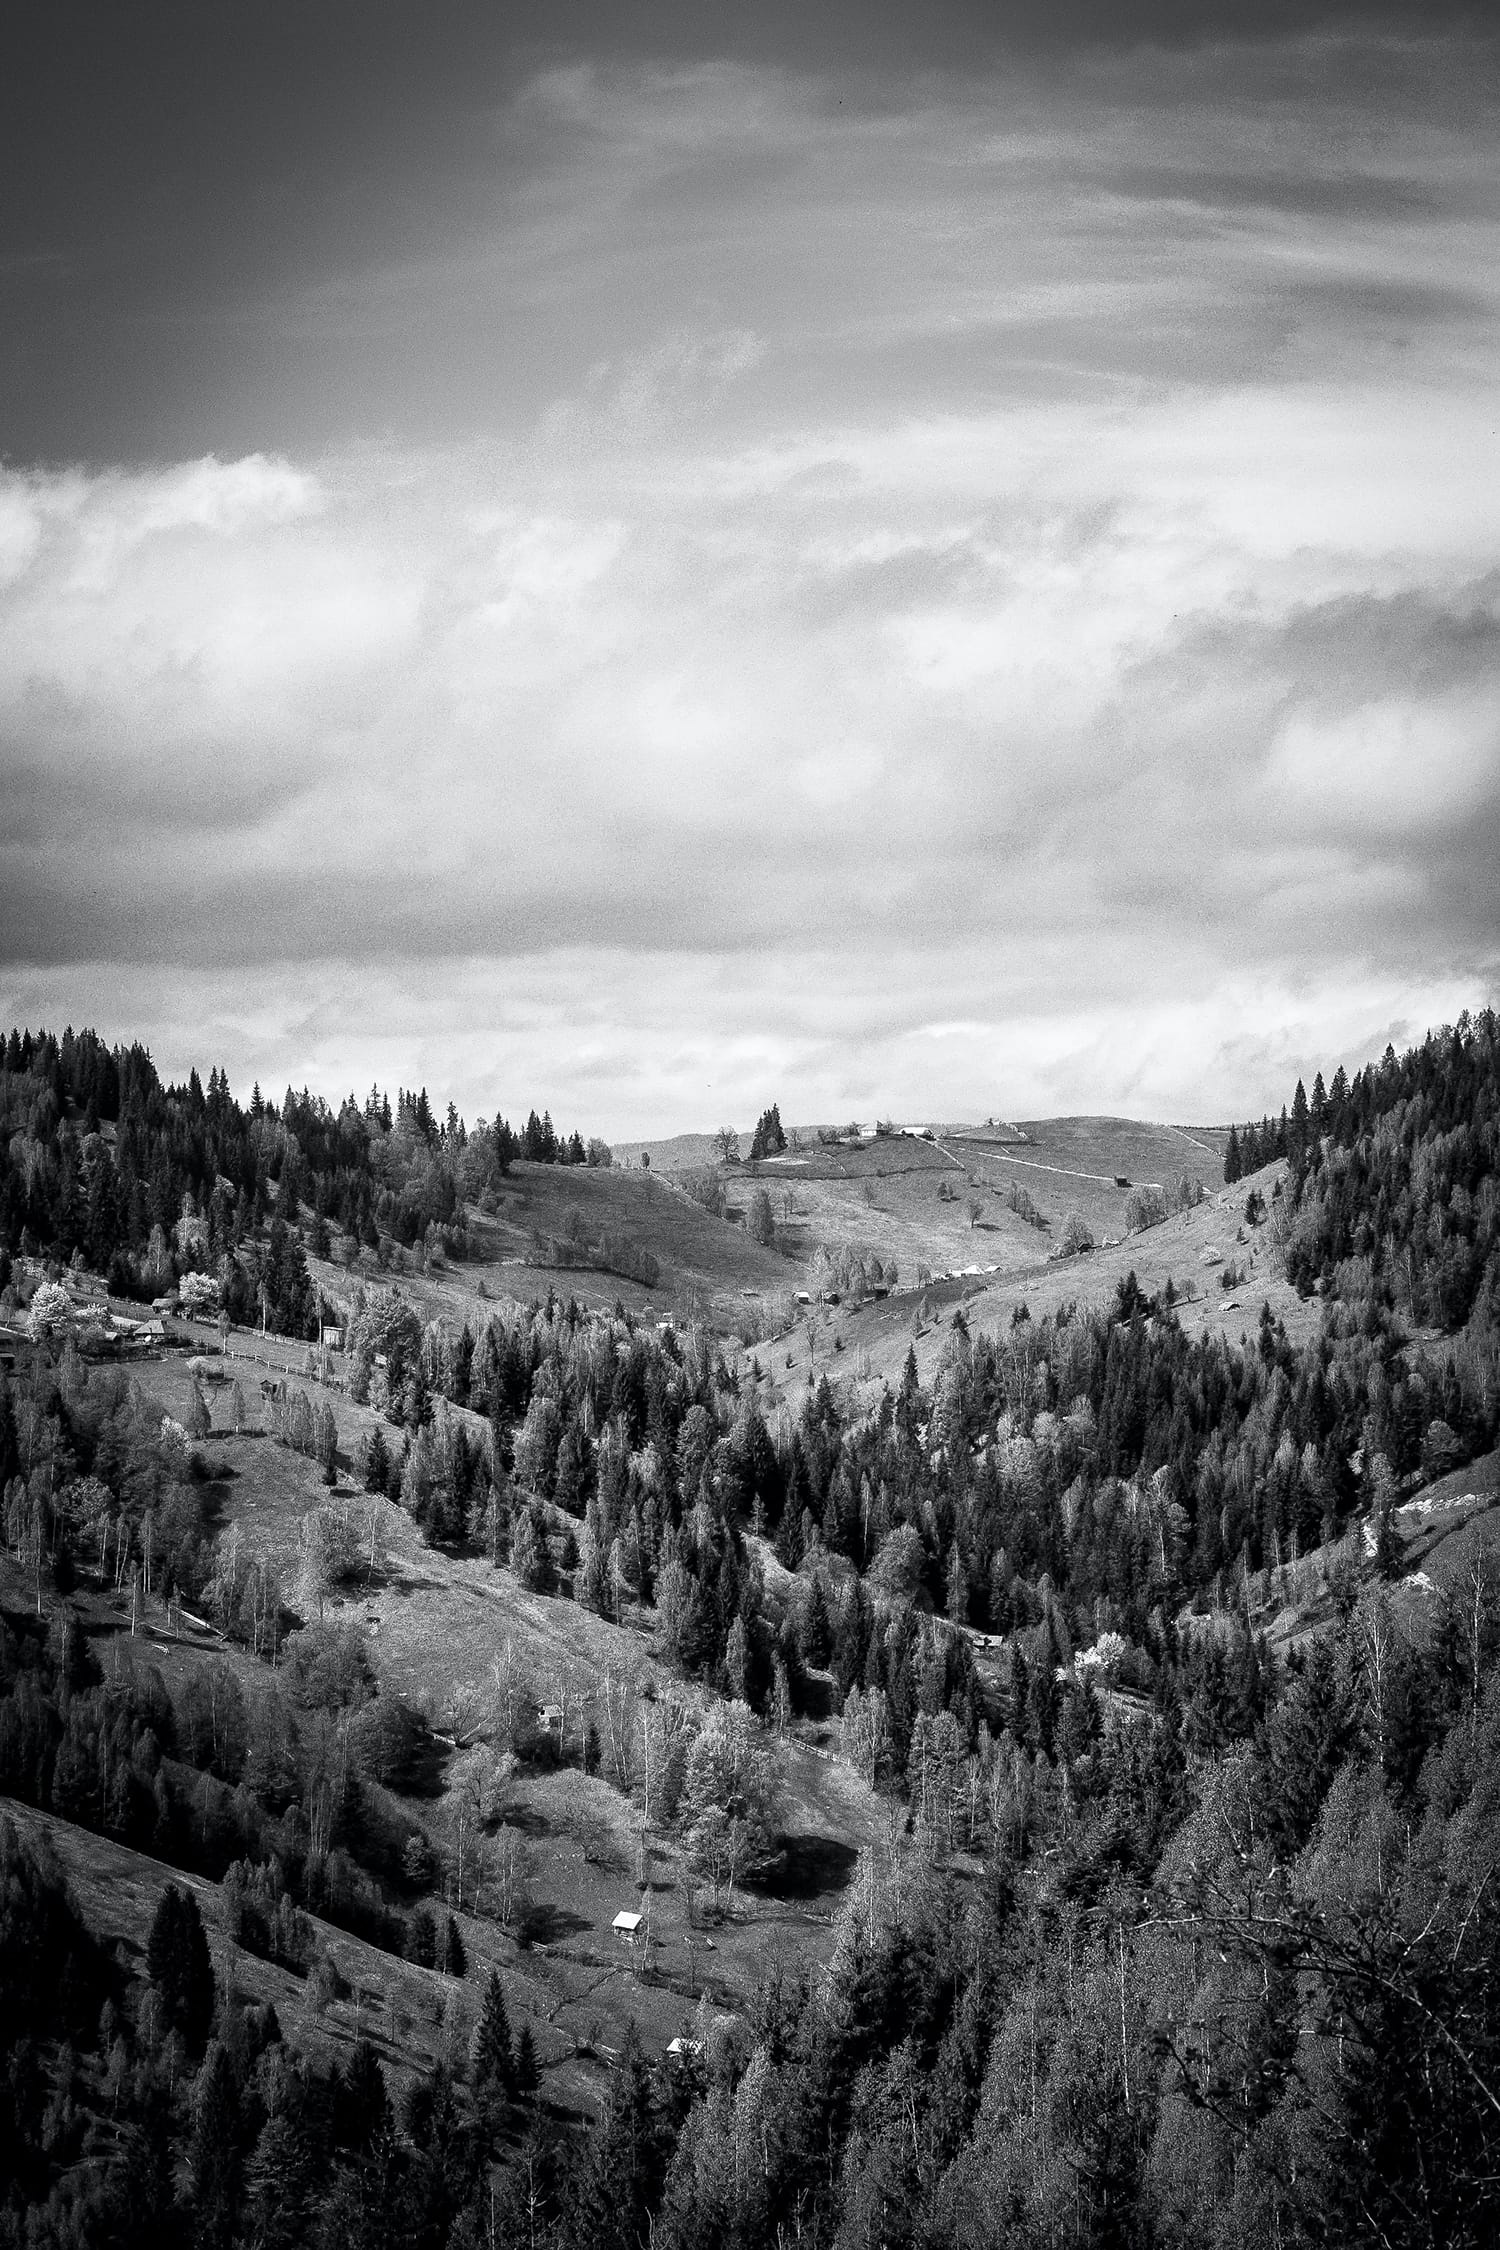
5. Master Post-Processing
Just like with any other type of photography, post-processing plays a big role in black and white photography.
Two of the most important tools to use for B&W photography are Dodging and Burning. They’re available in Photoshop, Lightroom Classic, and many other photo editing software. You can use them to tweak mid-tones, shadows, and highlights.
In simple words, you can brighten up the highlights if they’re dark or dull by using the Dodge tool. The Burn tool allows you to achieve the opposite to increase the overall contrast of your photo. Of course there’s a lot more to editing black & white images than just dodging and burning, but it should definitely be part of your arsenal of tricks.
Final Words
Black & white photography is a great medium that you can use to tell deep stories. As your skills grow, you’ll appreciate this medium even more. We hope this guide will help you have more ideas to go out and capture better black and white photos. Keep practicing and happy shooting.
About the Author: Jon C. Phillips
 Jon C. Phillips is a photographer, watch lover, product developer/designer, guitarist & musician, and all-around web nerd. He's the founder of Contrastly which he launched in late-2012. He also co-founded DailyPhotoTips and TheDailyPreset.