Five Thoughts About Auto Mode Vs. Manual Mode That You Need to Know
 by
Kent DuFault
by
Kent DuFault

“It’s time for you to take the plunge and get off that Auto Mode safety net!”
“Manual Mode is the ONLY shooting mode that you should be shooting!”
How many times have you heard those two statements?
I can imagine that newer photographers can become frustrated hearing those statements repeated in online forums and camera clubs.
After all, the auto modes are there on the camera- why shouldn’t I use them?
001
“Ah Grasshopper, good question.” – Shaolin Master Po, Kung Fu
There is an excellent reason that cameras have manual mode, semi-auto shooting modes, and even the often-maligned Full Auto Mode!
Today, I will share five thoughts on when you should choose each mode and why.
1. Manual Mode
Manual Mode is the only shooting mode that offers complete control. You will often hear that statement. That statement is only partially true.
Except for Full Auto (the green box or the green A or some other green icon), every auto mode offers complete control within a limited capacity.
That control comes by using the exposure compensation function. Interestingly, rarely would you deviate exposure beyond the limitations of the exposure compensation function. A few times that come to mind are astrophotography, night imaging, and long exposure imaging in daylight (ND filters).
The difference in Manual Mode is that you can deviate from the exposure settings beyond the capability of the exposure compensation function.
There is an excellent reason that cameras have a manual mode, semi-auto shooting modes, and even the most maligned Full Auto Mode!
Manual mode is a slower and more meticulous method for adjusting your exposure settings. It’s an excellent method when your subject isn’t changing, such as a landscape. It also allows you to set extremely long exposures. The maximum time value (shutter speed) for most auto modes is 30-seconds. So, when you need more than 30-seconds is the correct mode to choose!
It’s true that experienced photographers can become quite fast using Manual Mode for any situation, but that takes time and experience.
002
Thought #1 – Use Manual Mode when you have the time to consider your settings without your subject or the lighting on your subject changing drastically. And when you need a time value longer than the most extended auto shutter speed that your camera provides (typically 30 seconds).
2. Full Auto Mode – The Green box or other green icon
Let’s take a 180-degree jump from the Manual Mode to the Full Auto side of the shooting mode camera dial.
Note: The shooting mode functions are sometimes referred to as exposure modes.

003
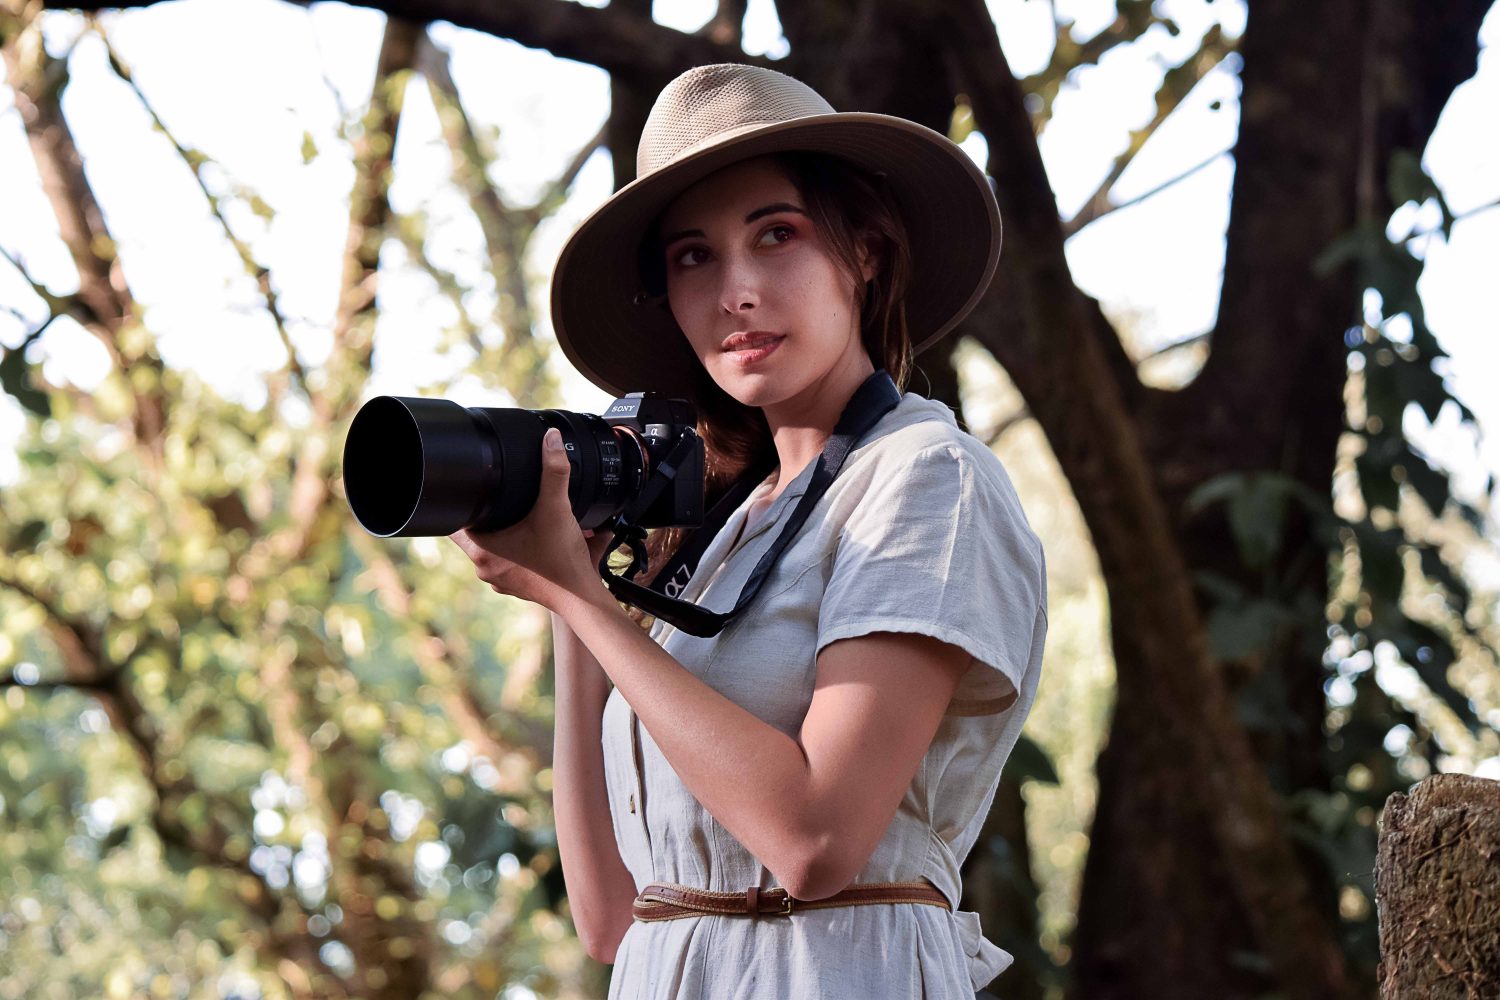
This photograph is an excellent example of a situation where one could use the Full Auto Mode.
Let’s clear one thing up immediately. Full Auto Mode and Program Mode are different and do not operate similarly. Program mode does offer the photographer a level of control over the camera, and the Full Auto Mode does not.
Program Mode, Aperture Priority Mode, and Shutter Priority Mode are more accurately referred to as ‘Semi-Auto Modes.’
And yes, the full Auto Mode has its place and can produce professional results when conditions allow.
Thought #2 – Full Auto is a good choice in a fast-evolving situation with relatively flat lighting at higher intensity levels, a prevalence of mid-tones, and average colors. I liken it to using a cell phone camera. Something catches your eye, and you quickly pick up your phone and take a picture of it. It’s the same with Auto Mode. Professionally, I often used Full Auto Mode for outdoor receptions in good light. A client will never ask you, “What shooting mode did you use?” They only care about the result. When the need is to work quickly, and the conditions allow, Full Auto Mode can work! A critical consideration in Full Auto Mode is that the camera decides when the pop-up flash is engaged, and you cannot override that function. So, I do not recommend using the Full Auto Mode if the light levels are low.
3. Program Mode
Here is the difference between Program Mode and Full Auto Mode. Full Auto Mode takes control of everything on the camera other than focusing and the shutter release. You can’t override those settings.
Program Mode chooses an aperture and shutter speed combination based upon exposure data provided by the camera meter.
It does not automatically adjust the ISO setting. The camera must be set to Auto ISO for that to happen.
It also will not automatically engage the pop-up flash in low light. However, most cameras will alert the photographer inside the viewfinder that an electronic flash might be necessary.
You can change the aperture and shutter combination with a dial on your camera. However, the exposure value doesn’t change. The mode selects a new combination that provides an equivalent exposure.
You can override that combination by using the exposure compensation setting.
Once the combination reaches your lens’s maximum aperture, the mode will continue to slow the shutter speed to create a proper exposure.
That last point is critical!
Thought #3 – Program Mode is an excellent choice for evolving situations where you want to maintain control over the ISO setting and the use of the pop-up flash. In addition to that, your depth of field or motion blur aren’t critical factors in photographing the subject. However, this mode requires you to maintain an awareness of your shutter speed in lower light levels. Suppose the lighting level is low and your lens is now maxed out to the widest aperture, and you have set a fixed ISO setting. In that case, the shutter speed will continue to slow down to achieve proper exposure. If you aren’t aware of the current shutter speed, that could lead to blurry pictures due to camera shake.
It happens. It has happened to me.
004
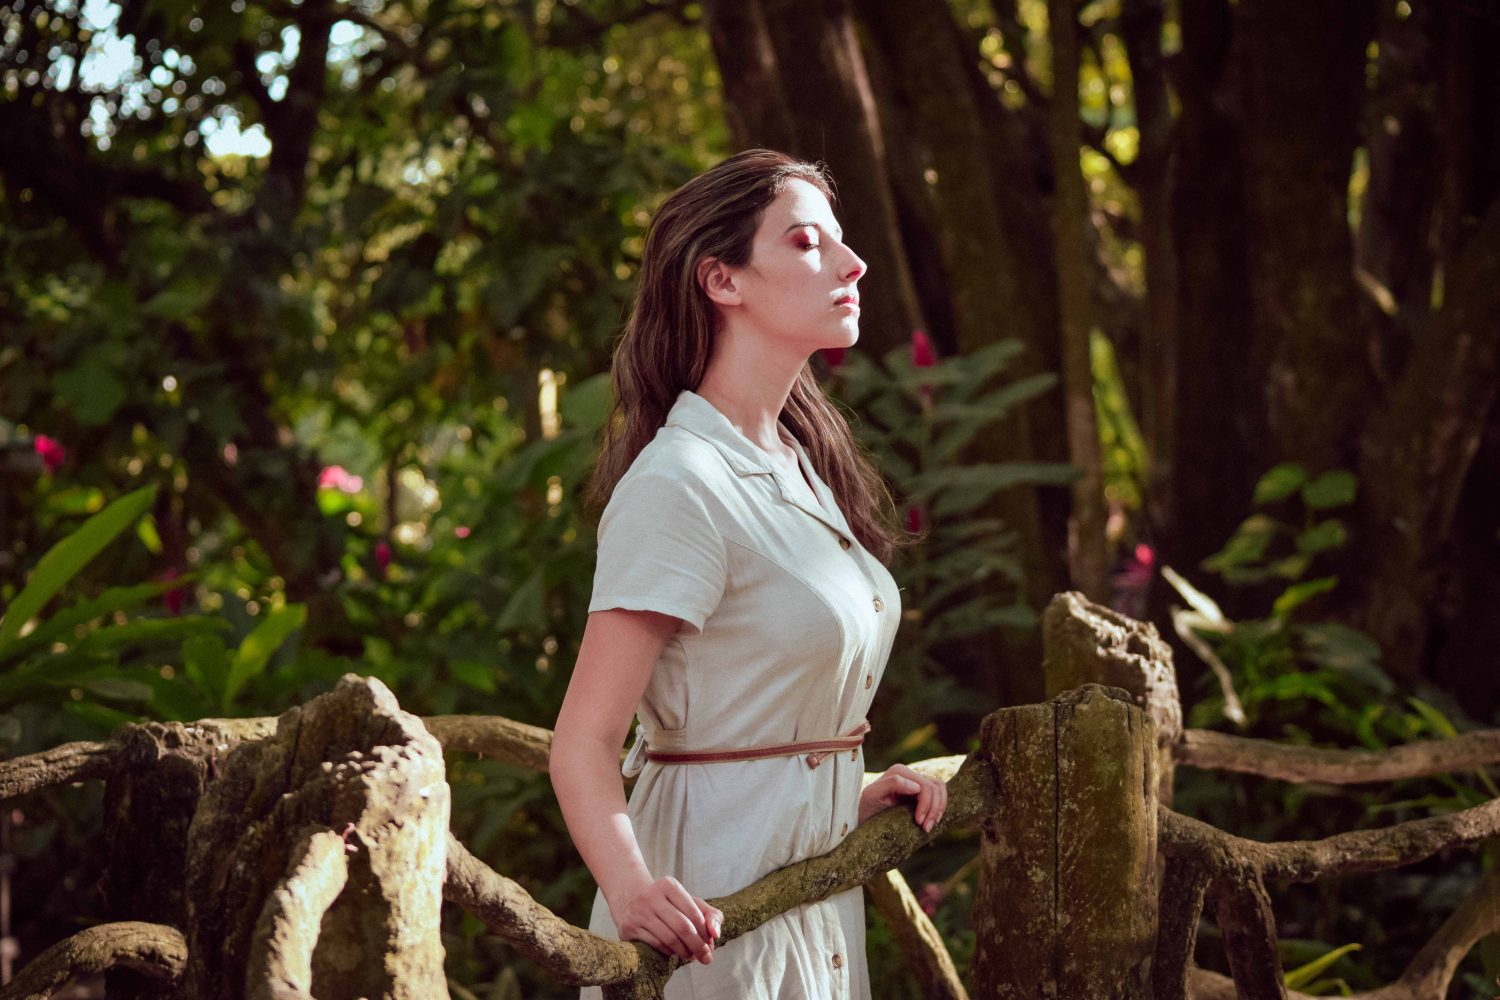
Program Mode would work quite fine for this situation.
- There are adequate light levels.
- The woman is not moving, so we’re not worried about motion blur.
- It is a wide-angle lens, and the subject is distant, so depth-of-field is not an issue.
Why would you select Program Mode instead of Manual Mode?
Perhaps you are on a walk with your wife. She enters this area with an excellent background and beautiful lighting. You call out to her to stop and smile at you. She does, and with Program Mode, you instantly take the picture. In other modes, You might find yourself fiddling with the camera functions, and the candid moment is lost.
Pro Tip: I generally leave my camera in the Program Mode and Auto ISO to easily capture quick moments. I change the shooting mode to Manual or one of the other semi-auto modes and adjust the ISO setting as the situation dictates.
Important: This is a little off-topic, but I think it warrants being said here. The Shooting Mode does NOT determine the exposure value; the camera meter does that job. I see many comments online where people say things like, “I get the best exposures in Aperture Priority Mode”.
Memorize this:
- In Manual Mode, the photographer determines the exposure based upon data provided by the camera meter.
- In the semi-auto modes, the exposure is based upon data provided by the camera meter and a selection of settings by the photographer. Those settings are ISO, either fixed or auto, and aperture in Aperture Priority Mode or shutter speed in Shutter Priority Mode. Plus, the exposure can deviate from nominal with the Exposure Compensation function.
- In Full Auto Mode, the camera determines everything about the exposure based on data provided by the camera meter.
- In Program Mode, the camera determines an average aperture and shutter speed combination based upon the data provided by the camera meter.
What affects the camera meter’s data output?
- The ISO setting sensitivity
- The metering pattern and the number of metering points (these are often tied to the focus points).
- The amount of light present in the scene.
- The reflectance value of the subject area.
4. Aperture Priority Mode

005
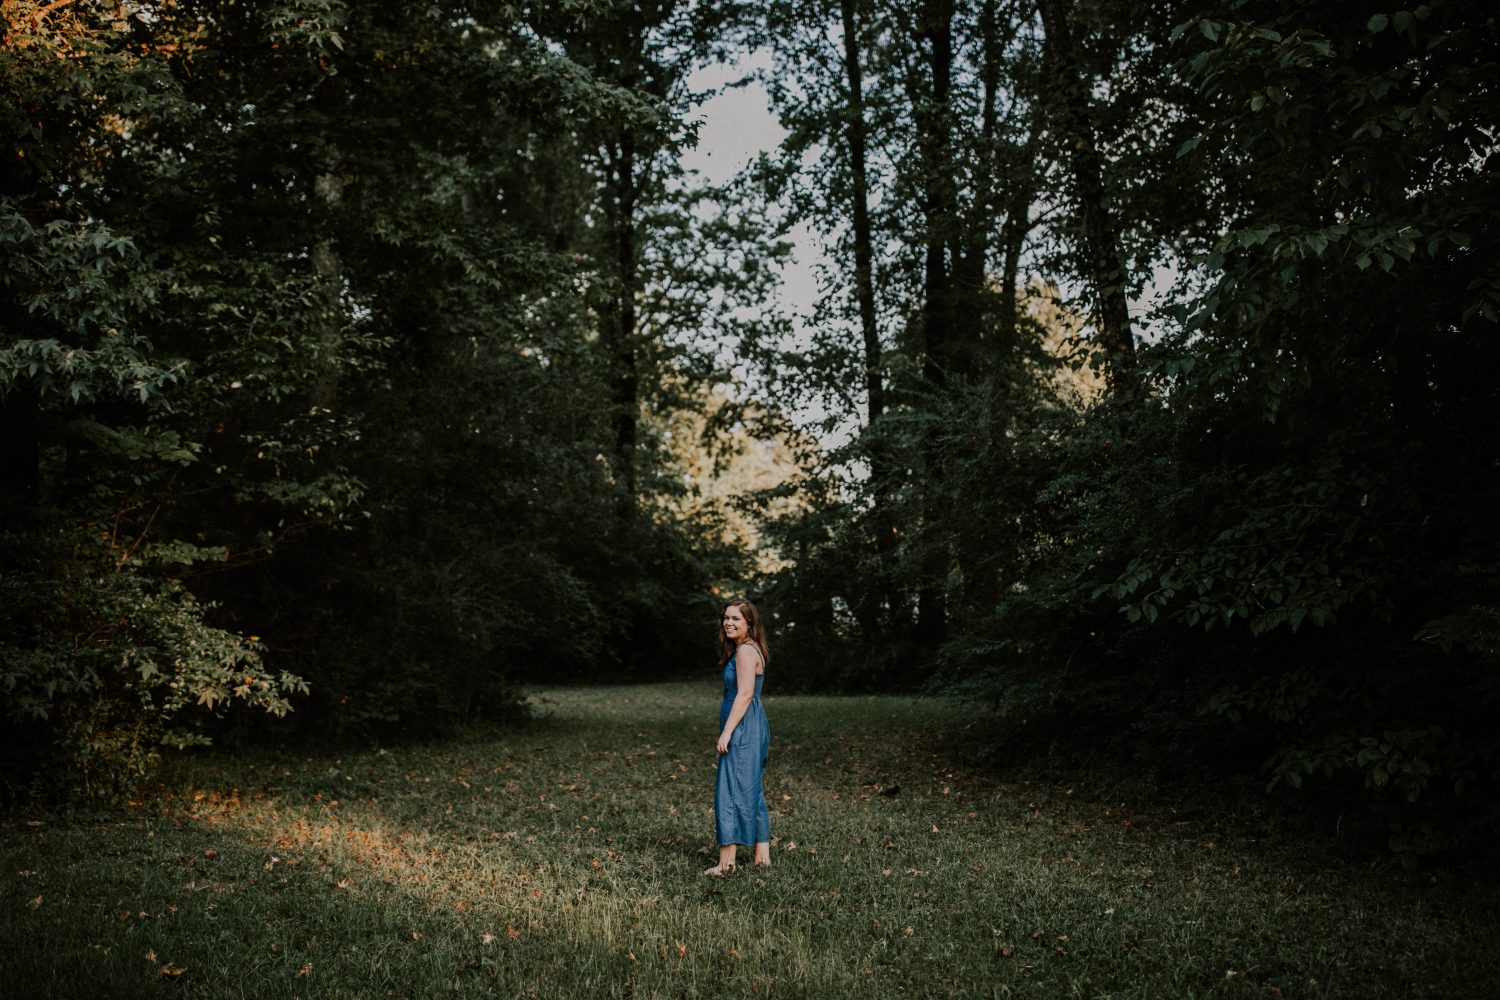
You want to choose this mode when the depth-of-field is the highest priority when determining your exposure settings – AND – the light is changing rapidly.
Why do I add that caveat about the lighting changing?
If the lighting is not changing, you should go to Manual Mode. The semi-auto modes help you react fast when the exposure value changes quickly.
Image 005 is a fantastic example. The sun moves quickly near the horizon. Add to the equation moving clouds, and you may have mere seconds before the shot is gone.
006
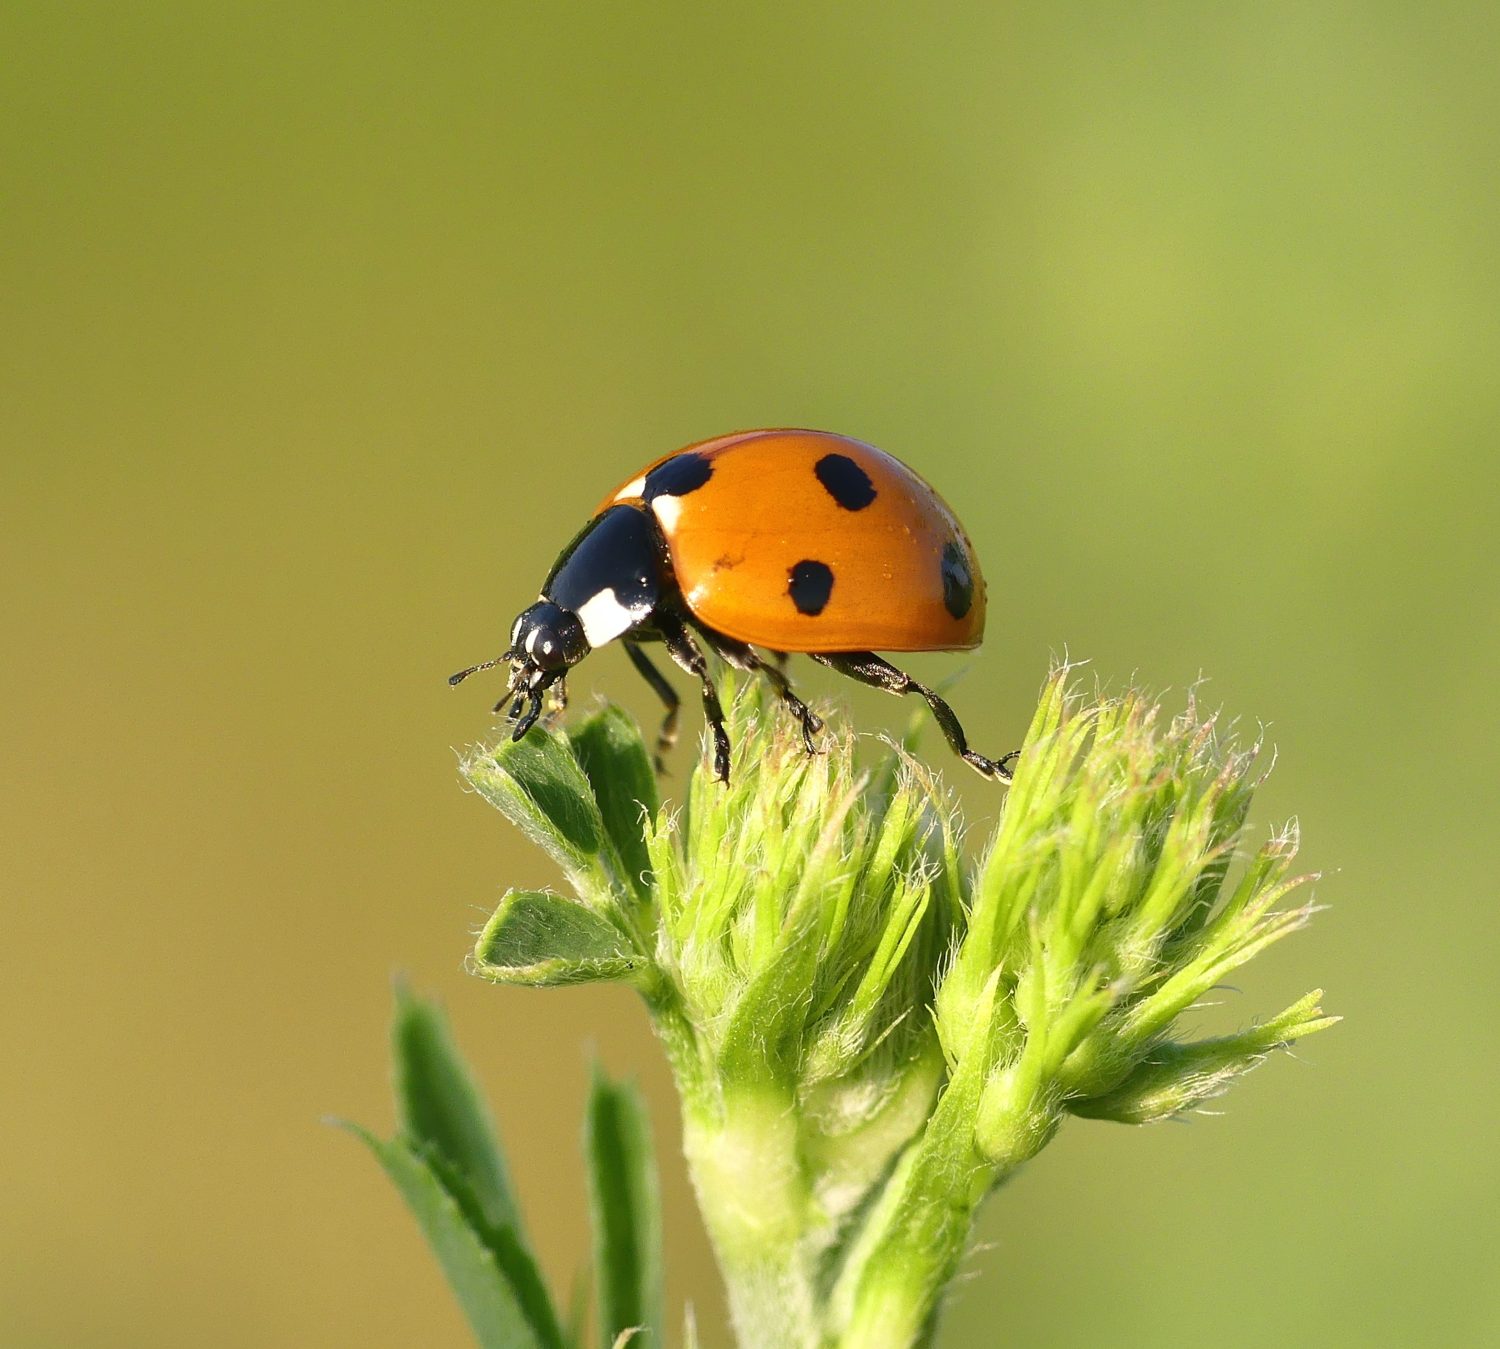
Here is another example where Aperture Priority makes sense. You want to maximize your depth-of-field while chasing a tiny bug around the yard.
Thought #4 – Aperture Priority is the best choice when depth-of-field is your primary concern. If light levels are also a concern, set your ISO to Auto, and keep an eye on your shutter speed to prevent camera shake.
5. Shutter Priority Mode
007
Shutter Priority seems to get a bad rap among photographers, and I don’t understand why.
I hear photographers often say, “I prefer Aperture Priority Mode; it’s the only auto mode I use”.
Why?
I worked in a camera store for a while, and almost every day, someone would come in with a photo and ask us what went wrong.
More times than not, the presented image was blurry due to the camera shake. Rarely was a photo ruined by the lack of depth of field.
Shutter Priority has the same benefit as Aperture Priority. It adjusts the exposure to changing light levels. It is the perfect choice for motion and action subjects in changing light.
Just as in Aperture Priority, where you must keep an eye on the shutter speed in low light levels, in Shutter Priority, you must keep an eye on the f/stop in low light levels.
If at your chosen shutter speed, low light dictates the maximum aperture, and then the light drops even further- you will get underexposure unless you are using Auto ISO or change the shutter speed setting.
Thought #5 – I use Shutter Priority far more than Aperture Priority because experience has taught me that more photos are ruined by camera blur or subject motion than by depth-of-field issues. This mode is designed to assist the photographer when camera or subject movement is the primary concern. If dealing with low light levels, set the ISO setting to Auto and keep an eye on where the aperture is set.
I hope you find these thoughts helpful.
I encourage you to use all of the shooting modes as each one carries a specific purpose to help you with your photography!
And, if you want to skip the overwhelming frustration of having to guess all those pesky camera settings, our friends at Photzy are sharing a new step-by-step method, to give you full creative control of your camera – the Getting Off Auto Guide. Check it out here.