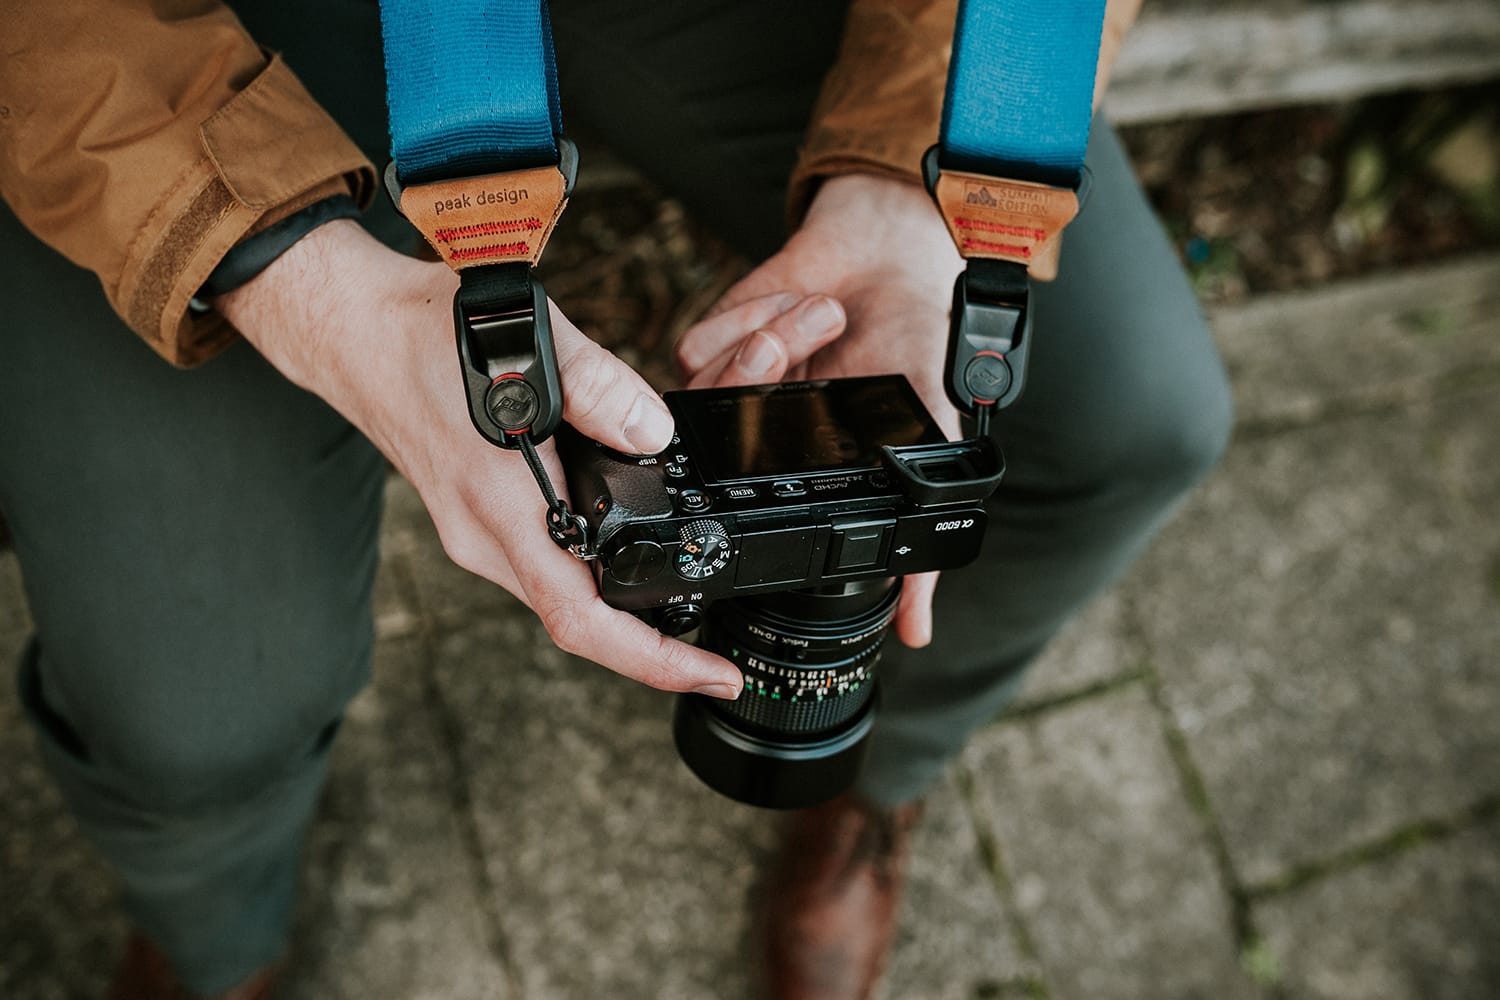
Getting Familiar With Your Camera’s Modes

When it comes to capturing great images, the truth is there’s a lot that you can do in auto mode – at least when you’re first starting out.
But if you’d like to step out of your comfort zone, and start creating images that are a bit more unique and perhaps more in line with your creative vision, then you’ll want to learn how to take advantage of the different modes on your camera.
Getting used to your different modes, though, can be daunting. With so many options and dials and numbers, it can be tricky to know where to start. Perhaps a misguided journey into manual mode a time or two that resulted in some lackluster images was enough to scare you back to trusty auto.
While it can seem confusing, the good news is that it’s not too terribly difficult to master your camera’s modes once you get the hang of the basics. And once you’re familiar with your different options, you’ll be able to start taking advantage of your newfound capabilities, and start creating images that you may not have realized that you or your camera were capable of!
Let’s take a look!

Auto Mode (A)
Despite the bad rap that Auto Mode gets, in certain situations it can prove to be ideal. Say, for example, the light’s quickly changing and you have limited filters and gear with you. Or suppose you have to work quickly to capture wildlife or a moving subject, you may want to stick with Auto to be quick on the trigger!
Using Auto can also be a good way to learn about the exposure triangle. When using Auto, it’s a good idea to pay attention to the camera settings. Namely, the f-stop and shutter speed. See which settings your camera’s choosing, and then look to emulate those by dialling them in yourself in manual mode.
Semi-Automatic Modes (Creative Modes)
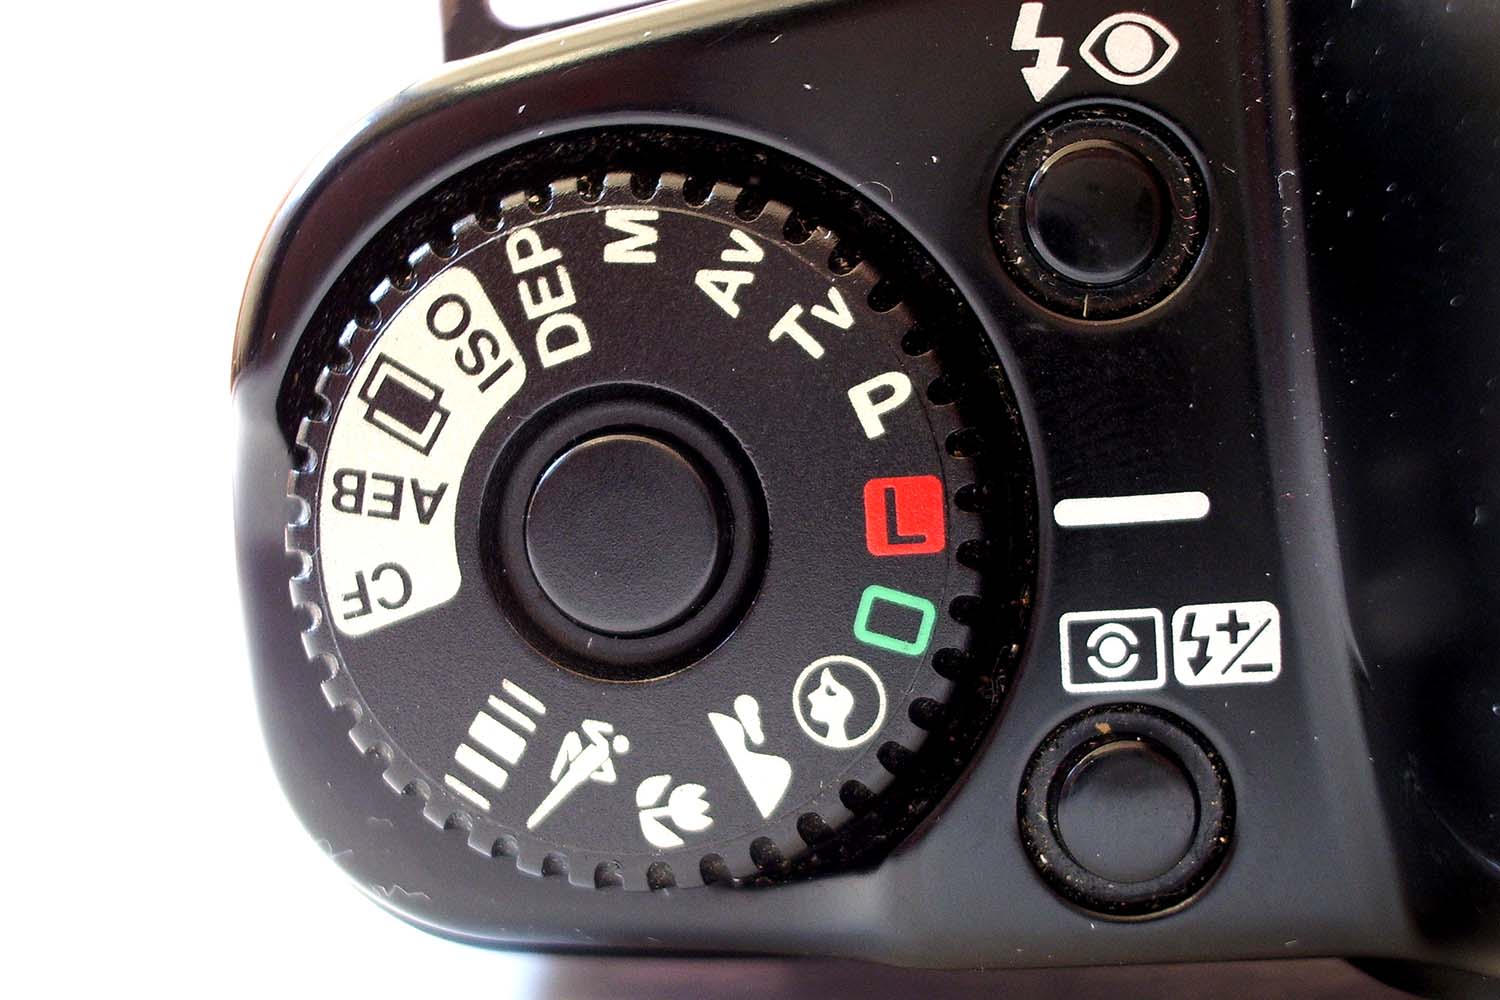
The mainstay for most photographers; the semi-automatic or creative modes on your camera will give you a lot more freedom than Auto! These modes are listed as letters on your camera’s dial.
-
Aperture Priority (A or AV)
Aperture Priority mode allows you to control your aperture, while it handles the rest for you. You can choose your preferred depth of field and adjust it as you see fit, and your camera will compensate by choosing the appropriate shutter speed.
When it comes to aperture, the smaller the number, the wider the opening, and the more light you are letting in. With a wider aperture (smaller number), your depth of field will be narrower, allowing you to create images where your subject or foreground are clear and in-focus, while elements in the background are gently blurred.
-
Shutter Speed Priority (S or TV)
With Shutter Speed Priority, you choose the shutter speed and your camera will take care of the aperture.
A fast shutter speed is ideal for “freezing” movement or action. A slow shutter speed, or long exposure, on the other hand, is used to slow down movement; rendering moving subjects as gently blurred.
Shutter Speed Priority is an ideal mode for sports, where you’ll want to freeze the action using a fast shutter speed. It’s also ideal for capturing seascapes, streaky clouds, and waterfalls, or any time you’ll need a slower shutter speed to gently blue movement. You might also want to adjust your shutter speed in low-light situations, slowing it down to allow more light to reach the sensor.
-
Program Mode (P)
Program mode is often confused with auto, but there are some distinct differences between the two. With Program, the camera selects both the shutter speed and aperture but you get control over a number of settings including ISO and white balance, giving you a bit more flexibility.
Manual Mode (M)
This brings us to manual mode. Manual mode will give you full reign of your camera, allowing you to choose each setting. This setting may be the trickiest to master, but it’ll also give you the most freedom in terms of flexibility and creativity.
When shooting in manual, you’ll need to adjust the aperture, shutter speed, and ISO.
Here’s a brief look at each:
- Aperture – The size of the opening in the lens
- Shutter Speed – The length of the exposure
- ISO – The camera sensor’s sensitivity to light
Using manual successfully requires a pretty good grasp of what each element of your exposure triangle does and how they work together.
Icon Modes
Many entry-level and semi-professional cameras have “icon” modes such as portrait, macro, and sports – aptly named for the little icon images that appear on the dial.
It’s worth noting that professional cameras don’t have these modes and generally, it’s a good idea to learn to use your camera without relying on them since they don’t always produce the best results.
Still, if your camera has them and you’d like to try them out, here’s a look at each.
- Creative Auto – Creative Auto mode is a fun mode that’s on some Canon models, that allows you to adjust how blurred you’d like the background to be.
- Portrait Mode – Portrait mode uses a large aperture to help keep the background out of focus. It works if the image is taken in close proximity to the subject, and when photographing a single person as opposed to a group.
- Landscape Mode – Landscape mode is pretty much the opposite of portrait mode in that it operates with a narrow aperture (wide depth of field) allowing you to capture a much wider scene that’s sharp and in focus.
- Macro Mode – Macro mode allows you to move in close to your small subjects, such as flowers or insects. With macro, you’ll have a narrower depth of field to work with as well.
- Sports Mode – Sports mode makes it possible for you to freeze action by using a fast shutter speed. You can also try your hand at ‘panning’ – focusing on your subject with your shutter halfway down, and moving the camera to track their movement before releasing the shutter.
- Night Mode – Used in low light conditions, with Night mode, your camera uses a slower shutter speed to capture the details in the distance, but also fires off the flash to illuminate the foreground.
While Auto is fine for some situations, especially when you’re first starting out, it’s important to branch out and begin experimenting with the other modes that you have as well. After all, without the flexibility of semi-automatic modes and manual, a camera’s just an expensive point-and-shoot!
At the end of the day, learning about the different modes will give you the most freedom with your camera. It may take a bit of time before you’re taking professional photos in manual, but with a bit of practice and a good knowledge of the exposure triangle and your camera’s capabilities, you’ll soon become adept at capturing amazing images.
What are your preferred camera modes? Let us know on Facebook!
Understanding camera modes is essential, but there’s so much more you can learn about your camera to help you take better photos. Get the DSLR Crash Course and take your photography to a whole new level.
About the Author: Christina Harman
 Christina is a part time blogger and full time photography enthusiast living in Southeast Alaska. She enjoys travel photography and has taken pictures in countries such as Mexico, England, France, and China. She likes sunny days, new lenses and drinking good coffee. You can visit her at Tangled Thoughts.