Hands-On Review of the New Spark Camera Remote
 by
Jo Plumridge
by
Jo Plumridge

Alpine Labs was founded in 2012 and specialises in producing affordable camera accessories. Their latest offering is the Spark Camera Remote, which was funded using a Kickstarter campaign. Spark is a 3-in-1 remote, which is both compact and affordable.
I was sent a unit to test, so let’s look at the unit in more detail.
Design
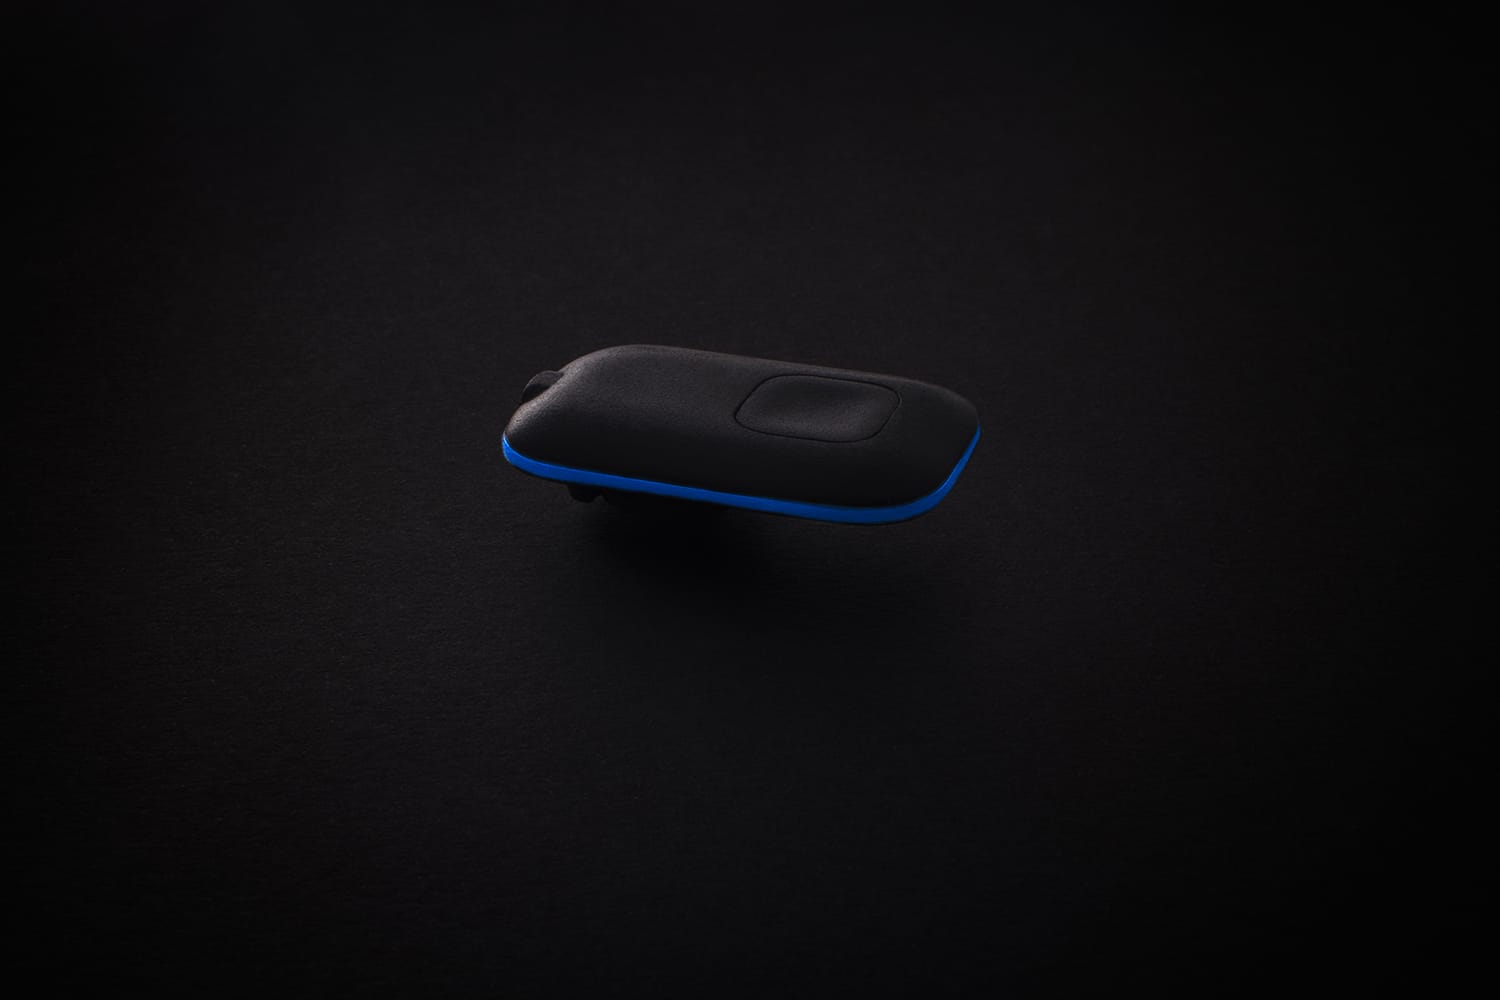
Spark is a tiny black rectangular unit, weighing just 0.75 ounces. There is a hot shoe attachment on the bottom of the unit and a large singular button to fire it. It’s a very neat and well-designed unit, with a sleek design. And, whilst it’s lightweight it feels sturdy and well made.
Compatibility
Spark has been designed to work with a wide range of cameras, including Canon, Nikon, Fujifilm, Sony, Hasselblad, Olympus and Pentax. You can check if your camera is compatible on the Alpine Labs website.
Shooting Modes
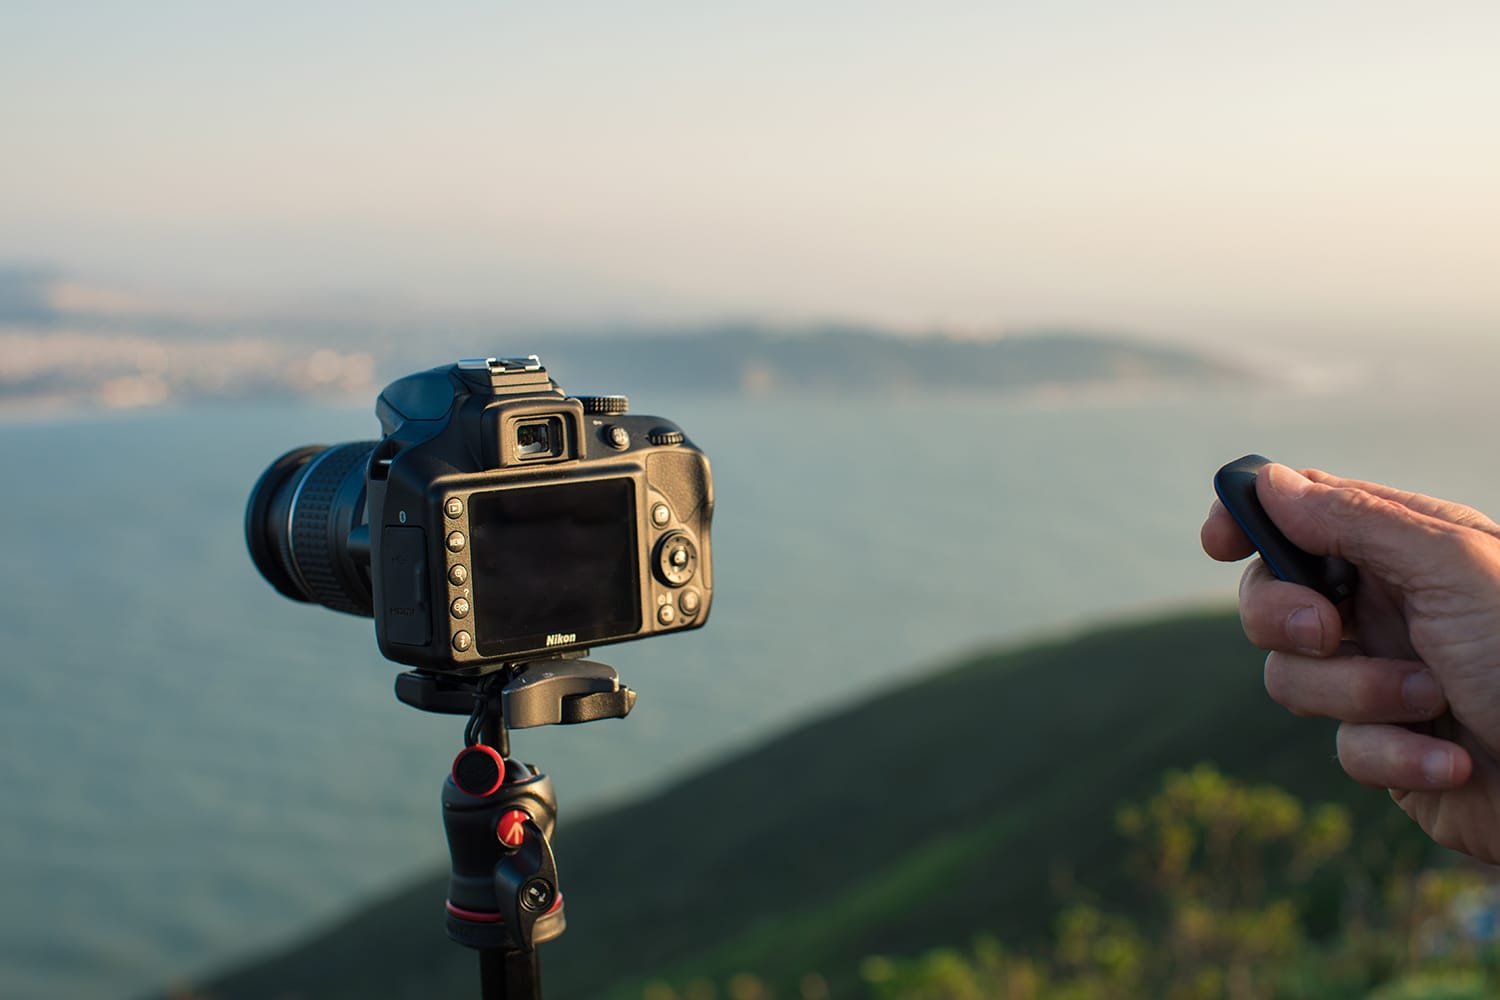
Spark can be used in three different ways. Firstly, as an infrared trigger from up to 30’ away, secondly as a wired trigger via a camera’s trigger port and lastly as an App based camera controller (iOS and Android). A Bluetooth connection enables the App to communicate with the unit and developers say that Spark can last for up to 5 years of continuous use.
Modes
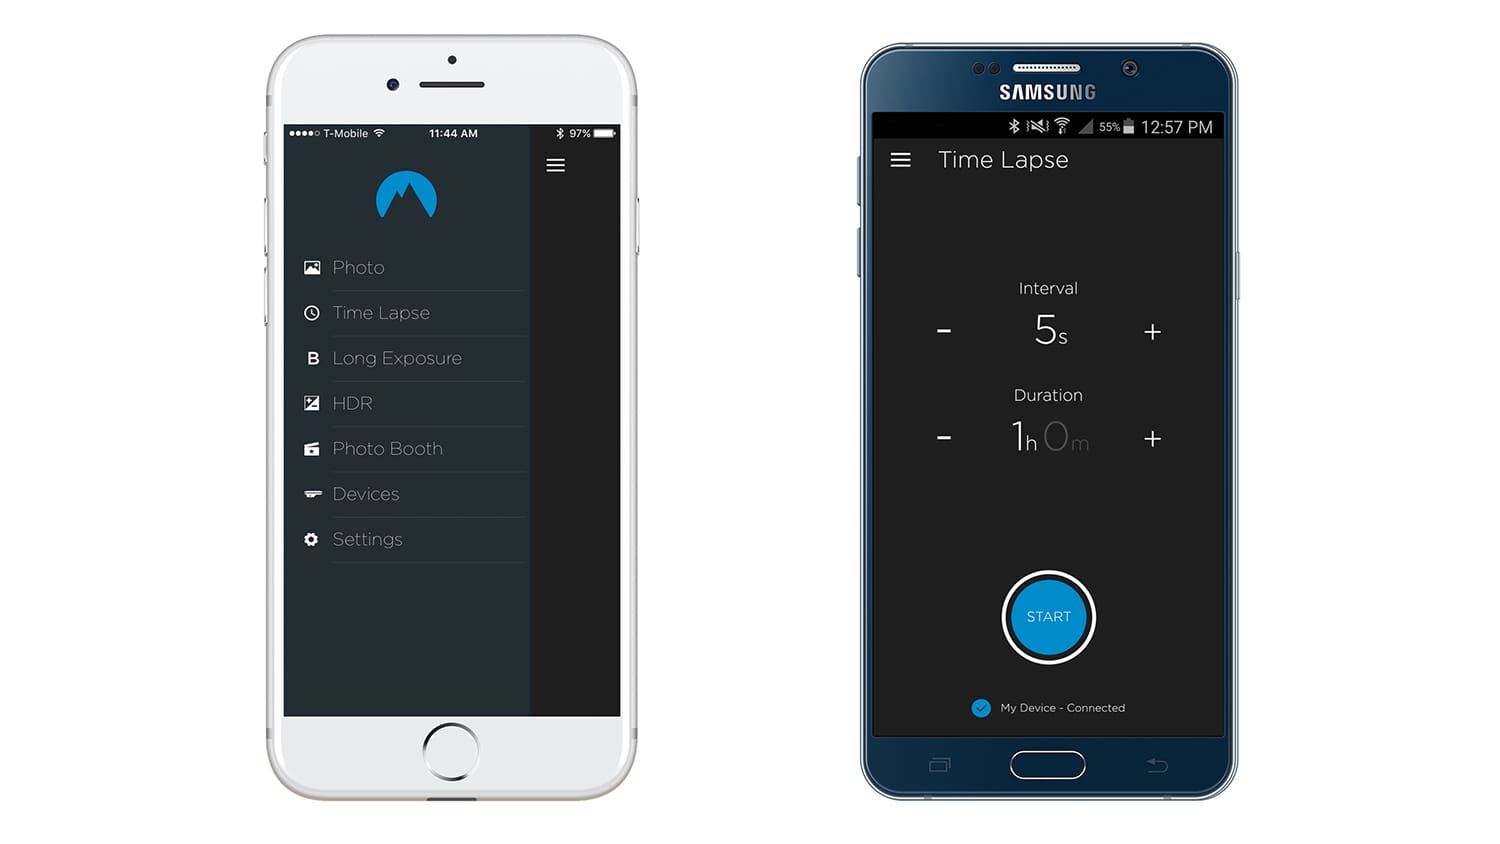
Spark can be set to work in a number of ways. Firstly and most simply, it works to just fire your camera’s shutter remotely. You can also set long exposures and bracket exposures to maximise dynamic range. There’s also a Time Lapse facility and a similar fun function called Photo Booth. For novices the Spark app also comes pre-loaded with sequences to cover different shooting scenarios such as stars, people and landscapes.
Using Spark
The first thing you need to do when you get your Spark out of its box is download the App. Little note – search for Spark Alpine Labs, or you’ll be trawling through a million and one apps before you find the right one. When you first open the App, you’ll need to select your camera manufacturer and turn on Bluetooth on your phone so that the two devices are connected. To do this, you need to make sure that your Spark is attached to your camera via the wired trigger. This will now mean that your Spark is ‘talking’ to your camera.
I found Spark very simple to use and pretty intuitive. Starting with infrared, you’ll need to adjust your camera’s drive mode to receive IR trigger input and make sure Spark is pointing directly at the IR sensor on the camera. You can shoot long exposures via Spark’s button by setting your camera to Bulb mode and pressing Spark’s button to open the shutter.
Then simply press it again to close the shutter. You can also do phone-less time lapses via infrared. Press and hold Spark’s button down and Spark will blink to indicate the number of seconds your interval will be. The time lapse will take enough photos to create 10 seconds of footage. To be honest though, it’s simpler to set these features using the App, but it’s good to have the option to do things if your phone isn’t to hand.
If you want to experiment with the Time Lapse, Photo Booth or Long Exposure settings then in my opinion the App is the best way to do this. This is because everything is easily controllable and you can adjust the settings really simply.
In Conclusion
Spark is pretty good at what is says on the tin! It works really well as a remote and the App is very easy to use. I can’t say I particularly see the point of the Photo Booth function in addition to the Time Lapse, but I’m guessing it’s just a fun feature and adds another small element. I was testing this unit with a Canon 5D MkIII and found it worked fairly seamlessly. It’s a recommended purchase for those looking for a reasonably priced remote with a good selection of additional features.
You can find out more about Spark here
About the Author: Jo Plumridge
Jo Plumridge is a UK based photographer, writer and lecturer. She specializes in portrait, corporate and travel photography, and writes photography, travel and comedy pieces for magazines, websites and books. You can see some of her work at her website, or follow her on Twitter.