Hang 10: Incredible Surf Photography Approaches

If you’ve ever tried photographing surfers before, you know how challenging it can be at times, with the constant motion of your subject and even the environment of the saltwater and the salty sea air.
One thing’s clear, though: Shooting spectacular images when you’re at the beach and have some free time is always high on one’s list. Here’s how you can approach surf photography to get the best results possible.
Learn About Surf Photography
Before jumping headfirst into this genre of photography, do a bit of research so you understand what you can do with this pursuit instead of just showing up at the beach and snapping away crazily.
The most obvious place to get a sense is surfing magazines. Here, you’ll find out all about the angles being used, the locations for photography, proximity to surfers, and equipment being used. You’ll also get a good deal of inspiration about what kinds of pictures to take and how to proceed.
Some of the leading publications include SURFER Magazine, Stab Magazines, and CURL Mag.
After all, when you begin to chronicle a sport like surfing through your photography, you first have to find out the basics, such as how said sport can translate over to an art form like photography.
Get a Good Location, First of All
Surf photography is hard to pull off when you’re in the wrong spot or wrong beach. The weather conditions and opportunities for great shots simply differ based on the locale you’re at.
Here’s a great example: Hawaii’s North Shore, just by nature, features grand and impressive-looking waves. Photographing them is going to produce extremely different results than going to your local beach or even surfing spots on the east coast.
In the end, it comes down to your technique and experience in how your shots come out.
Understand How the Light Will Work
Photographers always have to work with light, but with surf photography, this is more intense than ever since you’re dealing with strong, natural light, as well as light during the brightest times of day.
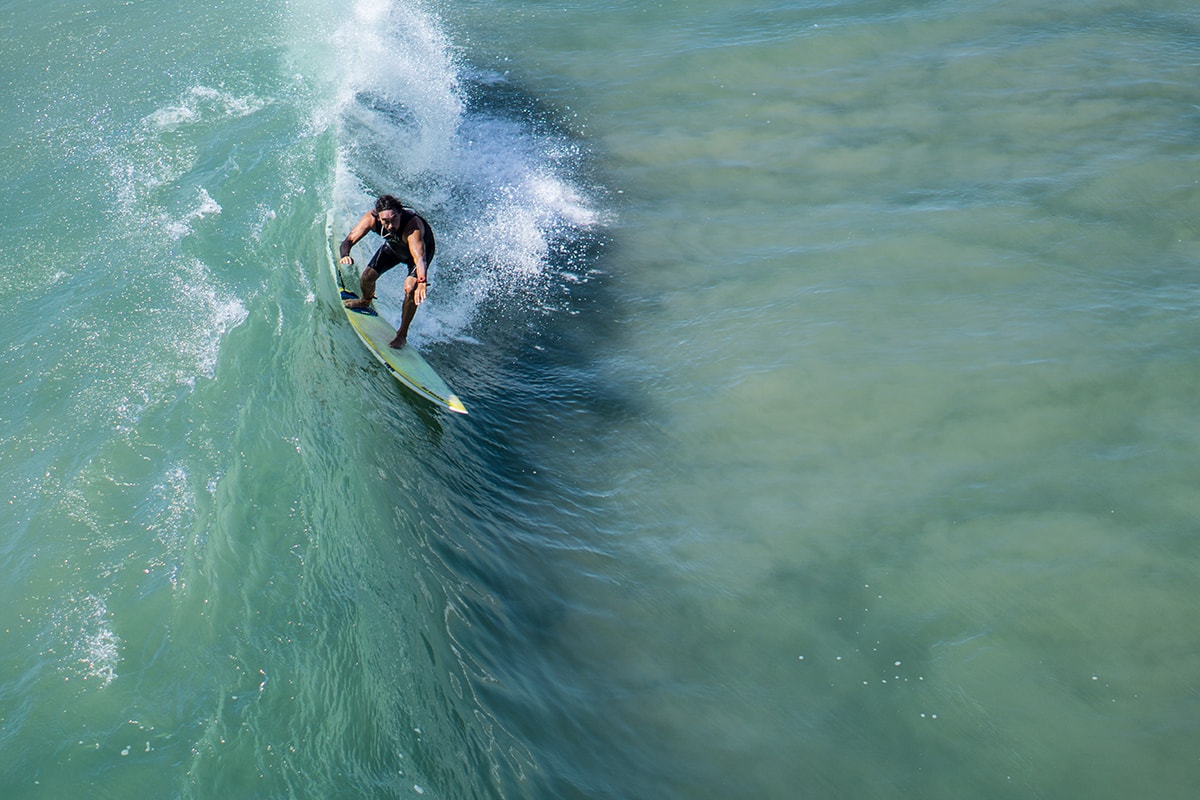
Start by looking right at the water and studying how the light’s bouncing off of it. Depending on the time of day as well as your positioning, you’ll often notice that there’s a considerable amount of reflection on the water. Look opposite to this reflection, and you’ll simultaneously realize that there’s a lot less or even no reflection at all.
To get the best shots of surfers amid this reflection, shoot at an angle while on the beach and in the direction with little or no reflection at all.
Nailing the Exposure
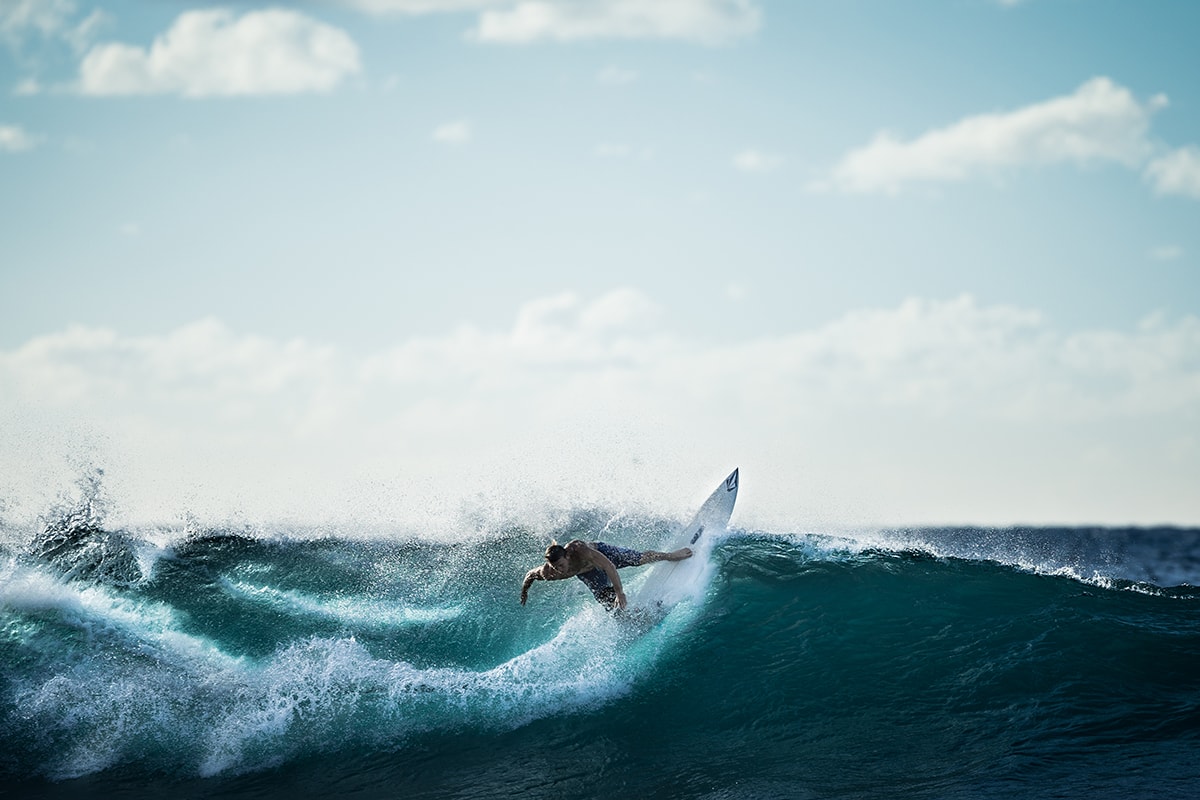
The next part is getting the perfect exposure. Set your camera for shutter priority. Then, make some test exposures and check your histogram to ensure that you’re not inadvertently removing the highlights of the whitewater. The whitewater is the ridge of foam and turbulence that occurs as a wave begins to break, which looks great in shots.
It’s vital to capture rich detail in this whitewater, as it’ll make your shots that much more exciting. To achieve this, start with -1/3 exposure compensation, and then keep checking your histogram to ensure that the whitewater isn’t being removed. You should keep going with the exposure compensation until you see the whitewater isn’t being clipped from the frame.
The Size of Your Surfer Subjects
Depending on how far away surfers get from the beach, they can appear relatively small in your shots. You don’t want tiny spots of surfers in your shot, as this’ll defeat the purpose of surf photography.
In general, aim to make your subject larger in the camera’s frame than one of your camera’s focal points within the viewfinder. If the surfer ends up being smaller than one of those points, it’s a clear sign that you’re too far away from him.
Either get nearer of grab a better zoom if this happens.

A Low ISO Is the Way to Go
Help your surf photography out by making your ISO as low as you possibly can. The lower that you set your ISO, the less noise you’ll have to tackle inside your image.
Always remember that you’ll be virtually bathed in a plethora of natural light each time that you’re out on the beach for this style of photography. Thanks to this sheer availability of natural light, it should be no problem to keep your ISO as low as possible.
In general, though, keeping your ISO low is usually a helpful approach in any style of photography.
Storytelling in Your Photographs
We all love a great story. It’s a human habit that’s ingrained in all of us since we were young kids, and it’s also cross-cultural, as it’s a universal practice to tell stories.
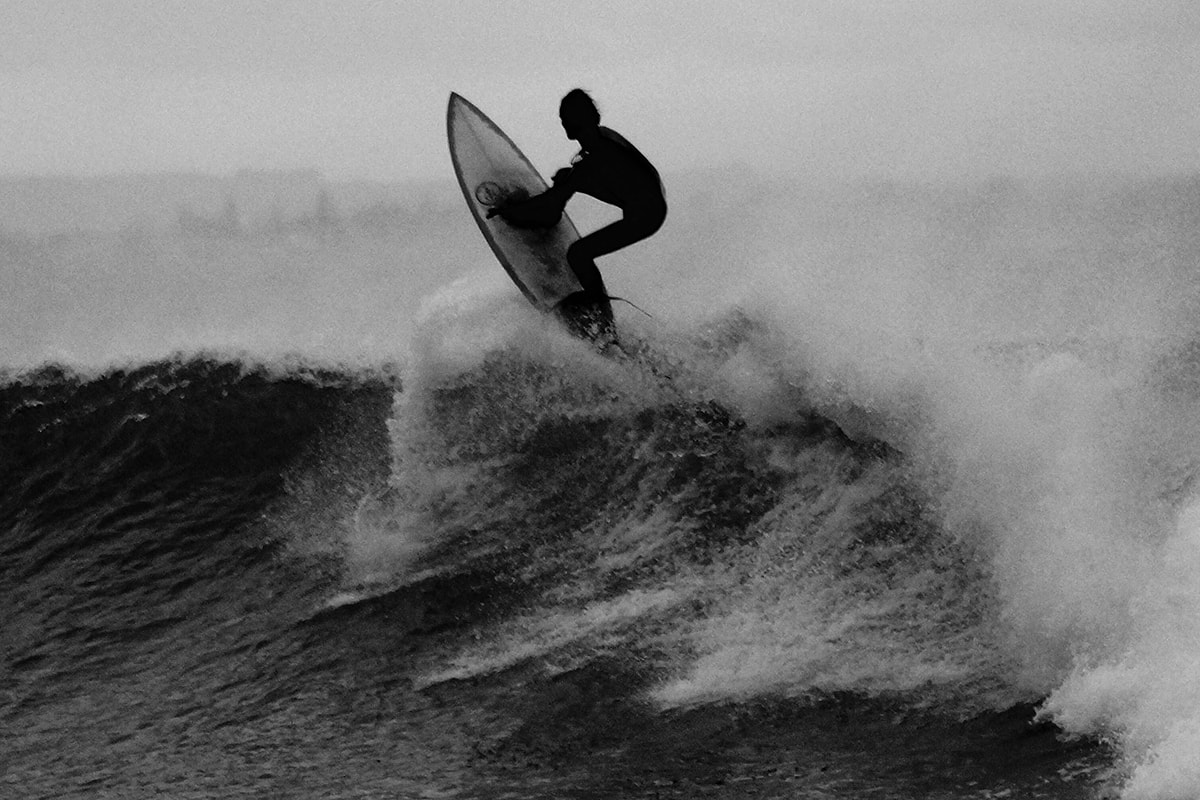
Remember to tell a story with your surf photography. It can be easy to get carried away with snapping action shot after action shot, but try to infuse some story into each shot.
For example, it could be a complicated maneuver done by a surfer, or perhaps it’s just the gorgeous beauty of the pristine waves. Even relatively simple shots of surfers simply sitting on their boards and talking can be an effective way of telling the story of surfing: relaxation, a good atmosphere, and hanging out with your surfing brethren.
Ride That Gnarly Wave
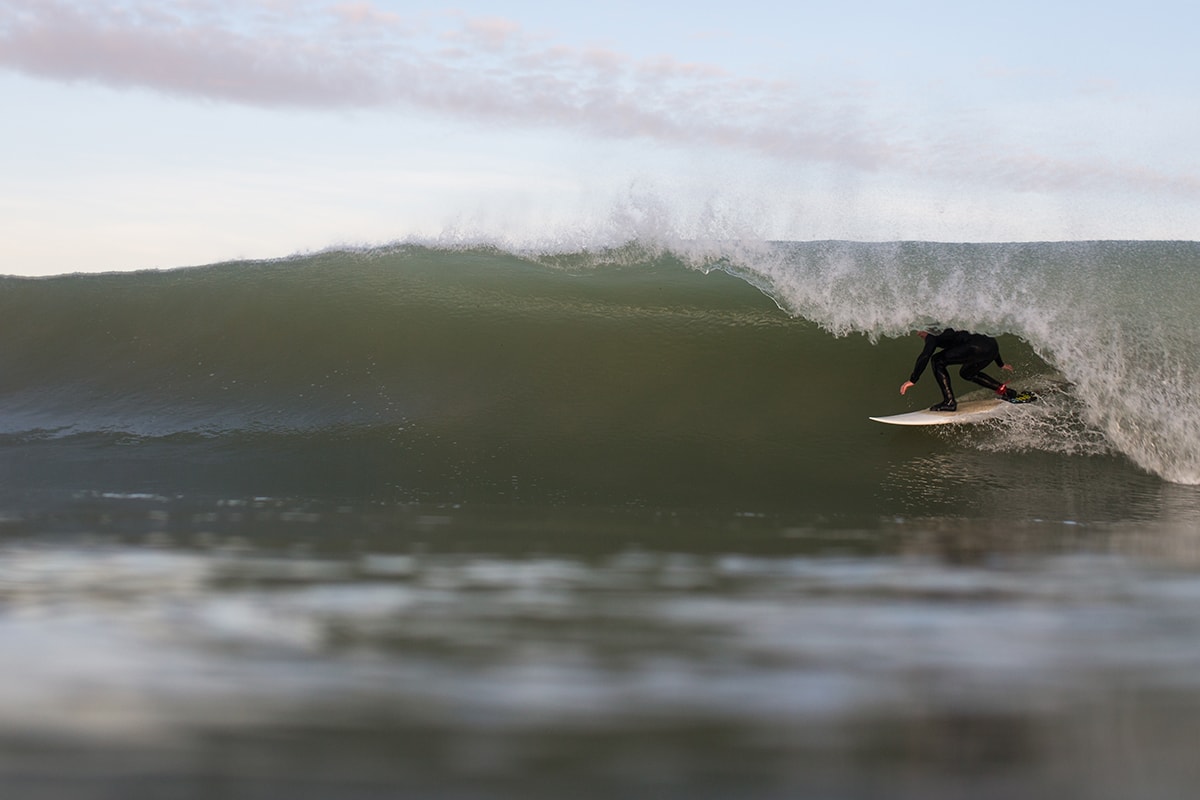
As a photographer, your responsibility is to do justice to the subjects and topics that you’re capturing. When you’re on the beach, remember that it’s not just surfing that you’re taking pictures of… it’s the entire surf culture.
Remember that, and you’re going to get much deeper into surf photography than you first may’ve thought.
That’s why it’s so important to understand what sorts of framing and angles are used in this style of photography and relate a story back to your audience with your pictures. When you do this, you don’t just take images of guys surfing on the waves—you capture real, exciting moments of a sport and its participants that have remained unchanged for generations.
About the Author: Marc Schenker
 Marc is a copywriter and content marketer who covered photography. These days, he runs The Glorious Company, a content marketing agency.