How to Arrange a Photographic Composition With the Rule of Thirds

Any photographer worth his salt knows about the rule of thirds. Using it to one’s advantage to ensure that you get the best possible composition in your frame is another story altogether.
The rule of thirds is the tried, tested and true method for making your photographs as visually appealing as they can possibly be. Of course, pictures that visually stand out are going to attract more attention and raise your profile as a photographer. When you think, in compositional terms, about the rule of thirds, you can’t go wrong. Here’s how to make it work for your photos.
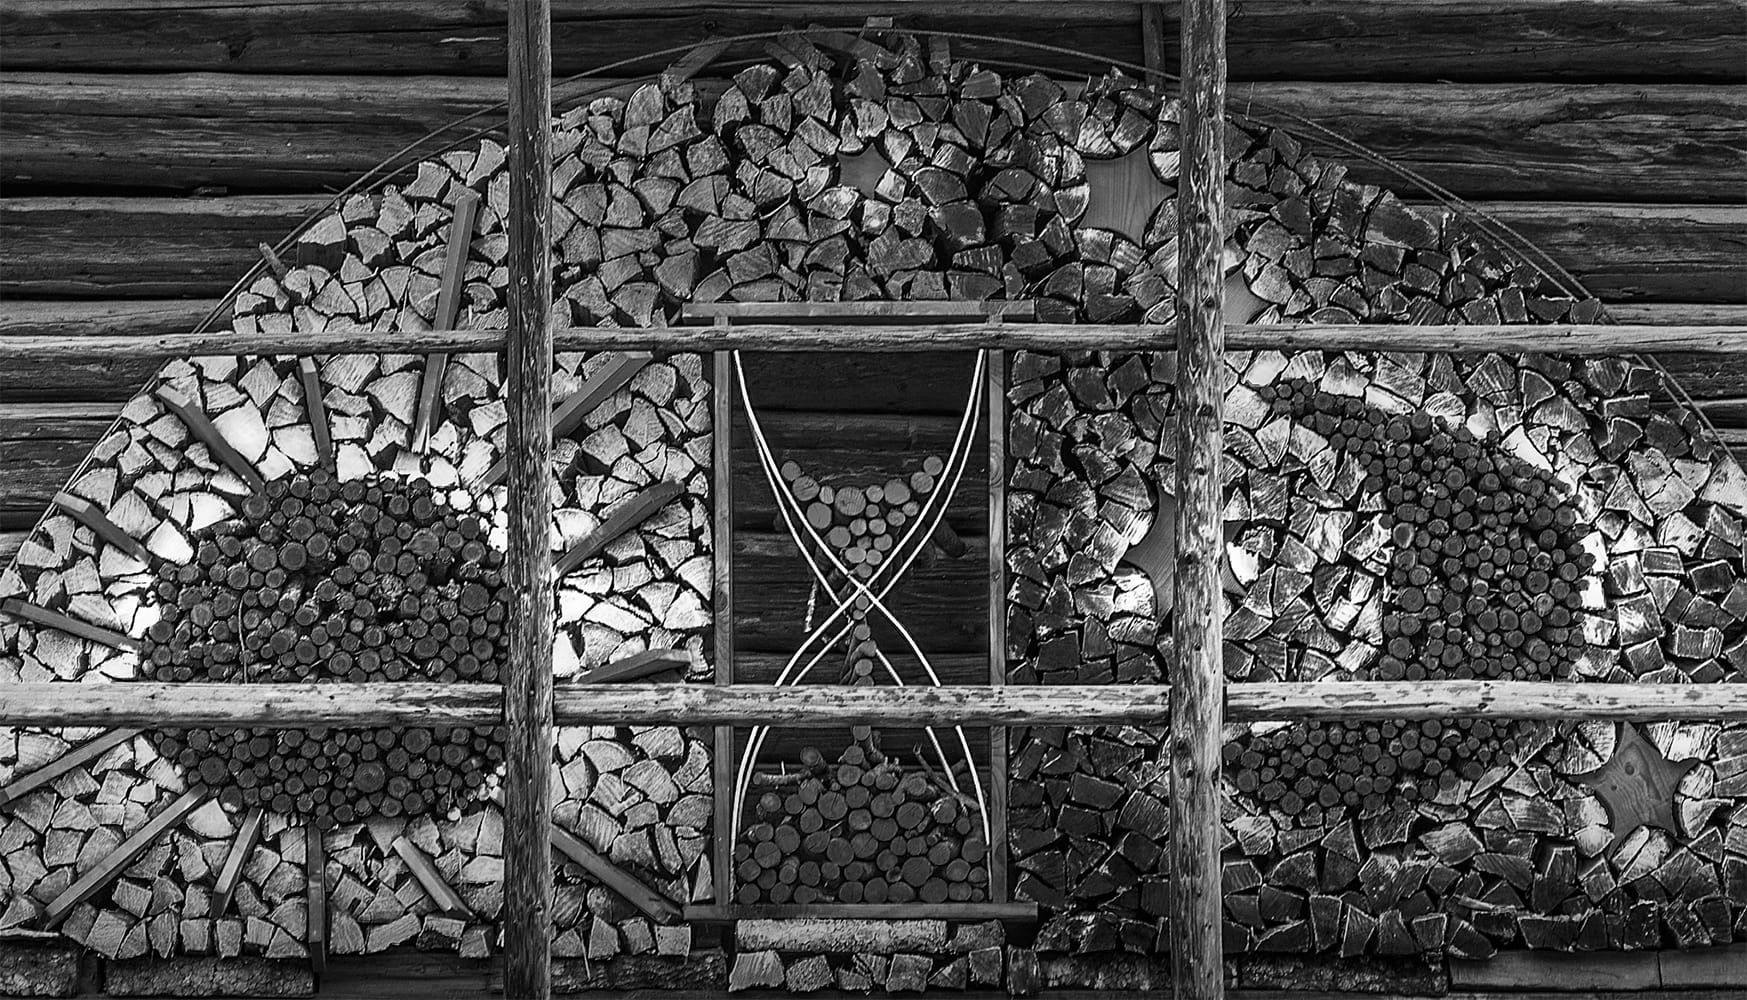
Image by Roberto Busatto
Understanding the Rule of Thirds
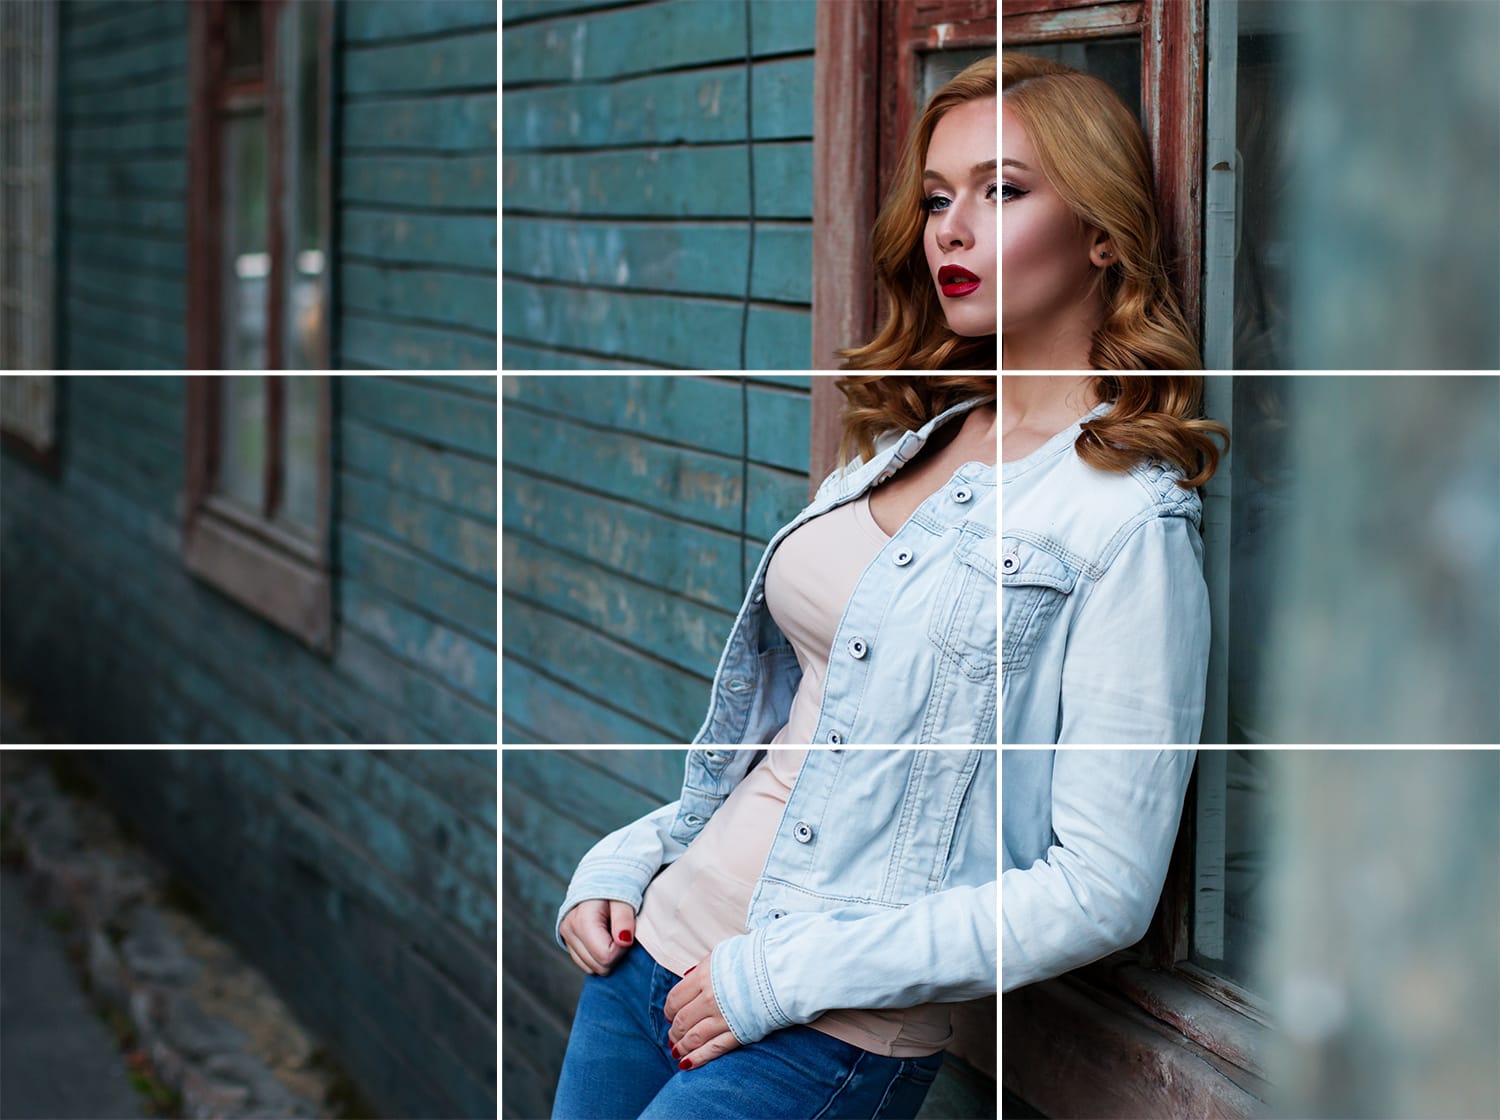
Let’s wrap our photographic heads around the rule of thirds in the first place. Essentially, this rule is based on an imaginary grid that you’ll visualize in your mind over any frame. Confused? Don’t be. It’s really straightforward.
In any frame in your viewfinder, just image the scene being divided into nine, equal parts. Imagine that there are two horizontal and two vertical lines dissecting the frame, thus creating the equal parts. Along these lines is where you want to arrange the compositional elements of your shot to get the most visually appealing results, such as your subjects, objects in the background, etc.
This technique can take some time getting used to, as you’ll have to mentally train yourself to visualize this grid in each frame.
An alternative to doing this all in your head is using a camera that has Live View or grid lines. This feature lets you display the rule of thirds grid right on the LCD monitor of the camera when composing a shot, making it unnecessary to do it all in your head. Some cameras, like the Sony cameras, even have the option to show the grid lines right in the viewfinder.
The Theory Behind the Rule of Thirds
The thinking behind the rule of thirds is simple and straightforward: Objects in your frame that are placed on any of these vertical or horizontal lines (as well as at their intersections) will garner the most visual attention from your viewers. In other words, objects placed at these points will jump out at your viewers more easily, so be sure to place the most important elements in your frame (or the ones you really, really want your audience to notice) at these points.
The reason behind this thinking goes back to design theory. The rule of thirds encourages you to place important elements off-center, and off-center composition immediately creates imbalance and a sense of asymmetry in any frame. As a result, the viewer’s eyes more quickly notice this lack of balance than they would if the frame was neatly aligned, and everything was 100% “perfect” in the center.
If you’ve ever taken a long, hard look at images that you’ve found yourself drawn to, you may’ve noticed that their subjects and other elements are never, ever right in the middle of the frame! This is not some coincidence; this is done for a reason. It’s the rule of thirds at work.

Putting the Rule of Thirds Into Action
Everything you’ve learnt so far is no good unless you can make it work for you. Applying this rule is actually more intuitive than you may believe, even if you’ve never done it before. Here’s how to proceed.
First, you want to analyze your frame. Look for what you consider are going to be the points of interest within the frame. Is it the vibrant fall colors you’re shooting? Is it going to be the eyes of a person or people, hinting at the viewers what to look at? Once you have this figured out, you can go on to the next step.
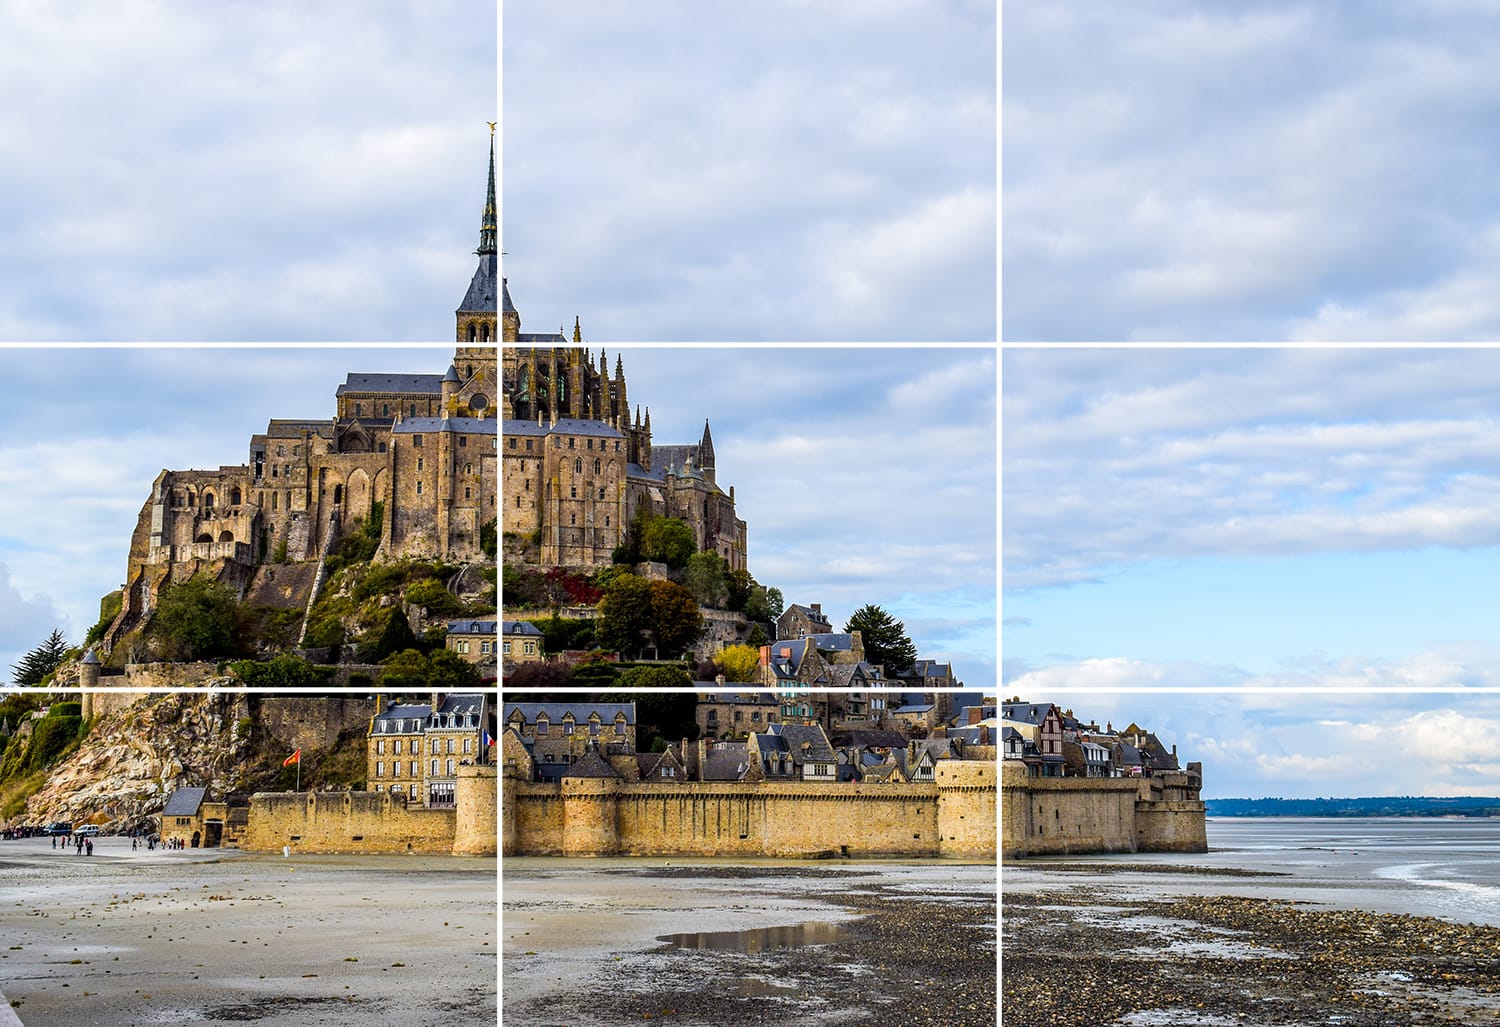
Now, you have to determine what the most important element within the actual shot is going to be. Maybe it’s the subject itself if it’s a majestic lion, soaring eagle, or other form of impressive wildlife. Maybe it’s the horizon line in the background, if your landscape shot just happens to capture a gorgeous sunset over the water. You’re getting the idea: the most important element can be very subjective and can vary.
You’re on a roll. Here’s the finishing touch to your rule of thirds composition: You have to purposefully position these points of interest and the most important element according to the rule of thirds grid.
If it’s a lion, then perhaps put him at one of the grid’s intersection points…with a beautiful lake from which he’s going to drink maybe placed on the bottom of the two, horizontal lines. If you’re ever in a situation in real life where you have the actual opportunity to take a shot like this, then you’re already doing something right!
If you’re shooting a soaring bald eagle in flight, then try to photograph it when the eagle is at one of the intersection points or along one of the four horizontal and vertical lines on the grid! Trust that the results will be so much better.
Final Takeaways
Be prepared to do a lot of moving around when trying to arrange your frame’s elements according to the rule of thirds. Don’t be afraid to experiment with different arrangements and placement along the imaginary grid. The more you try things out, the more you’ll discover what looks appealing.
While it may seem like too much pressure at first to think in this chronology of steps, you’ll find that you’ll get better at it with practice. Yes, this means taking more things into consideration before pressing down on the shutter button, yet this’ll just make you a better photographer. Before long, composing a shot based on the rule of thirds will be as natural to you as taking off the lens cover before shooting. You can also find more tips and tricks in this guide from Groom & Style.
Better Photos, Better Arrangement
It’s simple: You want better photos? Then arrange your compositional elements based on this rule. The go-to rule for photographers and other visual artists for many decades now, the rule of thirds takes advantage of off-center composition to deliver interesting visual treats to your audience.
So the next time, instead of just clicking down the shutter button, approach your scene’s composition more methodically. When you do, you’ll be pleasantly surprised at how your photographs start turning out.
About the Author: Marc Schenker
 Marc is a copywriter and content marketer who covered photography. These days, he runs The Glorious Company, a content marketing agency.