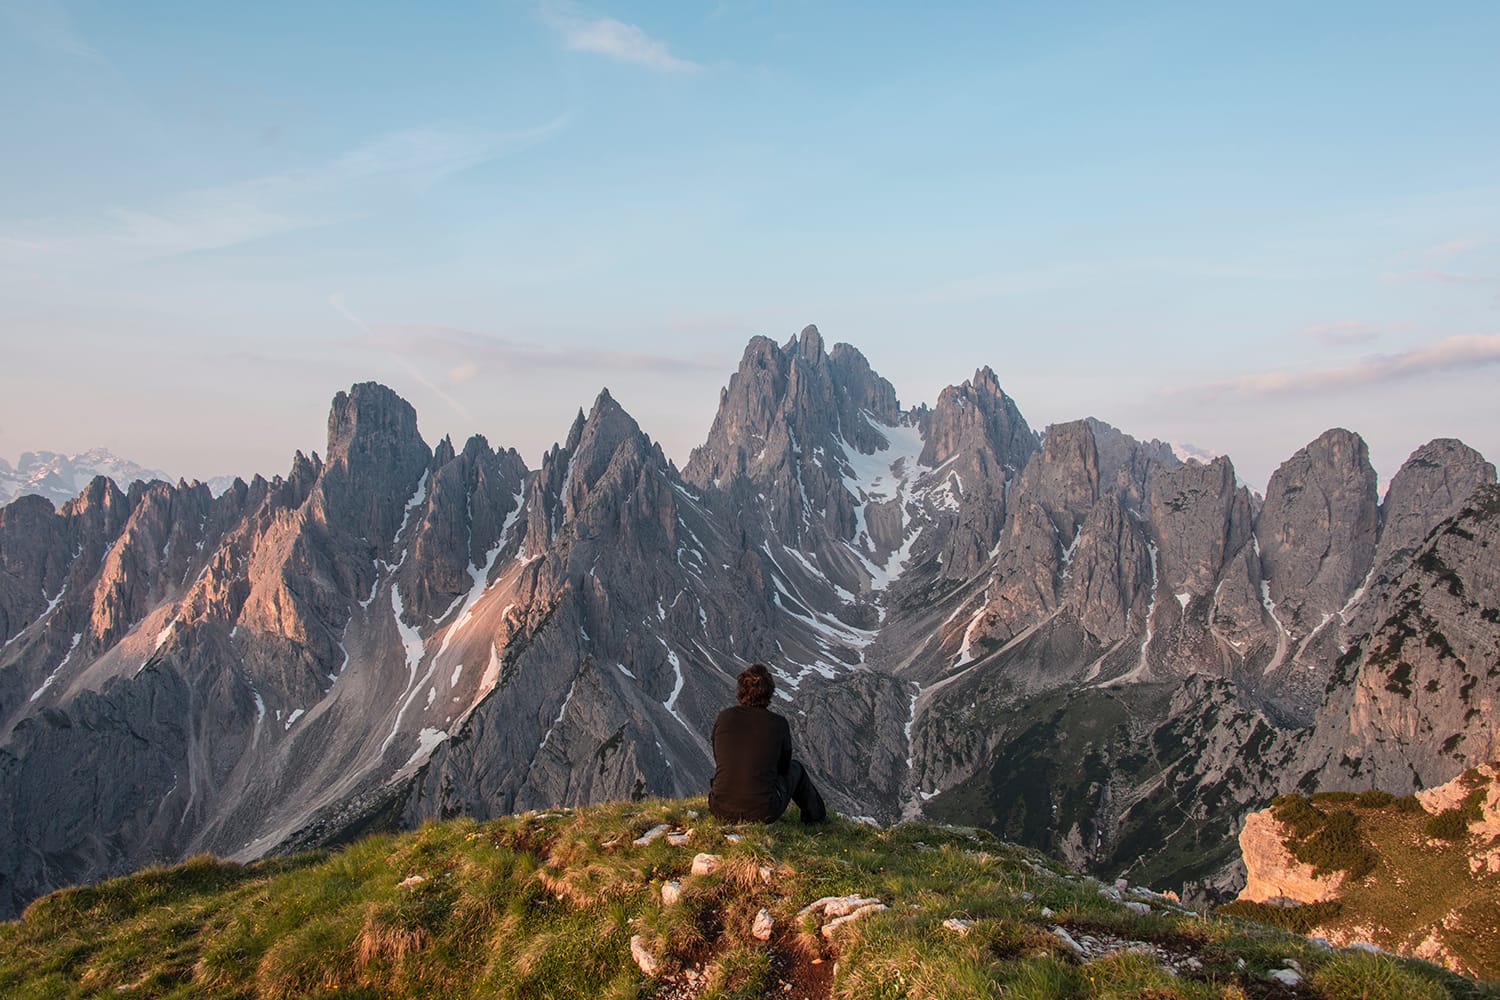
Awesome Post-Processing Tips for Your Travel Photos

Photography is an art from, from start to finish. And there’s a lot that goes into creating the perfect photograph – from having a good understanding of composition and lighting, as well as camera settings, and gear that can help you to capture the best images possible.
When it comes to creating striking images, though, there’s another step that you’ll want to think about adding to your process. Post-processing can help you to take your images from good, to truly exceptional.
While images of over processed photos or poorly executed techniques may come to mind when you think of post-processing, the truth is that often, all that’s needed is the smallest tweak or adjustment to make your images spectacular.
Travel photographs have a way of taking us back in time, allowing us to relieve our moments and adventures. Post-processing your travel photos helps you to “develop” your images, so to speak, helping your images to more accurately reflect your memories and enabling you to fine-tune your images to support your creative vision.
If you’re planning an upcoming trip, or would like to adjust your images from previous adventures, here’s a look at some tips that’ll help you to get started with post-processing.
Choose an Editing Program
First, you’ll want to get ahold of a good image editing program. If you are an advanced photographer, serious amateur, or professional, then your obvious choice would most likely be Adobe Lightroom. Lightroom is the industry standard, and it’s a great tool for editing.
Of course, if you do phone photography, you could get ahold of Snapseed – or Apple’s iOS Photo app, for mobile-image editing. Finally, you could also consider Gimp, if you’re looking for a free desktop program.
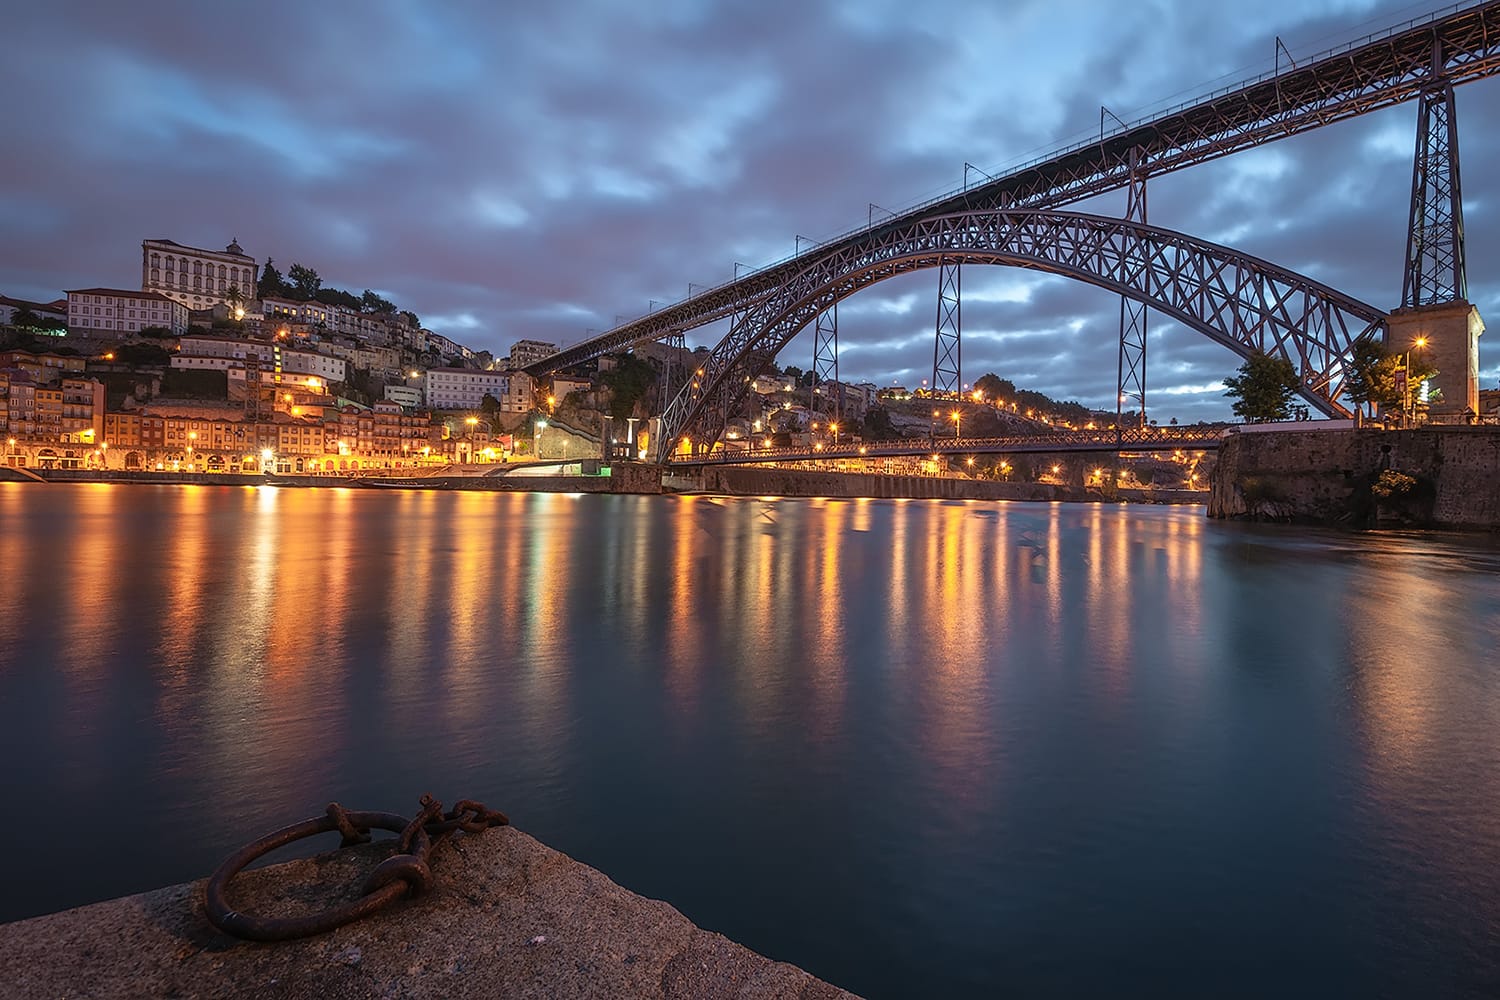
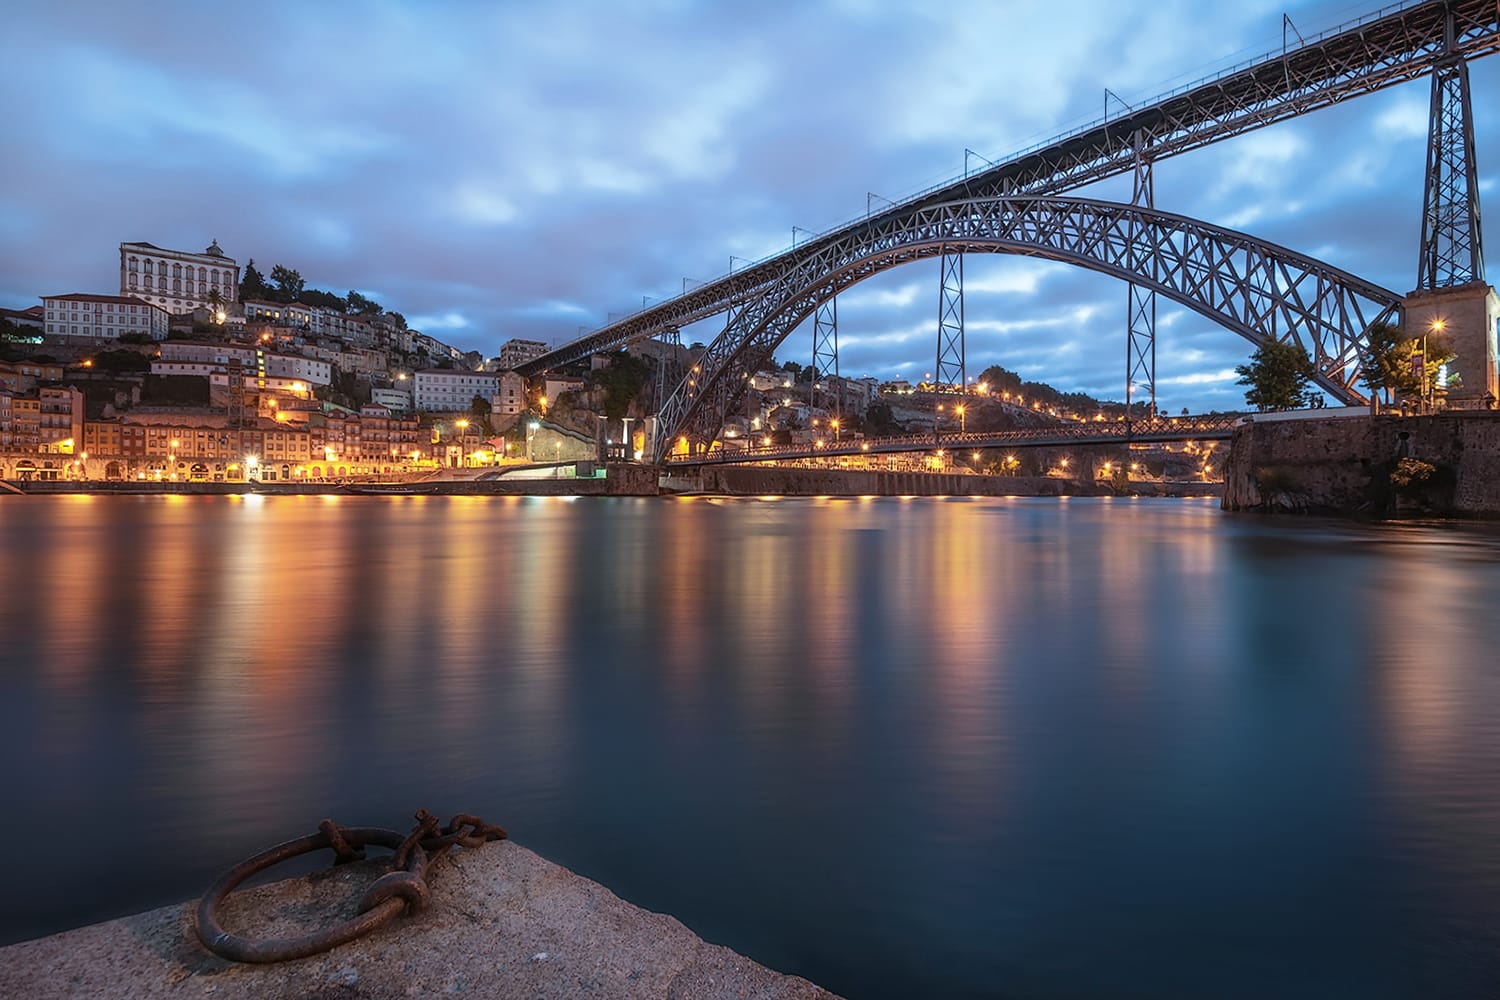
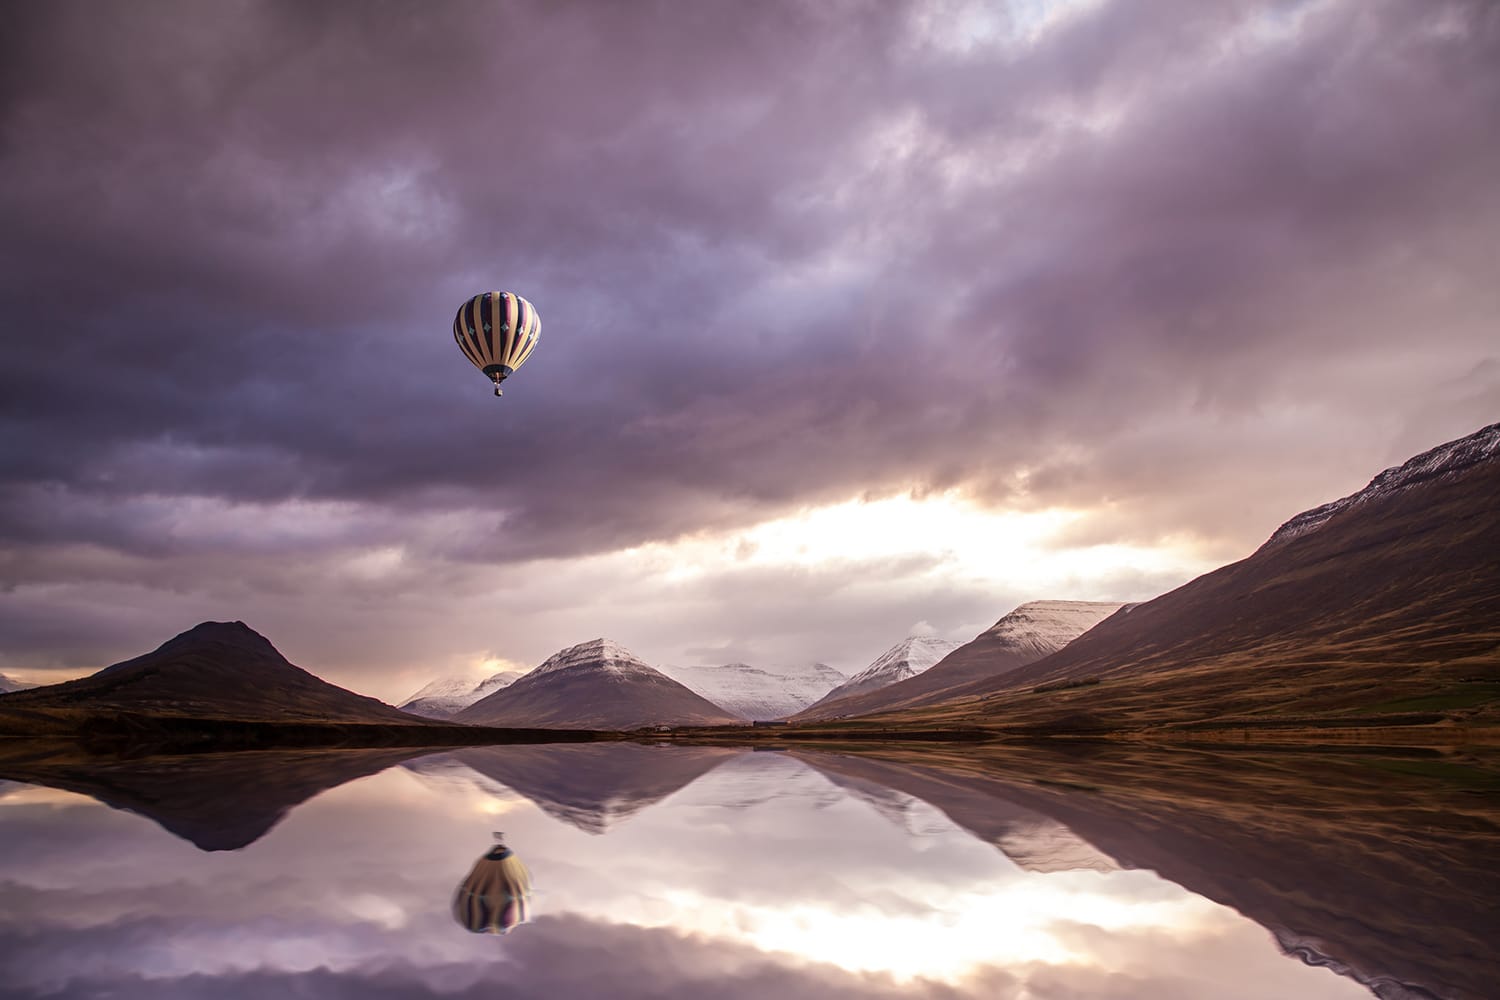
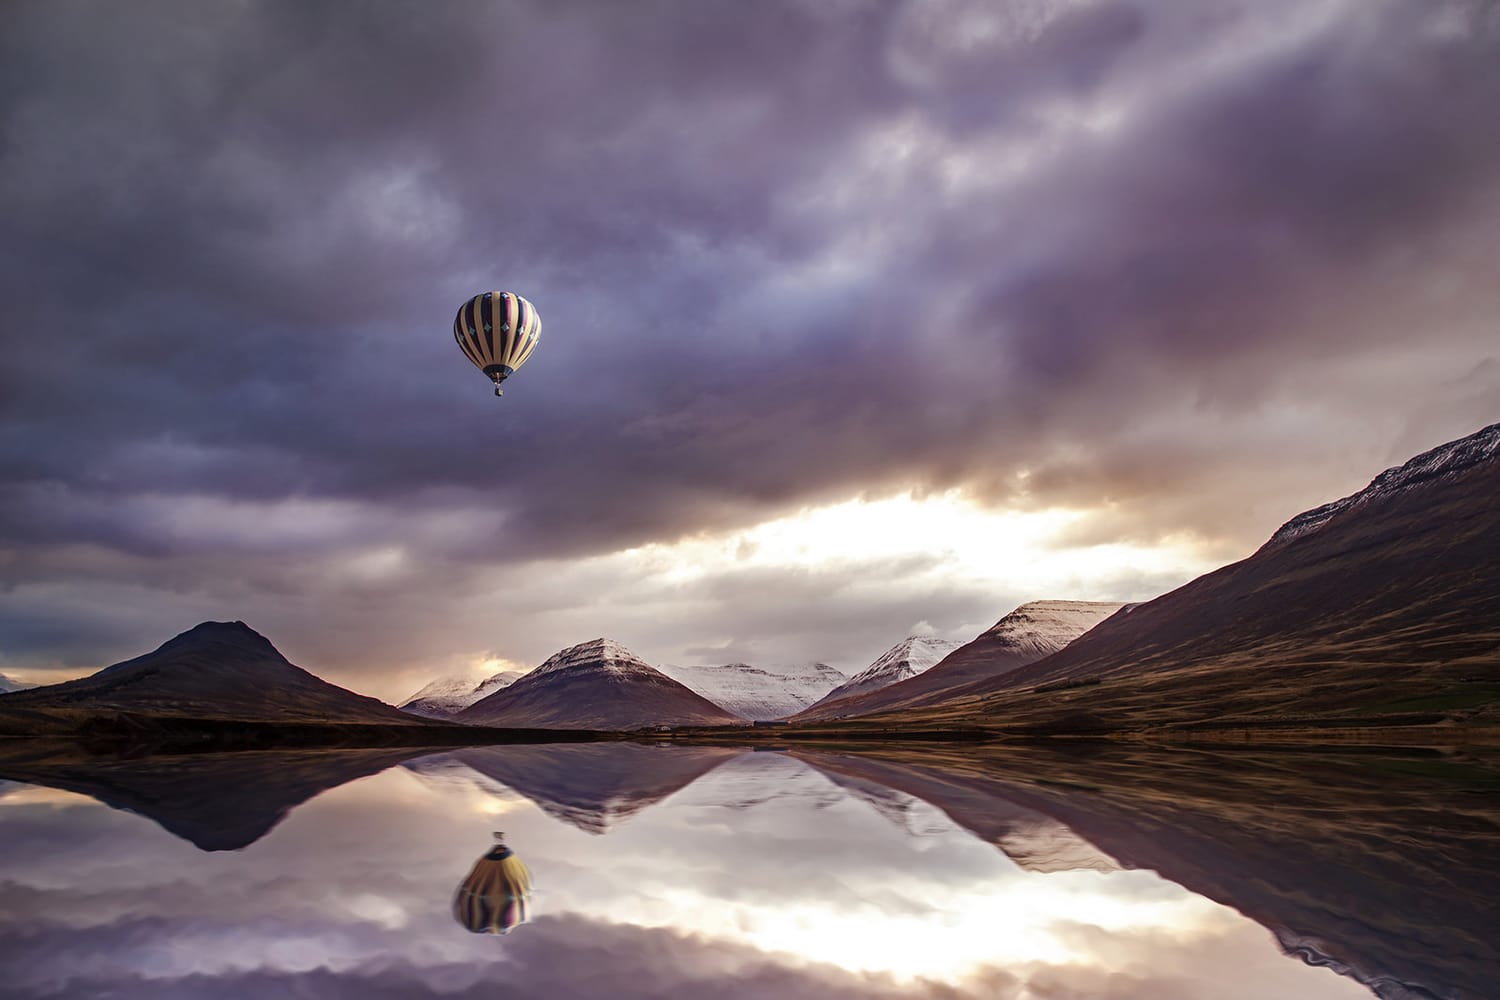
Before photo by Rossana Ferreira. After photo remixed by Lenny K Photography
Leveling
Nothing can ruin a good photo more quickly than a slanted horizon. Maybe you were paying more attention to your surroundings than you were to the composition, or maybe you were in a hurry. Regardless of what happened, a slanted horizon can make an unexpected appearance in many a photograph! Thankfully it is an easy fix with almost any post-processing software program. Check your horizons, adjust, and save.
Vignetting
Vignetting allows you to make certain areas in an image darker or lighter than other parts, helping to draw attention onto the main focal point. Some programs limit vignetting to the corners, but with Lightroom, you can easily adjust different areas with the vignette tool.
Crop
Unwanted elements in your photo can be distracting – and detract from the composition. Cropping allows you to change the size of your image, without necessarily changing the aspect ratio. When traveling, often you may run into situations that will make it easier to snap now, and edit later. For example, if you’re caught without your tripod, you could use another stationary object to shoot wide and capture a long exposure, and then improve the final composition by cropping in post-processing later on.
Adjust Brightness and Contrast
Adjusting the brightness and contrast can help your image look more natural, when done right. Overdoing it, though, can have the exact opposite effect, so proceed with caution. However, if your image is too dark, adding in a little light to brighten things up can work wonders. The same goes for an image that has too much light. Bumping down the contrast can give you a much more appealing image.
Before photo by Andrés Nieto Porras. After photo by Lenny K Photography
Balance the Color
Color adjustment is another important area to pay attention to. While you can adjust colors in a number of different ways, from changing the overall warmth of an image to individually adjusting the hue of specific colors, one of the fastest, easiest way to adjust the color is using the Saturation slider.
This is found on the basic adjustments panel in Lightroom. On one end of the spectrum, you have a desaturated image – one that’s black and white image. On the other side, you have an overly saturated, unnatural looking image. The key is finding the middle ground where your photo has enough color, without looking over or undersaturated.
Remove Dust Spots
Dust spots or blemishes can appear in almost any photograph. And when you’re traveling and on-the-go, the spots seem to be even more common whether it’s a small speck of dust, dirt, or sand. The good news, though, is that you can easily remove these little imperfections. Using the Spot Removal tool in Lightroom, select either the Heal or Clone options. Then, click and drag the part of the image you’d like to retouch, and use the handle of the sampled area to drag and select a new area. Or, if the spot’s small enough, you could just smudge it out.
Remove Lens Flare
Unless it’s intentional, shooting directly into the sun can leave you with some unsightly flare. However, there is hope! With a little bit of post-processing help, you can remove unwanted lens flare, salvaging the image. Use the Quick Remove tool in Lightroom, then click on the lens flare, and choose a similar texture to replace it. Using the brush, lower the exposure, and brush over the lens flare. It’s gone!
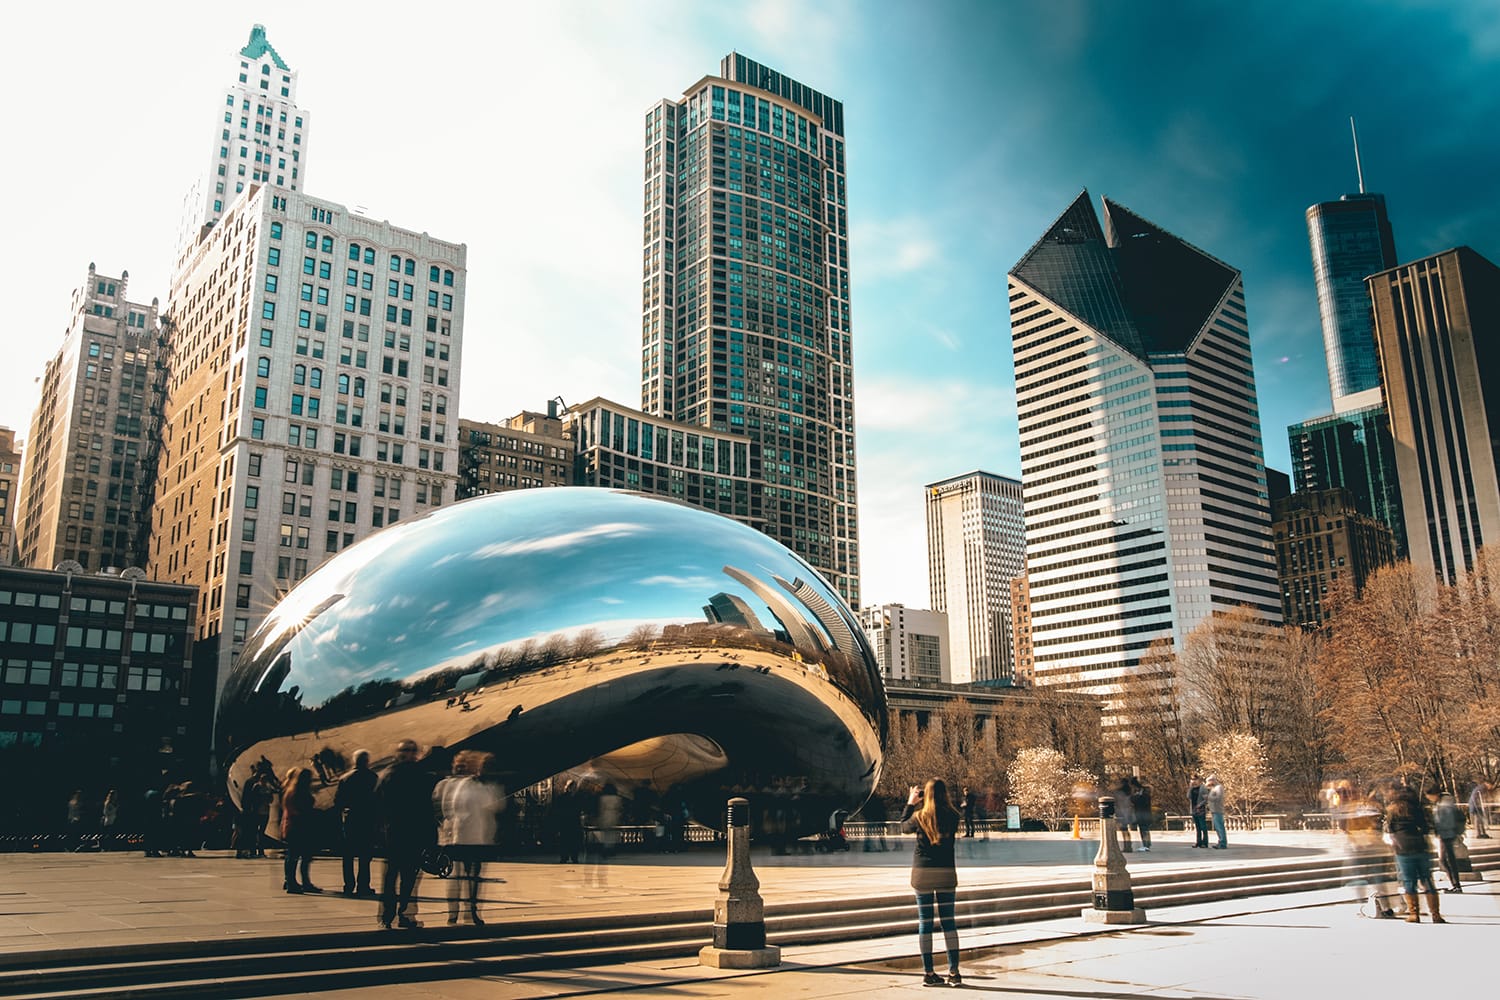
Have Fun With Filters
Have some fun by using different filters. If you’re using Lightroom, you’ll also want to consider getting ahold of some plug-ins, like Silver Efex Pro and Color Efex. These plugins contain lots of filters that make it easy to transform your images, and can help you to give them an entirely new look.
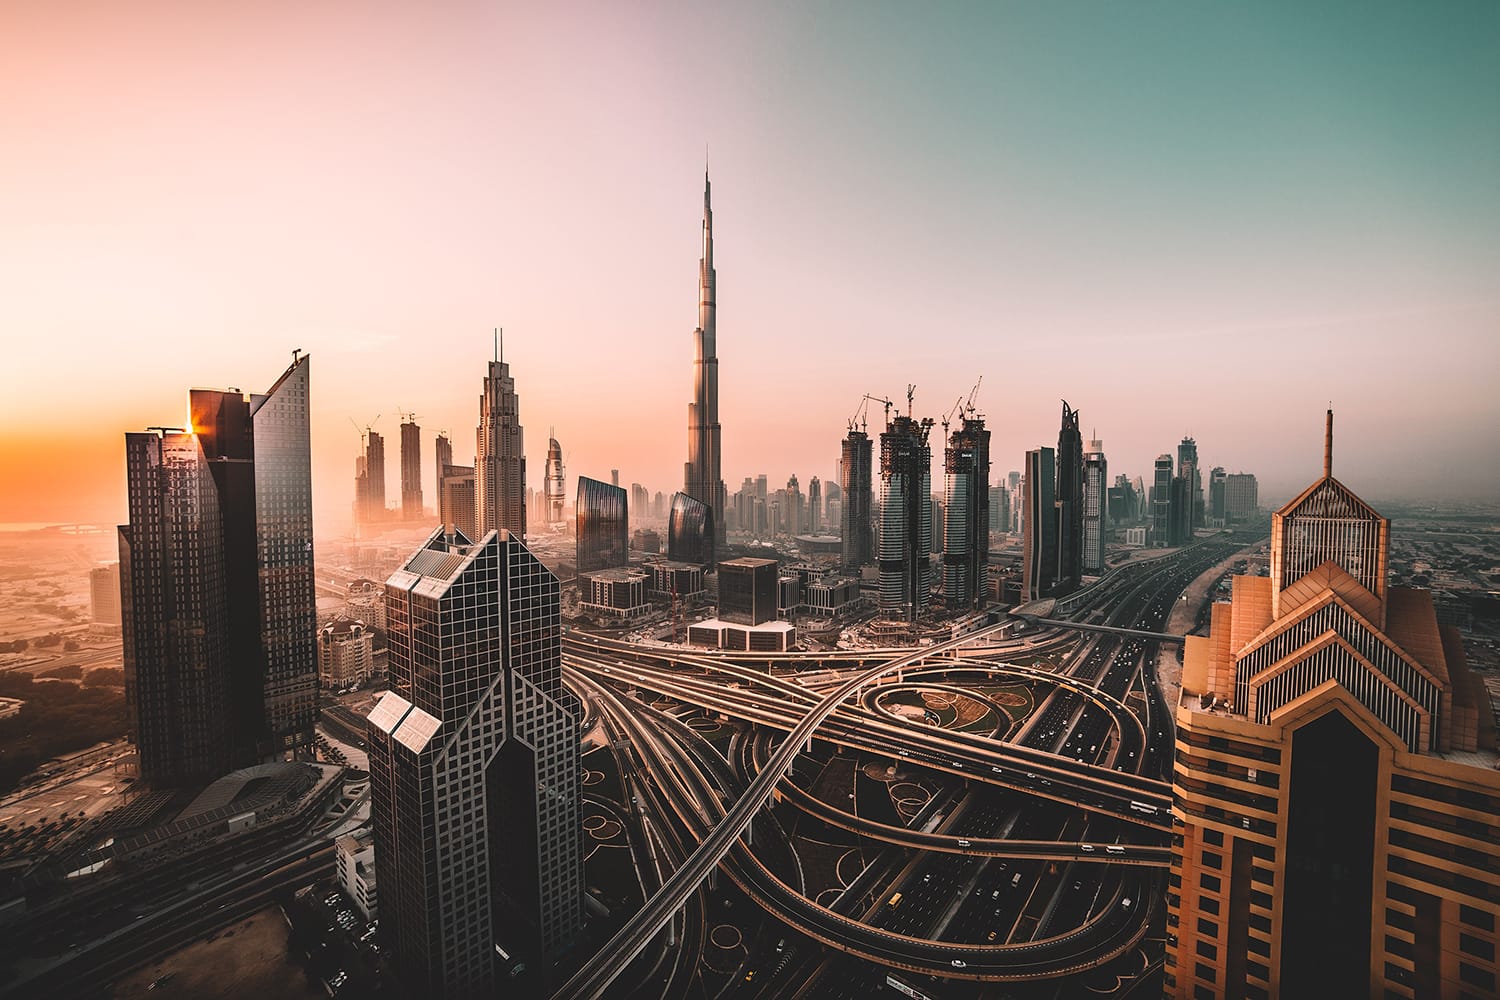
HDR Images
While HDR images can be overdone, if you know what you’re doing, it can be a great way to create striking images. This approach is especially ideal if you’re capturing a composition that requires different exposures for different parts of the scene –as is often the case with cityscapes or landscape photography. Use HDR bracketing to capture three different exposures, and then blend them in Lightroom or Photoshop later on. Using Color Efex can help you to fine-tune the color and make exposure adjustments for beautiful results.
At the end of the day, whether you choose to edit your photos, and how you edit them is entirely up to you. But don’t be afraid to experiment with different features, filters, and tools, to see which ones best fit your personal style. Then have fun creating spectacular images of the places that you visit.
Do you adjust your images in post-processing? What tips can you share? Feel free to share them with us on Facebook or Twitter.
About the Author: Christina Harman
 Christina is a part time blogger and full time photography enthusiast living in Southeast Alaska. She enjoys travel photography and has taken pictures in countries such as Mexico, England, France, and China. She likes sunny days, new lenses and drinking good coffee. You can visit her at Tangled Thoughts.